

Are you looking to add a stylish touch to your space without spending a fortune? Making a floating shelf yourself is easier than you think, and it’s a great way to showcase your personality.
Imagine having a sleek shelf that seems to float on your wall, perfect for books, plants, or your favorite decor. In this guide, you’ll discover simple steps that anyone can follow, even if you’re new to DIY projects. Ready to transform your room and impress your friends with your handiwork?
Let’s get started!
Materials And Tools Needed
Gathering the right materials and tools is key to building a sturdy floating shelf. The quality of wood and the tools you use affect the final look and strength. Prepare everything before starting to make the process smooth and enjoyable.
Choosing The Right Wood
Select wood that fits your style and purpose. Pine is soft and affordable, ideal for beginners. Oak and maple offer strength and a nice grain but cost more. Plywood works well for a modern look and is budget-friendly. Ensure the wood is smooth and free of knots to avoid weak spots.
Essential Tools List
- Measuring tape – for accurate dimensions
- Level – to keep the shelf straight
- Power drill – for drilling holes and driving screws
- Screwdriver – to tighten screws firmly
- Stud finder – to locate wall studs for secure mounting
- Sandpaper or electric sander – to smooth edges
- Safety goggles – to protect your eyes
- Pencil – for marking measurements
Optional Finishing Supplies
- Wood stain – for color and protection
- Clear varnish or polyurethane – to seal and shine
- Paint and brushes – to add color and style
- Wood filler – to fix any holes or cracks
- Painter’s tape – for clean paint lines
Planning Your Floating Shelf
Planning your floating shelf carefully sets the foundation for a successful DIY project. It ensures the shelf fits perfectly and serves its purpose without any surprises. Taking time to think through the details saves you from costly mistakes and frustration later on.
Measuring Space And Size
Start by measuring the wall space where you want to install your floating shelf. Use a tape measure and note both the width and height available. Think about what items you’ll place on the shelf—will it hold books, plants, or small decor?
Check for any obstacles like light switches or power outlets near the area. This will affect the size and placement of your shelf. Visualize how different shelf lengths and depths will look in your space before cutting any wood.
Design Ideas And Styles
Your shelf should match the style of the room. Are you aiming for a modern, minimalist look or something more rustic and warm? Simple shapes with clean lines often work well in most spaces.
Consider finishes like stained wood, painted surfaces, or even metal brackets hidden behind the shelf. You could add personality by choosing shelves with unique edges or combining different materials. What style speaks to you and fits your existing decor?
Weight Capacity Considerations
Think about how much weight your floating shelf needs to support. Heavy books or kitchenware require stronger brackets and thicker wood. Lighter items like picture frames or small plants allow for more flexibility in materials.
Check the specifications of the mounting hardware you plan to use. Some brackets hold up to 20 pounds, while others can support 50 or more. Safety is key—make sure your shelf won’t sag or fall under everyday use.
Cutting And Preparing Wood
Cutting and preparing wood is a crucial stage in building your floating shelf. Precise cuts and smooth edges ensure your shelf looks professional and fits perfectly on your wall. Taking your time here will save frustration later and make your DIY project much more satisfying.
Marking And Measuring Cuts
Start by measuring your wood carefully using a tape measure. Double-check your measurements before marking to avoid mistakes that waste material. Use a pencil to draw clear, straight lines where you plan to cut.
Try to mark both sides of the wood to guide your saw accurately. Have you ever cut wood only to realize your line was off? Taking extra care now prevents that frustration. A square tool can help keep your lines perfectly perpendicular.
Safe Cutting Techniques
Safety should always come first when cutting wood. Wear protective goggles and gloves to shield your eyes and hands from debris. Use clamps to hold your wood steady, so it doesn’t move while you cut.
Choose the right saw for your cuts— a circular saw works well for straight lines, while a jigsaw handles curves better. Cut slowly and steadily; rushing increases the chance of mistakes and accidents. How confident do you feel with your saw in hand? Practicing on scrap wood can build your skills.
Sanding And Smoothing Edges
After cutting, your wood edges will likely be rough or splintered. Sand these edges using medium-grit sandpaper first, then finish with fine-grit for a smooth touch. This step not only improves the look but also prevents splinters when you handle the shelf.
Focus on the corners and cut ends, moving the sandpaper in the direction of the wood grain. If you want a professional finish, consider rounding the edges slightly. Can you imagine how much better your shelf will feel with smooth, polished edges?

Credit: www.youtube.com
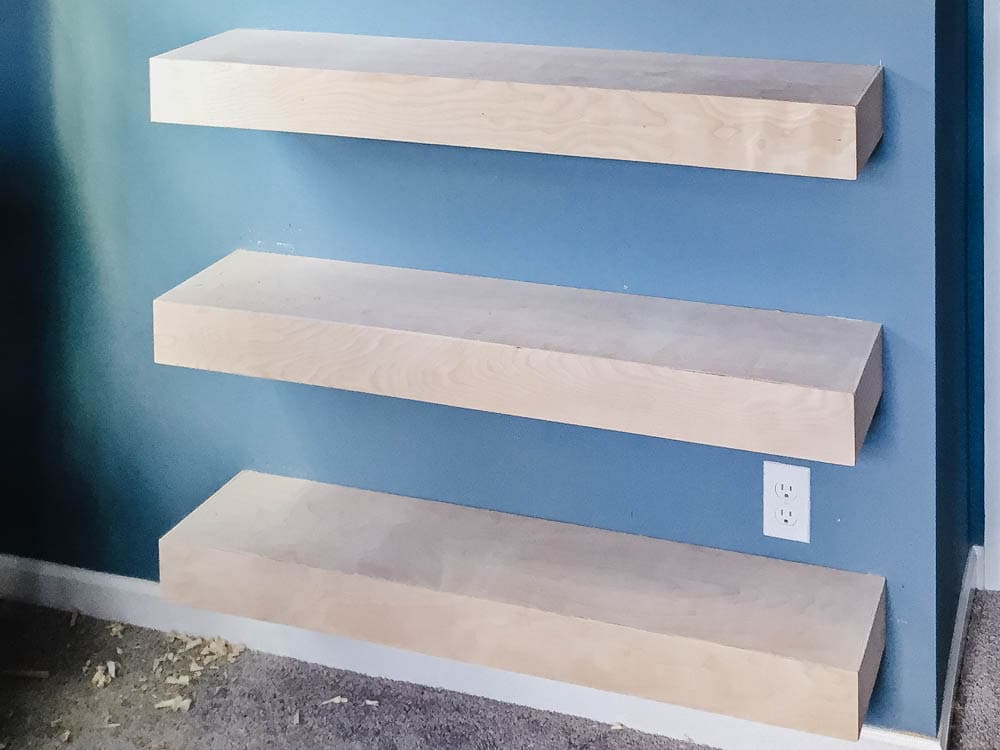
Assembling The Shelf
Gather all parts and tools before starting to assemble the floating shelf. Securely attach the brackets to the wall and slide the shelf onto them. Check for levelness to ensure a straight, sturdy fit.
Assembling the shelf for your DIY floating shelf is a fun project. With the right tools and materials, you can create a stunning piece for your home. This guide will help you through the process, ensuring your shelf is both sturdy and stylish.Creating The Shelf Frame
Begin by cutting your wood to size. Use a saw for precise edges. Sand the wood to smooth out any rough spots. This helps the paint or finish adhere better. Arrange your wood pieces to form a rectangular frame. Secure the edges using wood glue and screws. Ensure the frame is square by measuring diagonals. Allow the glue to dry completely before moving to the next step.Attaching Brackets Invisibly
Select brackets that can hold the shelf’s weight. Drill holes in the wall where the brackets will go. Use a level to ensure they are straight. Attach the brackets to the wall, making sure they are secure. Place the shelf frame onto the brackets. Ensure the frame hides the brackets from view. This creates a floating effect.Securing Shelf Components
Place the shelf board on top of the frame. Use screws to fasten the board to the frame. Make sure the screws are flush with the wood. This prevents any uneven surfaces. Check that everything is level and secure. Apply your chosen finish or paint. Let it dry completely before placing items on your shelf. Enjoy your new floating shelf!Installing The Floating Shelf
Installing your floating shelf is where your project starts to take shape. It’s important to be precise during this phase to ensure your shelf holds up well and looks great. Let’s break down the key steps you need to follow for a secure and neat installation.
Locating Wall Studs
Wall studs are the backbone of any sturdy shelf installation. Use a stud finder to locate these vertical supports behind your drywall. Mark their positions clearly with a pencil—these marks will guide you when drilling.
If you don’t have a stud finder, tap the wall and listen for a solid sound or look for electrical outlets, which often indicate stud locations nearby. Remember, fastening directly into studs provides the best support for your shelf.
Marking And Drilling Holes
Hold your shelf bracket or mounting plate against the wall where you want to install it. Use a level to make sure it’s perfectly horizontal—no one wants a crooked shelf! Mark the drilling points through the bracket’s holes.
Choose a drill bit that matches your wall anchors or screws. Drill slowly and steadily to avoid damaging the wall. If you’re drilling into drywall only, make sure to use appropriate anchors to keep the shelf secure.
Mounting The Shelf Securely
Attach the bracket or mounting plate firmly to the wall using screws driven into the studs or anchors. Double-check the tightness to prevent any wobbling. Then, slide or place your shelf onto the bracket as designed.
Test the shelf by applying gentle pressure to ensure it’s solid. Think about what you’ll put on it—will it hold books, plants, or decorations? If you’re unsure, adding extra support or choosing thicker materials can make a big difference.
Credit: fallfordiy.com
Finishing Touches
Finishing touches bring your floating shelf to life. They protect the wood and enhance its beauty. These final steps make your shelf look polished and last longer.
Painting And Staining Tips
Choose paint or stain that matches your room’s style. Use a small brush for edges and a foam brush for large surfaces. Apply thin, even coats to avoid drips. Let each coat dry fully before adding another. Sand lightly between coats for a smooth finish.
Sealing For Durability
Seal your shelf to protect it from moisture and wear. Use clear polyurethane or varnish for a strong finish. Apply two or three thin coats with a brush. Wait for each coat to dry before adding the next. This step keeps your shelf looking fresh for years.
Decorating Your Shelf
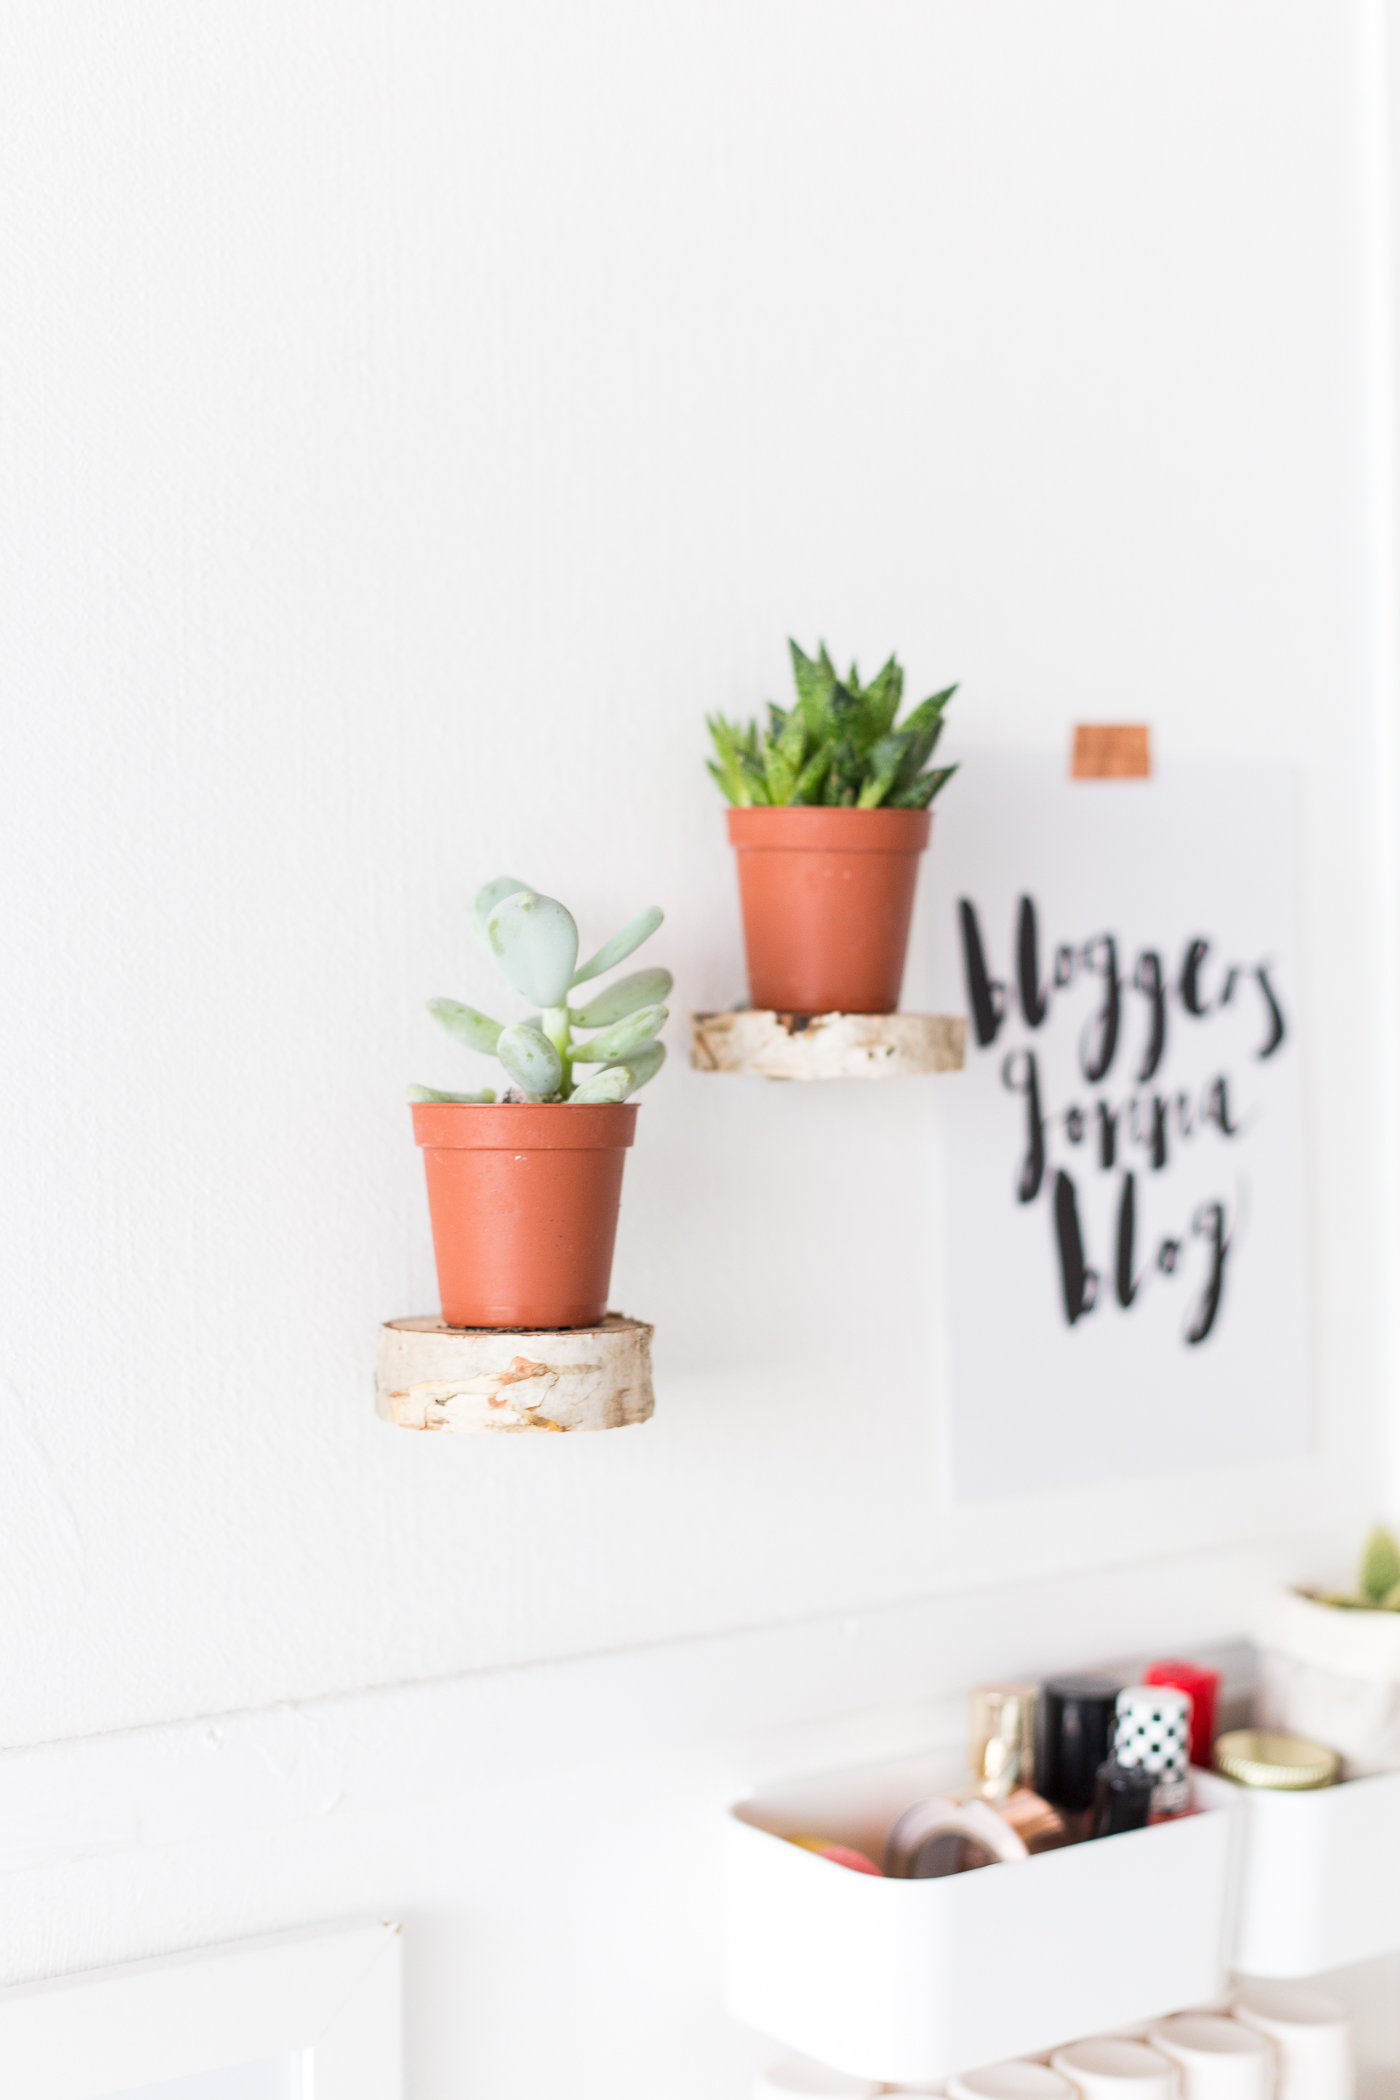
Keep decorations simple to highlight your shelf’s design. Use small plants, books, or framed photos. Avoid heavy items that can damage the shelf. Arrange items with space around them for a clean look. Change decorations seasonally to keep your space fresh.
Troubleshooting Common Issues
Troubleshooting common issues helps keep your floating shelf sturdy and safe. Minor problems can appear during or after installation. Fixing these early saves time and effort. Here are simple ways to handle frequent problems.
Fixing Shelf Sagging
Shelf sagging happens when the board bends under weight. Choose thicker wood or stronger materials to prevent sagging. Add a hidden support bracket underneath for extra strength. Spread weight evenly across the shelf to avoid pressure points. Avoid placing heavy objects all in one spot.
Addressing Loose Mounts
Loose mounts make the shelf unstable and risky. Check if the screws are tight and in the right type of wall anchors. Replace drywall anchors with toggle bolts for better hold in drywall. Use a stud finder to attach mounts directly to wall studs. Tighten all screws regularly to maintain firmness.
Dealing With Uneven Surfaces
Uneven walls or shelves cause gaps and instability. Use a level to check surface evenness before mounting. Sand or plane the shelf edges to fit the wall shape smoothly. Fill small gaps with caulk or wood filler for a clean look. Shim the shelf slightly using thin pieces of wood to balance it.
Credit: www.christeneholderhome.com
Frequently Asked Questions
What Materials Do I Need For A Diy Floating Shelf?
You need wood boards, a drill, screws, wall anchors, a level, and a stud finder. Sandpaper and paint or stain are optional for finishing.
How Do I Attach A Floating Shelf To The Wall Securely?
Use wall studs for support. Drill pilot holes, insert anchors if needed, and screw the shelf bracket firmly into the studs.
Can I Customize The Size Of My Floating Shelf?
Yes, measure your space and cut wood to desired length and width. Customize thickness based on weight capacity needs.
How Do I Finish A Floating Shelf For A Polished Look?
Sand the wood smooth, then apply paint, stain, or varnish. Let it dry completely before installation to ensure durability.
Conclusion
Building a floating shelf yourself saves money and adds style. You only need a few tools and materials to start. Follow each step carefully to ensure safety and strength. Take your time and enjoy the process. Soon, you will have a neat shelf to hold your favorite items.
This simple project brings a fresh look to any room. Try making one today and see how easy it can be!


