
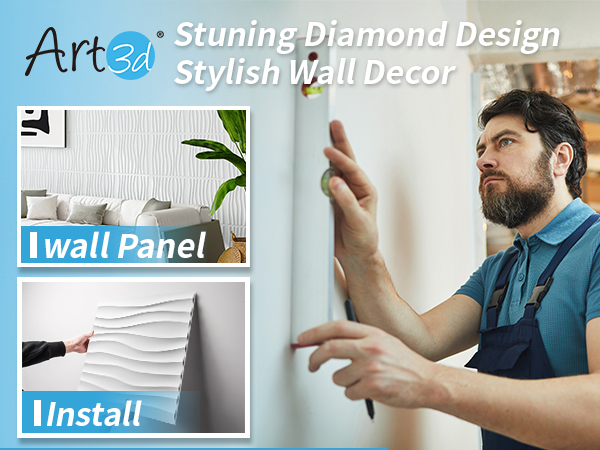
Are you ready to transform your walls into stunning works of art? Installing Art 3D wall panels is a simple way to add depth, style, and personality to any room.
Imagine the impact of textured designs that catch the light and create a unique atmosphere. In this guide, you’ll discover easy steps to install these panels yourself, even if you’ve never done a home project before. By the end, your walls will look like they belong in a magazine, and you’ll feel proud of the change you made.
Let’s dive in and bring your walls to life!
Choosing The Right Art 3d Wall Panels
Choosing the right Art 3D wall panels shapes the look and feel of any room. Panels come in many types and styles. Picking the best fit can change your space completely.
Consider materials, design, and size before buying. These factors help match the panels to your room’s needs and your personal taste.
Material Options
Art 3D wall panels come in various materials. Each has unique features and benefits.
- PVC:Lightweight, water-resistant, and easy to clean. Good for bathrooms and kitchens.
- MDF:Strong and smooth. Great for painting and detailed designs.
- Bamboo:Eco-friendly and natural. Adds warmth and texture.
- Gypsum:Fire-resistant and sturdy. Works well for intricate shapes.
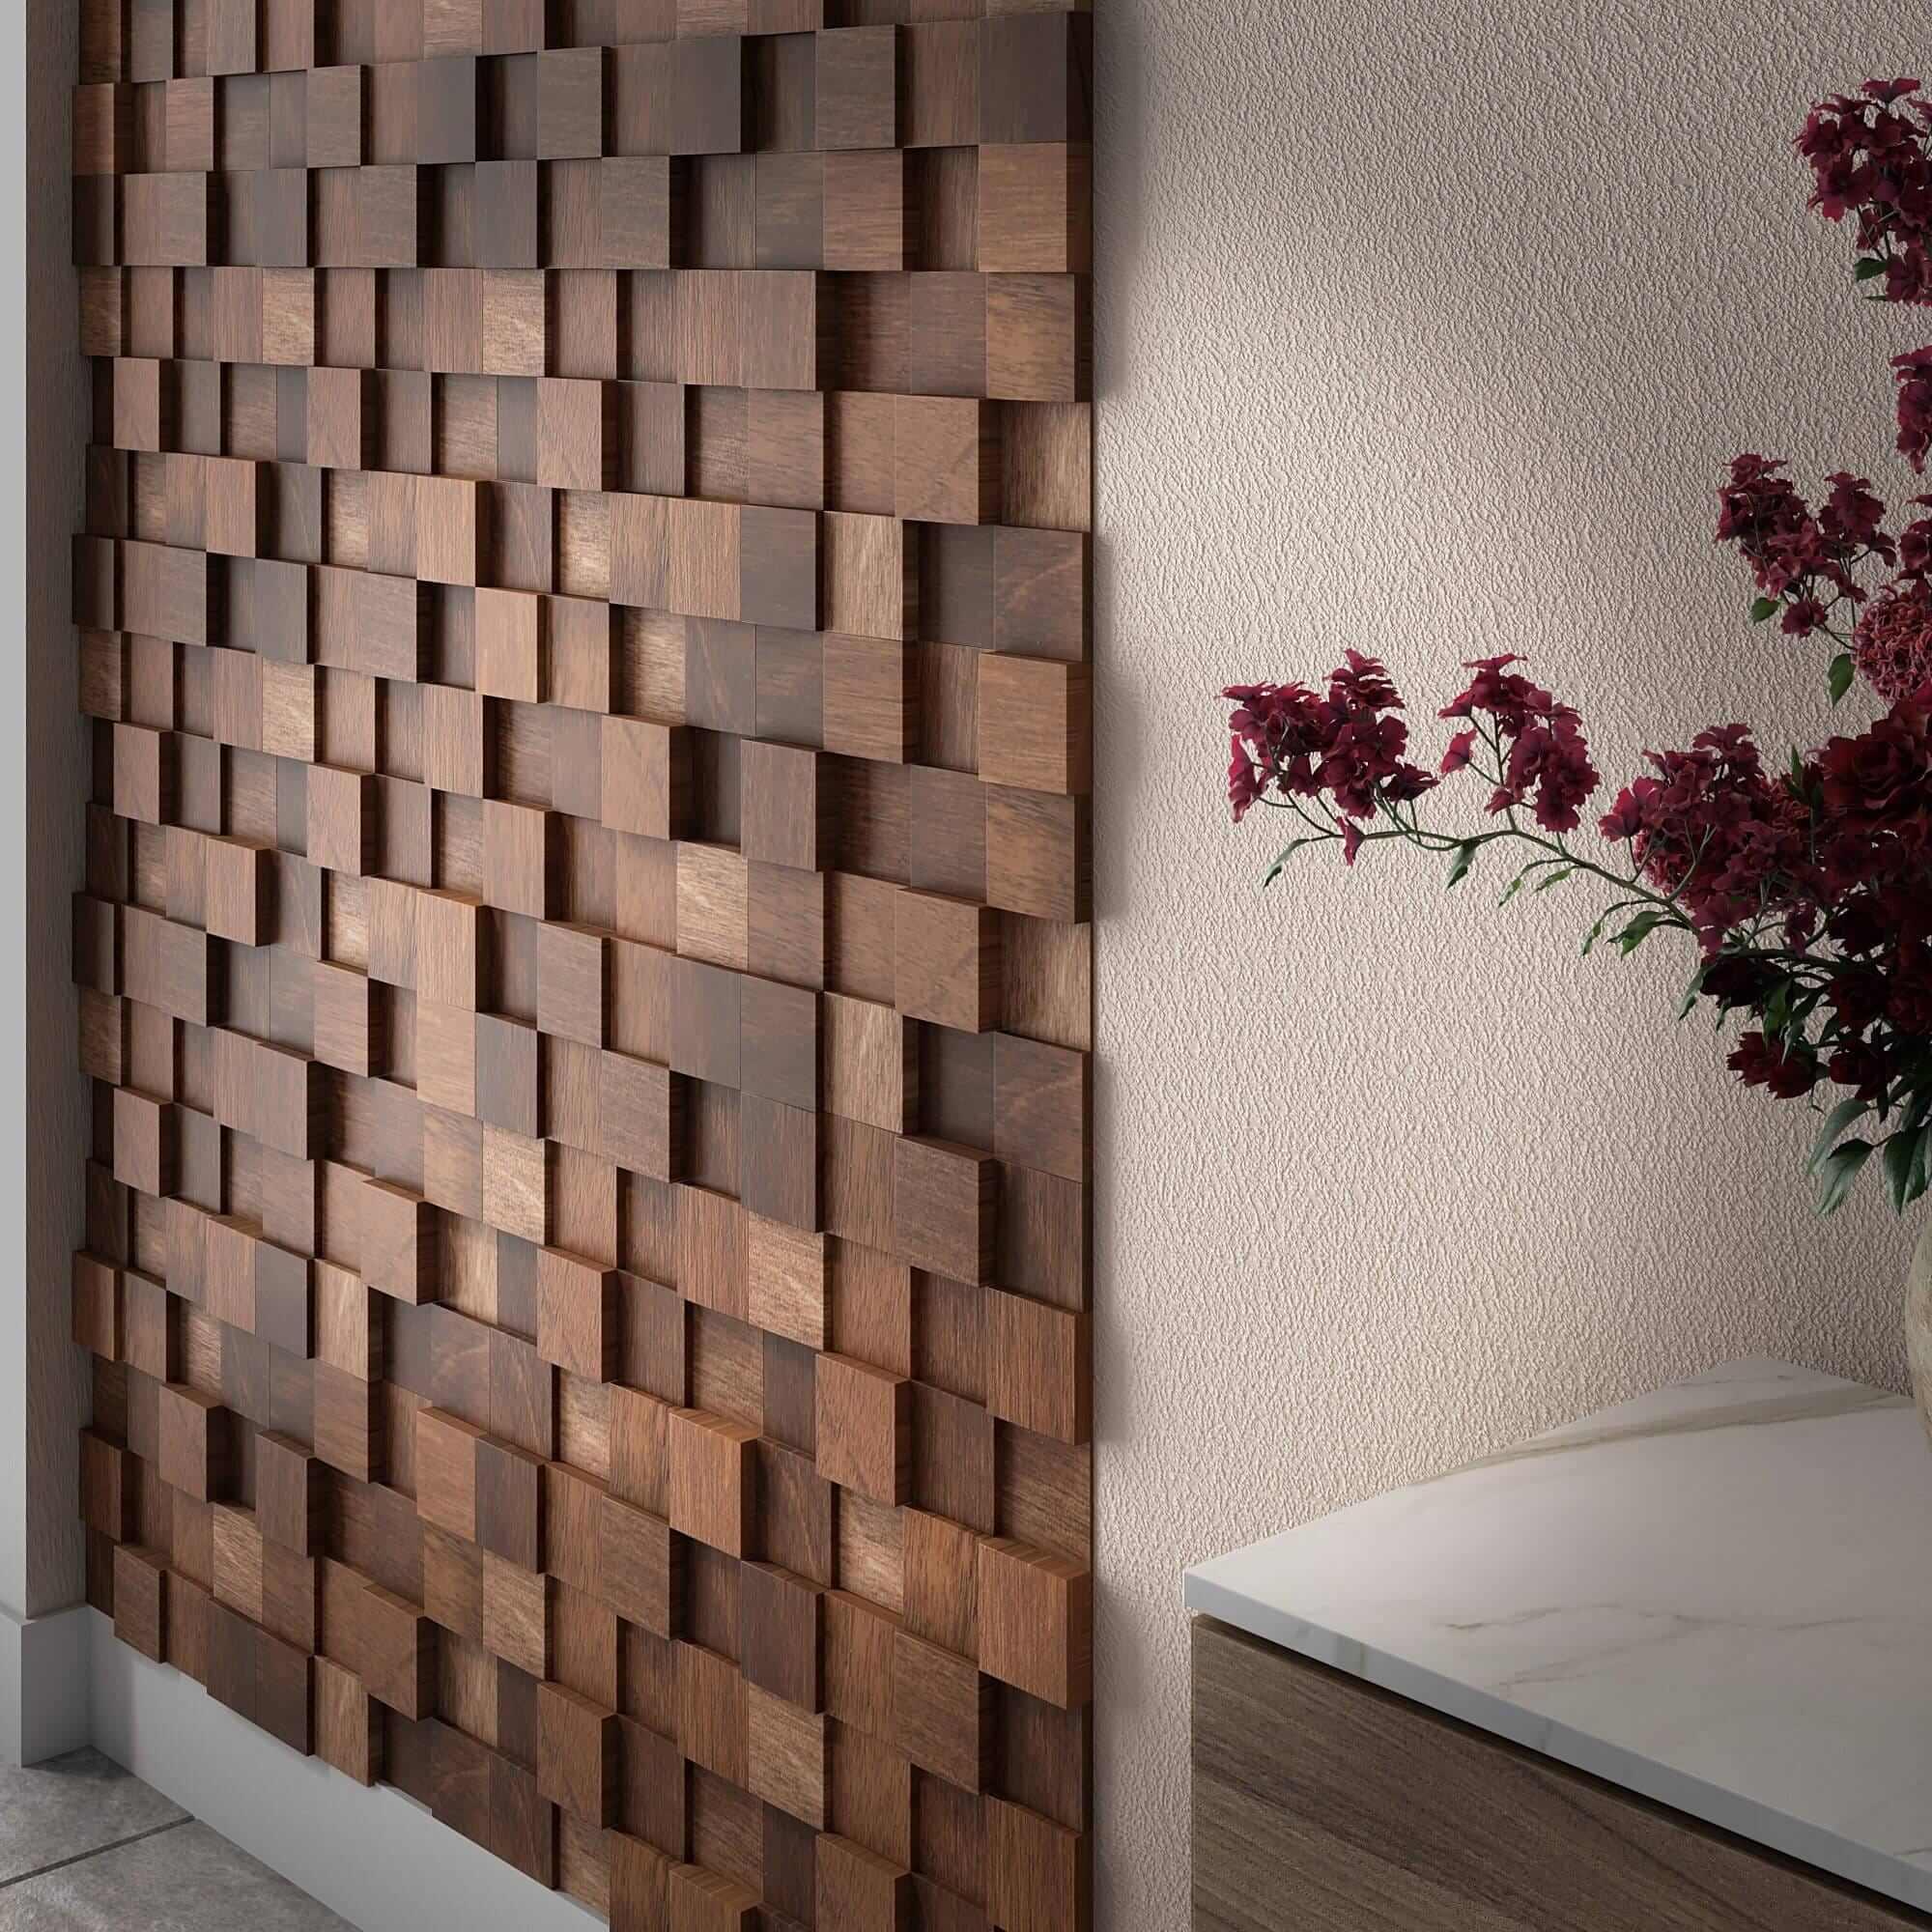
- Wood:Classic look with natural grain. Adds depth and richness.
Design Styles
Choose a design that fits your room’s vibe and purpose.
- Geometric:Clean lines and shapes. Modern and bold.
- Floral:Soft curves and nature-inspired patterns. Calm and elegant.
- Abstract:Unique and artistic. Adds creativity and interest.
- Textured:Raised patterns for a tactile feel. Adds depth and shadow.
- Minimalist:Simple and subtle. Perfect for small or busy spaces.
Measuring Your Wall Space
Measure carefully to avoid mistakes and waste. Use a tape measure for accuracy.
Note the height and width of the wall area. Record these numbers clearly.
Consider obstacles like doors, windows, and switches. Plan panel placement around them.
Calculate how many panels you need based on their size. Buy a few extra for cuts and errors.
Credit: www.craftivaart.com
Gathering Necessary Tools And Materials
Before you start installing your Art 3D wall panels, gathering the right tools and materials is crucial. Having everything ready saves you time and keeps the process smooth. Missing even one key item can slow you down and cause frustration.
Essential Installation Tools
You’ll need some basic tools to get the job done efficiently. A tape measure is essential to ensure precise panel placement and alignment. A level will help you keep the panels straight, which is critical for a professional finish.
Additionally, a utility knife or saw is necessary for cutting panels to fit edges and corners. Don’t forget a pencil for marking measurements on the wall or panels. A drill with screwdriver bits can speed up fastening if your installation requires screws.
Adhesives And Fasteners
The right adhesive makes a big difference in how well your panels stick and stay in place. Many 3D panels work best with construction adhesive, which is strong and designed for wall surfaces. Check the panel manufacturer’s recommendation for the ideal adhesive type.
Sometimes, you might need extra fasteners like nails or screws, especially on drywall or uneven surfaces. Using anchors can give you extra support if the panels are heavy. Have these ready so you can adapt as you install.
Safety Gear
Safety should never be an afterthought. Protect your eyes with safety goggles, especially when cutting panels or drilling. Wearing gloves can prevent splinters or cuts from sharp edges.
Consider a dust mask if you’re sanding or cutting panels to avoid inhaling fine particles. Are you prepared to keep yourself safe while creating your stylish wall? Gathering these safety items beforehand ensures you focus on the installation without unnecessary risks.
Preparing The Wall Surface
Clean and dry walls provide the best base for 3D panels. Remove dust, dirt, and loose paint to ensure strong adhesion. Smooth any rough areas for an even surface before installation.
Preparing the wall surface is a crucial step when installing Art 3D wall panels. It ensures a smooth and durable finish that highlights the unique textures and designs of your panels. By dedicating time to this preparatory phase, you set the foundation for a flawless installation.Cleaning And Drying
Start by thoroughly cleaning the wall surface. Remove any dust, dirt, or grease using a gentle detergent mixed with warm water. A clean surface allows the adhesive to bond effectively. After cleaning, ensure the wall is completely dry. Moisture can weaken the adhesive’s grip, compromising the panel’s stability. A simple tip is to use a fan or open windows to speed up the drying process.Repairing Imperfections
Inspect your wall for any cracks, holes, or uneven areas. These imperfections can create unsightly bumps or gaps once the panels are installed. Use a quality wall filler or spackle to fill in any defects. Once applied, allow the filler to dry fully, then sand the area until smooth. A smooth surface will help the panels adhere better and look seamless.Priming The Wall
Priming is often overlooked, but it plays a vital role in ensuring the longevity of your installation. A good primer creates an ideal surface for the adhesive, preventing it from soaking into the wall material. Apply a coat of primer evenly across the wall using a roller or brush. Wait for it to dry thoroughly before proceeding with panel installation. This step provides a clean, adhesive-friendly surface, ensuring your panels remain securely in place. By investing time in preparing your wall surface, you maximize the lifespan and aesthetic appeal of your Art 3D wall panels. Isn’t it worth that extra bit of effort for a stunning result?Planning Your Panel Layout
Planning your panel layout is crucial before you start installing Art 3D wall panels. It helps you visualize the final look and avoid costly mistakes. A well-thought-out plan ensures your panels fit perfectly and create the desired effect on your wall.
Creating A Mock Layout
Start by laying out the panels on the floor or a large table to see how they will look together. This hands-on approach lets you experiment with different patterns and orientations. You might discover new ways to arrange the panels that enhance the texture and depth of your wall.
Try mixing panel styles if you have multiple designs. Notice how light and shadow change with each arrangement. This step saves you time and frustration once you move to the wall.
Marking Guidelines
Use a pencil and a level to mark horizontal and vertical guidelines on the wall. These lines act as your reference points to keep the panels straight and evenly spaced. Precise markings prevent misalignment that can ruin the overall look.
If your wall isn’t perfectly flat, mark the high and low points to adjust the panel positioning. This attention to detail makes installation smoother and the final appearance more professional.
Aligning Panels
Begin aligning panels from the center of your wall or a focal point in the room. This approach helps maintain symmetry and balance. As you attach each panel, check alignment frequently using your guidelines and a level.
Don’t rush this step. Taking your time ensures each panel fits snugly without gaps or overlaps. If you hit a snag, pause and realign rather than forcing panels into place.
Installing The 3d Wall Panels
Installing 3D wall panels can transform your space with texture and depth. The process is straightforward, but attention to detail ensures a flawless finish. Let’s dive into how to properly install these panels for a professional look.
Applying Adhesive
Start by choosing a strong adhesive suitable for your wall surface and the panel material. Spread the adhesive evenly on the back of each panel using a notched trowel or a caulking gun. Avoid applying too much glue to prevent messy spills when mounting.
Work in manageable sections to keep the adhesive from drying out before you place the panels. If your wall is painted, lightly sanding the surface can improve adhesion. Have you checked if your adhesive sets quickly or gives you some working time? This can impact how fast you need to move.
Mounting Panels
Press each panel firmly onto the wall right after applying adhesive. Align the panels carefully, especially if they have a pattern or texture that needs to match. Use a level to keep everything straight, avoiding uneven installation.
It helps to start from a corner or a straight edge and work your way across the wall. You might want to tap panels gently with a rubber mallet to ensure good contact. Don’t rush—each panel needs to be perfectly positioned before the adhesive sets.
Securing With Fasteners
For extra security, especially on heavier panels, add fasteners like nails or screws. Place them at the corners and along the edges where the panels meet the wall studs. This keeps the panels stable while the adhesive cures.
Choose fasteners that won’t damage the panel surface—finish nails or screws with caps work well. If you’re worried about visible fasteners, consider decorative caps or paint them to blend in. How will you balance speed and precision to avoid redoing any panels?

Credit: loneoakdesignco.com
Finishing Touches
Finishing touches make your 3D wall panels look polished and complete. These final steps ensure a smooth, professional appearance. Take time to perfect these details for the best results. Small efforts here greatly improve the overall look and durability of your installation.
Filling Gaps And Seams
Check all panel edges for visible gaps or seams. Use a flexible caulk or filler that matches the panel color. Apply it carefully along joints and gaps with a putty knife or your finger. Smooth the filler for a seamless finish. Let it dry completely before moving on. This step hides imperfections and creates a continuous surface.
Painting Or Sealing Panels
Decide if you want to paint or seal your panels for protection. Choose paint suitable for the panel material and room conditions. Use a brush or roller for an even coat. Allow the first layer to dry, then add a second if needed. For sealing, apply a clear coat to enhance durability and make cleaning easier. Proper finishing prevents damage and keeps your walls looking fresh.
Cleaning Up
Remove all dust, debris, and leftover materials from the workspace. Use a soft cloth or vacuum to clean panel surfaces gently. Clean tools and brushes immediately after use to keep them in good condition. Proper cleanup protects your panels and prepares the area for use. A tidy space completes the installation process nicely.
Maintaining Your 3d Wall Panels
Maintaining your 3D wall panels is essential to keep them looking fresh and vibrant over time. These panels add texture and style to your space, but they also require some care to preserve their beauty. Simple maintenance routines can prevent costly repairs and extend the life of your investment.
Regular Cleaning Tips
Dust and dirt can settle into the grooves of your 3D wall panels, dulling their appearance. Use a soft cloth or a microfiber duster to gently wipe the surface at least once a week. Avoid abrasive cleaners that can damage the finish; instead, a mild soap solution with water works well for tougher spots.
If your panels are in a high-traffic area, consider vacuuming them with a brush attachment to remove dust from deeper crevices. Have you noticed how quickly dust builds up in textured surfaces? Keeping a routine helps you avoid stubborn grime buildup.
Repairing Damages
Small dents or scratches on your 3D wall panels are common, especially in busy spaces. For minor scratches, use a matching paint or touch-up marker designed for your panel material. If a panel cracks or breaks, replace the damaged section to maintain a seamless look.
Keep extra panels or samples from your original installation for quick fixes. Have you ever delayed a repair only to find the damage worsened? Addressing issues promptly saves time and keeps your walls looking their best.
Long-term Care
To protect your 3D wall panels over the years, control the room’s humidity and temperature. Excess moisture can warp or weaken some panel materials, so use a dehumidifier if necessary. Additionally, avoid hanging heavy objects directly on the panels unless they are designed to support weight.
Consider applying a protective sealant recommended by the panel manufacturer to enhance durability. How often do you think about the environment your panels live in? Small adjustments can make a big difference in how long they last.

Credit: www.craftivaart.com
Frequently Asked Questions
What Tools Are Needed To Install Art 3d Wall Panels?
You need a measuring tape, level, adhesive, utility knife, and a saw. These tools ensure precise cuts and secure installation. A stud finder and safety gear are also helpful for a smooth and safe process.
How Do I Prepare The Wall For 3d Panel Installation?
Clean the wall surface to remove dust and grease. Repair any holes or cracks. Ensure the wall is dry and smooth. Proper preparation helps the adhesive bond firmly for a long-lasting finish.
Can I Install 3d Wall Panels Myself?
Yes, with basic DIY skills, you can install them yourself. Follow instructions carefully and take your time. For large or complex areas, consider professional help to ensure perfect results.
How Long Does It Take To Install 3d Wall Panels?
Installation time depends on wall size and panel complexity. Small areas may take a few hours; larger walls can take a day or more. Proper planning speeds up the process.
Conclusion
Installing Art 3D wall panels can change your room’s look fast. Follow each step carefully for a smooth process. Use the right tools and measure twice before cutting. Take your time to align panels properly on the wall. Clean the surface well to help panels stick better.
Small mistakes can be fixed easily if noticed early. Enjoy the new texture and style these panels bring. Your space feels fresh and modern with simple effort. Try different patterns to find what fits your taste. This project suits both beginners and those with some experience.


