
Have you ever spent time picking out the perfect wall sticker, only to find it won’t stick to your wall? It’s frustrating, right?
You want to decorate your space quickly and easily, but those stickers just keep falling off. You might be wondering, “What am I doing wrong? ” The truth is, there are simple reasons behind this common problem—things you can fix right now.
Keep reading, and you’ll discover why your wall stickers won’t stick and how to make them stay put for good.
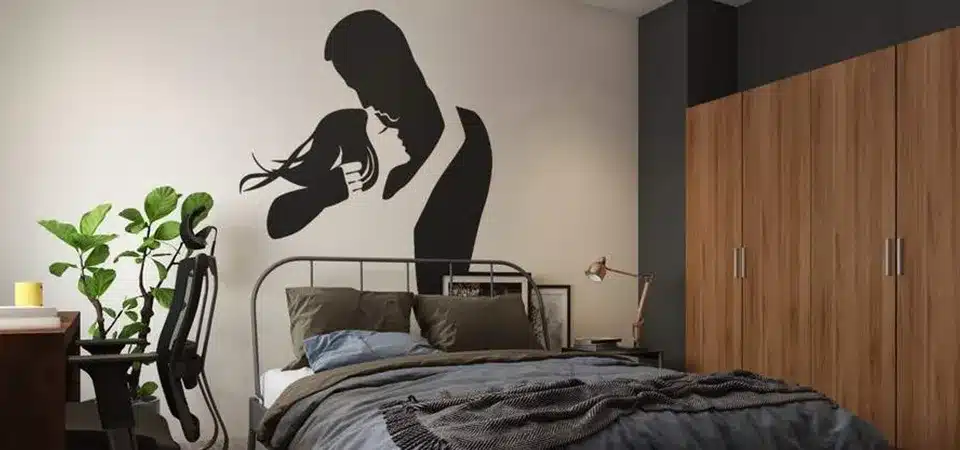
Credit: coolkidsstickerco.com
Common Causes Of Poor Adhesion
Wall stickers can brighten up any space quickly, but nothing is more frustrating than peeling edges or stickers that just won’t stick at all. Understanding the common causes of poor adhesion helps you troubleshoot the issue effectively. Let’s look at the key factors that might be keeping your wall stickers from sticking properly.
Surface Texture Issues
The texture of your wall plays a huge role in sticker adhesion. Smooth surfaces like painted drywall or glass offer the best grip for stickers. Rough or porous surfaces, such as textured wallpaper, brick, or unpainted plaster, make it harder for the adhesive to form a strong bond.
If you have a bumpy or uneven wall, the sticker might touch only the high points, leaving gaps that cause peeling. Have you checked if your wall’s texture matches the sticker’s requirements before applying?
Wall Cleanliness Problems
Any dust, dirt, grease, or residue on the wall can act like a barrier between the sticker and the surface. Even a thin layer of dust can prevent stickers from sticking well. Cleaning your wall with a mild soap solution and letting it dry completely before application can make a big difference.
Think about the last time you applied a sticker without cleaning the wall first. Did it stay put or start to peel off quickly? A clean surface is simple but often overlooked.
Humidity And Temperature Effects
Moisture and temperature changes are silent enemies of wall stickers. High humidity can weaken adhesive bonds, especially in bathrooms or kitchens. Extreme cold or heat may cause the sticker glue to harden or soften too much, reducing its stickiness.
Applying stickers on a dry day and ensuring the room temperature is moderate can improve adhesion. Have you noticed stickers peeling faster in certain rooms or seasons?
Sticker Quality Concerns
Not all stickers are created equal. Low-quality stickers often use inferior adhesives that don’t last long. Even a perfect wall won’t help if the sticker itself isn’t designed for durable sticking.
Investing in good-quality wall stickers designed for your specific surface can save you time and frustration. Have you compared different brands or read reviews before purchasing stickers?
Preparing Your Wall For Stickers
Getting your wall ready before applying stickers is key to making sure they stick well and last long. A clean, smooth, and suitable surface makes a huge difference. Neglecting this step often leads to stickers peeling off, no matter how good they look initially.
Cleaning Techniques
Dust, grease, and dirt are the biggest enemies of wall stickers. Even a thin layer of residue can prevent stickers from adhering properly.
Use a damp cloth with mild soap to wipe the wall gently. Avoid harsh chemicals that might damage the paint or leave a sticky film behind.
After cleaning, let the wall dry completely before applying your stickers. Have you noticed stickers failing in humid rooms? Moisture can also stop them from sticking well.
Smoothing Rough Surfaces
Rough or textured walls make it hard for stickers to create full contact. That’s why you might see bubbles or edges lifting soon after application.
If your wall is uneven, lightly sand it to smooth the surface. Use fine-grit sandpaper and wipe away dust with a clean cloth afterward.
Keep in mind that some textures might be too rough for stickers to hold. You can test a small piece first to see if it sticks well enough for your needs.
Choosing The Right Wall Type
Not all walls are created equal for stickers. Painted drywall or smooth plaster usually works best.
Walls with glossy finishes, wallpaper, or brick surfaces can cause issues. Stickers might slide off or peel quickly on these surfaces.
Ask yourself: Is your wall matte or glossy? Is it porous or sealed? Knowing this helps you pick the right sticker type or decide if extra prep is needed.
Improving Sticker Application
Walls that are dirty, oily, or textured can stop stickers from sticking well. Cleaning the surface and using smooth, dry walls helps stickers stay in place longer. Temperature and humidity also affect how well stickers hold on the wall.
Improving the application of wall stickers can transform your space with ease. Many face issues with stickers not adhering properly. This often results from common mistakes during application. Let’s explore effective techniques to ensure your wall stickers stick perfectly.Proper Placement Tips
Choose a clean, flat surface for your sticker. Dust and grime hinder adhesion. Wipe the wall with a damp cloth and let it dry fully. Measure and mark the spot where the sticker will go. This prevents misalignment. Avoid textured or rough walls, as they reduce sticking power.Pressure And Time For Better Stick
Apply firm, even pressure across the sticker. Start from the center and move outward. This removes air bubbles and ensures full contact with the wall. Use a squeegee or a credit card for best results. Let the sticker sit undisturbed for a day. This allows the adhesive to bond well with the wall.Using Heat To Enhance Adhesion
Heat can improve sticker adhesion. Use a hairdryer on a low setting. Gently warm the sticker area before application. This makes the adhesive more pliable. Post-application, apply heat again. Press down firmly for a stronger bond. Be cautious not to overheat or damage the sticker.
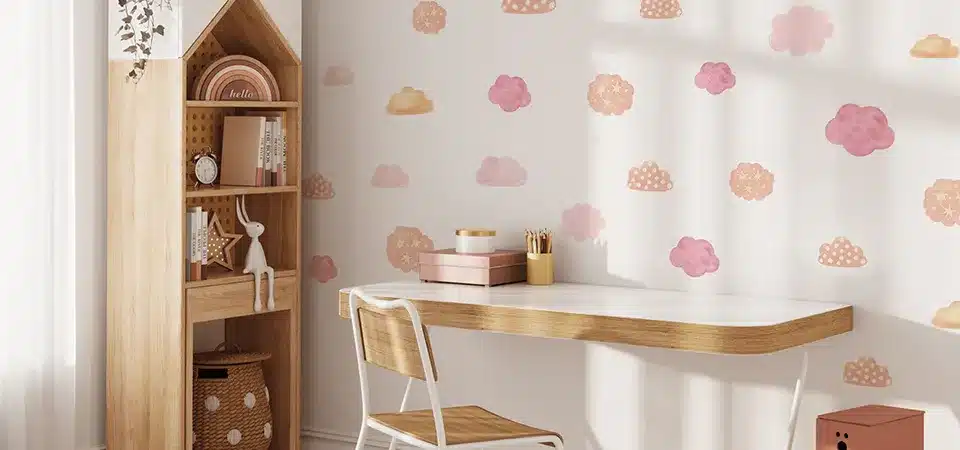
Credit: www.amazon.com
Alternative Fixes For Stubborn Stickers
Stubborn wall stickers can be frustrating. They often refuse to stick no matter what you try. Several alternative fixes can help these stickers hold better on your walls. These solutions improve adhesion without damaging your wall or the sticker.
Applying Adhesive Promoters
Adhesive promoters boost the stickiness of your wall surface. They create a better bond between the sticker and the wall. Use a clean cloth to apply the promoter evenly. Let it dry before placing your sticker. This step works well on smooth, painted walls.
Using Double-sided Tape
Double-sided tape adds extra grip to weak stickers. Cut small pieces and place them behind the sticker. Press firmly to ensure good contact. This method works for heavier or textured stickers. It also helps on walls with uneven paint or wallpaper.
Replacing Low-quality Stickers
Some stickers use cheap glue that won’t stick well. Choosing higher-quality stickers can solve this problem. Look for products with strong adhesive backing. Vinyl stickers usually offer better durability and stickiness. Investing in quality saves time and frustration.
Maintaining Wall Stickers Over Time
Maintaining wall stickers over time is key to keeping your space looking fresh and stylish. Even the best-quality stickers can start to peel or lose their stickiness if not cared for properly. Knowing how to protect and clean them can save you from having to replace them frequently.
Avoiding Moisture Damage
Moisture is one of the biggest enemies of wall stickers. If your stickers are placed in humid areas like bathrooms or kitchens, they may start to peel off faster.
Keep an eye on condensation and avoid placing stickers directly where water splashes. Using a dehumidifier or ensuring proper ventilation can help maintain dry walls.
Have you noticed your stickers lifting after a shower or cooking session? That’s a clear sign moisture is affecting their adhesion.
Regular Cleaning Without Peeling
Dust and dirt buildup can reduce how well your wall stickers stick. However, cleaning them requires a gentle touch to prevent peeling.
Use a soft, dry cloth or a slightly damp microfiber cloth to wipe the surface gently. Avoid harsh chemicals or scrubbing motions that can lift edges.
Try cleaning your stickers regularly but lightly—just enough to remove dust without disturbing the adhesive.
Touching Up Edges
Edges are often the first to peel because they catch on things or experience more air exposure. Checking your stickers regularly for lifting edges can help you act before damage spreads.
If you find a corner starting to peel, press it back firmly with your fingers or a soft tool. For stubborn edges, a tiny bit of clear-drying craft glue can work wonders.
Have you ever ignored a small peeling edge only to find the whole sticker ruined later? Early touch-ups can extend their life significantly.
Credit: stickerprintingchina.com
Frequently Asked Questions
Why Won’t My Wall Stickers Stick Properly?
Wall stickers may not stick due to dirty or textured walls. Clean the surface thoroughly and ensure it is smooth. Avoid applying on rough or painted walls that repel adhesive.
Can Humidity Affect Wall Sticker Adhesion?
Yes, high humidity can weaken adhesive strength. Stickers may peel off in moist environments like bathrooms. Use stickers designed for humid areas or apply in dry conditions.
How To Prepare A Wall For Sticker Application?
Clean the wall with mild soap and water. Dry it completely before application. Avoid using oily or waxy cleaners as they reduce adhesive grip.
Do Wall Stickers Work On Painted Walls?
Wall stickers generally work on smooth, non-glossy painted walls. Glossy or freshly painted walls may prevent stickers from sticking well. Wait at least two weeks after painting before applying stickers.
Conclusion
Wall stickers may not stick well because of dirty or rough walls. Paint type and humidity also affect their hold. Clean and dry the surface before applying stickers. Smooth, flat walls work best for sticking. Press firmly and wait before touching the stickers.
Small changes can make a big difference in sticking. Try these tips to get your wall stickers to stay. Enjoy decorating without frustration or peeling edges.


