
Are you ready to transform your space quickly and easily? Applying Main Street Wall Creations stickers is a simple way to add personality and style to any room.
But you might wonder, how do you get a smooth, flawless look without bubbles or wrinkles? In this guide, you’ll discover step-by-step tips that make the process stress-free and fun. By the end, you’ll feel confident turning your walls into stunning works of art that reflect your unique taste.
Keep reading to unlock the secrets to perfect wall sticker application every time!

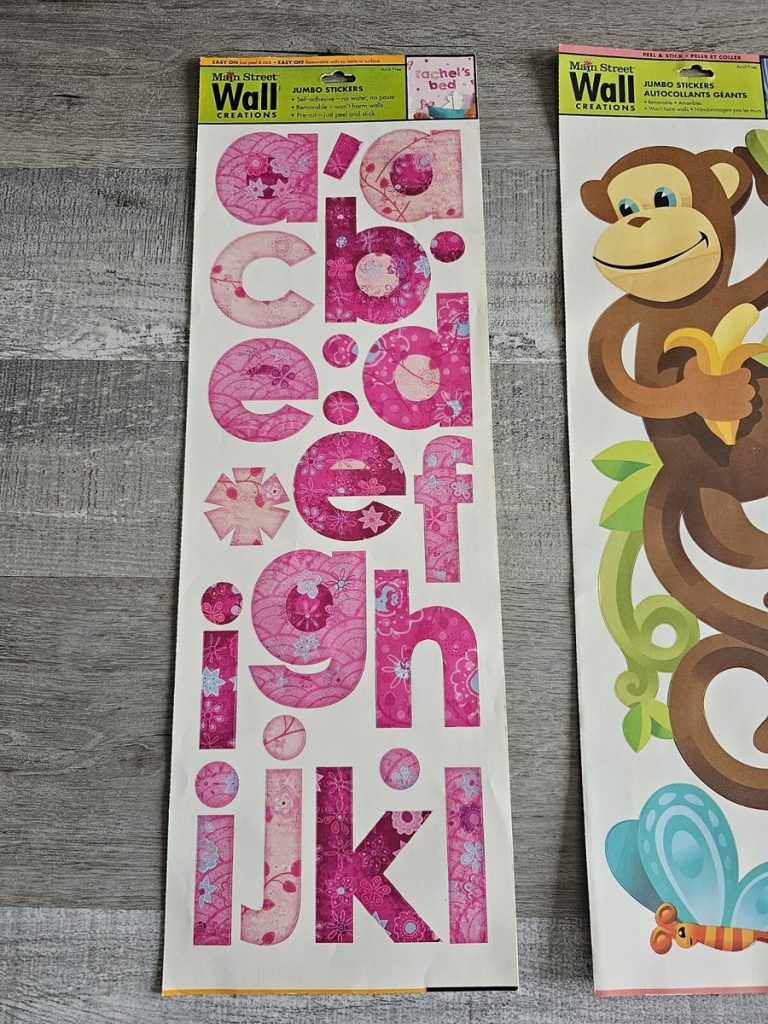
Credit: www.ebay.com
Preparing The Surface
Preparing the surface is a crucial step before applying your Main Street Wall Creations stickers. A well-prepared wall ensures the sticker adheres properly and lasts longer without peeling or bubbling. Skipping this step can lead to frustration and wasted time, so let’s focus on getting your wall ready for a flawless finish.
Cleaning The Wall
Start by removing any dust, dirt, or grease from the wall. Use a mild soap mixed with water and a soft cloth or sponge to wipe down the surface. Avoid harsh chemicals that might damage the paint or leave residues that interfere with adhesion.
Pay special attention to corners and edges where grime tends to accumulate. If you notice any sticky spots or stains, gently scrub those areas until clean. Have you ever tried sticking a decal on a dusty wall? It rarely sticks well and often peels quickly.
Drying And Smoothing
Once the wall is clean, it needs to be completely dry before you apply your sticker. Use a dry cloth to wipe away any moisture, or allow the wall to air dry for at least 30 minutes. Applying stickers on damp surfaces can trap moisture underneath, causing bubbles.
Check the wall for any uneven spots like bumps or peeling paint. Smooth surfaces work best for wall stickers, so gently sand or scrape any rough patches. Imagine how a sticker would look over a cracked or bumpy wall—would it lay flat or catch on those imperfections?
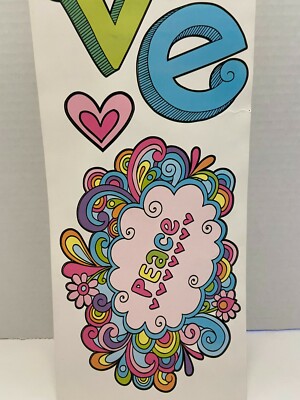
Credit: www.ebay.com
Gathering Materials
Gathering the right materials is essential for a smooth sticker application process. Having everything ready saves time and prevents mistakes. Prepare your workspace with clean surfaces and good lighting. This section covers the key items needed to apply Main Street Wall Creations stickers properly.
Sticker Sheets
Start with your Main Street Wall Creations sticker sheets. Check the designs and sizes to plan your layout. Keep the sheets flat to avoid curling edges. Handle them gently to prevent any tears or creases. Store unused sheets in a dry, cool place for future use.
Application Tools
Gather tools that help place the stickers precisely. A squeegee or plastic card smooths out bubbles and wrinkles. Use a pair of clean scissors or a craft knife for trimming edges. Have a soft cloth or microfiber towel handy to wipe the surface before applying.
Measuring Supplies
Accurate measuring ensures your stickers align perfectly. Use a tape measure or ruler to mark placement points. Painter’s tape can help hold the sticker in place while you adjust its position. A level tool is useful for keeping designs straight on the wall.
Planning The Layout
Start by measuring the wall space and visualizing sticker placement. Arrange stickers on the floor first to find the best look before applying. This helps avoid mistakes and creates a balanced design.
Planning the layout is the first step to applying Main Street Wall Creations stickers. A well-thought-out plan ensures your stickers enhance your room. It prevents any misplacements or awkward spaces.Choosing Placement
Decide where you want the stickers. Consider the room’s theme and color scheme. Do you want them on a wall, door, or furniture? Ensure the surface is clean and smooth. Avoid placing stickers in high humidity areas. This could affect their adhesion. Think about eye level placement for maximum impact.Marking Reference Points
Once you’ve chosen the placement, mark reference points. Use a pencil or painter’s tape for guidance. This helps maintain alignment and spacing. Start by marking the center of your intended design area. Then, outline the top, bottom, and sides. Check these marks from different angles. Adjust if necessary. This step is crucial for a balanced look.Peeling The Sticker
Peeling the Main Street Wall Creations sticker carefully is key. It helps keep the sticker whole and ready to apply smoothly. Taking time during this step avoids common issues like tears or wrinkles. A gentle touch makes the process easy and stress-free.
Starting From The Corner
Find a corner of the sticker to begin peeling. Gently lift it with your fingernail or a thin tool. Pull slowly and steadily, keeping the sticker flat. This method helps the sticker come off cleanly from the backing paper. Avoid pulling too fast to keep the sticker intact.
Avoiding Tears And Wrinkles
Peel the sticker at a low angle to prevent damage. Keep the sticker close to the surface while peeling. Smooth the sticker with your fingers as you peel it off. This stops wrinkles from forming. If you see a wrinkle, pause and gently press it out. Patience here saves the sticker from tears.
Applying The Sticker
Applying Main Street Wall Creations stickers is a simple process. It requires careful attention to detail. The right application ensures a smooth, beautiful finish. Take your time to avoid mistakes. Follow these easy steps to achieve the best result.
Aligning Carefully
Start by cleaning the wall surface. Make sure it is dry and smooth. Peel the backing paper from the sticker slowly. Hold the sticker by the edges to avoid fingerprints. Position the sticker on the wall without pressing it down. Use a level or ruler to check the alignment. Adjust the sticker until it is straight. Take a step back to see the whole design. Once aligned, press down lightly to hold it in place.
Smoothing Out Air Bubbles
Use a soft cloth or a squeegee tool. Begin from the center of the sticker. Push gently towards the edges. This action removes trapped air bubbles. Work slowly and evenly across the sticker. For stubborn bubbles, lift the sticker gently and reapply. Avoid sharp tools that might damage the sticker. Smooth application helps the sticker last longer. It also improves the overall look on your wall.
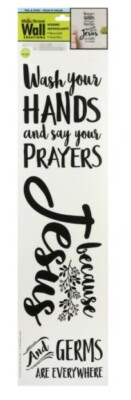
Credit: www.ebay.com
Finishing Touches
Finishing touches make your Main Street Wall Creations stickers look perfect. They ensure the design sticks well and lasts long. Taking a few extra moments to finish the job adds a professional feel. These final steps help prevent peeling and keep your wall art neat.
Pressing Edges Firmly
Press the edges of the sticker firmly against the wall. Use your fingers or a soft cloth to smooth out air bubbles. This helps the sticker stick evenly and securely. Focus on corners and edges where peeling can start. Apply steady pressure for a few seconds on each part.
Removing Transfer Tape
Slowly peel off the transfer tape from the sticker surface. Pull it back at a sharp angle to avoid lifting the sticker. Go slowly to keep the design intact on the wall. If any part lifts, press it back down and try again. Removing the tape carefully leaves the sticker perfectly placed.
Troubleshooting Tips
Applying Main Street Wall Creations stickers can be simple, but sometimes small problems occur. Wrinkles or misplaced sections can affect the look. Troubleshooting helps fix these issues quickly. Use these tips to improve the sticker application and enjoy a smooth, clean finish.
Fixing Wrinkles
Wrinkles form when the sticker does not stick evenly. Gently lift the sticker from the surface without tearing it. Use a soft cloth or a plastic card to smooth the sticker. Push the wrinkles outward toward the edges. Work slowly to avoid creating new wrinkles. Avoid using sharp tools that can damage the sticker. If wrinkles remain, try warming the sticker slightly with a hairdryer. Heat makes the material more flexible and easier to smooth.
Repositioning Small Sections
Sometimes small parts of the sticker may not align properly. Carefully peel back the affected section from one corner. Pull slowly to avoid stretching or tearing. Reposition the section carefully along the correct line or edge. Press down firmly to ensure good adhesion. Use a soft cloth to press out any air bubbles. Avoid lifting the entire sticker to prevent damage. Small adjustments can make a big difference in the final look.
Caring For Your Wall Stickers
Caring for your Main Street Wall Creations stickers is key to keeping them vibrant and intact for years. Proper maintenance goes beyond just placing them on your walls—it involves gentle cleaning and thoughtful handling to prevent damage. By giving your stickers the right care, you can enjoy their charm without worrying about peeling or fading over time.
Cleaning Without Damage
Cleaning your wall stickers gently is essential to avoid lifting or tearing. Use a soft, dry cloth or a slightly damp microfiber cloth to wipe away dust and dirt. Avoid harsh chemicals or abrasive materials that can harm the sticker’s surface.
If you notice stubborn spots, try a mild soap solution applied sparingly on a cloth. Never apply liquid directly to the sticker. This careful approach keeps your stickers looking fresh without risking damage.
Avoiding Peeling Over Time
Peeling happens when the adhesive weakens, often due to moisture or rough handling. Keep your stickers away from high humidity areas like bathrooms or kitchens to preserve their stickiness. Also, avoid repositioning them too many times, as this can reduce their grip on the wall.
Consider the wall surface before application—smooth, clean surfaces work best. If you spot any edges lifting, gently press them back down rather than pulling, which can cause more peeling. What small changes could you make in your cleaning routine to extend the life of your wall stickers?
Frequently Asked Questions
How Do I Prepare The Wall Before Applying Stickers?
Clean the wall thoroughly to remove dust and grease. Use a damp cloth and mild detergent. Ensure the wall is dry before application for best adhesion.
Can I Reposition Main Street Wall Creations Stickers?
Yes, you can reposition the stickers shortly after application. Gently peel and realign them within a few minutes. Avoid stretching or tearing the sticker during repositioning.
What Surfaces Are Suitable For These Wall Stickers?
Main Street Wall Creations stickers work well on smooth, clean, and dry surfaces. Ideal surfaces include painted walls, glass, and wood. Avoid rough or textured walls for better results.
How Do I Remove The Stickers Without Damaging Walls?
Slowly peel the sticker from the corner, pulling gently. Use a hairdryer to warm the adhesive for easier removal. Clean any residue with mild soapy water afterward.
Conclusion
Applying Main Street Wall Creations stickers is simple and fun. Clean your wall well before starting. Peel the sticker gently and place it slowly. Use a flat tool to smooth out air bubbles. Take your time and be patient. This helps the sticker stick better and last longer.
Enjoy your new wall art that brightens any space. Try different designs to change your room’s look easily. Stickers offer a quick and affordable way to decorate. Follow these steps, and your walls will look great.


