
Are you ready to transform your space quickly and easily? Large vinyl wall stickers are a fantastic way to add personality and style without the hassle of paint or wallpaper.
But applying them perfectly can feel tricky if you don’t know the right steps. In this guide, you’ll discover simple tips and tricks that make the process smooth and stress-free. By the end, you’ll have the confidence to create a stunning wall that grabs attention and reflects your unique taste.
Keep reading—you’re just moments away from giving your walls a fresh, eye-catching makeover!
Choosing The Right Vinyl Sticker
Choosing the right vinyl sticker is crucial for achieving a smooth and lasting application on your wall. The perfect sticker complements your space, fits your wall size, and matches the material quality you need. Taking time to select the ideal sticker saves you from frustration and ensures your design looks stunning.
Material Types
Vinyl stickers come in different materials, each suited for various surfaces and durability needs. Matte vinyl offers a non-reflective finish, perfect if you want to avoid glare. Glossy vinyl, on the other hand, provides a shiny look that can make colors pop but might show fingerprints more easily.
Consider removable vinyl if you like changing your decor frequently—it peels off cleanly without damaging paint. Permanent vinyl sticks strongly and is great for long-term use but can be tricky to remove. Think about the room’s conditions too; waterproof vinyl is essential for kitchens or bathrooms.
Design Selection
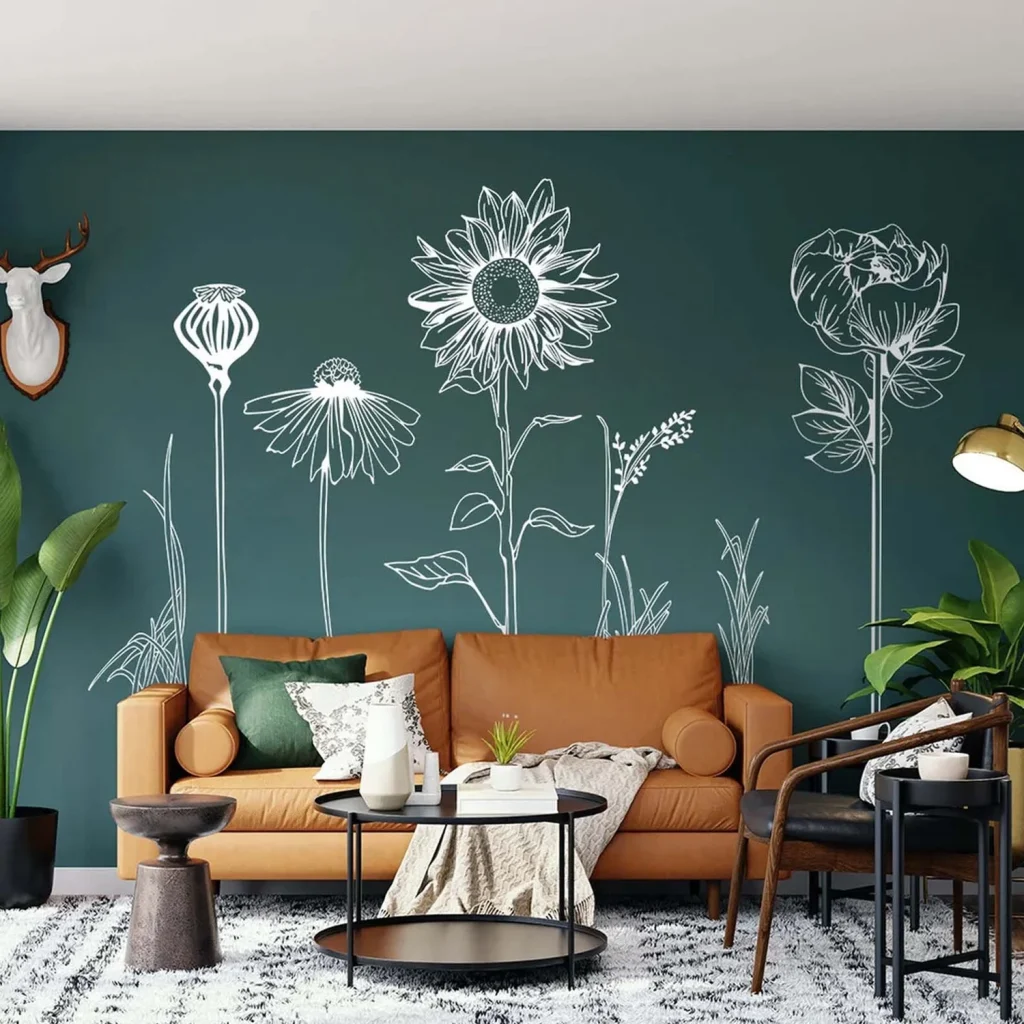
Your design choice reflects your personal style and the room’s mood. Are you drawn to bold, colorful patterns or simple, elegant shapes? Large, intricate designs look best on big walls where details can shine, while smaller, minimalistic stickers work well in cozier spaces.
Think about how the design interacts with your furniture and lighting. A busy pattern might overwhelm a small room, while a subtle design could add just the right touch. Don’t hesitate to test print a smaller version to see how it feels in your space before committing.
Measuring Your Wall Space
Accurate measurements are essential before buying any vinyl sticker. Use a tape measure to get the exact height and width of the wall area where you plan to apply the sticker. Double-check your numbers to avoid surprises later.
Keep in mind that large stickers might need trimming or rearranging. Leaving some extra space around the design helps with alignment and prevents a cramped look. Have you measured your wall yet? This simple step can save you from costly mistakes.

Credit: www.amazon.com
Preparing The Wall Surface
Preparing the wall surface is essential for applying large vinyl wall stickers smoothly. A clean, smooth, and properly conditioned wall helps the sticker stick better and last longer. Taking the time to prepare ensures a professional look without bubbles or peeling.
Cleaning Techniques
Start by removing dust, dirt, and grease from the wall. Use a mild detergent mixed with water and a soft cloth or sponge. Avoid harsh chemicals that may damage paint or wallpaper. Rinse the wall with clean water and let it dry completely. Dry walls provide a better grip for the adhesive.
Surface Smoothness
Check the wall for rough spots, bumps, or peeling paint. Sand any rough areas lightly with fine-grit sandpaper. Fill holes or cracks with spackle and smooth it out. Let the repairs dry fully before applying the sticker. A smooth surface prevents wrinkles and ensures even adhesion.
Temperature Considerations
Apply vinyl stickers in a room with a stable temperature. Ideal temperatures range between 60°F and 80°F (15°C to 27°C). Cold walls can cause the adhesive to harden and not stick well. Warm walls help the vinyl bond evenly. Avoid applying stickers in very humid or damp conditions.
Gathering Essential Tools
Gathering essential tools ensures a smooth application of large vinyl wall stickers. Prepare a squeegee, measuring tape, level, and cleaning supplies before starting. These items help achieve a clean, bubble-free finish.
Gathering essential tools is the first step in applying large vinyl wall stickers. Having the right tools ensures a smooth and hassle-free application. This guide will walk you through the necessary items to prepare before starting your project.Application Tools
To apply vinyl wall stickers, you need specific tools. These tools help in achieving a neat finish. Here’s a list of what you will need:- Squeegee:Essential for smoothing out air bubbles.
- Measuring Tape:Ensures accurate placement of the sticker.
- Level:Helps in aligning the sticker perfectly.
- Scissors or Cutter:Useful for trimming excess material.
- Masking Tape:Holds the sticker in place temporarily.
- Soft Cloth:Cleans the wall surface before application.
- Spray Bottle with Water:Aids in repositioning the sticker if needed.
Safety Gear
Safety is important while applying wall stickers. Even simple tasks require precautions. Ensure you have the following safety gear:- Gloves:Protect your hands from adhesive residue.
- Protective Eyewear:Shields your eyes from dust or debris.
- Mask:Prevents inhalation of any fine particles.
Positioning The Sticker
Positioning the sticker correctly is crucial for a smooth and attractive application. A well-placed vinyl wall sticker looks professional and lasts longer. Take time to plan before peeling off the backing paper. Proper positioning helps avoid wrinkles and misalignment.
Marking Guidelines
Use a pencil to lightly mark where the sticker edges will go. Marking helps keep the sticker straight and centered. Measure the wall space carefully. Make small marks at the top corners and along the sides. These marks act as your visual guide during application. Avoid pressing too hard to prevent permanent marks on the wall.
Using A Level
A level ensures the sticker is perfectly horizontal or vertical. Hold the level along the pencil marks. Adjust the marks until the bubble is centered. This step prevents a crooked sticker that looks unprofessional. Check the level twice before moving on. Use a small hand level or a smartphone app for convenience.
Temporary Adhesives
Temporary adhesives help keep the sticker in place before final sticking. Use painter’s tape or low-tack adhesive strips. Attach these at the top corners of the sticker. This allows you to step back and check the position. You can easily peel off and adjust if needed. Once satisfied, press the sticker down firmly to secure it permanently.
Applying The Vinyl Sticker
Applying large vinyl wall stickers can transform your space, but it requires patience and precision. Handling the sticker carefully during application helps you avoid wrinkles and misalignment. Let’s break down how to get your sticker perfectly on the wall without frustration.
Peeling The Backing
Start by carefully lifting a corner of the vinyl sticker’s backing paper. Pull it back slowly at a sharp angle to avoid stretching or tearing the vinyl. If the sticker is very large, peel just a small portion of the backing at first—this gives you better control as you position it on the wall.
Have you ever peeled too much backing at once and ended up with your sticker folding onto itself? Keeping the peeled area manageable prevents this common mistake and keeps the adhesive clean.
Smoothing Techniques
Once a section of the sticker is aligned, use a squeegee or a credit card wrapped in a soft cloth to smooth it down. Start from the center and push outward to the edges to help the sticker stick evenly. This prevents wrinkles and ensures the vinyl adheres firmly.
Try to work slowly and deliberately—rushing often leads to bubbles or creases. If you feel resistance, pause and smooth the area before continuing.
Avoiding Air Bubbles
Air bubbles can be a major headache, but you can avoid them by applying the vinyl sticker gradually and smoothing as you go. If you notice a bubble forming, gently lift the nearest edge and re-smooth the area. For stubborn bubbles, use a pin to poke a tiny hole and press out the trapped air.
Have you ever ignored small bubbles only to have them grow over time? Addressing them immediately keeps your sticker looking flawless and professional.

Credit: www.cuttingedgeinstallations.co.uk
Finishing Touches
Finishing touches make a large vinyl wall sticker look neat and last longer. This stage ensures the sticker fits perfectly and stays secure on the wall. Small details here can improve the overall appearance and durability.
Trimming Excess
Trim any extra vinyl around the edges carefully. Use a sharp craft knife or scissors for clean cuts. Cut close to the design without damaging it. This step prevents peeling and gives a polished look.
Securing Edges
Press down the edges firmly to avoid lifting. Use a soft cloth or a squeegee to smooth the edges. Focus on corners and curves where peeling is common. Proper edge sealing keeps dirt and air out.
Curing Time
Allow the sticker to set for at least 24 hours. Avoid touching or cleaning the surface during this time. This lets the adhesive bond well with the wall. Patience here ensures the sticker stays put for years.
Removing And Reapplying Tips
Removing and reapplying large vinyl wall stickers can be tricky if you want to keep them looking fresh and avoid damage. Knowing the right techniques helps you extend the life of your stickers and switch up your decor without stress. Here are some practical tips that worked well for me and can make your experience smoother.
Safe Removal Methods
Start by gently peeling the sticker from one corner. Use a plastic scraper or your fingernail to lift the edge without scratching the wall. Avoid metal tools as they can damage both the sticker and the surface.
If the sticker resists, warm it slightly with a hairdryer on low heat. This softens the adhesive and makes peeling easier. Keep the heat moving and don’t overheat one spot to prevent warping the vinyl.
Once removed, clean any leftover adhesive with rubbing alcohol or a mild soapy solution. Be careful not to soak the sticker—excess moisture can ruin it. Pat dry with a soft cloth and let it air out completely before thinking about reapplying.
Reapplication Guidelines
Check your wall surface before reapplying. It should be smooth, clean, and dry for the sticker to stick well. Avoid textured or freshly painted walls as the vinyl might not adhere properly.
When you’re ready, peel off the backing paper slowly. Use a squeegee or a credit card to press the sticker onto the wall, starting from the center and moving outwards. This helps prevent air bubbles and wrinkles.
If bubbles appear, gently lift the nearest edge and smooth them out. Small bubbles often disappear after a few days once the adhesive settles. If you’re repositioning the sticker, do it carefully to avoid stretching or tearing the vinyl.
Have you ever struggled with a sticker that lost its stickiness after removal? Try applying a light layer of repositionable spray adhesive for extra grip—but test it on a small area first to avoid damage.

Credit: www.amazon.com
Frequently Asked Questions
How Do I Prepare The Wall For Vinyl Sticker Application?
Clean the wall thoroughly with soap and water. Ensure the surface is smooth, dry, and free of dust or grease. Avoid textured or uneven walls for best adhesion and a flawless finish.
What Tools Are Needed To Apply Large Vinyl Wall Stickers?
You need a squeegee or credit card, a measuring tape, masking tape, and a clean cloth. These tools help position and smooth the sticker without bubbles or wrinkles.
How Do I Avoid Air Bubbles Under The Vinyl Sticker?
Apply the sticker slowly from one edge, using a squeegee to press out air bubbles. Work in small sections, smoothing as you go to prevent trapped air pockets.
Can I Reposition A Large Vinyl Wall Sticker After Applying?
Yes, gently peel and reapply within a few minutes of placement. However, avoid frequent repositioning as it may weaken the adhesive and damage the sticker.
Conclusion
Applying large vinyl wall stickers can brighten any room quickly. Clean your wall well and measure carefully before placing the sticker. Take your time to smooth out bubbles and wrinkles for a neat look. Peel the backing slowly and press firmly to make it stick.
With patience and care, your walls will look fresh and stylish. Enjoy your new decor without stress or mess. Try this simple method for a beautiful, lasting result.


