
Are you ready to transform your space without the mess of paint or the cost of wallpaper? Putting wall stickers on your wall is an easy and fun way to add personality and style to any room.
But if you’ve never done it before, you might wonder how to avoid bubbles, wrinkles, or crooked designs. Don’t worry—you’re about to learn simple, effective steps that will make your walls look amazing. Keep reading, and you’ll discover how to turn your plain walls into eye-catching features in no time.

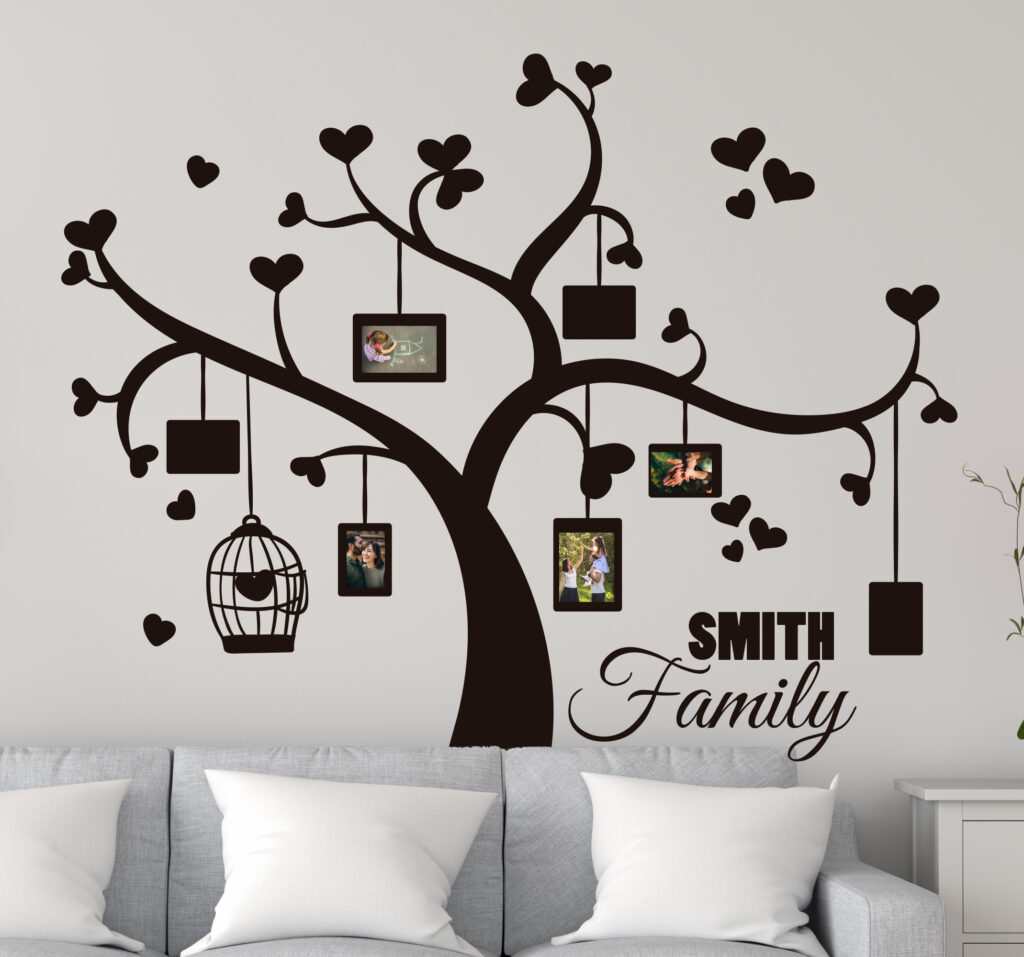
Credit: www.designcafe.com
Choosing The Right Wall Stickers
Choosing the right wall stickers is the first step to transforming your space effortlessly. The options can feel overwhelming, but focusing on a few key factors helps you pick stickers that not only look great but also last long and suit your style. Think about where you’ll place them and how they will interact with your room’s atmosphere.
Material Types
Wall stickers come in various materials, each offering different benefits. Vinyl is popular because it’s durable and easy to clean—great for high-traffic areas or kids’ rooms.
Fabric stickers provide a matte finish and are easy to reposition, perfect if you like to change your decor often. Paper-based stickers are budget-friendly but may peel faster, so consider them for short-term use or smooth, clean walls.
Design Selection
Choosing a design that fits your personality and room theme is crucial. Are you aiming for something bold and colorful or subtle and elegant? Think about how the sticker complements your existing decor.
Remember, smaller rooms can feel crowded with overly busy designs. Sometimes, a simple pattern or a single focal image can make a stronger impact.
Size Considerations
Size matters more than you might expect. Large stickers can dominate a wall, making the room feel smaller, while tiny ones might get lost in the space.
Measure your wall space before buying to ensure the sticker fits well. If uncertain, test with paper cutouts to visualize placement and scale.
Preparing Your Wall Surface
Preparing your wall surface is essential before applying wall stickers. A clean, smooth, and dry wall ensures the sticker sticks well and looks great. Taking the time to prepare the surface properly helps the sticker last longer and prevents peeling or bubbling.
Cleaning Methods
Start by removing dust, dirt, and grease from the wall. Use a soft cloth or sponge with mild soap and warm water. Avoid harsh chemicals that can damage the paint or wall surface. Rinse with clean water and let the wall dry completely before applying the sticker.
Surface Smoothness
Check the wall for bumps, cracks, or rough spots. Sand any uneven areas gently with fine sandpaper. A smooth surface allows the sticker to stick evenly and prevents air bubbles. Fill holes or cracks with wall filler and smooth it out before sanding.
Avoiding Moisture
Moisture weakens the sticker’s adhesive. Make sure the wall is dry by checking for dampness or water stains. Avoid placing stickers in bathrooms or kitchens where walls get wet often. If needed, use a dehumidifier or fan to dry the wall thoroughly before applying the sticker.
Tools You’ll Need
A clean cloth, a squeegee or credit card, and the wall stickers themselves are essential. A measuring tape helps place stickers evenly. Make sure the wall is dry and smooth before starting.
Putting wall stickers on your wall can transform your space. To make the process smooth, gather the right tools. Having the right tools ensures your stickers look great and stay put.Essential Tools
To start, you need a few key tools. A tape measure helps with precise placement. A level ensures stickers are straight. A pencil marks the spot without leaving a permanent mark. Use a clean cloth to wipe the wall. This removes dust and helps the sticker stick better. A squeegee or a credit card is essential. It smooths out air bubbles. Scissors or a utility knife trims any excess material.Optional Accessories
Some accessories make application easier. Painter’s tape holds the sticker in place temporarily. A hairdryer warms the sticker. This makes it more flexible, especially in cold weather. If you want to remove stickers later, a small spatula or scraper helps. It lifts the edge gently without damaging the wall. Having these tools ready makes the process simple and fun.
Credit: www.designcafe.com
Positioning The Sticker
Positioning the sticker is the foundation of a great wall decal application. It’s where precision meets creativity, and getting it right saves you from frustrating re-dos. Before peeling off the backing, you want to be absolutely sure your sticker sits perfectly where you want it.
Measuring And Marking
Start by measuring the wall space carefully. Use a tape measure to find the center point or the exact spot where the sticker will look best. Mark these points lightly with a pencil or painter’s tape to avoid damaging the wall.
Think about the height and alignment. Is your sticker supposed to be eye-level or higher up? Use a level tool to ensure your marks are straight. This step might seem tedious, but it’s the difference between a crooked sticker and a flawless finish.
Dry Placement Tips
Before sticking anything permanently, test the placement by holding the sticker against the wall. Step back and look at it from different angles and distances. Does the design flow with the room’s layout? Does it complement the furniture?
If you’re unsure, use small pieces of painter’s tape to hold the sticker in place temporarily. This gives you a chance to live with it for a few minutes and make adjustments without any damage. Have you ever noticed how a small shift can change the entire vibe of a room?
Try gently folding the backing paper a bit to expose a small part of the sticker. Stick that part lightly on the wall to anchor it, then adjust the rest before pressing down fully. This controlled approach reduces bubbles and misalignment.
Applying The Sticker
Applying a wall sticker requires care and patience. The process starts with preparing the sticker and the wall for a smooth finish. A clean wall helps the sticker stick well and last longer. Follow each step carefully to avoid wrinkles or bubbles.
Peeling The Backing
Begin by gently lifting one corner of the sticker. Slowly peel the backing paper away from the sticker. Take care not to touch the adhesive side too much. Hold the sticker by the edges to keep it clean. Peel the backing evenly to avoid tearing the sticker.
Smooth Application
Place the sticker on the wall starting from one edge. Press the sticker down lightly with your fingers. Use a soft cloth or a squeegee to smooth the sticker. Move from the center outwards to push out air. Work slowly to avoid stretching or wrinkling the sticker.
Removing Air Bubbles
Small air bubbles may appear under the sticker. Use a pin to prick the bubbles gently. Press the air out with a cloth or card. For larger bubbles, lift the sticker carefully and reapply. Smooth the sticker again until all bubbles disappear.

Credit: www.designcafe.com
Finishing Touches
After placing your wall sticker, the finishing touches make all the difference. They help the sticker stay in place and look neat. Taking a few extra minutes now saves time later.
Pressing Edges
Press the edges of the sticker firmly against the wall. Use your fingers or a soft cloth to smooth down any air bubbles. Pay special attention to corners and edges. This stops the sticker from peeling off early. Press in small circles for best results. Avoid using sharp tools that can damage the sticker.
Cleaning Up
Remove any leftover paper or backing carefully. Use a dry cloth to wipe the wall around the sticker. This removes dust or glue residue. Avoid using water or cleaning sprays near the sticker right away. Let the sticker set for a few hours before cleaning the wall fully. A clean area makes your sticker look fresh and new.
Removing Wall Stickers Safely
Removing wall stickers safely is just as important as applying them carefully. If you rush or use harsh tools, you could damage your wall’s paint or surface. Taking your time and using gentle techniques can keep your walls looking fresh and ready for new decor.
Peeling Techniques
Start by gently lifting one corner of the sticker with your fingernail or a plastic card. Avoid metal tools—they can scratch the wall. Slowly peel the sticker back at a low angle, keeping it as close to the wall as possible.
If the sticker resists or tears, warm it slightly with a hairdryer. Heat softens the adhesive, making removal easier. Move the hairdryer in small circles for about 20-30 seconds before trying to peel again.
Residue Removal
Leftover sticky residue can be frustrating but is usually easy to clean. Dab a little warm, soapy water on the area and let it sit for a minute. Then, gently rub with a soft cloth or sponge until the residue loosens.
If soap and water don’t do the trick, try a small amount of rubbing alcohol or an adhesive remover designed for walls. Test any product on a hidden spot first to avoid damage. Have you ever tried to scrape off residue only to make it worse? Using these gentle methods can save you from that headache.
Frequently Asked Questions
How Do I Prepare My Wall Before Applying Stickers?
Clean the wall with a damp cloth to remove dust and grease. Ensure the surface is dry and smooth. Avoid textured or rough walls for better sticker adhesion. Proper preparation helps stickers stick well and last longer.
What Is The Best Way To Position Wall Stickers?
Use a pencil to lightly mark the desired spot on the wall. Align the sticker carefully before peeling off the backing. Start applying from one edge and smooth out air bubbles as you go.
Can I Reuse Wall Stickers After Removal?
Most wall stickers are designed for one-time use only. Removing them usually breaks the adhesive, making reuse difficult. However, some high-quality stickers may be repositionable if handled gently and stored properly.
How Do I Remove Wall Stickers Without Damaging Paint?
Peel the sticker slowly from one corner at a 45-degree angle. Use a hairdryer to warm the adhesive for easier removal. If residue remains, clean gently with soapy water or adhesive remover.
Conclusion
Applying wall stickers can brighten any room quickly and easily. Clean the surface well before starting. Peel the sticker slowly and press it firmly on the wall. Smooth out any bubbles with a soft cloth or card. Take your time to place the sticker just right.
This simple process helps you decorate without making a mess. Enjoy your refreshed space with a personal touch. Wall stickers offer a fun, low-cost way to change your room’s look. Try different designs to match your style and mood.


