
Are you looking to add a fresh, creative touch to your glass windows without the hassle of paint or permanent changes? Wall stickers are a simple and stylish way to do just that.
But how do you make sure they stick perfectly and look great? You’ll learn easy, step-by-step tips to apply wall stickers on your glass windows like a pro. Keep reading, and you’ll discover the secrets to a smooth, bubble-free finish that will transform your space instantly.

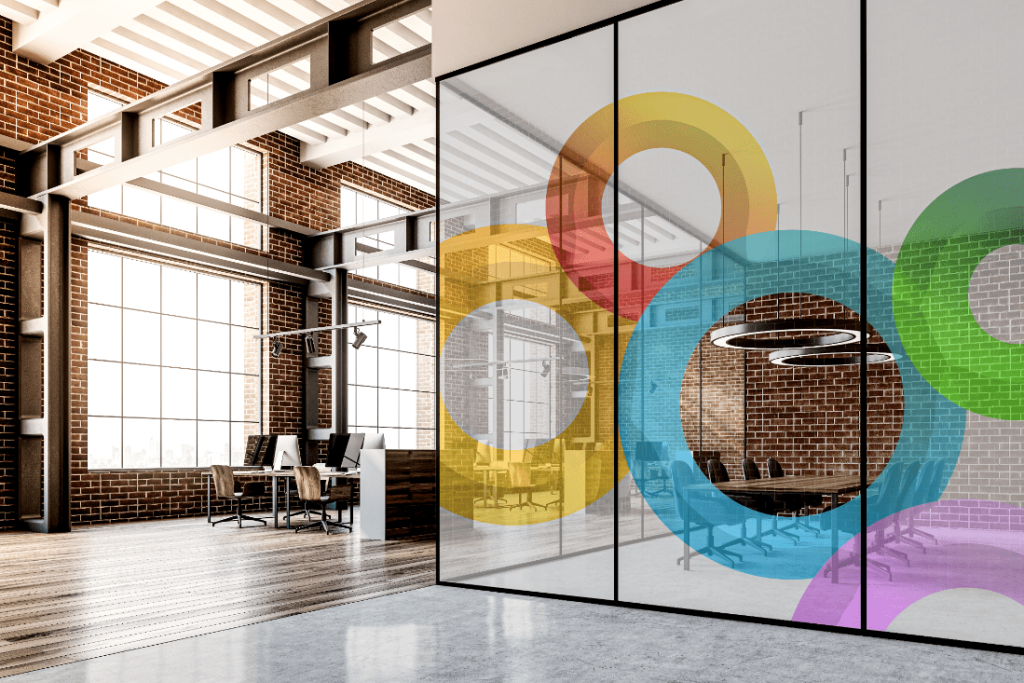
Credit: www.temu.com
Choose The Right Stickers
Choosing the right wall stickers for glass windows is essential for a clean, lasting look. The wrong type can peel off quickly or leave marks. This guide helps you pick stickers that stick well and look great on glass surfaces.
Types Suitable For Glass
Not all stickers work well on glass. Vinyl stickers with adhesive backing are best. They stick firmly and remove easily without damage. Static cling stickers also work well. They use static electricity to hold on, so no glue is needed. These are great for temporary designs. Avoid paper-based stickers; they do not stick well and can tear.
- Vinyl stickers: durable, water-resistant, easy to clean
- Static cling stickers: reusable, no adhesive, good for short-term use
- Frosted or etched glass stickers: add privacy and style
Size And Design Considerations
Choose the right size for your window space. Large stickers can overpower small windows. Small stickers may get lost on large panes. Measure your window first. Pick designs that match your room style. Simple shapes and bold colors show best on glass. Complex details may blur or fade.
- Measure window height and width before buying
- Choose designs that fit your room’s theme
- Use bold and clear patterns for visibility
- Avoid very small details that may be hard to see

Credit: www.temu.com
Prepare The Glass Surface
Preparing the glass surface is a crucial step before applying wall stickers. A clean and smooth surface helps the sticker stick better and last longer. Dirt, dust, or grease can stop the sticker from sticking properly. Take time to prepare the glass well. This makes the application easier and the result neater.
Cleaning Techniques
Start by removing dust and dirt using a soft cloth or duster. Avoid rough materials that can scratch the glass. Use a glass cleaner or a mix of water and mild soap. Spray the cleaner on the glass, not directly on the sticker. Wipe gently in circular motions. For stubborn spots, use a soft sponge or cotton swab. Avoid oily or sticky residues. Make sure the entire area is clean.
Drying And Inspection
Let the glass dry completely after cleaning. Use a dry, lint-free cloth to speed up drying. Check the surface for any leftover dust, lint, or smudges. Hold the glass at an angle to light to spot imperfections. Clean again if needed. A perfectly clean and dry surface ensures the sticker will stick well and look smooth.
Gather Necessary Tools
Gather a squeegee, a clean cloth, water spray, and the wall stickers before starting. Having everything ready makes the process smooth and easy. Clean tools help stick the decals firmly on the glass.
Gathering the right tools is crucial for applying wall stickers to glass windows. A smooth application depends on having everything ready. This step ensures precision and reduces potential errors. Let’s explore the tools you’ll need.Common Tools Needed
To start, gather some basic items. These will make the process easier and faster.- Cleaning Solution:A mild glass cleaner or soapy water works well.
- Lint-Free Cloth:Ensures the window is dust-free.
- Measuring Tape:Helps in aligning the sticker correctly.
- Masking Tape:Temporarily holds the sticker in place.
- Squeegee:Removes air bubbles efficiently.
- Scissors or Cutter:Trims excess parts of the sticker.
Optional Accessories For Precision
Certain tools enhance precision and control. They aren’t mandatory but can be helpful.- Level Tool:Ensures the sticker is straight.
- Spray Bottle:Evenly applies the cleaning solution.
- Soft Pencil:Marks alignment points on the window.
- Cardboard:Protects surfaces during cutting.
Position The Sticker
Positioning your wall sticker on a glass window is a crucial step that can make or break the final look. Taking your time here helps avoid crooked angles or unwanted bubbles. Think about how the sticker will catch light and how visible it will be from different angles before you stick it down.
Marking Placement
Start by holding the sticker up to the glass and deciding exactly where you want it. Use a dry-erase marker or small pieces of painter’s tape to mark the corners or edges on the glass. These marks act as guides, so you can lift and adjust the sticker without losing your spot.
Try stepping back and viewing from different distances to check if the placement feels balanced. Does it line up with window frames or other elements around it? Small adjustments now save a lot of frustration later.
Using Tape For Alignment
Once you’ve marked the spot, apply a strip of masking or painter’s tape along one edge of the sticker to create a hinge. This acts like a door, allowing you to lift the sticker while keeping it perfectly aligned.
When you peel the backing off, gently lower the sticker onto the glass using the tape hinge as a guide. This method reduces the risk of shifting and helps you avoid wrinkles or bubbles.
Have you ever placed a sticker only to notice it slightly off-center after? Using tape for alignment can prevent this common mistake and save you time and effort.
Apply The Sticker
Applying wall stickers on glass windows requires patience and care. The key lies in preparing the sticker correctly and placing it smoothly. This ensures a clean, bubble-free finish that lasts long and looks great.
Peeling The Backing
Start by gently lifting a corner of the sticker’s backing paper. Pull it back slowly and evenly to avoid tearing the sticker. Keep the sticker flat to prevent it from folding or sticking to itself. If the sticker is large, peel off only a small section of the backing at first. This helps control the sticker during application.
Smooth Application Techniques
Hold the sticker close to the glass and position it carefully. Press the exposed part of the sticker onto the window. Use a soft cloth or a squeegee to smooth out air bubbles. Move from the center outward to push air and wrinkles out. Continue peeling the backing slowly and pressing the sticker down as you go. Take your time to avoid mistakes and achieve a neat look.
Remove Air Bubbles
Removing air bubbles is key for a smooth, clean look on glass windows. Air pockets trap under the sticker and spoil the appearance. They can also cause the sticker to peel or lift over time. Taking time to smooth out bubbles ensures the sticker sticks well and lasts longer.
Tools For Smoothing
Using the right tools makes bubble removal easier. A soft plastic squeegee or a credit card wrapped in a cloth works well. These tools help press the sticker down gently and push out trapped air. Avoid sharp objects that can scratch the glass or damage the sticker.
- Soft plastic squeegee
- Credit card wrapped in a soft cloth
- Microfiber cloth for final smoothing
Tips For Bubble-free Finish
- Start from the center and push air outwards.
- Work slowly to catch bubbles early.
- Use light pressure to avoid tearing the sticker.
- If a bubble remains, gently lift and reposition the sticker.
- For small bubbles, prick with a pin and smooth out air.
- Clean the glass surface well before applying the sticker.
Final Touches
After carefully applying your wall stickers on the glass window, the final touches make all the difference in achieving a neat and professional look. This stage is about perfecting the edges and ensuring the surface remains spotless. Paying attention now prevents frustration later and keeps your design looking fresh for a long time.
Trimming Excess Material
Excess sticker material around the edges can distract from your design’s clean appearance. Use a sharp craft knife or precision scissors to carefully trim away any overhanging parts. Take your time to avoid cutting into the main sticker—steady hands make a huge difference here.
If you notice any small bubbles near the trimmed edges, gently press them out toward the glass with a soft cloth or a plastic card. Have you ever left extra material and regretted it after a few days? Trimming now saves that hassle.
Cleaning After Application
After trimming, your glass might have fingerprints or adhesive residue. Use a lint-free cloth slightly dampened with water or a glass cleaner to wipe the surface gently. Avoid harsh chemicals that could damage the sticker’s adhesive or colors.
Check the glass from different angles to spot any smudges you might have missed. Keeping the window clean ensures your stickers stand out and your entire room feels brighter. What’s your favorite trick to keep glass surfaces crystal clear?
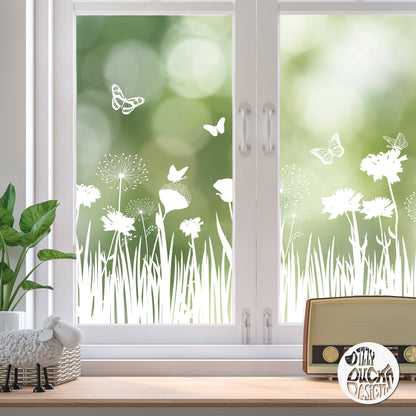
Credit: dizzyduckdesigns.com
Care And Maintenance
Proper care and maintenance keep wall stickers on glass looking fresh. Taking simple steps protects the design and glass surface. A little attention helps avoid damage and fading.
Cleaning Without Damage
Use a soft, damp cloth to clean around the sticker. Avoid harsh chemicals or abrasive tools. These can peel or scratch the sticker.
Gently wipe the glass with mild soap and water. Dry with a soft towel to prevent water spots. Never scrub directly on the sticker.
Longevity Tips
- Keep stickers away from direct sunlight to reduce fading.
- Avoid placing stickers where moisture builds up, like near showers.
- Do not peel or pull on the sticker edges.
- If air bubbles appear, smooth them out with a soft card.
- Regularly dust the glass and sticker gently with a dry cloth.
Frequently Asked Questions
How Do I Prepare A Glass Window For Wall Stickers?
Clean the glass thoroughly with a lint-free cloth and mild detergent. Remove all dust, grease, and moisture. Ensure the surface is completely dry before applying the sticker to ensure strong adhesion and a smooth finish.
Can Wall Stickers Damage Glass Windows?
No, wall stickers designed for glass do not damage the surface. They use gentle adhesive that peels off cleanly without leaving residue or scratches. Always follow removal instructions carefully to avoid any potential damage.
What Is The Best Way To Apply Wall Stickers On Glass?
Peel the sticker backing slowly and align the sticker on the glass. Use a squeegee or credit card to smooth out air bubbles from the center outward. Apply even pressure for better adhesion and a bubble-free finish.
How Long Do Wall Stickers Last On Glass Windows?
Wall stickers can last from 1 to 3 years on glass, depending on exposure to sunlight and weather. Indoor stickers usually last longer. Proper surface preparation and careful application also extend their lifespan.
Conclusion
Applying wall stickers on glass windows is simple and fun. Clean the glass well before starting. Peel the sticker carefully and place it slowly. Use a flat tool to smooth out bubbles. Take your time for best results. These steps help your stickers stick longer.
Enjoy your new, fresh window look every day. Try different designs to suit your style. Decorating glass has never been easier or more affordable. Give it a go and brighten your space today.


