
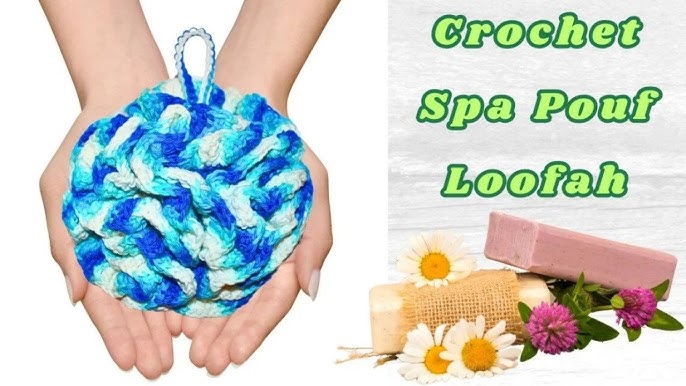
Looking for a fun and simple way to upgrade your bath routine? You’re about to discover how to make a beautiful floral wash pouf using scrubby yarn.
This easy DIY project not only adds a splash of color to your bathroom but also gives you a gentle, effective scrub every time you wash. Imagine turning ordinary yarn into a soft, flower-shaped pouf that feels amazing on your skin.
Keep reading, and by the end, you’ll have all the steps to create your own stylish and practical bath accessory that friends will ask about!

Credit: www.youtube.com
Materials Needed
Before you start making your floral wash pouf, gathering the right materials is key. Having everything on hand keeps your project smooth and enjoyable. Let’s break down exactly what you’ll need to create a beautiful and functional scrubby pouf.
Choosing Scrubby Yarn
Scrubby yarn is the foundation of your wash pouf. It’s specially designed to help exfoliate your skin while being gentle enough for daily use. You can find scrubby yarn in various textures and colors, so pick one that feels good to touch and looks appealing to you.
Think about the thickness too. Thicker yarn creates a fluffier pouf, while thinner yarn offers more scrubbing power. Have you noticed how some yarns hold up better after multiple washes? Choosing a durable yarn will save you from remaking your pouf too soon.
- Look for polyester or nylon blends for durability and quick drying.
- Opt for bright colors to make your pouf easy to spot in the shower.
- Check if the yarn is labeled “scrubby” or “exfoliating” for best results.
Additional Supplies
Besides scrubby yarn, you’ll need a few extra tools to put your pouf together. These are simple items you may already have at home or can easily buy. Having the right supplies ensures your crafting process is hassle-free.
- Crochet hook:A size H (5mm) or I (5.5mm) hook works well with scrubby yarn.
- Scissors:Sharp enough to cut yarn cleanly without fraying.
- Yarn needle:For weaving in ends neatly after finishing your pouf.
- Stitch marker:Optional but helpful to keep track of your rounds.
- Measuring tape:To check your pouf’s size as you crochet.
Do you have a favorite tool that makes crafting easier? Sometimes a simple stitch marker can save hours of guesswork. Preparing your workspace with these supplies makes the whole process more enjoyable and efficient.
Credit: www.craftpassion.com
Preparing Your Workspace
Preparing your workspace is a key step before diving into making a floral wash pouf with scrubby yarn. A well-organized and comfortable area can boost your creativity and make the process smoother. It’s not just about having the right tools but also about setting the right environment for your crafting session.
Organizing Tools
Start by gathering all the materials you need: scrubby yarn, scissors, stitch markers, and a crochet hook. Lay them out where you can easily reach each item without disrupting your flow. Consider using small containers or trays to keep everything sorted and prevent losing tiny items like stitch markers.
Think about how you work best. Do you prefer everything visible or tucked neatly in compartments? Organizing your tools in a way that suits your style can save time and reduce frustration. Have you noticed how a cluttered space can slow you down? Clearing this clutter helps you focus solely on creating.
Setting Up Comfortable Area
Choose a spot with good lighting—natural light is best, but a bright lamp works too. Sitting comfortably is important; use a supportive chair or cushion to avoid strain during longer sessions. Your back and hands will thank you.
Don’t forget to keep water or a drink nearby to stay hydrated. Small breaks in a comfy setup prevent fatigue and keep your energy up. What’s your ideal crafting environment? Quiet or with some background music? Adjust your space until it feels just right for you.
Basic Techniques
Basic techniques form the foundation for crafting a floral wash pouf with scrubby yarn. Understanding these techniques helps you create a neat and effective pouf. Simple stitches and yarn handling skills make the process smooth and enjoyable.
Simple Stitches For Beginners
Start with basic crochet stitches like chain, single crochet, and slip stitch. These stitches build the shape and texture of the pouf. Practice each stitch slowly to gain confidence. Use a crochet hook size that matches your scrubby yarn thickness. This balance helps maintain an even tension. Keep your stitches loose but consistent for a soft, fluffy result.
Handling Scrubby Yarn
Scrubby yarn is thicker and rougher than regular yarn. It can feel stiff at first. Hold the yarn gently to avoid hand strain. Use your fingers to guide the yarn smoothly through stitches. Keep the yarn untangled to prevent knots. Work in a well-lit area to see stitches clearly. This helps avoid mistakes and saves time. With patience, handling scrubby yarn becomes easier and more natural.
Creating The Floral Wash Pouf
Crafting a floral wash pouf with scrubby yarn is simple and fun. This project creates a soft, textured pouf perfect for gentle exfoliation. Bright colors and fluffy loops make it both useful and decorative.
Creating a floral wash pouf with scrubby yarn adds a fun touch to bath time. The process is simple and allows for creativity. Using scrubby yarn makes the pouf functional and decorative. Let’s dive into making a beautiful floral wash pouf.Starting The Base
Begin by crocheting a magic circle. Secure it tightly to form the base. Use a single crochet stitch to expand the circle. Keep it firm to support the petals. As you increase, maintain an even stitch count. This ensures a strong, balanced foundation. Your base should be a small, flat disc. Make sure it’s even and smooth.Forming Petals
Switch to a contrasting color for the petals. Use a half double crochet for texture. Crochet clusters for each petal. This creates a floral appearance. Keep your stitches consistent for uniform petals. Aim for about six to eight petals. The petals should be full and fluffy. This adds volume to the pouf.Assembling The Pouf
Once petals are complete, attach them to the base. Use a slip stitch for a clean join. Secure each petal firmly. This ensures they stay in place during use. Fluff out the petals for a fuller look. Your floral wash pouf is now ready to use. Enjoy its beauty and functionality in your bath routine.Finishing Touches
Finishing touches can turn a simple floral wash pouf into a lasting, beautiful piece. These final steps ensure your pouf stays intact and easy to use. Paying attention to these details makes a big difference in both function and appearance.
Adding A Hanging Loop
A hanging loop helps your pouf dry quickly and keeps it within easy reach. Use a small length of scrubby yarn and fold it in half. Attach it securely to the center of your pouf by pulling the loop through and then threading the ends through it, creating a tight knot.
Think about where you’ll hang it—near your shower or sink—and make the loop long enough for easy access. If you want a decorative touch, you can braid the yarn before attaching it. This little addition makes your pouf more practical and adds charm.
Securing Loose Ends
Loose yarn ends can unravel your hard work and make the pouf look messy. To secure them, tuck the ends back into the stitches using a yarn needle. Pull gently to hide them deep within the fabric.
If you notice any stubborn ends, apply a tiny drop of fabric glue for extra hold. This step is simple but crucial—it keeps your pouf sturdy through many uses. Would you believe that a few hidden ends can make your pouf look professionally made?
Care And Maintenance
Proper care and maintenance keep your floral wash pouf fresh and durable. This section guides you on cleaning and preserving your scrubby yarn creation. Follow these simple steps to enjoy your pouf longer.
Washing Tips
- Rinse pouf with warm water after each use.
- Use mild soap or gentle detergent to clean.
- Hand wash to avoid damage from machine agitation.
- Gently squeeze out excess water; do not wring.
- Air dry in a well-ventilated area away from direct sunlight.
- Spot clean stains promptly with a soft cloth.
Extending Pouf Lifespan
- Hang pouf to dry completely between uses.
- Avoid using harsh chemicals or bleach.
- Store in a dry place to prevent mildew growth.
- Replace pouf every few months for best hygiene.
- Inspect regularly for loose yarn or damage.
- Trim any frayed edges carefully to keep shape.
Creative Variations
Creative variations bring life and uniqueness to your floral wash pouf. Changing colors and flower designs makes each pouf special. These variations let you match your style and bathroom decor. Experimenting with different ideas also keeps the crafting process fun and fresh.
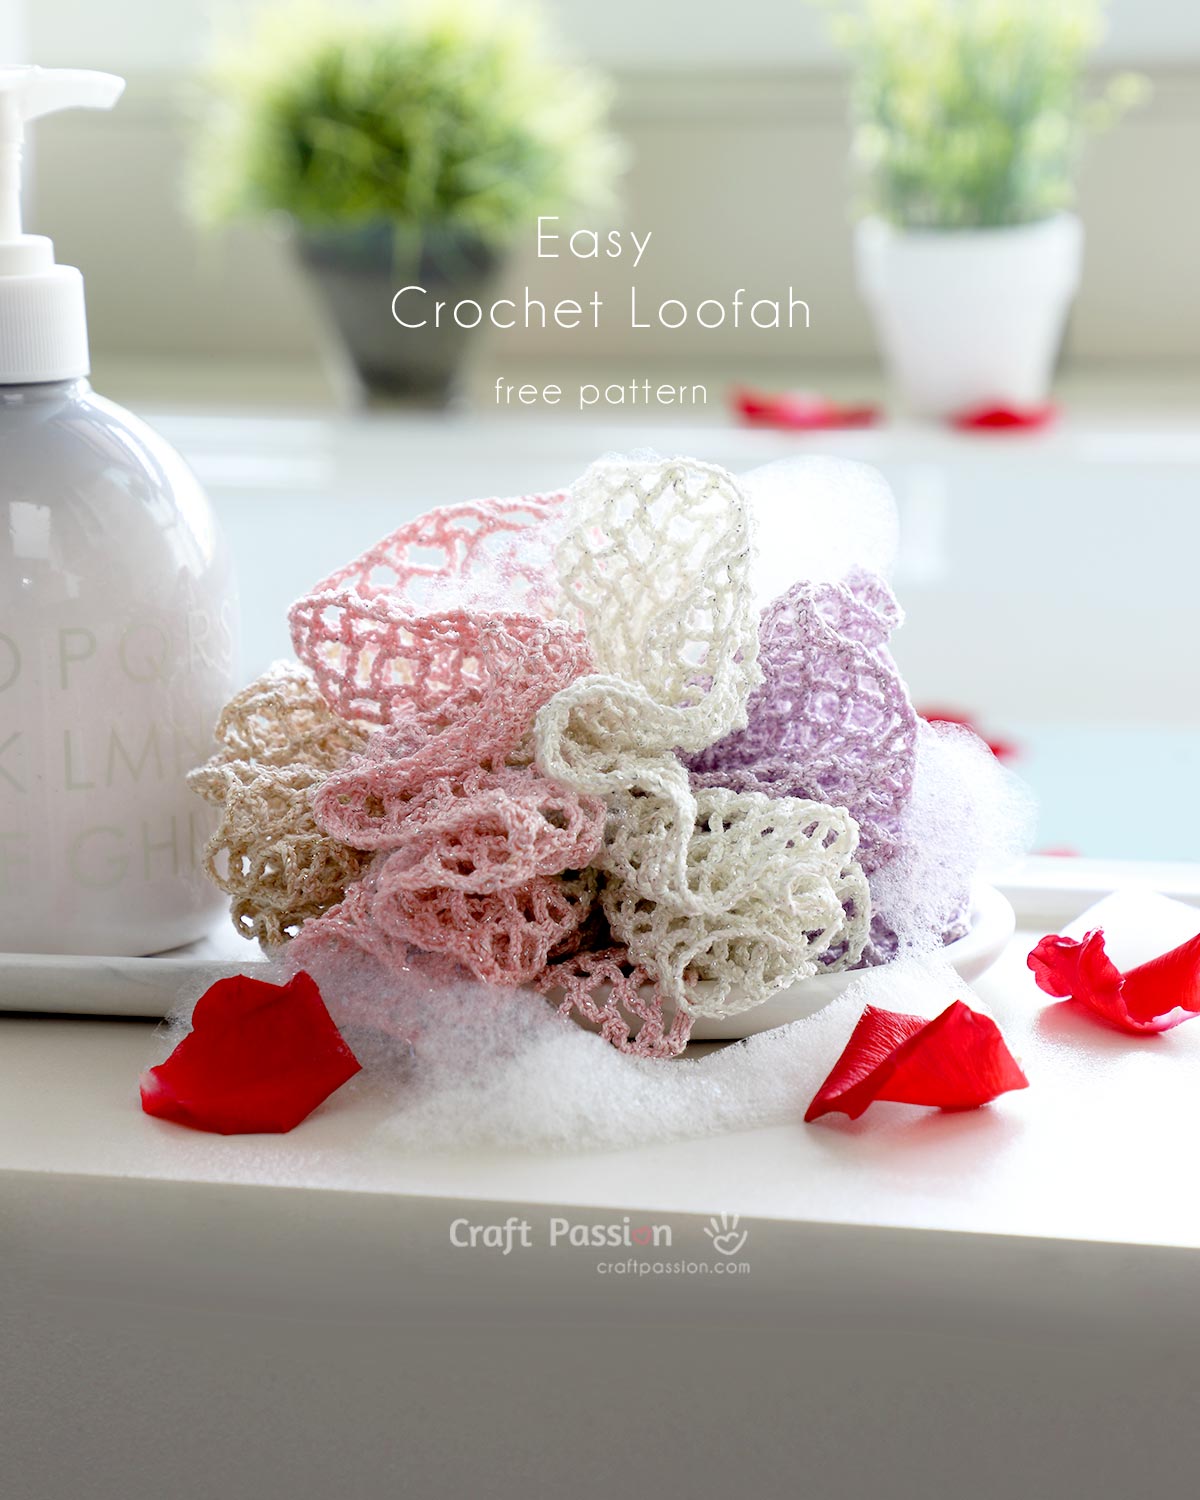
Color Combinations
Choosing the right colors impacts the pouf’s look greatly. Combine soft pastels for a gentle, calming feel. Bright, bold colors create a lively, eye-catching pouf. Try mixing complementary colors for a balanced, pleasing effect. Use multiple shades of one color for a subtle gradient look. Color blocking with contrasting tones adds a modern touch.
- Pastels: light pink, mint green, baby blue
- Bold: bright red, royal blue, sunshine yellow
- Complementary: orange and blue, purple and yellow
- Gradient: light to dark purple or pink
- Color blocking: black with white or neon shades
Different Flower Designs
Flower shapes influence the pouf’s texture and style. Classic rose petals give a soft, romantic look. Daisy-like layers offer a cheerful and simple design. Sunflower styles bring brightness and warmth to the pouf. Try small, tight petals for a detailed and elegant finish. Larger, open petals create a bold, dramatic effect.
- Rose petals: rounded, layered tightly
- Daisy layers: flat, radiating petals
- Sunflower style: large center with wide petals
- Tight petals: intricate and delicate appearance
- Open petals: spacious and bold shapes

Credit: www.craftpassion.com
Frequently Asked Questions
What Materials Are Needed For A Floral Wash Pouf?
You need scrubby yarn, scissors, a crochet hook, and a yarn needle. These materials create the pouf’s texture and shape.
How Long Does It Take To Make A Floral Wash Pouf?
Making a floral wash pouf usually takes about 1 to 2 hours. Time varies based on skill level and yarn type.
Can I Use Regular Yarn Instead Of Scrubby Yarn?
Regular yarn can be used but lacks the scrubby texture. Scrubby yarn is best for exfoliation and durability.
How Do I Care For My Floral Wash Pouf?
Rinse it after each use and hang it to dry. Wash it gently every week to maintain freshness.
Conclusion
Creating a floral wash pouf with scrubby yarn is simple and fun. You only need a few supplies and basic steps. This project adds a personal touch to your bathroom. It also makes a great handmade gift for friends. Try different colors and shapes to match your style.
Enjoy the process and relax while crafting. You will feel proud using something made by your own hands. Start your floral pouf today and brighten up your daily routine.


