
Looking to add a cozy, stylish touch to your living space? Sewing your own round pouf cover is easier than you might think—and it’s a fun way to personalize your home.
Imagine having a unique pouf that matches your style perfectly, made by your own hands. In this guide, you’ll discover simple steps to create a beautiful round pouf cover that fits like a glove. Whether you’re a beginner or have some sewing experience, you’ll find clear instructions that make the process smooth and enjoyable.
Ready to transform your room with a custom pouf? Let’s dive in!

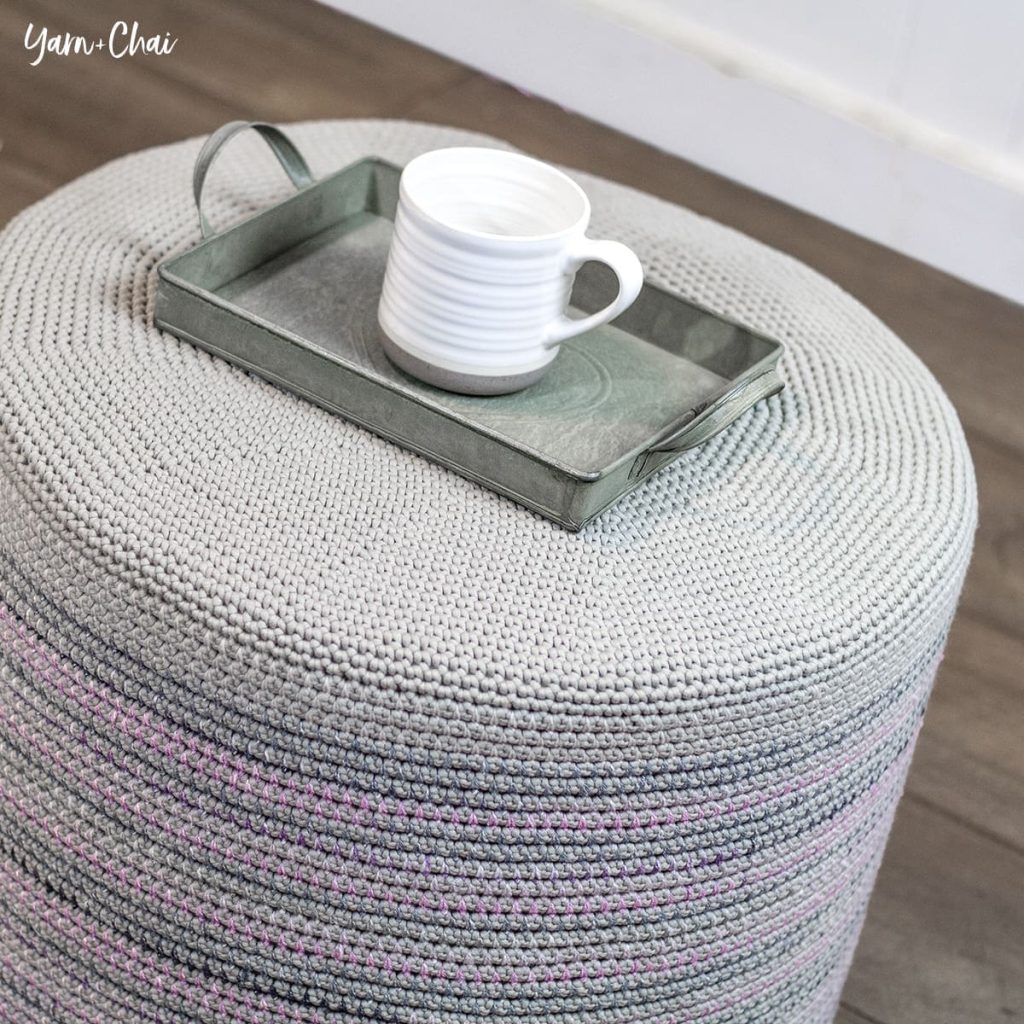
Credit: yarnandchai.com
Materials Needed
Before you start sewing your round pouf cover, gathering the right materials is key. The quality of your fabric and tools will affect both the look and durability of your pouf. Let’s break down what you need to make this project smooth and enjoyable.
Fabric Choices
Choosing the right fabric can be tricky. You want something sturdy enough to handle regular use but also comfortable to touch. Cotton duck, canvas, or upholstery fabric are excellent options because they hold up well and come in many colors and patterns.
If you prefer a softer feel, consider a heavy linen or denim. Avoid lightweight fabrics like chiffon or thin cotton—they won’t hold the shape or last long. Think about your room’s style and how the fabric will fit in with your existing decor.
Essential Tools
- Sewing machine:It speeds up your work and provides strong seams.
- Fabric scissors:Invest in sharp scissors to cut your fabric cleanly.
- Measuring tape:Accurate measurements ensure your cover fits perfectly.
- Pins or clips:These hold fabric pieces together as you sew.
- Thread:Match your fabric color and choose a durable type like polyester.
- Needles:Use appropriate machine needles for thick fabric to avoid breakage.
Do you already have these tools at home? If not, they’re worth investing in for this and future projects.
Optional Accessories
- Zipper or Velcro:Adding a closure makes your cover removable and washable.
- Fabric chalk or markers:These help mark cutting lines without damaging your fabric.
- Seam ripper:Mistakes happen, and this tool saves your work without ruining fabric.
- Iron and ironing board:Pressing seams keeps your pouf cover looking crisp and professional.
Think about whether you want a removable cover. It can make cleaning easier but requires a bit more sewing skill. What’s more important to you—ease of maintenance or simplicity in sewing?
Measuring Your Pouf
Measuring your pouf accurately is the foundation of a well-fitted cover. Skipping this step or rushing through it can lead to a cover that’s too tight or too loose. Taking your time to measure ensures the sewing process goes smoothly and your pouf looks great.
Finding The Diameter
The diameter is the straight-line distance across the center of your pouf’s top surface. To find it, place a tape measure or ruler across the widest part of the round top. Make sure you measure from edge to edge passing through the center point for accuracy.
If your pouf isn’t perfectly round, take a few measurements at different points and use the largest one. This helps avoid a cover that’s too small. Have you ever tried to stretch fabric over a pouf only to find it barely fits? Measuring carefully prevents that frustration.
Calculating Fabric Dimensions
Once you have the diameter, you can figure out how much fabric you need. Remember, you’ll need fabric for the top, bottom, and the side band of the pouf.
- Top and Bottom Circles:Use your diameter measurement for two circles of fabric.
- Side Band:Measure the height of your pouf, then calculate the circumference using the formula: circumference = diameter × π (about 3.14).
For example, if your diameter is 18 inches and height is 12 inches, your side band fabric will be 18 × 3.14 = 56.52 inches long and 12 inches tall. Add about 1 inch to each measurement for seam allowances.
Does your fabric budget allow for extra? Adding a little extra fabric can save you from a too-tight cover or mistakes during cutting. Think ahead—you’ll thank yourself later when sewing goes smoothly.
Cutting The Fabric
Cut fabric carefully using sharp scissors to ensure clean edges. Measure twice and cut once for an accurate round pouf cover. Smooth fabric on a flat surface to avoid wrinkles while cutting.
Cutting the fabric is a crucial step in sewing a round pouf cover. Precision ensures a snug fit and a neat finish. Begin with choosing a sturdy fabric. Measure the dimensions carefully before cutting. This will help avoid mistakes and waste.Cutting The Top Circle
Place the fabric on a flat surface. Use a fabric marker to trace a perfect circle. A large bowl or compass can serve as a guide. Ensure the circle’s diameter matches the desired size of the pouf top. Cut the circle slowly with sharp fabric scissors. Maintain steady hands for clean edges.Cutting The Side Strip
Measure the pouf’s circumference. Add extra length for seam allowances. The side strip should be long enough to wrap around the pouf. Determine the height of the pouf. Cut the strip’s width to match this height. Lay the fabric flat. Use a ruler and marker to draw straight lines. Cut along these lines with precision. This creates a smooth side strip.Sewing The Side Seam
Sewing the side seam is a key step in making a round pouf cover. This seam joins the long strip of fabric that will wrap around the pouf’s side. It must be strong and neat to keep the cover looking good and lasting long.
Take your time to align the fabric edges perfectly. A straight and even seam makes the pouf look professional. Use pins or clips to hold the fabric in place before sewing. This prevents shifting while stitching.
Preparing The Fabric Edges
Start by folding the fabric strip lengthwise, right sides together. Match the edges carefully. Pin the edges every few inches for stability. Check the fabric for any wrinkles or misalignment.
Choosing The Right Stitch
Use a straight stitch for a clean and strong seam. Set your sewing machine to a medium stitch length. This keeps the seam secure without puckering the fabric. Backstitch at the start and end of the seam to lock stitches in place.
Sewing The Seam
Guide the fabric slowly under the sewing machine foot. Keep the edges aligned and the fabric flat. Remove pins as you sew to avoid needle damage. Maintain a consistent seam allowance, usually about ½ inch. This ensures the seam is even and strong.
Finishing The Seam
Trim any excess fabric from the seam allowance. Use pinking shears or a zigzag stitch to prevent fraying. Press the seam open or to one side with an iron. A flat seam helps the pouf cover fit smoothly.
Attaching The Top Circle
Attaching the top circle to your round pouf cover is a crucial part of the sewing process. It shapes the pouf and gives it that perfect rounded finish. If you sew this piece incorrectly, the pouf won’t sit right or look smooth, so take your time and follow each step carefully.
Aligning The Top Circle With The Side Panel
Start by matching the edges of the top circle with the side panel strip. Pin the pieces together evenly to avoid any puckering. You can mark the circle into quarters with a fabric marker to help line everything up precisely.
Pinning carefully prevents the fabric from shifting while you sew. It’s easier to sew small sections between pins than to fix bunches of fabric later. Have you ever tried sewing without pins? It’s a recipe for frustration and uneven seams.
Using The Right Stitch And Seam Allowance
Choose a straight stitch with a medium stitch length for attaching the top circle. A ½ inch seam allowance usually works well and gives enough room if you need to make adjustments. Sewing with too small a seam allowance can weaken the seam, while too large may add unnecessary bulk.
If your fabric is thick or stretchy, test your stitch on a scrap piece first. This saves you from surprises and keeps your pouf looking professional. Adjust the tension on your machine if the fabric puckers or stretches.
Shaping The Circle While Sewing
As you sew, gently ease the side panel fabric around the curve of the top circle. Don’t pull too hard; let the fabric feed naturally under the presser foot. This helps maintain a smooth, rounded edge without gathers or folds.
Use your hands to guide the fabric evenly. If you notice any tucks forming, stop and adjust the pins or fabric. Remember, a smooth curve is key to a neat pouf top.
Finishing The Seam For Durability
After sewing, trim the seam allowance to reduce bulk, especially around the curves. You can clip small notches into the seam allowance to help the fabric lay flat. Be careful not to cut too close to the stitching.
To prevent fraying, finish the raw edges with a zigzag stitch or a serger if you have one. This step might seem small, but it greatly extends the life of your pouf cover. Have you checked how your seams hold up after washing?
Adding A Zipper Or Closure
Adding a zipper or closure to your round pouf cover makes it easy to remove and wash. It also keeps the stuffing secure inside. Choosing the right closure ensures your pouf looks neat and functions well. This section explains how to install a zipper and explores other closure options.
Installing A Zipper
Choose a zipper that matches your fabric color and length. An invisible zipper works well for a clean look. Start by sewing the zipper tape along one edge of the fabric. Use a zipper foot on your sewing machine for better control. Pin the zipper in place before stitching to avoid shifting. Sew slowly and keep stitches close to the zipper teeth. Test the zipper by opening and closing it several times. Make sure the pouf cover can easily slip on and off.
Alternative Closure Options
Not all pouf covers need a zipper. Other closures can work well, depending on your style and skill level.
- Buttons:Sew buttons with buttonholes or loops on the edge. This adds a decorative touch and is easy to do.
- Velcro:Attach velcro strips inside the seam. Velcro is quick to open and close but may wear out over time.
- Ties:Use fabric strips or ribbons to tie the opening shut. This method is simple and adds a casual look.
- Envelope Closure:Overlap the fabric edges inside without any fasteners. This style is easy to sew and keeps the stuffing secure.
Finishing Touches
Finishing touches bring your round pouf cover to life. They make the project look clean and polished. These final steps help the fabric lay flat and add personality. A well-finished pouf cover feels more durable and looks professional.
Pressing Seams
Pressing seams is a simple way to improve your pouf cover. Use a hot iron on the fabric to flatten stitches. Press seams open or to one side for neatness. A steam iron works best to smooth out wrinkles. Be careful not to burn the fabric. Pressing helps the cover keep its shape and fit better.
Adding Decorative Elements
Decorative elements add charm and style to your pouf cover. Choose buttons, tassels, or fabric trims to match your room. Sew on these details by hand or with a machine. Use strong thread for durability. Consider simple patterns or colors to keep it elegant. Decorative touches make your pouf unique and inviting.

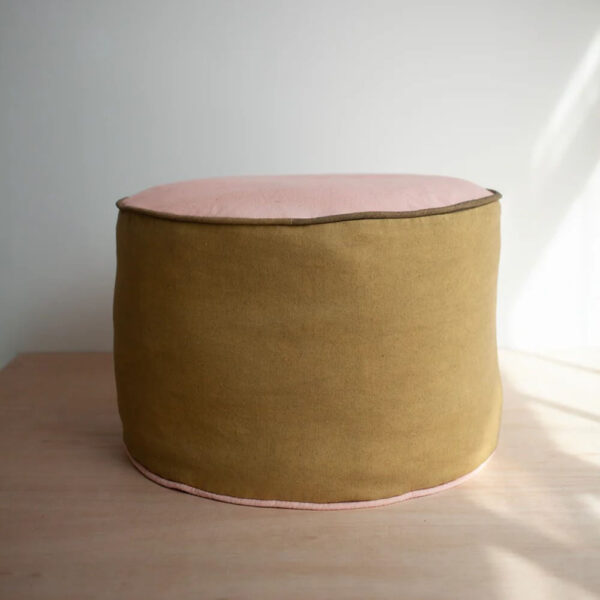
Credit: yarnandchai.com
Care And Maintenance Tips
Taking good care of your round pouf cover helps keep it looking fresh and extends its life. Small habits can make a big difference in maintaining the fabric’s texture and color. Let’s look at some practical tips that you can easily apply to keep your pouf cover in top shape.
Cleaning And Washing Guidelines
Always check the fabric type before washing your pouf cover. Most cotton or linen covers can be machine washed on a gentle cycle with cold water. Avoid bleach or harsh detergents, as they can weaken the fabric and fade the color.
If your cover has stubborn stains, try spot cleaning first. Dab gently with a mild soap solution and a soft cloth instead of scrubbing hard. Have you noticed how spot cleaning saves time and keeps your cover looking newer longer?
Drying And Ironing Tips
Air drying is the safest way to dry your pouf cover. Direct sunlight can cause colors to fade, so dry it in a shaded, well-ventilated area. If you must use a dryer, select the lowest heat setting to prevent shrinkage.
Iron your cover on a low heat setting if needed. Place a thin cloth between the iron and the fabric to avoid scorch marks. Do you find this simple trick keeps the fabric smooth and wrinkle-free without damage?
Storage And Handling Advice
When not using your pouf cover, store it in a cool, dry place to avoid mold and mildew buildup. Fold it neatly to prevent creases and fabric distortion. Avoid placing heavy objects on top, which can crush the stuffing inside the pouf.
Handling your cover gently during removal and replacement also helps maintain its shape. Have you noticed how careful handling reduces wear and tear over time?
Credit: goodfabric.co.uk
Frequently Asked Questions
How Do I Measure Fabric For A Round Pouf Cover?
Measure the pouf’s diameter and height accurately. Add extra inches for seam allowance. Cut fabric pieces accordingly for a perfect fit.
What Type Of Fabric Is Best For Pouf Covers?
Choose durable, thick fabrics like canvas, denim, or upholstery fabric. These materials withstand wear and provide a sturdy, long-lasting cover.
Can I Sew A Pouf Cover Without A Zipper?
Yes, you can use Velcro or buttons as fasteners. These alternatives offer easy removal and cleaning without sewing a zipper.
How Do I Sew A Round Pouf Cover Step-by-step?
Cut the top, side, and bottom fabric pieces. Sew the side strip to the top circle. Attach the bottom circle last for a neat finish.
Conclusion
Sewing a round pouf cover is simple and fun. You can choose any fabric you like. It adds a personal touch to your home. The steps are easy to follow and quick to do. Practice makes your sewing neater and better.
Try making different sizes and colors. Enjoy creating a cozy and stylish pouf cover. Your handmade cover will bring comfort and charm to any room. Keep experimenting and sewing new projects.


