
Are you tired of using the same old shower puff that doesn’t quite do the job? What if you could make your very own net shower pouf that’s soft, durable, and perfect for your skin?
Making a net shower pouf is easier than you think, and it gives you a chance to customize your bath time routine. You’ll discover simple steps to create a pouf that feels great and lasts longer. Keep reading, and you’ll soon have a fresh, handmade shower essential that makes every shower feel like a spa moment.

Credit: www.youtube.com
Materials Needed
Gathering the right materials is key to making a sturdy and effective net shower pouf. Choosing quality supplies ensures your pouf will last long and feel comfortable on your skin. Keep the list simple and easy to find.
Choosing The Right Netting
Select a soft, flexible mesh netting for the pouf. Nylon or polyester netting works well. It dries quickly and resists mold. Look for netting with small holes to create a dense, fluffy texture. Avoid rough or stiff fabrics that can irritate the skin.
Additional Supplies
- Strong thread or thin string for tying the pouf
- Scissors with sharp blades for clean cuts
- A needle if you prefer sewing the ends
- Optional: a small ring or loop to hang the pouf
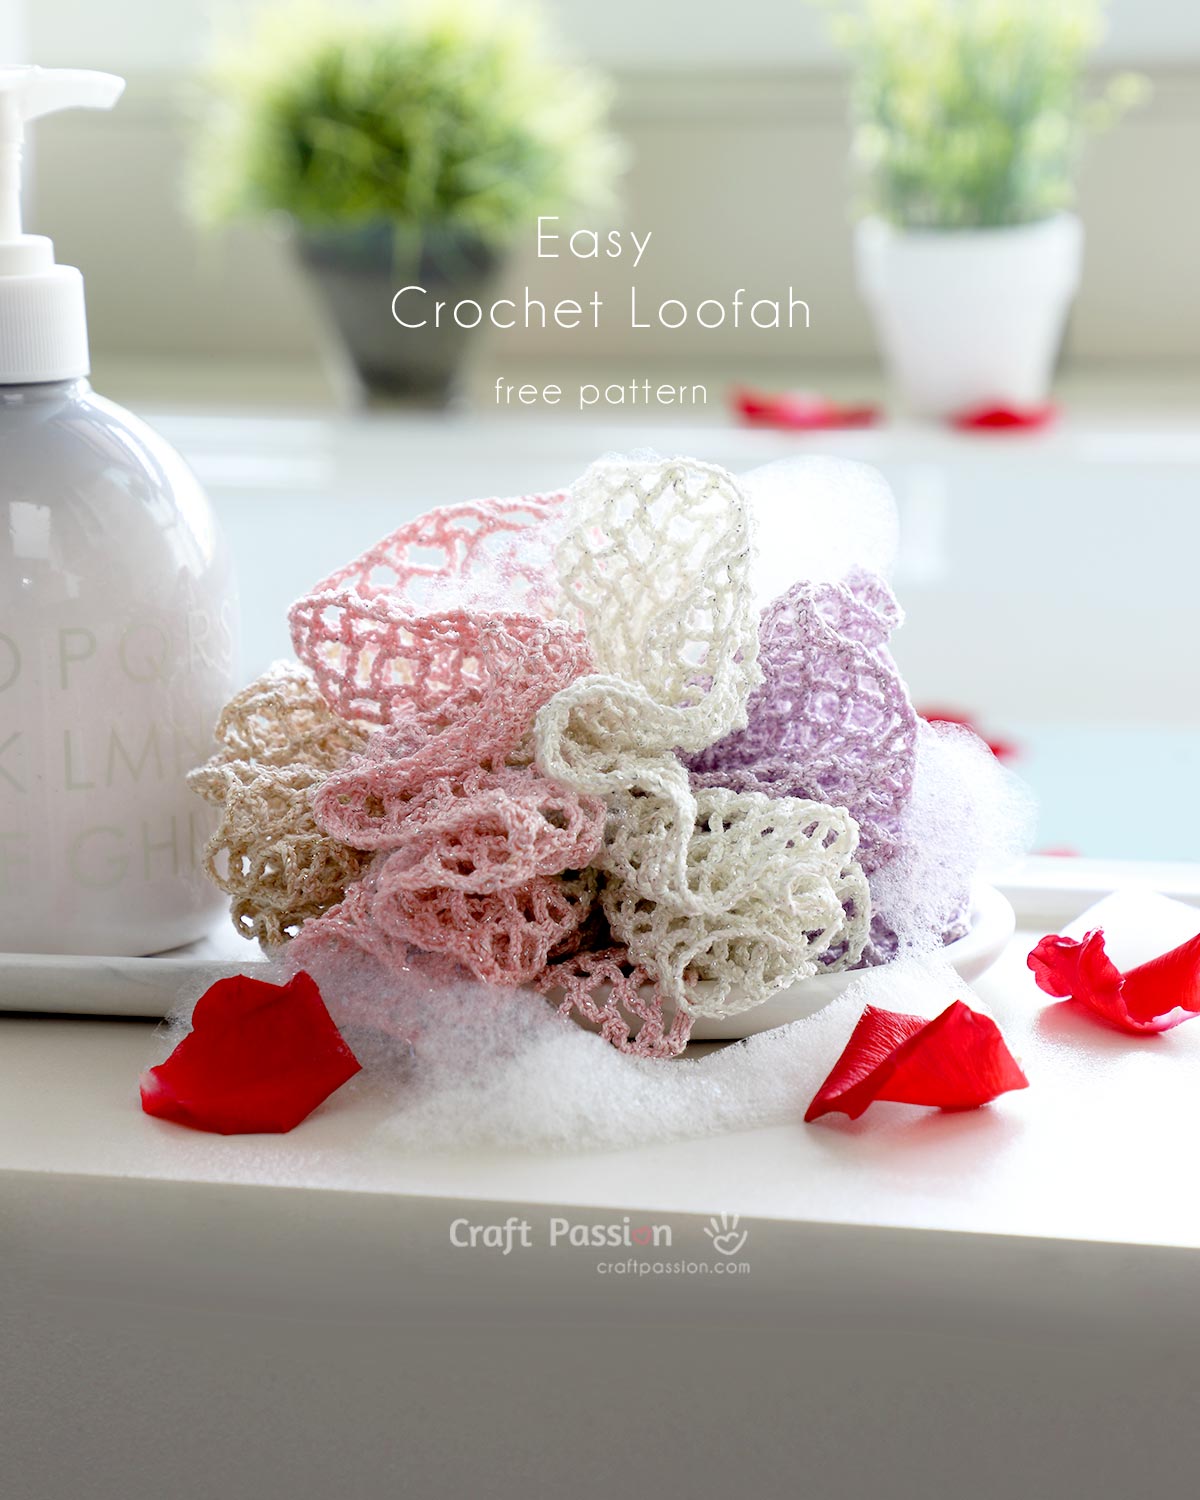
Credit: www.craftpassion.com
Preparing The Net
Preparing the net is an important part of making a shower pouf. The net needs to be the right size and shape. It should also have neat edges to avoid fraying. Taking time to prepare the net well makes the pouf last longer and look better.
Measuring And Cutting
Start by measuring the net carefully. A square shape works best for a pouf. Aim for about 12 inches on each side. Use a ruler or measuring tape to get exact measurements.
Cut the net along the measured lines. Use sharp scissors to get clean cuts. Avoid jagged or uneven edges. Precise cutting makes the pouf easier to form later.
Securing The Edges
After cutting, the edges can fray easily. Prevent this by securing them. Use a simple stitch or fabric glue around the edges. This keeps the net strong and neat.
Try folding the edges slightly before sewing or gluing. This adds extra strength. Well-secured edges help the pouf keep its shape over time.
Forming The Pouf Shape
Fold the netting evenly to create soft layers. Gather the center tightly to form a round, fluffy shape. Secure with a ribbon or elastic to keep the pouf full and puffy.
Forming the perfect pouf shape is a crucial step in crafting your net shower pouf. This shape not only enhances the aesthetic appeal but also contributes to the pouf’s functionality. Understanding how to gather and create volume is key.Gathering The Netting
Start by laying the netting flat on a clean surface. Ensure the netting is smooth with no tangles. Fold the netting accordion-style into even layers. This folding helps in forming the pouf’s base shape. Secure the folded netting with a strong knot in the center. Use a durable string or elastic for this task. A tight knot ensures the layers stay intact during use.Creating Volume
Fluff each layer of the netting gently. Separate the layers to add volume to the pouf. Pull the layers outward in all directions. This creates a full, round shape. Repeat until the pouf reaches the desired size and volume. Trim any uneven edges for a tidy appearance. Your net shower pouf is now ready to use.
Credit: www.amazon.com
Adding The Handle
Adding a handle to your net shower pouf makes it easier to hang and keeps it dry between uses. It also gives you a better grip while scrubbing, enhancing your shower experience. Choosing and attaching the right handle is a simple step that can make a big difference in usability.
Selecting The Handle Material
Think about what feels comfortable in your hand and how durable the material is. Common options include cotton rope, nylon cord, or even a soft leather strip. I once tried a thin nylon string that snapped easily, so I recommend something sturdy yet gentle on your skin.
Consider if the handle will be exposed to water often. Materials that dry quickly and resist mold, like nylon, work best. If you want a more natural look, cotton is nice but may need to be replaced more often.
Attaching The Handle Securely
Make sure the handle is firmly attached to avoid it coming loose during use. You can loop the material through the netting and tie a strong knot, like a double knot or a bowline knot, for extra security.
If you’re using a thick cord, try threading it through several layers of the pouf to distribute tension evenly. Test the strength by gently pulling on the handle before hanging it up. Would you trust your handle if it slipped mid-shower?
Finishing Touches
Finishing touches give your net shower pouf a polished look and improve its function. These final steps make the pouf soft and ready for use. They also allow you to add a personal style to your creation.
Fluffing The Pouf
Gently pull apart the layers of netting to create fullness. This makes the pouf soft and airy. Avoid pulling too hard to keep the net intact. Fluffing helps the pouf hold soap and water better. It also improves its scrubbing ability during showers.
Optional Decorations
Decorations add charm and a unique touch. Use ribbons or small charms to tie around the pouf’s handle. Choose waterproof materials to avoid damage. Bright colors make the pouf easy to spot in the shower. Keep decorations simple to maintain the pouf’s function and comfort.
Using And Caring For Your Pouf
Using and caring for your net shower pouf properly can extend its life and improve your shower experience. A well-maintained pouf not only creates a rich lather but also keeps your skin feeling fresh and clean without irritation. Paying attention to how you use and clean your pouf will help you get the most out of this simple bathroom essential.
Effective Lathering Tips
To get a thick, bubbly lather, wet your pouf thoroughly before adding soap or body wash. This helps the net material expand and trap more air, creating a foamier texture that feels luxurious on your skin.
Don’t overload your pouf with product; a small amount of soap goes a long way. Experiment with how much you add until you find the perfect balance between lather and waste.
Try gently squeezing and rubbing the pouf in circular motions to build up foam faster. This technique also helps exfoliate your skin gently, leaving it smooth without irritation.
Cleaning And Maintenance
After each use, rinse your pouf thoroughly with warm water to remove soap residue and dead skin cells. Leaving residue can cause unpleasant smells and bacteria growth.
Hang your pouf in a well-ventilated area to dry completely between uses. Avoid stuffing it in a damp corner—moist environments promote mildew and shorten the pouf’s lifespan.
Once a week, soak your pouf in a mixture of warm water and white vinegar or diluted bleach for about 5 minutes. This simple step kills bacteria and keeps your pouf fresh and safe to use.
Have you noticed your pouf losing its puffiness or developing an odor? It might be time to replace it. Using a clean pouf supports your skin’s health and ensures every shower feels refreshing.
Frequently Asked Questions
What Materials Do I Need To Make A Net Shower Pouf?
You need nylon netting, scissors, a ribbon or string, and a needle. These materials are easy to find and inexpensive.
How Long Does It Take To Make A Net Shower Pouf?
Making a net shower pouf usually takes about 15 to 30 minutes. It depends on your crafting speed and skill level.
Can I Customize The Size Of My Shower Pouf?
Yes, you can adjust the length of the netting to make the pouf bigger or smaller. This creates a personalized size.
How Do I Secure The Netting To Shape The Pouf?
Fold the netting multiple times and tie it tightly in the middle with a ribbon or string. This forms the pouf shape.
Conclusion
Making a net shower pouf is simple and fun. You only need a few materials and a little time. This project lets you create a useful item for your daily routine. Plus, you can customize colors and sizes as you like.
Try making one today and enjoy a soft, gentle shower experience. Small steps can bring big satisfaction. Keep practicing, and you will improve quickly. Enjoy crafting and feel proud of your homemade pouf!


