
Changing a chandelier light bulb might seem tricky at first, but it doesn’t have to be. You might worry about reaching up high or accidentally breaking a delicate piece.
What if you could do it quickly and safely, without any stress? In this guide, you’ll find simple, step-by-step instructions that make the whole process easy to follow. By the end, you’ll feel confident handling your chandelier like a pro.
Ready to brighten your space with a fresh bulb? Let’s get started!
Tools Needed
Changing a chandelier light bulb requires a few essential tools to ensure the job is done safely and efficiently. Having the right equipment on hand can save you time and prevent accidents. Let’s look at what you need before you start.
Types Of Bulbs
Knowing the type of bulb your chandelier uses is the first step. Common options include incandescent, LED, halogen, and CFL bulbs. Each has different shapes and bases, such as screw-in (E26 or E12) or pin-based designs.
Check the wattage and size recommended for your fixture. Using the wrong bulb can cause overheating or poor lighting. If you’re unsure, bring the old bulb to the store or look up the chandelier’s manual online.
Safety Equipment
Your safety is a priority when changing chandelier bulbs. Always turn off the power from the circuit breaker before starting. This simple step can prevent electric shocks.
Use a sturdy ladder or step stool to reach the fixture comfortably. It’s better to have a helper hold the ladder for extra stability. Wearing gloves can protect your hands from sharp edges or hot bulbs. Safety glasses are also a good idea to shield your eyes from dust or falling debris.

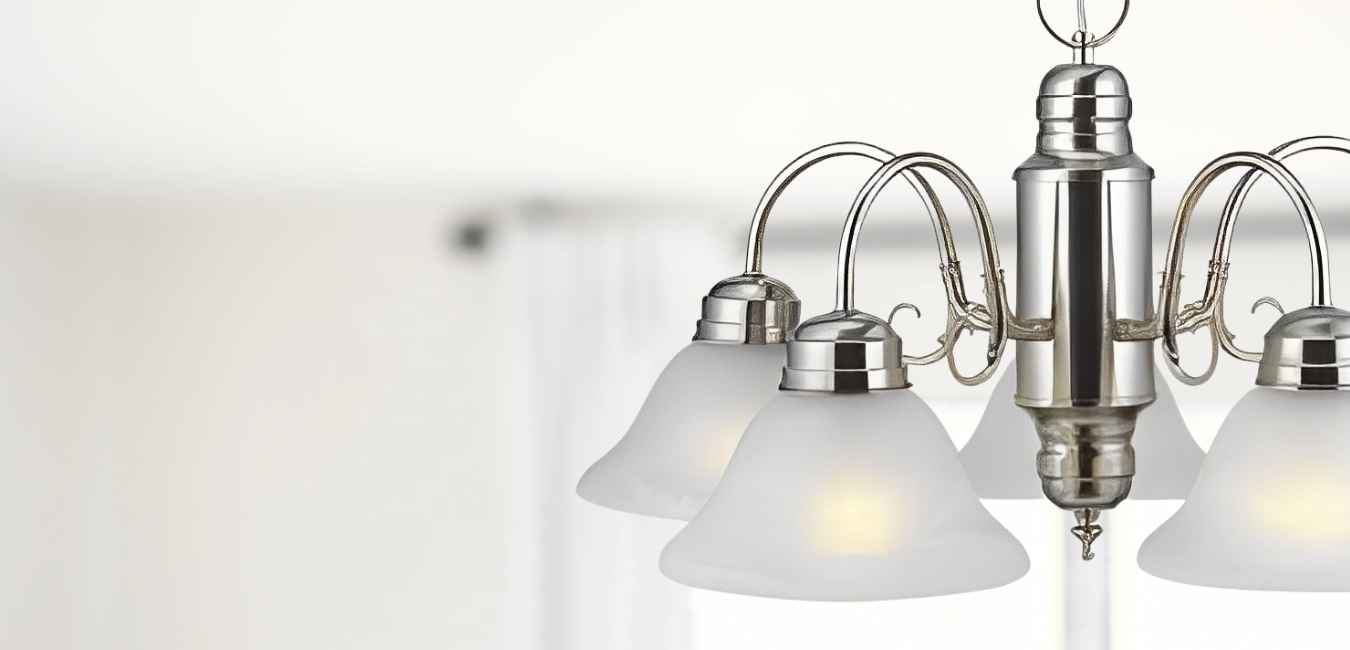
Credit: www.seuslighting.com
Preparation Steps
Changing a chandelier light bulb requires careful preparation. Taking safety and protection measures is key. Proper preparation makes the process smooth and safe. Follow these important steps before handling the bulb.
Turn Off Power
Always switch off the power before touching the chandelier. Use the main switch or circuit breaker for safety. Confirm the light is off by trying the switch. This prevents electric shock and injury.
Protect Surroundings
Cover the area below the chandelier to catch any falling parts. Use a soft cloth or drop cloth on furniture and floors. Remove fragile items nearby to avoid damage. Wear gloves to protect your hands from sharp edges.
Removing The Old Bulb
Removing the old bulb from your chandelier is a task that calls for patience and care. It might seem straightforward, but the unique design of chandeliers means you have to be precise to avoid damage. Getting this step right sets the stage for a smooth replacement and a well-lit room.
Accessing The Bulb
First, ensure the power is off to avoid any electrical risks. Use a sturdy ladder or step stool to reach the chandelier comfortably. Don’t rush—check if any decorative covers or glass shades need to be gently removed before you can get to the bulb.
Some chandeliers have screws or clips holding the covers in place. Keep a small container nearby for these parts so they don’t get lost. Have you noticed how often tiny screws disappear when you’re working overhead? Preparing for this can save you a lot of frustration.
Handling Fragile Parts
Chandelier bulbs and their surroundings are often delicate. Hold the bulb firmly but gently to avoid breakage. Use a soft cloth or gloves if the bulb is hot or greasy, which also helps maintain a good grip.
Don’t force the bulb out if it feels stuck. Instead, try turning it slowly in the direction it loosens. Breaking a bulb can lead to more than just a mess—it can cause injury or damage to the fixture. Have you ever dealt with shattered glass while changing a bulb? Taking your time here really pays off.
Installing The New Bulb
Installing the new bulb in your chandelier requires care and the right approach. The process ensures the light works safely and lasts long. Focus on choosing the correct bulb and inserting it properly. These steps protect the fixture and your home.
Selecting The Right Bulb
Choose a bulb that fits the chandelier socket type. Check the shape and base size before buying. Use bulbs with the correct wattage to avoid damage. LED bulbs save energy and stay cool. Match the bulb’s brightness to your room’s needs.
Proper Insertion Technique
Turn off the power before handling the bulb. Hold the bulb by its base, not the glass. Insert the bulb gently into the socket. Turn the bulb clockwise until it is snug but not tight. Avoid forcing the bulb, which can break or damage the socket. Ensure the bulb is secure to prevent flickering or falling out.
Final Safety Checks
Final safety checks ensure your chandelier works well and stays secure. These checks help prevent accidents and damage. Taking time now saves trouble later. Follow these important steps before turning the power back on.
Secure Fixtures
Make sure all parts of the chandelier are tight. Check screws, bolts, and mounting brackets. None should be loose or wobbly. Gently shake the fixture to test stability. A firm fixture keeps the bulb safe and steady.
Look for any signs of damage or wear. Replace broken parts before restoring power. This step protects your chandelier and your home.
Restore Power And Test
Switch the circuit breaker back on carefully. Avoid rushing this step to prevent shocks. Turn on the light switch to check the bulb. The light should glow bright and steady.
If the bulb does not light, turn off the power again. Re-check the bulb seating and wiring connections. Repeat until the light works perfectly. This test confirms a successful bulb change.
Credit: mobilehomepartsstore.com
Troubleshooting Tips
Ensure the power is off before changing the bulb to stay safe. Use a sturdy ladder and handle the bulb gently to avoid breakage. If the bulb won’t turn, try a slight wiggle or use a cloth for better grip.
Changing a chandelier light bulb might seem straightforward, but sometimes complications arise. Being prepared with some troubleshooting tips can save you from unnecessary frustration. Let’s delve into some common issues you might face and how to resolve them.Bulb Doesn’t Light
You’ve replaced the bulb, yet the chandelier remains dark. This can be annoying, especially after climbing up and down the ladder multiple times. First, ensure the bulb is correctly screwed in. A loose bulb might not connect with the socket. If that doesn’t work, try swapping the bulb with a new one to rule out the possibility of a defective bulb. Also, check if the bulb type matches the chandelier’s specifications. Using the wrong wattage or type might prevent it from lighting up.Loose Connections
Loose connections can be a sneaky culprit behind a non-functioning chandelier. Make sure all wires are securely attached. A simple nudge might restore the connection. Inspect the socket for any signs of damage or corrosion. Sometimes, dust and debris can interfere with the connection. Cleaning the socket carefully might solve the issue. Is there a flickering light? This often indicates a loose wire. In such cases, it might be wise to consult a professional electrician to avoid potential hazards. These troubleshooting tips can turn a daunting task into a simple fix. Have you ever faced any challenges while changing chandelier bulbs? Share your experience in the comments!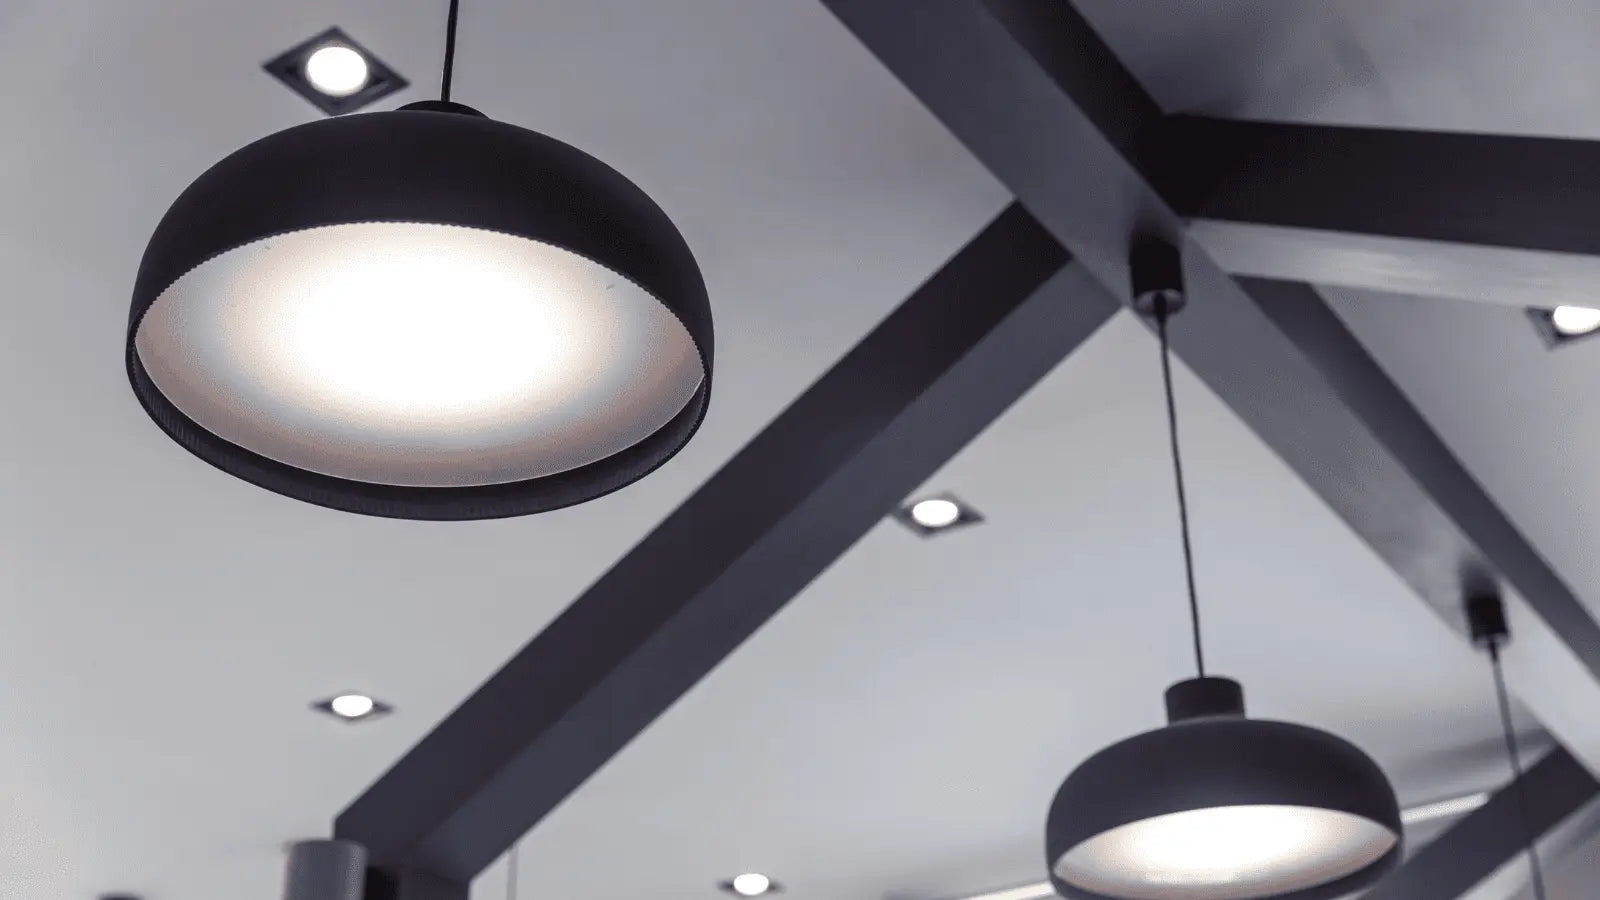
Credit: lustria.com
Frequently Asked Questions
How Do I Safely Change A Chandelier Light Bulb?
Turn off the power and use a sturdy ladder. Wear gloves to protect your hands. Carefully unscrew the old bulb and replace it with the correct type and wattage bulb.
What Type Of Bulb Fits Most Chandeliers?
Most chandeliers use candelabra base bulbs (E12). Check your chandelier’s specifications for exact bulb size and wattage to avoid damage.
How Can I Avoid Damaging The Chandelier?
Handle the chandelier gently and avoid applying too much force. Use a soft cloth to clean parts before changing bulbs. Ensure bulbs are cool before replacement.
When Is The Best Time To Change Chandelier Bulbs?
Change bulbs when they burn out or dim. Regularly inspect bulbs every few months to maintain optimal lighting and avoid sudden outages.
Conclusion
Changing a chandelier light bulb is simple and safe with the right steps. Always turn off the power first. Use a sturdy ladder to reach the bulb easily. Handle the bulb gently to avoid breaking it. Choose the correct bulb type and wattage for your fixture.
Following these tips helps keep your chandelier bright and beautiful. Now, enjoy the fresh light and the cozy feel it brings to your room. Small tasks like this make a big difference in your home’s look.


