

Are you ready to give your room a fresh new look without spending a fortune? Replacing a pendant light is one of the quickest and most effective ways to change the vibe of any space.
You might think it’s complicated, but with the right steps, you can do it yourself safely and easily. In this guide, you’ll discover simple tips and clear instructions that make swapping out your old pendant light a breeze. Keep reading—you’re just moments away from brightening up your home exactly the way you want.
.jpg)
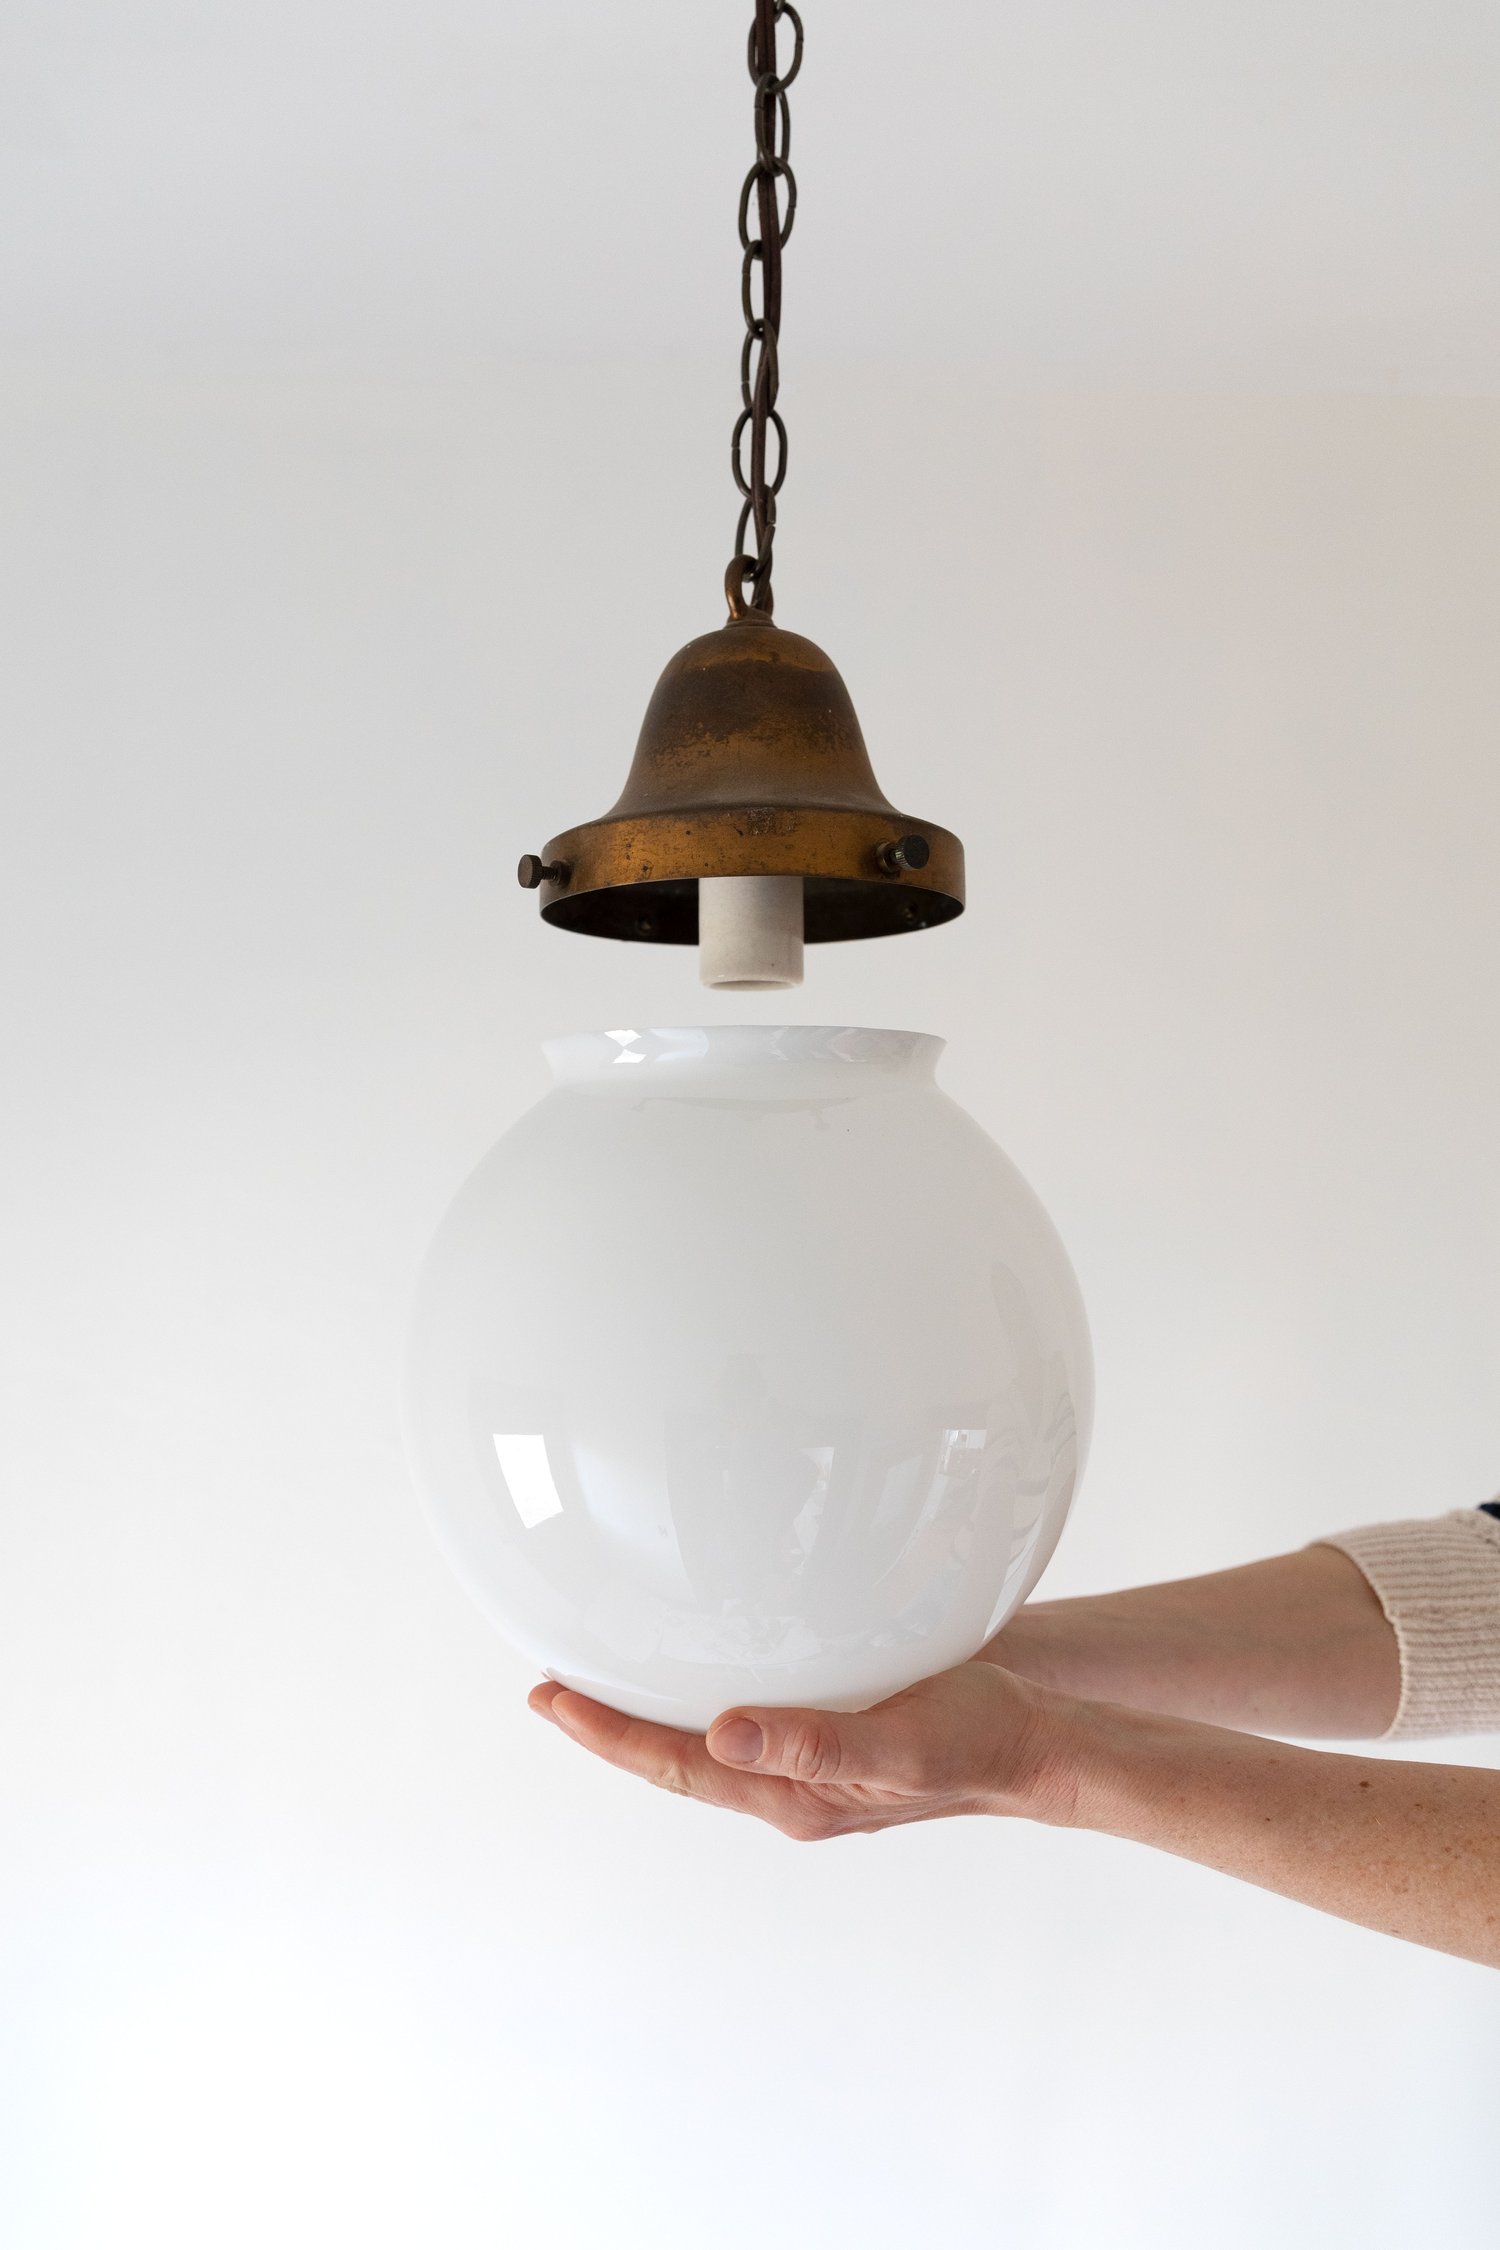
Credit: www.jimselectrical.com.au
Tools And Materials Needed
Replacing a pendant light requires some basic tools and materials. Having everything ready makes the job easier and safer. This guide covers the essentials needed to complete the task effectively.
Essential Tools For Replacing A Pendant Light
- Screwdriver set (flathead and Phillips)
- Wire stripper or cutter
- Voltage tester
- Electrical tape
- Step ladder
- Pliers
Materials Required For The Installation
- New pendant light fixture
- Wire connectors (wire nuts)
- Mounting bracket (usually included with the fixture)
- Light bulbs compatible with the new fixture
Safety Gear To Protect Yourself
- Insulated gloves
- Safety glasses
- Work clothes that cover skin
Safety Precautions
Working with electrical fixtures needs care and attention. Safety precautions protect you from shocks and injuries. Taking simple steps ensures a smooth pendant light replacement.
Always prepare your workspace before starting. Clear the area to avoid tripping or accidents. Gather all tools and materials needed for the job.
Turn Off Power At The Circuit Breaker
Cutting power prevents electric shocks during installation. Locate the correct breaker for the room. Switch it off and test with a voltage tester.
Use A Voltage Tester To Confirm Power Is Off
A voltage tester checks if wires still carry electricity. Touch the tester to each wire carefully. Only proceed if the tester shows no current.
Wear Safety Gear
Safety glasses protect your eyes from dust and debris. Insulated gloves reduce shock risk. Use a sturdy ladder to reach the fixture safely.
Handle Wires With Care
Never touch exposed wires directly. Keep wire ends covered with electrical tape if needed. Make sure wires do not touch each other or metal parts.
Follow Manufacturer Instructions
Read the pendant light manual fully before starting. Each fixture has specific mounting and wiring steps. Proper installation prevents future hazards and malfunctions.
Turning Off The Power
Before you start replacing a pendant light, the most important task is to ensure your safety by turning off the power. Handling electrical fixtures without cutting off electricity can be dangerous, even fatal. Taking a moment to do this step properly protects you and your home.
Locate The Correct Circuit Breaker
Head to your electrical panel and identify the breaker that controls the light fixture. Sometimes breakers are labeled, but if not, you might need to switch them off one by one. If you’re unsure, ask someone to stay near the fixture and tell you when the power goes out as you flip breakers.
Use A Voltage Tester To Confirm Power Is Off
Never trust just the breaker switch. A simple voltage tester can confirm the power is truly off. Place the tester near the wires or terminals of your pendant light to check for electricity before touching anything.
Inform Others In Your Household
Make sure everyone in your home knows that the power is off in that area. This prevents someone from accidentally turning the breaker back on while you’re working. Clear communication keeps everyone safe and avoids surprises.
Why Is This Step Often Overlooked?
Many people rush through turning off the power because they think the breaker is obvious or labeled. But labels can be wrong, and breakers can control multiple areas. Taking extra time to double-check saves you from shocks or damage.
Credit: www.thegritandpolish.com
Removing The Old Pendant Light
Removing the old pendant light is the first crucial step in updating your room’s lighting. It might seem tricky, but with the right approach, you can handle it safely and efficiently. Knowing exactly how to detach the fixture and disconnect the wiring will save you time and prevent any electrical mishaps.
Detaching The Fixture
Start by turning off the power at your circuit breaker to avoid any shocks. Once the power is off, carefully remove any decorative covers or shades from the pendant light. Use a screwdriver to loosen the screws or bolts holding the fixture to the ceiling plate.
Keep a hand on the fixture as you loosen it to prevent it from falling. If it feels stuck, gently wiggle it free without forcing it too hard. Have a small container ready to hold screws and small parts so you don’t lose them.
Disconnecting The Wiring
Before touching any wires, double-check the power is off by testing the switch or using a voltage tester. Then, carefully untwist the wire nuts connecting the fixture wires to the house wiring. It helps to remember or label which wires connect where, especially if you plan to install a similar light.
Be mindful of the wire colors: black or red usually means hot, white is neutral, and green or bare copper is ground. After disconnecting, tuck the house wires back into the electrical box neatly. Have you ever wondered how many people skip labeling wires only to get confused later? Avoid that by snapping a quick photo before disconnecting.
Preparing The New Pendant Light
Preparing the new pendant light is essential for a smooth installation. This step ensures the fixture is ready and safe to connect. Proper preparation saves time and avoids mistakes during setup.
Assembling The Fixture
Start by unpacking all parts carefully. Check the instruction manual for assembly details. Most pendant lights need some assembly before hanging.
- Attach the canopy to the mounting bracket.
- Secure the light shade or cover.
- Install bulbs if not pre-installed.
- Adjust the length of the cord or chain to fit your ceiling height.
Use the right tools like a screwdriver or pliers. Do not force parts together; they should fit easily. Proper assembly ensures the fixture looks good and works well.
Checking The Wiring
Inspect the wires coming from the pendant light. Look for any damage or exposed copper. Good wiring is critical for safety and performance.
- Identify the live, neutral, and ground wires by color.
- Make sure wire connectors are tight and secure.
- Trim wires if they are too long but leave enough length to connect.
Use a voltage tester if available to confirm wires are not live. Proper wiring prevents electrical hazards and keeps the light working correctly.

Credit: www.familyhandyman.com
Installing The New Pendant Light
Turn off the power before removing the old pendant light. Connect the wires carefully and secure the new fixture to the ceiling. Adjust the height and test the light to ensure it works properly.
Installing a new pendant light can be a satisfying project that transforms your space with minimal effort. Whether you’re revamping your kitchen or adding a touch of elegance to your living room, a new pendant light can make all the difference. Let’s dive into the steps of installing your new pendant light, focusing on the critical components that will ensure a successful installation.Connecting The Wiring
Before you start, ensure your power is turned off at the circuit breaker. Safety should always be your top priority. Identify the wires from your ceiling—typically, you’ll find a black (hot), white (neutral), and a green or copper (ground) wire. Match them with the corresponding wires on your pendant light. Use wire nuts to securely connect the wires, ensuring no exposed copper is visible. A slight tug on the wires can confirm they’re firmly connected. Did you know mismatched wiring is a common cause of flickering lights? Taking a few extra minutes to double-check your connections can save you future headaches.Mounting The Fixture
With the wiring securely connected, it’s time to mount your fixture. Attach the mounting bracket to the ceiling box using screws, ensuring it’s tightly secured. Align your pendant light’s canopy with the bracket and fasten it with the provided screws or nuts. If your fixture is heavy, having a friend hold it steady while you work can be incredibly helpful. Adjust the height of your pendant light according to your room’s needs. A general rule of thumb is to hang it 30-36 inches above a table or counter. Step back and admire your handiwork. Does it hang at the perfect height? Does it illuminate the space just as you envisioned? Small adjustments can make a big difference in the overall look. Remember, installing a pendant light is not just about functionality; it’s an opportunity to showcase your style and creativity.Testing And Adjusting
Testing and adjusting a pendant light is crucial after installation. It ensures safety and proper function. This step confirms the light works and looks right in your space. Simple checks can avoid future problems. Follow these tips to restore power and fine-tune your new fixture’s height and position.
Restoring Power
Turn the circuit breaker back on to restore electricity. Use the light switch to test the pendant light. If the light does not turn on, check the bulb and wiring connections again. Make sure all wires are secure and properly connected. Replace the bulb if necessary. Safety first—avoid touching wires with wet hands.
Adjusting Height And Position
Adjust the pendant light’s height to fit your room’s style and function. Most fixtures have an adjustable cord or chain. Shorten or lengthen it by pulling or releasing the cord. Ensure the light hangs evenly and does not sway. Position the light directly above tables or work areas for best effect. Check that it does not obstruct views or pathways.
Tips For Choosing A Pendant Light
Choosing the right pendant light can transform your space and enhance your home’s atmosphere. It’s not just about picking a light; it’s about finding one that fits your style, size needs, and energy goals. Let’s break down what you should consider before making your choice.
Style And Design
Your pendant light should reflect your personality and the room’s vibe. Are you drawn to modern, sleek designs or something more rustic and vintage? Think about the material, color, and shape—these details can make a big difference in tying your room together.
I once chose a minimalist black metal pendant for my kitchen, and it instantly gave the space a clean, contemporary look. Don’t be afraid to mix styles either; a bold pendant can become the centerpiece of your room.
Size And Scale
The size of your pendant light must match the room and the area it will illuminate. A tiny pendant in a large dining room can feel lost, while an oversized light in a small space may overwhelm it.
Measure the width of your table or the room’s dimensions. As a simple rule, the diameter of the pendant should be about one-third the width of the table. How much light do you want to spread? That also influences the size choice.
Energy Efficiency
Energy-efficient pendant lights save money and reduce environmental impact. Look for LED bulbs or fixtures rated for low power consumption. These options last longer and use less electricity.
Consider if your pendant supports dimmable bulbs—that lets you control brightness and mood. Have you checked the light’s energy rating before buying? It’s a small step that pays off in the long run.
Frequently Asked Questions
How Do I Safely Turn Off Power Before Replacing A Pendant Light?
Always switch off the circuit breaker controlling the light. Use a voltage tester to confirm no electricity flows. This ensures safety while replacing your pendant light.
What Tools Are Needed To Replace A Pendant Light?
You will need a screwdriver, wire stripper, voltage tester, and possibly pliers. Having these tools ready makes the replacement process easier and safer.
How Do I Remove The Old Pendant Light Fixture?
Turn off power, unscrew the fixture, disconnect wires carefully. Keep track of wire connections to ensure proper installation of the new light.
Can I Replace A Pendant Light With A Different Style?
Yes, but ensure the new fixture’s weight and wiring are compatible with your ceiling box for safety and stability.
Conclusion
Replacing a pendant light is easier than it seems. Turn off the power first to stay safe. Remove the old light carefully and check the wiring. Connect the new fixture step by step. Take your time and follow instructions closely.
A new light can change your room’s look quickly. Small efforts bring great results. Now, you can enjoy your updated space with fresh lighting. Give it a try!


