

Looking to change a light pendant but not sure where to start? You’re in the right place.
Swapping out a light pendant can instantly refresh the look of your room, making it feel brighter and more inviting. Plus, it’s easier than you might think. In this guide, you’ll learn simple steps to safely and quickly change your light pendant without needing to call an electrician.
Ready to transform your space with just a few tools? Keep reading, and you’ll have your new light fixture shining in no time.
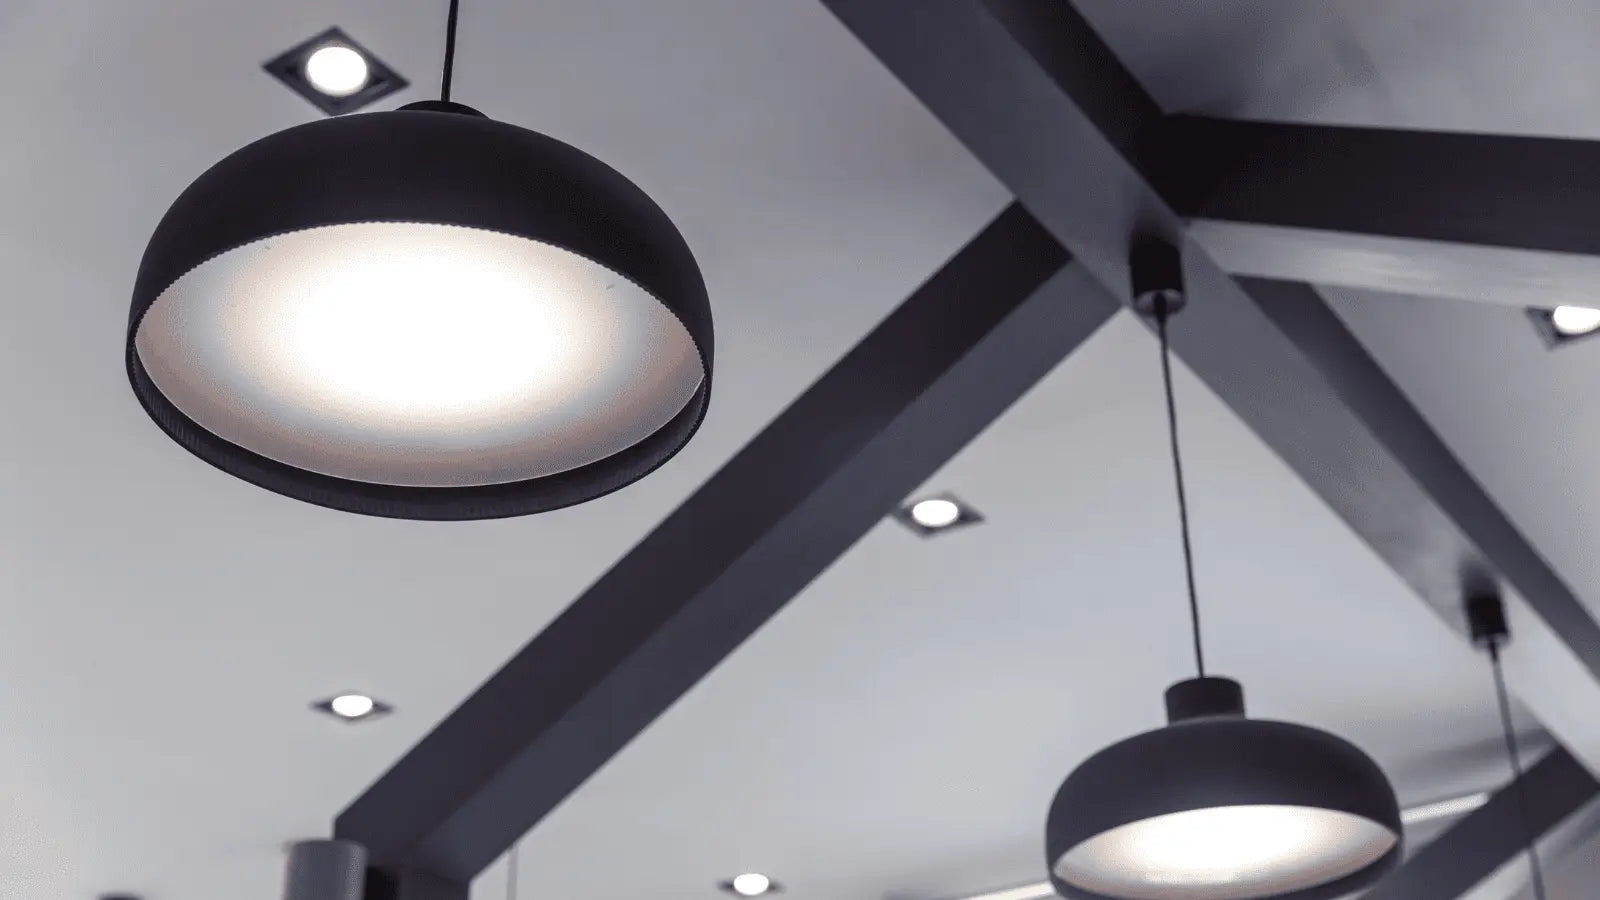
Credit: lustria.com
Tools And Materials Needed
Changing a light pendant requires specific tools and materials. Having the right items ready makes the process easier and safer. Prepare everything before starting to avoid interruptions.
Essential Tools
- Screwdriver set (flathead and Phillips)
- Wire stripper or cutter
- Voltage tester
- Adjustable wrench or pliers
- Step ladder or sturdy stool
- Electric tape
- Wire nuts
Choosing The Right Pendant
Pick a pendant that fits your room’s style and size. Check the weight to ensure your ceiling can support it. Confirm the pendant’s wiring type matches your home’s electrical system.
Safety Gear
- Insulated gloves to protect from electric shock
- Safety glasses to shield eyes from dust or debris
- Non-slip shoes for secure footing on ladders
Preparing The Area
Preparing the area is a crucial first step before changing a light pendant. This phase ensures safety and makes the task smoother. Taking time to set up properly prevents accidents and damage. Follow these simple steps to get your workspace ready and safe.
Turning Off Power
Start by switching off the power to the light fixture. Use the main circuit breaker or fuse box to cut electricity. Double-check by flipping the light switch to confirm the power is off. This step is key to avoid electric shocks while working.
Clearing The Space
Remove furniture and objects from under the light pendant. Clear the floor area to have enough room to work. Cover nearby surfaces with a cloth or plastic sheet. This protects against dust, debris, or accidental scratches during the process.
Setting Up A Safe Work Zone
Place a sturdy ladder or step stool under the fixture. Ensure it is stable and on a flat surface. Keep tools and replacement parts within easy reach. Use a helper if possible to hold the ladder or pass tools. Mark the area to warn others to stay clear.
Removing The Old Pendant
Begin by turning off the power at the circuit breaker to ensure safety. Carefully unscrew the old pendant and disconnect the wires from the ceiling. Gently lower the fixture, avoiding damage to the wiring or ceiling.
Removing an old light pendant can seem daunting. But with patience, it becomes a simple task. It involves careful steps to ensure safety and success. Let’s break down the process into manageable parts.Detaching The Fixture
First, switch off the power at the circuit breaker. This step is crucial for safety. Once the power is off, use a sturdy ladder to reach the pendant. Locate the screws or clips holding the fixture. Unscrew these carefully, supporting the pendant with your other hand. Once the fixture is loose, gently lower it.Handling Wiring Safely
With the fixture down, you’ll see the wires. These usually include black, white, and ground wires. Begin by removing the wire nuts, which connect the wires. Twist them counterclockwise to detach. Make sure the wires don’t touch each other. This prevents any accidental short circuits. Secure the wires temporarily with electrical tape.Removing Mounting Hardware
Now, focus on the mounting hardware. This could be a bracket or a metal plate. It holds the pendant to the ceiling. Use a screwdriver to remove the screws securing it. Keep all screws and small parts in a safe place. Once the hardware is removed, inspect the ceiling. Ensure there are no loose wires or damages. Now, the space is ready for a new pendant.Installing The New Pendant
Installing the new light pendant is where your project starts to take shape. This step requires careful attention to detail to ensure both safety and style. Let’s walk through the key parts of the installation that will make your pendant light shine exactly how you want it.
Connecting Wires
First, match the wires from your new pendant to the wires in your ceiling. Usually, you’ll connect black to black (live), white to white (neutral), and green or copper to ground. Make sure the power is off before you touch any wires to avoid shocks.
Use wire nuts to twist the wires together tightly, then wrap them with electrical tape for extra security. If your pendant has multiple wires or colors, check the manufacturer’s instructions carefully. A loose connection can cause flickering or worse, a short circuit.
Securing The Fixture
Once the wires are connected, it’s time to secure the pendant to the ceiling mount. Most fixtures come with a mounting bracket—attach this first using screws. Then, carefully tuck the wires into the ceiling box to keep everything neat and safe.
Attach the pendant’s canopy to the bracket, ensuring it’s flush against the ceiling. Tighten any screws or bolts until the fixture feels solid, but avoid over-tightening to prevent damage. A shaky pendant can be annoying and unsafe.
Adjusting Height And Position
Now, adjust the pendant’s height to fit your space perfectly. Many pendants have adjustable cords or rods—loosen the mechanism, set your desired length, then tighten it back up. Think about the room’s function and ceiling height; the light should be low enough to illuminate but high enough to avoid bumping heads.
Don’t forget to center the pendant over the table or workspace for the best effect. Step back and look at it from different angles—does it balance well with your room’s layout? Sometimes a small tweak can make a big difference in how the light complements your decor.
Testing And Final Touches
After installing your new light pendant, the final phase is crucial to ensure everything works perfectly and looks great. Testing and adding the finishing touches can make a big difference in your satisfaction with the project. This stage confirms your safety and the aesthetic appeal of your new lighting.
Turning On Power
Before you flip the switch, double-check that all wiring connections are secure and insulated. Safety is key—make sure your hands are dry and use a sturdy ladder if needed. Once confident, turn on the circuit breaker or power supply to the pendant.
Have you ever rushed this step only to find a loose wire causing flickering? Taking a moment now can save you a frustrating troubleshooting session later.
Checking The Light
Observe the light closely once it powers on. Does it illuminate evenly and without flicker? If the bulb doesn’t light up, or if you notice sparks or a burning smell, turn off the power immediately.
Try adjusting the height or angle of the pendant to see if it improves the room’s ambiance. Sometimes a slight tweak enhances the overall effect more than changing the bulb.
Cleaning And Styling
Fingerprints or dust can dull your new pendant’s finish. Use a soft, dry cloth or a mild cleaner to gently wipe the glass or metal parts. Avoid harsh chemicals that might damage the surface.
Think about the surrounding decor—does your pendant complement it well? Consider adding bulbs with warmer tones or dimmers to create the perfect mood. How does your space feel now with the new light?

Credit: www.familyhandyman.com
Common Mistakes To Avoid
Changing a light pendant seems simple but many make avoidable mistakes. These errors can cause safety risks or poor results. Knowing what to avoid saves time and effort.
Ignoring Safety Precautions
Always turn off the power at the breaker box before starting. Never trust just the wall switch. Use a voltage tester to confirm no electricity flows. Wear gloves and use insulated tools. Ignoring safety can cause shocks or fires.
Incorrect Wiring
Connecting wires wrongly can damage the fixture or cause shorts. Match wire colors carefully—usually black to black, white to white, and green to ground. Use wire connectors tightly and secure all connections. Loose or mixed wires create hazards and stop the light from working.
Choosing The Wrong Fixture Size
Pick a pendant that fits your room and ceiling height. Too large a fixture overwhelms the space. Too small looks odd and provides little light. Measure the area and check the fixture’s dimensions before buying. The right size improves both style and function.
Tips For Stunning Results
Changing a light pendant offers a fresh look to any room. Simple tips can ensure your new fixture stands out beautifully. Focus on style, lighting quality, and upkeep. These points help create a stunning and lasting effect.
Matching Style And Space
Choose a pendant that fits the room’s size and style. Large pendants suit big spaces; small ones work in cozy areas. Match the pendant’s design with your room’s decor. A modern pendant fits sleek rooms. Classic styles blend well with traditional spaces.
Consider the pendant’s color and material. They should complement furniture and walls. Balance is key. Avoid pendants that overpower or disappear in the room.
Using Dimmers And Bulbs
Use dimmer switches for light control. Dimmers let you change brightness to fit the mood. Choose bulbs with the right brightness and color temperature. Warm light creates a cozy feel; cool light feels bright and clean.
Energy-efficient LED bulbs save power and last longer. Check bulb size and type to fit your pendant. Proper bulbs enhance the pendant’s look and function.
Maintaining Your Pendant
Keep the pendant clean to maintain its shine. Dust it regularly with a soft cloth. For glass or crystal, use gentle cleaners to avoid damage.
Inspect wiring and connections yearly for safety. Replace any worn parts promptly. Proper care ensures your pendant stays beautiful and safe for years.

Credit: www.youtube.com
Frequently Asked Questions
How Do I Safely Turn Off Power Before Changing A Pendant?
Always switch off the circuit breaker linked to the pendant light. Use a voltage tester to confirm no electricity flows. This prevents shocks and ensures safety during the change.
What Tools Are Needed To Change A Light Pendant?
You typically need a screwdriver, wire stripper, voltage tester, and ladder. These tools help remove the old pendant and install the new one safely and correctly.
How Can I Remove An Old Pendant Light Fixture?
First, turn off power at the breaker. Unscrew the fixture base, disconnect wires carefully, and lower the pendant. Keep all screws and parts for reinstallation.
What Wiring Steps Are Crucial When Installing A New Pendant?
Match wires by color: black to black (live), white to white (neutral), and green or copper to ground. Secure connections tightly with wire nuts for safety.
Conclusion
Changing a light pendant can be simple and quick. Always turn off the power first for safety. Use the right tools and follow steps carefully. Take your time to avoid mistakes or damage. A new pendant can brighten your room and style.
Now, you have the confidence to try this task yourself. Enjoy the fresh look and improved lighting in your home.


