
Putting up Christmas tree lights can feel tricky, especially if you want your tree to look magical and perfect. You might wonder how to avoid tangled wires or uneven lighting that spoils the festive vibe.
But don’t worry—this guide will show you simple, effective steps to make your tree shine bright and beautiful. By the end, you’ll have the confidence to light your tree like a pro, creating a warm and joyful atmosphere for everyone to enjoy.
Ready to transform your holiday decor? Let’s dive in!
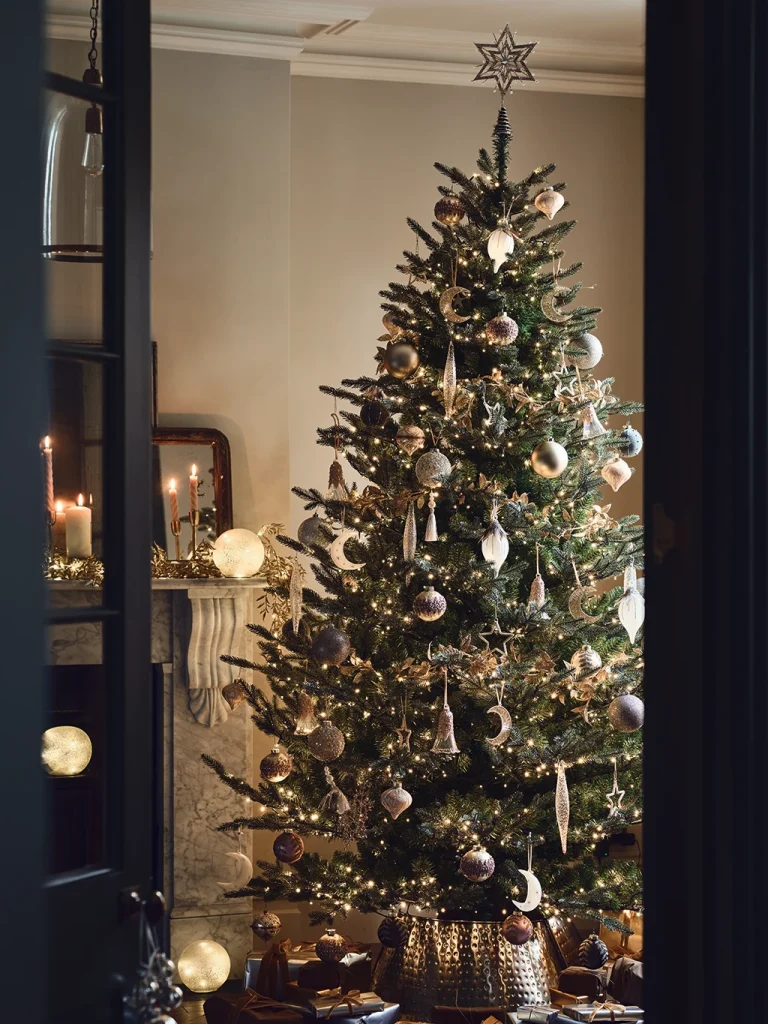
Credit: www.wayfair.com
Choosing The Right Lights
Choosing the right lights for your Christmas tree sets the tone for your entire holiday display. The perfect lights can highlight your decorations and create a warm, festive atmosphere. But with so many options available, how do you decide which lights will work best for your tree and your style?
Types Of Christmas Lights
You’ll find several types of Christmas lights, each offering different effects and uses. Traditional string lights are the most common, but there are also net lights, icicle lights, and curtain lights that add unique textures to your tree.
String lights wrap easily around branches, giving you control over placement. Net lights cover larger areas quickly, which is handy if you want a uniform glow. Think about the space you have and how much time you want to spend decorating when choosing the type.
Color And Style Options
Lights come in a variety of colors and styles that can either make your tree pop or provide a subtle glow. Classic white lights are timeless and elegant, while multicolor lights add a playful, vibrant feel.
Consider the rest of your décor. Are you going for a cozy, traditional look or something modern and bold? You can even mix styles—like pairing warm white lights with colored bulbs for a layered effect.
Led Vs. Incandescent
LED lights are energy-efficient and last longer, which saves you money over time. They also stay cooler, reducing fire risk—a big plus if you have pets or kids around.
Incandescent lights offer a softer, warmer glow that some people prefer for its nostalgic feel. However, they use more electricity and can burn out faster. Ask yourself whether you prioritize safety and energy savings or a specific light quality.
Preparing Your Tree
Choose a fresh, sturdy tree and place it securely in a stand. Fluff the branches to create space for lights. Check that all light bulbs work before starting.
Preparing your Christmas tree is an essential step in creating a festive atmosphere in your home. A well-prepared tree not only enhances the beauty of your decorations but also makes the process of adding lights smoother and more enjoyable. Let’s dive into the key steps to ensure your tree is ready for those twinkling lights.Selecting A Healthy Tree
Choosing the right tree is crucial for both aesthetics and longevity. Look for a tree with vibrant, green needles that are firmly attached to the branches. Gently run your hand through the branches; if needles fall off easily, the tree might not last throughout the holiday season. Consider the tree’s shape and fullness. A well-shaped tree will naturally present a more balanced look once decorated. Ensure the trunk is straight; this will make setting it up in the stand much easier.Setting Up The Tree Stand
A sturdy tree stand is essential for keeping your tree upright and safe. Make sure your stand is the right size for your tree’s trunk. A stand too small can lead to instability, while one too large might not hold the tree securely. Fill the stand with water once the tree is set up to keep it hydrated. Regularly check and refill the water to maintain the tree’s freshness. This step not only prolongs its life but also reduces the risk of fire hazards.Fluffing Branches For Fullness
Fluffing the branches is a simple yet effective way to enhance the tree’s appearance. Start from the bottom and work your way up, gently pulling apart and spreading out the branches. This process creates gaps for lights and ornaments, giving your tree a fuller look. Take your time with this step. A well-fluffed tree can transform even the simplest of decorations into a stunning display. As you fluff, visualize how the lights will wrap around, creating a magical glow throughout your room. How do you ensure your tree stands out each year? Sometimes, it’s all about the preparation. By selecting a healthy tree, securing it properly, and fluffing the branches, you’re setting the stage for a beautifully lit Christmas masterpiece.Testing Lights Beforehand
Testing your Christmas tree lights before hanging them saves you time and frustration. Imagine untangling strings of lights only to find some don’t work. Checking them beforehand ensures your decorating goes smoothly and your tree looks bright and beautiful.
Checking For Burnt Out Bulbs
Start by plugging in the string of lights to see if all bulbs are lit. Look closely for any bulbs that remain dark or flicker irregularly. A single burnt-out bulb can sometimes cause a whole section of lights to go out, so identifying these early helps.
Use a bulb tester or carefully replace the suspect bulbs with spares. Make sure you keep spare bulbs handy; they often come with the light set but can get lost easily. Replacing burnt-out bulbs before hanging saves you from having to take the entire string down later.
Ensuring Proper Functionality
After checking for burnt-out bulbs, verify that the lights work properly along the entire string. Wiggle the wires gently to check for loose connections or broken sockets. Faulty wiring can cause sections of lights to flicker or fail intermittently.
Test the light settings if your string has multiple modes like flashing or fading. Confirm each mode functions as expected to avoid surprises once your tree is decorated. If any part doesn’t work right, consider replacing the string before you start decorating.
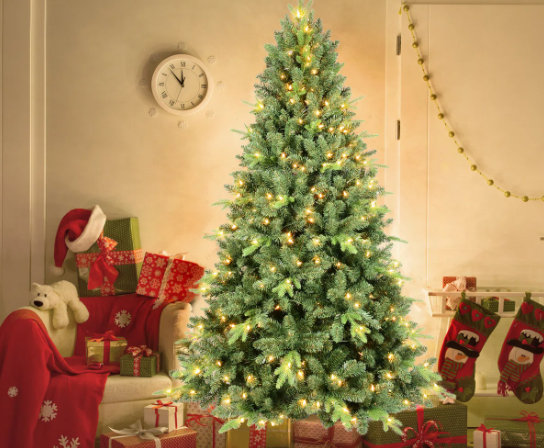
Credit: www.christmastreeworld.co.uk
Planning Your Lighting Design
Planning your lighting design creates a stunning Christmas tree display. It helps you control light coverage and balance. Thoughtful planning avoids tangled cords and dark spots on the tree. This step sets the foundation for a beautiful holiday centerpiece.
Deciding On Light Placement
Start by choosing the areas to highlight with lights. Consider wrapping lights around the branches or placing them deep inside the tree. Lights near the trunk create a warm glow. Lights on outer branches add sparkle and depth.
Think about how many lights you want on each section. Use more lights on the bottom for balance. Less light near the top avoids overpowering the tree’s peak. Plan where to place the plug and extension cords for easy access.
Choosing A Wrapping Technique
Pick a wrapping style that fits your tree shape and size. Wrap lights tightly around each branch for a neat look. This technique ensures even light distribution and reduces clutter.
Try weaving lights in and out of the branches. This method creates a twinkling effect and highlights the tree’s depth. Experiment with vertical or spiral wrapping for variety. Each style changes the tree’s appearance and mood.
Step-by-step Lighting Process
Lighting a Christmas tree creates a magical atmosphere. The process can feel simple with a clear plan. Follow these steps to make your tree shine beautifully and safely. Each step helps arrange the lights evenly and securely.
Starting At The Base Or Top
Choose where to begin placing lights. Starting at the base lets you hide the plug behind the tree skirt. Starting at the top can give a neat look and allows easier wrapping downwards. Either way works well. Keep the cord close to the trunk for support.
Wrapping Branches Evenly
Wrap the lights around each branch gently. Move from the inside of the tree outwards. Space the lights evenly to avoid dark spots. Use a steady hand to follow the natural shape of branches. This makes the tree glow from within.
Securing Lights Safely
Use clips or twist ties to hold lights in place. Avoid sharp objects that can damage wires. Check that cords do not dangle where pets or children can reach. Keep plugs and connections off the floor to prevent water contact. Safety ensures your tree stays bright all season.

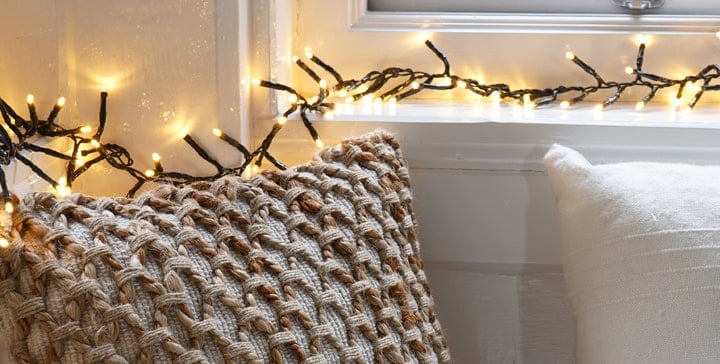
Credit: www.youtube.com
Safety Tips For Lighting
Lighting your Christmas tree creates a magical atmosphere, but safety should always come first. Ignoring simple precautions can lead to electrical hazards or even fires. Paying attention to how you set up your lights protects your home and lets you enjoy the festive glow worry-free.
Avoiding Overloading Circuits
Overloading circuits is a common cause of electrical fires during the holidays. Check the wattage limits on your extension cords and outlets before plugging in multiple strings of lights.
Split your lights across different outlets if needed. Use power strips with built-in circuit breakers for extra protection. Have you ever noticed a warm plug or flickering lights? That’s a sign to unplug and reduce the load immediately.
Using Outdoor-rated Lights Indoors
Using outdoor-rated lights indoors might seem safe because they’re designed for tougher conditions, but it can actually cause problems. Outdoor lights often have thicker insulation and can overheat in confined indoor spaces.
Stick to lights labeled for indoor use on your Christmas tree. If you choose to use outdoor lights indoors, make sure they are rated for both environments. This small detail can prevent overheating and extend the life of your decorations.
Keeping Lights Away From Flammable Materials
Lights generate heat, which can ignite nearby flammable materials like dry branches, paper ornaments, or fabric decorations. Always position your lights so they don’t touch anything that can catch fire.
Test how hot the bulbs get by running the lights for a few hours before decorating. If any part feels too warm, rearrange your setup. Do you have pets or kids who might accidentally move or pull decorations? Secure your lights to avoid accidents and keep everyone safe.
Troubleshooting Common Issues
Christmas tree lights bring magic to the holiday season. Sometimes, these lights cause small problems. Fixing these issues keeps your tree bright and cheerful. Troubleshooting common problems helps you enjoy the festive glow without stress.
Fixing Flickering Lights
Flickering lights can spoil the festive mood. This usually happens due to loose bulbs or faulty connections. Check each bulb carefully. Push them gently to ensure they fit well. If flickering continues, try unplugging and replugging the light string. A poor connection might cause the issue. Sometimes, a bad fuse in the plug can cause flickering. Replace the fuse if needed. This often solves the problem quickly.
Replacing Broken Bulbs
Broken bulbs can cause parts of your lights to go dark. Find the exact replacement bulb for your string. Look for the size and voltage on the packaging. Turn off the lights before replacing bulbs. Remove the broken bulb by gently pulling it out. Insert the new bulb firmly into the socket. If the whole string is out, a single broken bulb might be the cause. Replace all damaged bulbs to restore the full glow.
Managing Tangled Cords
Tangled cords can be frustrating and unsafe. Untangle the lights slowly and carefully. Avoid pulling hard to prevent wire damage. Use twist ties or clips to keep cords neat. Store lights in a box or bag after use. This prevents tangles for next year. Neat cords also reduce the risk of tripping or fire hazards.
Enhancing The Glow
Enhancing the glow of your Christmas tree lights creates a magical holiday atmosphere. A well-lit tree shines brighter and catches the eye. Small adjustments can make a big difference in the overall sparkle and warmth. Focus on techniques that reflect and layer light to boost the visual impact. These simple tips help your tree glow beautifully in any room.
Adding Light Reflectors
Light reflectors bounce light to brighten dark areas on the tree. Use shiny ornaments or small mirrors to reflect bulbs’ glow. Place these reflectors behind or near lights for extra sparkle. Aluminum foil strips also work well when shaped to reflect light outward. Reflectors make your tree look fuller and more vibrant without adding more lights.
Layering With Different Light Types
Combining various light types adds depth and texture to your tree’s glow. Mix warm white lights with cool white or colored bulbs for contrast. Use string lights with different sizes of bulbs to create interest. Twinkling or blinking lights layered with steady ones add movement. Layering lights in this way gives your tree a richer and more dynamic look.
Frequently Asked Questions
How Do You Start Putting Lights On A Christmas Tree?
Begin by untangling the lights fully. Start from the tree’s base and wrap lights evenly around branches upward. Ensure lights are plugged in to check functionality as you go.
What Type Of Lights Are Best For Christmas Trees?
LED string lights are best. They are energy-efficient, long-lasting, and cool to the touch. Choose warm white or multicolor based on your décor style.
How Many Light Strands Do I Need For My Tree?
Use 100 lights per vertical foot of tree height. For example, a 6-foot tree requires about 600 lights for full coverage and brightness.
Should I Test Christmas Lights Before Hanging Them?
Yes, always test lights before hanging. This ensures all bulbs work and avoids replacing strands after decorating, saving time and frustration.
Conclusion
Putting lights on your Christmas tree can be simple and fun. Start at the bottom and wrap the lights around the branches evenly. Check each section to make sure the lights work well. Take your time and don’t rush. A well-lit tree makes your home feel warm and festive.
Enjoy the soft glow as you celebrate the holiday season. Remember, practice helps you get better each year. Brighten your space with care and patience. The joy of a sparkling tree is worth every moment.


