
Are you tired of fumbling for the light switch in the dark? Imagine your lights turning on automatically the moment you enter a room, saving you time and energy.
Programming a motion sensor light switch is easier than you think, and you don’t need to be a tech expert to do it. In this guide, you’ll discover simple steps to set up your motion sensor light switch perfectly for your home or office.
Keep reading to learn how you can make your space smarter, safer, and more convenient with just a few easy adjustments.

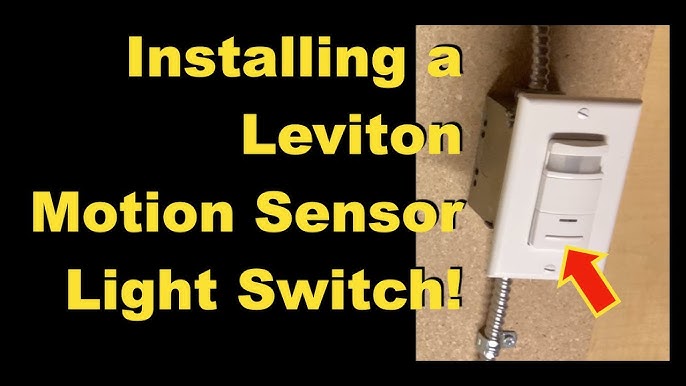
Credit: www.avatarcontrols.com
Benefits Of Motion Sensor Light Switches
Motion sensor light switches offer more than just automatic lighting. They bring tangible benefits that can improve your daily life and reduce your energy bills. Understanding these benefits can help you decide if adding one to your home or office makes sense for you.
Energy Savings
Motion sensor light switches turn lights off automatically when no one is in the room. This prevents lights from being left on unnecessarily, cutting down your electricity use significantly.
Think about your hallway lights or bathroom lights—how many times have you forgotten to switch them off? With motion sensors, you save energy without even thinking about it.
Enhanced Convenience
Imagine walking into a dark room and the lights turn on instantly. No fumbling for switches in the dark, no delay—just immediate illumination.
This convenience is especially useful in places like garages, closets, or basements where you often have your hands full. The switch reacts to your presence, making everyday tasks smoother.
Increased Security
Motion sensor lights can deter unwanted visitors by lighting up when someone approaches. This sudden brightness can discourage trespassers and alert you to movement outside your home.
Adding these switches near entryways or dark corners makes your property safer. Wouldn’t you want a simple tool to boost your home’s security without extra effort?

Credit: www.youtube.com
Choosing The Right Motion Sensor Switch
Choosing the right motion sensor switch is crucial for a smooth installation and optimal performance. The right switch not only fits your needs but also enhances convenience and energy efficiency. Before you buy, consider the different features and how they match your space and lighting fixtures.
Types Of Motion Sensors
Motion sensors come mainly in two types: passive infrared (PIR) and ultrasonic. PIR sensors detect body heat and work best in clear line-of-sight areas, making them ideal for rooms or hallways. Ultrasonic sensors emit sound waves to detect movement, which can sense around obstacles but may be prone to false triggers.
Think about the room you want to control. Is it a kitchen with cabinets, or a hallway with open space? Choosing the right sensor type can make a big difference in how well your switch responds.
Compatibility With Fixtures
Not every motion sensor switch works with all types of lighting fixtures. Check if the switch supports LED, incandescent, fluorescent, or halogen bulbs. Some switches are designed specifically for one or two types, while others offer broader compatibility.
For example, if you have LED lights, make sure the sensor switch is rated for LED use to avoid flickering or malfunction. Also, verify the voltage and wattage limits so you don’t overload your circuit.
Sensitivity And Range
Sensitivity controls how easily the sensor detects movement, while range determines how far it can sense. If your sensor is too sensitive, lights may turn on unnecessarily. Too little sensitivity, and it might miss your movements.
Consider the size of the room and how you move through it. For a small bathroom, a short range and medium sensitivity might work best. Larger rooms or outdoor areas may need longer range and adjustable sensitivity settings.
Ask yourself: Do you want the light to react instantly or only when you’re close? Adjusting these settings correctly can save energy and improve your experience.
Tools And Materials Needed
Before you start programming your motion sensor light switch, gathering the right tools and materials is crucial. Having everything at hand makes the process smoother and safer. It also helps you avoid unnecessary interruptions or trips to the hardware store.
Basic Electrical Tools
You’ll need some standard electrical tools that most DIYers already have in their toolbox. A screwdriver setwith both flathead and Phillips heads is essential for removing and securing switch plates and wiring terminals.
A wire stripperhelps you prepare the wires without damaging them. Using needle-nose pliersmakes handling small wires easier and more precise.
Don’t forget a voltage tester. It ensures the power is off before you touch any wires, which is a critical safety step. Have you ever thought about how a small tool like this can prevent a serious shock?
Safety Gear
Your safety should never be an afterthought. Wearing insulated glovesprotects your hands from accidental electric shocks and sharp wire ends. Safety glasses shield your eyes from dust or sparks when handling wires.
Consider wearing long sleeves to avoid skin contact with rough surfaces or unexpected sparks. Safety isn’t just about tools; it’s about protecting yourself at every step.
Additional Components
Besides tools, you’ll need specific materials to complete the installation. A motion sensor light switchcompatible with your home wiring is the centerpiece.
Prepare wire nutsfor secure connections and electrical tapeto insulate exposed wires. If your setup requires it, a junction boxmight also be necessary to house connections safely.
Have you checked if your home’s electrical system supports the new switch? Knowing this upfront can save you from costly adjustments later.
Preparing For Installation
Before installing your motion sensor light switch, proper preparation is key to a smooth and safe process. Taking time to set up your workspace and ensuring all safety measures are in place will save you from headaches later. Let’s focus on three important steps that will get you ready to install your new switch confidently.
Turning Off Power
Safety should never be compromised when working with electrical devices. Start by switching off the power at the circuit breaker that controls the light switch you’re replacing. Don’t rely on just flipping the switch off—you want to be sure no electricity is flowing to avoid shocks.
Use a voltage tester to double-check that the power is indeed off. It’s a small step that protects you and your project. Have you ever skipped this and regretted it? Trust me, this quick check is worth the extra minute.
Removing Existing Switch
Once the power is off, carefully remove the faceplate of the existing switch using a screwdriver. Next, unscrew the switch from the electrical box, gently pulling it out without yanking the wires.
Take note of how the wires are connected before disconnecting them. Taking a clear photo with your phone can help you remember where each wire goes, especially if it’s your first time handling electrical wiring.
Checking Wiring
With the switch out, inspect the wires inside the box. Look for any signs of damage, such as frayed or exposed wires, and ensure the wiring matches the requirements for your new motion sensor switch.
Pay attention to the color coding—typically black or red is live, white is neutral, and green or bare copper is ground. If your wiring doesn’t match these colors or if you feel unsure, consider consulting a professional. It’s better to ask than to risk improper installation.
Wiring The Motion Sensor Switch
Wiring your motion sensor light switch correctly is crucial for safety and functionality. This process involves identifying the right wires, making the proper connections, and securing the switch in place. Taking your time during this phase can save you from headaches and ensure your new switch works perfectly every time.
Identifying Wires
Before touching any wires, turn off the power at the circuit breaker to avoid shocks. Open the switch box and look closely at the wires inside. Typically, you’ll find a line (hot)wire, a loadwire, a neutralwire, and a groundwire.
Each wire usually has a standard color: black or red for hot and load, white for neutral, and green or bare copper for ground. Double-check with a voltage tester to make sure no electricity is flowing before proceeding. Have you ever assumed a wire was safe, only to realize it wasn’t? Always verify.
Connecting Wires Correctly
Match the wires from your motion sensor switch to the corresponding wires in the switch box. Connect the line wirefrom your home to the line terminal on the sensor switch. The load wiregoes to the load terminal, which controls the light fixture.
Attach the neutral wirestogether using a wire nut, including the neutral from the sensor switch. Finally, connect the ground wirefrom the switch to your home’s ground wire or grounding screw. Twist the wires firmly and secure them with wire nuts to prevent loose connections.
Securing The Switch
Once all wires are connected, gently tuck them back into the electrical box. Be careful not to pinch any wires, which could cause shorts or damage. Use the screws provided to fasten the motion sensor switch securely to the box.
After securing the switch, attach the faceplate to complete the installation. Turn the power back on and test your switch to see if it activates the light as expected. If it doesn’t, double-check your wiring connections before assuming the switch is faulty.
Programming The Motion Sensor
Programming your motion sensor light switch is key to making it work exactly how you want. This process lets you tailor the sensor’s behavior to your space and lifestyle. By adjusting settings carefully, you can save energy and boost convenience without any guesswork.
Setting Detection Range
The detection range controls how far the motion sensor can “see” movement. Too wide, and the light might turn on from passing cars or pets. Too narrow, and you might have to wave your arms to activate it.
Most sensors have a dial or buttons to set this range. Try starting at a medium distance, then walk around your space to test. Adjust until the light responds only when you want it to.
Adjusting Light Sensitivity
Light sensitivity determines how bright your environment needs to be before the sensor activates the light. If set too low, the light may turn on during daylight, wasting energy. Too high, and you might walk into a dark room.
Check your sensor’s manual for a sensitivity adjustment, often labeled as “LUX.” Set it based on your room’s usual lighting—lower for dim rooms, higher for well-lit areas. Think about how often you want the sensor to override natural light.
Configuring Timer Settings
The timer controls how long the light stays on after detecting motion. Setting this too short might leave you in the dark if you’re still moving slowly. Too long, and the light wastes energy when you leave.
Most switches let you choose from a few seconds up to several minutes. Consider your typical activity: a kitchen might need longer light-on times, while a hallway might not. Test different settings to find what feels right for your daily routine.
Testing And Troubleshooting
Testing the motion sensor light switch ensures it reacts to movement correctly and turns on the light. Troubleshooting involves checking connections, sensor settings, and power supply to fix common issues quickly.
Testing and troubleshooting your motion sensor light switch is crucial. It ensures optimal performance and energy efficiency. Whether you’re a DIY enthusiast or a beginner, understanding how to test and troubleshoot can save time and effort.Initial Function Test
Start by checking the light switch settings. Ensure it’s set to detect motion. Walk into the sensor’s range. Observe if the light turns on. If it doesn’t, check the power source. Verify the light bulbs are functional. Adjust the sensitivity settings if needed.Common Issues
Sometimes, sensors may not detect motion properly. They might fail to turn on the light. This could be due to incorrect settings. A blocked sensor can also cause issues. Ensure nothing obstructs the sensor’s view. Power outages can reset the switch settings.Fixing Sensor Problems
Adjust the sensor angle for better coverage. Make sure it faces the right area. Clean the sensor lens. Dust or dirt can affect detection. Re-check the sensitivity settings. Set them to an appropriate level. Inspect the wiring connections. Loose wires can disrupt functionality.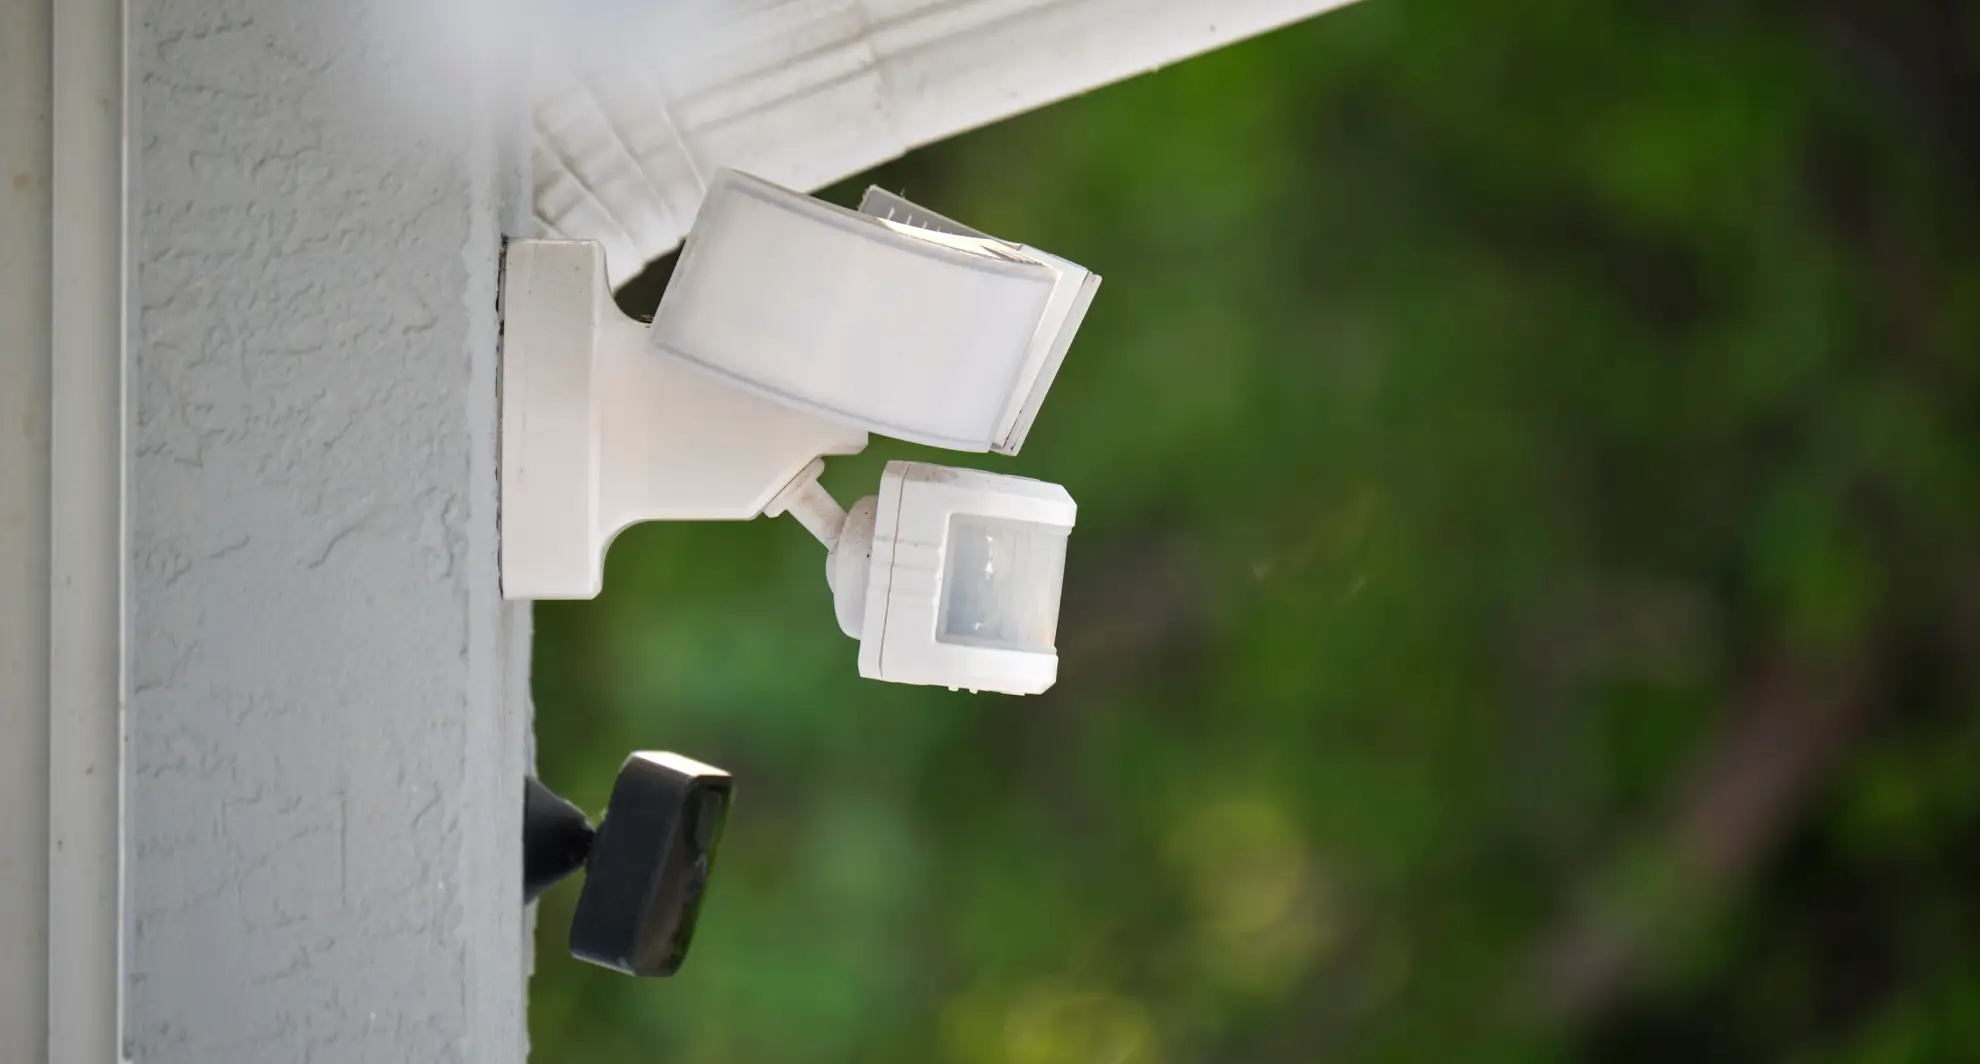
Credit: mrelectric.com
Maintenance Tips
Proper maintenance keeps your motion sensor light switch working well. Regular care helps avoid malfunctions and extends its life. Follow these simple tips to maintain your device and ensure reliable performance.
Cleaning The Sensor
Dust and dirt can block the sensor’s view. Gently wipe the sensor with a soft, dry cloth. Avoid using water or harsh cleaners. Clean the sensor surface once every few weeks. This keeps it sensitive to motion and prevents false triggers.
Updating Settings
Check your motion sensor switch settings regularly. Adjust sensitivity and timer settings as needed. Changes in room layout or lighting can affect performance. Use the switch’s manual or app to update settings. Proper adjustments save energy and improve convenience.
Replacing Components
Some parts wear out over time. Replace batteries if your sensor uses them. Inspect wiring and connections for damage or corrosion. Swap out faulty switches or sensors quickly. Using original parts ensures safety and compatibility.
Frequently Asked Questions
How Do I Program A Motion Sensor Light Switch?
To program a motion sensor light switch, first turn off power. Then, set sensitivity and time delay using the switch buttons. Finally, restore power and test the sensor by moving in front of it.
Can I Customize The Motion Sensor Light Switch Settings?
Yes, you can customize settings like sensitivity, time delay, and ambient light threshold. Use the buttons or dials on the switch to adjust these based on your needs.
Why Is My Motion Sensor Light Switch Not Detecting Motion?
Common issues include improper wiring, low sensitivity settings, or obstruction blocking the sensor. Check wiring, increase sensitivity, and ensure the sensor has a clear view to fix detection problems.
How Long Does The Motion Sensor Light Stay On?
The light duration depends on the programmed time delay. You can usually set it from a few seconds up to several minutes, depending on the model and your preference.
Conclusion
Programming a motion sensor light switch is simple and useful. It saves energy by turning lights off when no one is around. You can set the time and sensitivity to fit your needs. This small change can make your home safer and more convenient.
Try these steps to add smart lighting to your space. Enjoy the benefits of automated lighting every day.


