
Looking to add a warm, personal touch to your workspace? Making a desk lamp out of wood is easier than you think—and it gives you a unique piece that reflects your style.
Imagine lighting up your desk with a lamp you built yourself, crafted from natural wood that brings comfort and charm to your room. In this guide, you’ll discover simple steps to create a stylish, functional lamp that fits perfectly on your desk.
Ready to transform your space and impress everyone with your DIY skills? Let’s get started!
Credit: medium.com
Materials Needed
Gathering the right materials is the first key step to building a wooden desk lamp that looks great and works well. Each component plays a vital role, from the wood you choose to the lighting parts and the tools you’ll need for assembly. Knowing exactly what to prepare saves time and helps avoid frustration during the build.
Types Of Wood
Your choice of wood affects both the lamp’s appearance and durability. Hardwoods like oak, maple, or walnut offer strength and a beautiful finish, making them excellent choices if you want a lasting piece. Pine or poplar are softer and easier to work with, which can be great if you’re new to woodworking or want a lighter lamp.
Think about your workspace style: Do you want a rustic feel or a sleek modern look? This influences your wood selection. Also, consider the wood’s grain and color—it can add personality to your lamp without extra effort.
Lighting Components
- Light socket:Choose one that fits your bulb type, typically an E26 or E27 socket works well for desk lamps.
- Bulb:LED bulbs are energy-efficient and stay cool, making them safe and practical for close lighting.
- Power cord:A cord with an inline switch offers easy on/off control without needing to unplug the lamp.
- Plug:Ensure it matches your local electrical standards for safety.
- Wire connectors and electrical tape:These secure your wiring and prevent shorts.
Have you ever thought about upgrading your lamp with a dimmer switch? It can give you control over brightness and add functionality to your workspace.
Tools Required
- Saw:A handsaw or jigsaw works for cutting wood pieces to size.
- Drill:Essential for making holes for wiring and assembling parts.
- Screwdriver:Needed for attaching hardware like the socket and base.
- Sandpaper:Smooths rough edges and prepares surfaces for finishing.
- Clamps:Hold your wood pieces steady while you work.
- Measuring tape and pencil:Accurate measurements ensure your lamp fits perfectly on your desk.
Working with the right tools not only speeds up the process but also improves safety. Have you checked if you have all these tools handy before starting? It’s a simple step that can save a lot of hassle.
Choosing The Design
Choosing the design for your wooden desk lamp sets the tone for the entire project. The style should match your room and personal taste. It also affects how easy the lamp is to build and use. Focus on shapes and features that suit your needs and skills.
Simple Styles
Simple designs keep the process easy and quick. Basic shapes like cubes, rectangles, or cylinders work well. These styles need fewer cuts and less sanding. They also create a clean, modern look that fits most desks. Using simple joints like butt or lap joints helps keep the lamp sturdy.
Adjustable Features
Adding adjustable parts makes the lamp more useful. You can move the light to different angles or heights. Common options include swing arms, pivot joints, or sliding tubes. These features need extra care in measuring and fitting. But they offer more control over the light’s direction and brightness.
Finishing Touches
The final look depends on the finishing touches you choose. Sand the wood smooth to avoid rough spots. Use stains or paint to add color and protect the wood. Adding a lampshade or decorative elements can enhance style. Small details like cable management also improve usability and neatness.
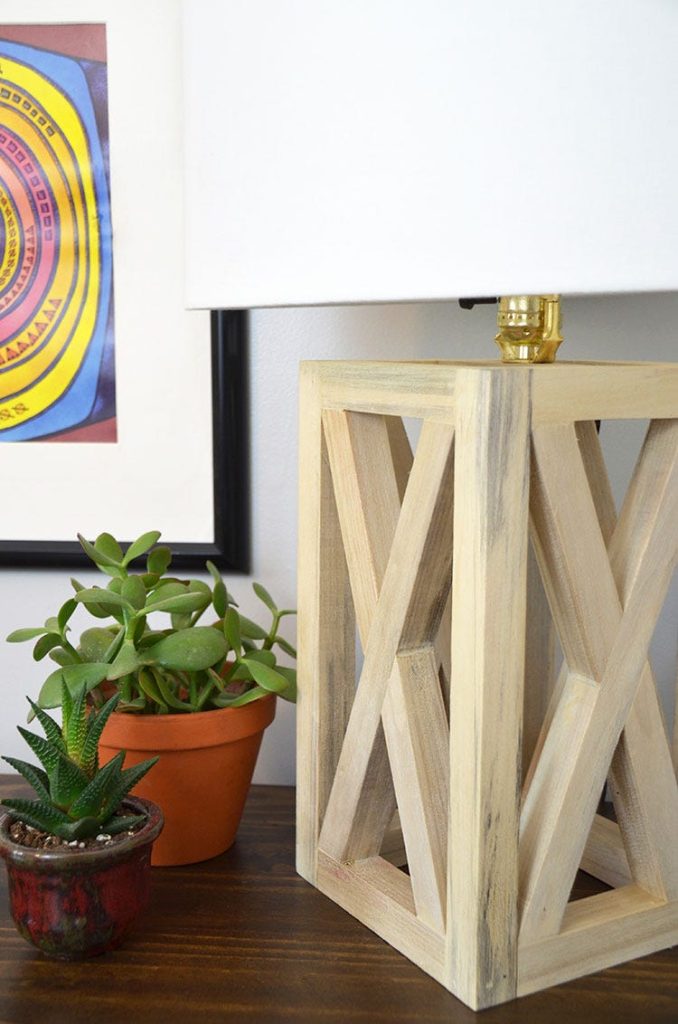
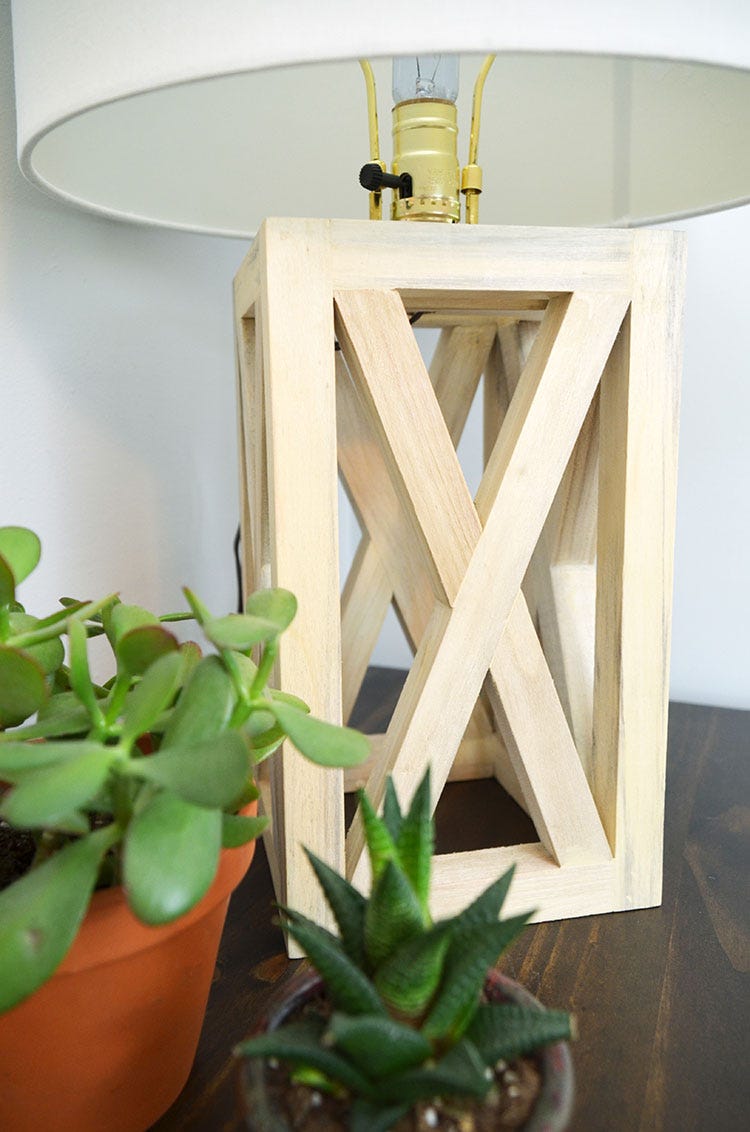
Preparing The Wood
Select a smooth, sturdy piece of wood for the lamp base. Sand all surfaces carefully to remove rough spots and splinters. Ensure the wood is clean and dry before starting assembly.
Preparing the wood is a vital step in crafting a wooden desk lamp. This process ensures your lamp is sturdy and aesthetically pleasing. It involves several key stages that require attention to detail. Each step prepares the wood for assembly, enhancing the final product’s look and feel. Let’s explore these important steps in detail.Measuring And Cutting
Start by measuring the wood pieces for your lamp. Precision is crucial here. Use a ruler or measuring tape for accuracy. Mark the measurements on the wood with a pencil. This ensures you cut along the correct lines. Use a saw to cut the wood according to your measurements. Keep cuts straight for a perfect fit. Double-check each piece to ensure it matches your plan.Sanding And Smoothing
Sanding is essential for a smooth finish. Use sandpaper to remove rough edges from the wood. Begin with coarse sandpaper and gradually move to finer grit. This will make the wood surface smooth and ready for finishing. Ensure every surface is even and without splinters. This step enhances both the look and safety of your lamp.Drilling Holes
Drilling holes is necessary for assembling your lamp. Determine where you need holes for wiring and assembly. Use a drill with the correct bit size for your screws and wires. Mark the spots where you will drill. This ensures precision and minimizes errors. Carefully drill the holes, maintaining straight angles. This will make the assembly process easier and more secure.
Credit: www.youtube.com
Assembling The Lamp
Assembling your wooden desk lamp is where your project starts to come alive. This phase brings together the pieces you’ve carefully crafted and sets the foundation for a functional and beautiful lamp. Paying close attention to each step ensures your lamp is sturdy, safe, and ready to light up your workspace.
Joining Wood Pieces
Begin by aligning the wooden parts precisely. Use wood glue at the joints to provide a strong bond, then clamp the pieces together firmly. This hands-on step can be satisfying—you’ll see how tight and clean joints improve the lamp’s overall look and stability.
If you’re drilling holes for screws, double-check measurements before making any marks. Screws add extra support, especially for parts that bear weight, like the lamp arm or base. Remember, a well-joined structure means your lamp won’t wobble or loosen over time.
Installing The Light Socket
Next, focus on fitting the light socket into your wooden frame. Choose a socket that matches your bulb size and fits snugly into the lamp head. Secure it with screws or brackets provided with the socket kit to prevent any movement.
Think about the height and angle of the socket to ensure optimal lighting. You want your lamp to cast light where you need it most, so take a moment to adjust before fixing everything permanently. A socket installed correctly will make switching bulbs easy and safe.
Wiring Safely
Wiring is a critical step that requires caution. Use a cord with an inline switch for convenience, and make sure all connections are tight and insulated properly. Loose wires can cause shorts or electric shocks, so double-check every connection.
Test your wiring with a voltage tester before plugging in the lamp. If you’re unsure, consult an electrician or a knowledgeable friend. Safety can’t be compromised, and taking time here prevents future hazards.
Finishing The Lamp
Finishing your wooden desk lamp is a crucial step that enhances its look and durability. It’s where your creation turns from a simple wooden frame into a polished piece that fits perfectly on your desk. The choices you make here affect both the lamp’s style and how long it will last.
Applying Stain Or Paint
Deciding between stain or paint depends on the style you want. Stain brings out the natural grain of the wood, giving it a warm, organic feel. Paint, on the other hand, lets you add bold colors or a smooth, uniform finish.
Before applying, sand the wood surface smoothly to avoid rough patches. Use a brush or cloth for stain, applying it evenly and wiping off excess to prevent blotches. If you choose paint, opt for a primer first to help the color stick and last longer.
Adding Protective Coating
Adding a protective coat seals your stain or paint and guards against scratches and moisture. Polyurethane is a popular choice because it’s clear and durable. Apply thin layers with a clean brush and let each dry fully before adding the next.
Consider whether you want a glossy or matte finish—glossy makes the lamp shine, matte gives a softer look. This layer not only protects but also makes cleaning your lamp easier, especially if it’s on a busy desk.
Attaching The Lampshade
The lampshade is the final touch that defines your lamp’s character and controls the light flow. Ensure the frame holding the shade fits securely on the lamp’s neck or bulb holder. You might need to use screws or clips depending on your lamp design.
Pick a lampshade material and color that complement the wood finish and your workspace lighting needs. Remember, a lighter shade brightens the room, while a darker one creates a cozy atmosphere. How does the shade’s shape influence the light pattern on your desk?
Testing And Troubleshooting
Testing and troubleshooting are key parts of making a wooden desk lamp. These steps ensure your lamp works safely and looks great. Careful checks help avoid electrical problems and improve lamp function. This section explains how to check connections, adjust the lamp, and fix common issues.
Checking Electrical Connections
Start by inspecting all wire connections. Make sure wires are tightly secured to terminals. Loose wires cause flickering or no light at all. Use a screwdriver to tighten screws if needed. Check the plug and switch for damage. If wires look worn or frayed, replace them immediately. Confirm the bulb fits properly in the socket. A good connection sends steady power to the bulb.
Adjusting Lamp Position
Test the lamp’s angle and height. A flexible arm or adjustable base can help direct light. Move the lamp to different positions to find the best spot. Ensure the lamp is stable and does not tip over. Adjust the shade so light spreads evenly without glare. Proper positioning improves comfort and lighting quality.
Fixing Common Issues
- Light won’t turn on: Check power source and bulb.
- Flickering light: Tighten wire connections and try a new bulb.
- Switch not working: Replace or repair the switch.
- Overheating: Use LED bulbs and allow airflow around the lamp.
- Unstable base: Add weight or secure the lamp on a flat surface.
Address these problems carefully to keep your wooden desk lamp safe and functional. Regular testing helps catch issues early.
Creative Variations
Adding creative variations to your wooden desk lamp project can transform a simple design into something truly unique. Playing with different materials, styles, and purposes allows you to tailor the lamp to your personal taste and space. These ideas might spark your creativity and help you make a lamp that fits perfectly in your home or office.
Using Reclaimed Wood
Reclaimed wood brings character and history to your lamp. Each piece tells a story through its grain patterns, knots, and weathered texture.
Try sourcing wood from old furniture, pallets, or even barn wood. It’s a sustainable choice and adds rustic charm that new wood can’t match.
When I used reclaimed wood for my desk lamp, it created a warm, inviting glow that felt cozy and personal. What kind of story will your wood tell?
Incorporating Modern Elements
Combine wood with sleek, modern materials to create a fresh look. Metal fittings, LED bulbs, or geometric shapes can add a contemporary vibe.
Think about adding a metal armature or a minimalist lampshade. These touches balance the natural warmth of wood with modern style.
When I added a matte black metal pipe to my wooden lamp, the contrast made the design stand out. Could mixing old and new materials elevate your lamp’s style?
Customizing For Different Rooms
Each room has its own lighting needs and style. Customize your desk lamp to suit the space where it will live.
- For a bedroom, use softer, warmer bulbs and smooth, polished wood for a relaxing feel.
- In a home office, focus on adjustable angles and brighter light to support work tasks.
- For a living room, a statement wooden base with an eye-catching shape can serve as both light and decor.
Think about the lamp’s purpose and style in the room. How will your wooden lamp brighten and enhance your everyday environment?

Credit: www.youtube.com
Frequently Asked Questions
How Do I Choose The Right Wood For A Desk Lamp?
Select hardwood like oak or maple for durability and aesthetics. Avoid softwoods as they may warp or dent easily. Ensure the wood is smooth and free from cracks for a polished finish. Proper wood choice enhances the lamp’s strength and appearance.
What Tools Are Needed To Make A Wooden Desk Lamp?
You need a saw, drill, sandpaper, screwdriver, and clamps. Also, have a lamp kit, wood glue, and measuring tape ready. These tools help in cutting, assembling, and finishing the lamp safely and efficiently.
How Do I Safely Install Electrical Components In The Lamp?
Turn off power before starting installation. Follow the lamp kit instructions carefully. Use insulated tools and check all connections twice. Secure wires to avoid exposure and test the lamp before use to ensure safety.
Can I Customize The Lamp Design Easily?
Yes, wood allows for easy customization. You can carve, paint, or stain the lamp to match your style. Adjust the lamp’s height and angle by modifying the wooden parts. Customization makes your lamp unique and functional.
Conclusion
Making a wooden desk lamp is a fun and useful project. It adds a warm touch to any room. You only need basic tools and some patience. This guide helps you create a lamp step by step. Enjoy the process and take pride in your work.
A handmade lamp brings light and charm to your space. Try it yourself and see how simple it can be. Keep experimenting with designs and wood types. Your creativity makes each lamp unique and special.


