
Are you looking to add a personal touch to your workspace? Building your own wooden desk lamp is easier than you think.
Imagine having a lamp that not only lights up your desk but also reflects your style and creativity. In this guide, you’ll discover simple steps to create a beautiful, functional lamp with your own hands. Whether you’re a beginner or just want a unique piece, this project will inspire you to turn basic materials into something special.
Ready to brighten your space and boost your mood? Let’s get started!
Credit: medium.com
Materials And Tools Needed
Gathering the right materials and tools is essential for building a wooden desk lamp. This ensures the project goes smoothly and the final product looks great. Use quality items for safety and durability. Below are the key materials and tools needed to start your lamp project.
Materials Needed
- Wood pieces (preferably hardwood like oak or maple)
- Light socket and bulb (LED recommended)
- Electrical cord with plug
- Switch for turning the lamp on and off
- Wood glue for strong joints
- Wood screws for extra support
- Sandpaper (various grits for smooth finish)
- Wood stain or paint for finishing
- Clear varnish or sealant for protection
Tools Needed
- Hand saw or electric saw for cutting wood
- Drill with various drill bits
- Screwdriver for assembling parts
- Clamps to hold pieces while gluing
- Measuring tape and pencil for precise cuts
- Sanding block or electric sander
- Wire stripper for electrical work
- Safety glasses and gloves for protection
Choosing The Right Wood
Choosing the right wood is key to building a wooden desk lamp. The wood affects the lamp’s look, feel, and durability. It also influences how easy the lamp is to build and finish. Picking wood that fits your style and skills makes the project more enjoyable.
Types Of Wood Suitable For Desk Lamps
Hardwoods are strong and look great. Examples include oak, maple, and cherry. These woods resist dents and scratches well. Softwoods like pine and cedar are easier to work with. They have a lighter color and a smooth texture. Choose wood based on your skill and the lamp’s style.
Wood Grain And Aesthetics
Wood grain adds character to your lamp. Straight grains look simple and clean. Curly or wavy grains create unique patterns. You can highlight the grain with clear finishes or stains. Consider how the grain matches your workspace and decor.
Durability And Stability
Durability ensures the lamp lasts for years. Hardwoods are more durable than softwoods. Stability means the wood resists warping or cracking. Kiln-dried wood is less likely to change shape. Avoid wood with knots or defects that weaken it.
Workability And Tools Needed
Some woods are easier to cut and shape. Softwoods require less effort and dull tools slower. Hardwoods need sharper tools and more patience. Match the wood to your tool set and skill level. This makes the building process smooth and fun.
Environmental Considerations
Choose wood from sustainable sources. Look for FSC-certified or reclaimed wood. This helps protect forests and reduces waste. Using eco-friendly wood supports a healthier planet. It also adds a meaningful story to your lamp.
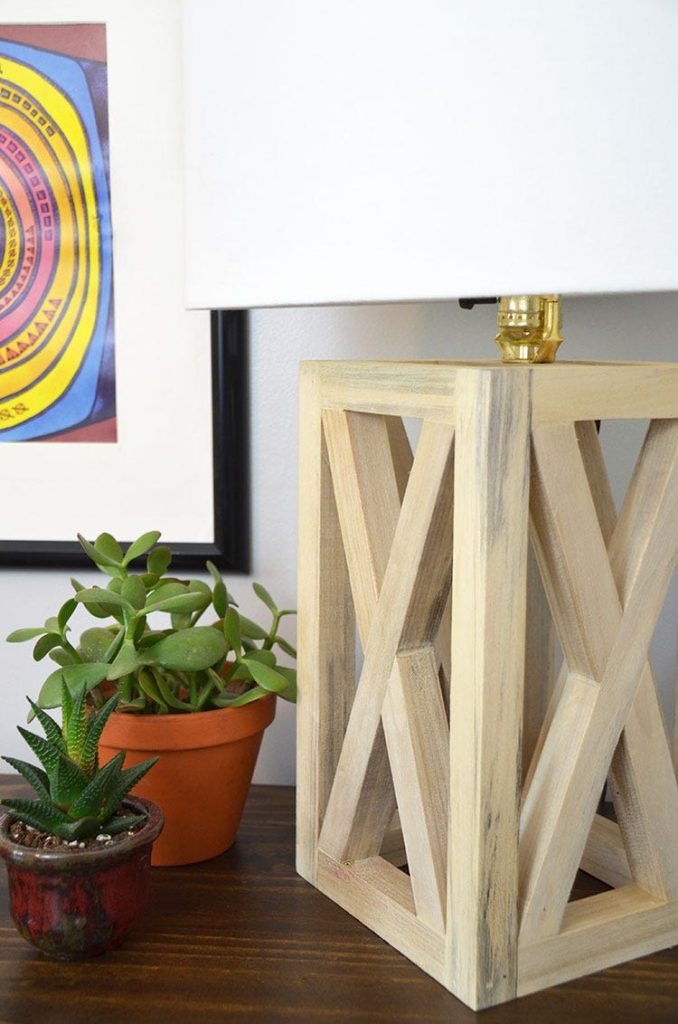
Designing Your Desk Lamp
Craft a unique wooden desk lamp with easy steps. Choose quality wood and assemble parts for a personalized touch. Add a bulb holder and wiring for functionality.
Designing a desk lamp is a creative journey. Your lamp’s design reflects your personal style. It should also meet your lighting needs. Start by imagining how it will look. Think about how it will fit into your workspace. This initial stage is crucial. It sets the foundation for your project.Sketching The Lamp Shape
Begin with a simple sketch. Draw the lamp’s shape on paper. Visualize how it will stand. Consider the base and arm. Will it be straight or curved? Experiment with different designs. Play with angles and lines. This is your chance to innovate. Use your imagination freely.Selecting Lamp Size And Style
Decide on the lamp’s size. Measure your desk space. Ensure the lamp fits comfortably. A large lamp might overpower your desk. A small one may not provide enough light. Choose a style that matches your decor. Classic, modern, or rustic? Each style offers a unique vibe. Match it with your room’s theme.
Credit: v9immigration.ca
Cutting And Preparing Wood Pieces
Cutting and preparing wood pieces is a crucial step in building your wooden desk lamp. This phase sets the foundation for how well the lamp will come together. Accurate measurements and careful cuts ensure your pieces fit perfectly and look professional.
Measuring And Marking
Start by measuring each wood piece precisely with a tape measure or ruler. Double-check your measurements before marking the wood to avoid costly mistakes. Use a sharp pencil or a marking knife for clear, thin lines that guide your cutting.
Consider marking all pieces at once. This reduces the chance of forgetting a measurement or mixing up parts. Also, think about the grain direction and where the light will hit the lamp for a better finish.
Safe Cutting Techniques
Safety is non-negotiable when cutting wood. Always wear safety goggles and keep your fingers away from the blade. Secure the wood firmly with clamps to prevent slipping during cuts.
Use a saw suitable for your wood type and thickness, whether it’s a handsaw, jigsaw, or circular saw. Cut slowly and follow your marked lines carefully. If you’re new to cutting wood, practice on scrap pieces to build confidence and control.
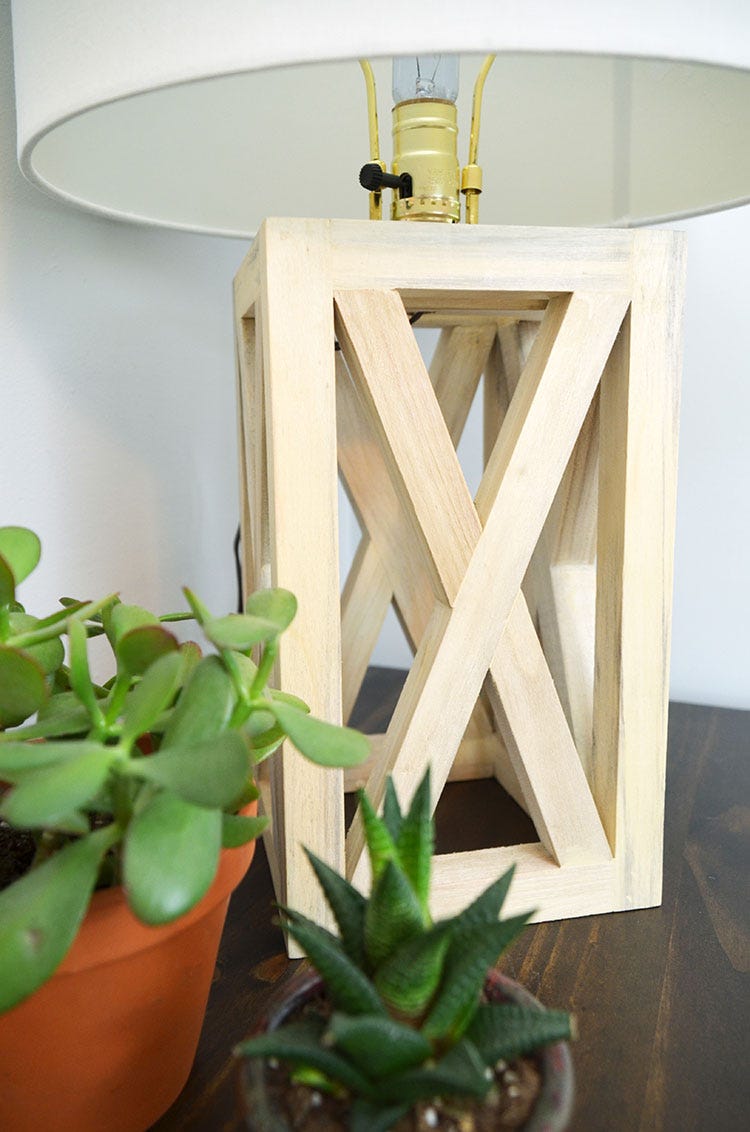
Assembling The Lamp Base
Assembling the lamp base is an important part of building a wooden desk lamp. It creates a strong foundation that supports the lamp’s structure. A stable base keeps the lamp steady and safe to use. Follow clear steps to join and secure the wood pieces properly.
Joining Wood Pieces
Start by selecting the wood pieces for the base. Use smooth, flat pieces to ensure good contact. Align the edges carefully before attaching them.
- Apply wood glue evenly on the joining surfaces.
- Press the pieces together firmly to avoid gaps.
- Use clamps to hold the pieces in place while the glue dries.
- Check alignment often to keep the base straight.
Let the glue dry fully for a strong bond. Sand the edges to remove any rough spots.
Securing The Base
Strengthen the base by adding screws or nails. This step prevents the lamp from wobbling.
- Pre-drill holes to avoid splitting the wood.
- Insert screws evenly spaced around the base.
- Use a screwdriver to tighten screws firmly but not too tight.
- Check the base for stability once finished.
Apply a final sanding for a smooth finish. The lamp base is now ready for the next assembly steps.

Credit: m.youtube.com
Installing The Electrical Components
Installing the electrical components is a key part of building your wooden desk lamp. It connects the lamp to power, making it functional and safe. This section guides you through wiring the lamp socket and attaching the power cord carefully.
Wiring The Lamp Socket
Start by identifying the terminals on the lamp socket. Usually, there are two screws: one for the live wire and one for the neutral wire.
- Strip about half an inch of insulation from each wire end.
- Attach the live (brown or black) wire to the brass screw.
- Attach the neutral (blue or white) wire to the silver screw.
- Tighten the screws firmly to hold the wires in place.
- Ensure no bare wire is exposed outside the terminal.
Double-check connections to prevent loose wiring, which can cause shorts or sparks.
Attaching The Power Cord
Choose a power cord with a plug suitable for your region. The cord usually has three wires: live, neutral, and ground.
- Strip the wires carefully, about half an inch.
- Connect the live wire to the switch terminal if your lamp has one.
- Attach the neutral wire directly to the lamp socket or neutral terminal.
- Connect the ground wire to the metal frame or grounding point of the lamp.
- Secure all wire connections with wire nuts or terminal screws.
Make sure the wires are organized and do not touch each other. This prevents short circuits and keeps the lamp safe.
Sanding And Finishing
Sanding and finishing are crucial steps in creating a wooden desk lamp that looks polished and professional. This phase not only enhances the appearance but also ensures the wood feels smooth to the touch and is protected from wear. Paying attention to these details can transform your lamp from a simple project into a beautiful piece you’ll be proud to showcase.
Sanding For Smoothness
Start by sanding the wooden parts with medium-grit sandpaper to remove any rough spots and imperfections. Move in the direction of the wood grain to avoid scratches that can ruin the finish. After that, switch to fine-grit sandpaper for a silky smooth surface that feels pleasant under your fingers.
Don’t rush this step. Taking your time here prevents splinters and helps the stain or paint adhere better. Have you noticed how a rough surface can make a great paint job look uneven? That’s why sanding thoroughly makes such a difference.
Applying Stain Or Paint
Choose a stain or paint that matches the style you want for your desk lamp. Stains bring out the natural wood grain and add warmth, while paint offers a wider range of colors and can create a modern look. Apply thin, even coats using a brush or cloth, making sure to wipe off any excess stain quickly to avoid blotches.
Consider testing your stain or paint on a scrap piece of the same wood first. This step saves you from surprises and helps you see how the color deepens after drying. What mood do you want your lamp to set? Let that guide your color choice.
Adding Protective Coating
After the stain or paint dries completely, apply a protective coating like polyurethane, varnish, or wax. This layer shields the wood from moisture, scratches, and everyday wear. Use a clean brush to apply thin coats, allowing each to dry before adding the next for a durable finish.
Think about the environment where your lamp will live. A glossy finish might brighten up a dull corner, while a matte finish offers subtle elegance. What kind of touch and look do you want to preserve for years to come? The protective finish is your best defense.
Final Assembly And Testing
The final assembly and testing phase is where your wooden desk lamp truly comes to life. This step requires careful attention to ensure every piece fits perfectly and the lamp works safely. Taking your time here prevents future headaches and guarantees a beautiful, functional light source for your workspace.
Fitting The Bulb And Shade
Start by carefully attaching the bulb socket to your lamp’s wooden base. Make sure the socket is secure but avoid overtightening, which could crack the wood.
Next, select a bulb that matches the socket’s specifications, usually indicated on the socket or packaging. Installing the bulb gently will help avoid damaging the filament.
When adding the lampshade, check that it fits snugly without forcing it. A loose shade could wobble or fall, while a tight one might cause scratches or damage.
Have you considered how the choice of bulb brightness and shade material affects your workspace ambiance? This is your chance to customize the lighting to suit your needs.
Testing Electrical Safety
Before plugging in your new lamp, double-check all electrical connections. Loose wires or exposed strands can cause shorts or electrical shocks.
Use a multimeter to test for continuity and ensure no wiring mistakes exist. If you don’t own one, many hardware stores offer free testing services.
Once confident in your wiring, plug the lamp into a power source with a circuit breaker or surge protector. Observe the lamp for any flickering, strange smells, or heat buildup.
Remember, safety is not just about protecting yourself but also preserving your hard work and investment. Have you thought about adding a fuse or switch with a built-in safety feature?
Tips For Customization
Adding your own touch to a wooden desk lamp makes the project truly yours. Customization lets you match the lamp to your style and workspace perfectly. It also makes the building process more enjoyable and rewarding.
Choose The Right Wood Type For Your Style
The type of wood you pick changes the lamp’s look and feel dramatically. Hardwoods like oak or walnut give a rich, classic appearance and last longer. Softer woods like pine are easier to work with and can be painted in any color you want.
Think about the vibe you want. Do you prefer a natural, rustic look or a sleek, modern style? Your choice of wood sets the tone for the whole piece.
Add Unique Finishes And Textures
Finish your lamp with stains, paints, or even a combination of both to make it stand out. You can go for a matte finish to keep it understated or a glossy coat to catch the eye. Sanding techniques can add texture, creating a tactile experience.
Have you tried layering different stains to get a custom color? It’s a simple trick that can make your lamp look one-of-a-kind.
Incorporate Functional Features
Customization isn’t just about looks—it’s also about making the lamp work better for you. Adding a dimmer switch lets you control brightness easily. You could also design adjustable arms or swivel heads to direct light exactly where you need it.
What features would make your desk lamp more useful during work or reading? Think about your daily habits and how the lamp could adapt to them.
Personalize With Decorative Details
Small details can make a big impact. Consider adding carved patterns, metal accents, or even engraving your initials. These touches show off your personality and craftsmanship.
Have you ever tried combining materials, like wood and leather or wood and metal? These contrasts add depth and interest to your design.
Frequently Asked Questions
What Materials Are Needed To Build A Wooden Desk Lamp?
You need wood, a lamp kit, screws, sandpaper, wood glue, and a finish. Choose durable wood like oak or pine. The lamp kit includes a bulb, socket, and cord. These materials ensure safety and a sturdy final product.
How Do I Safely Wire A Wooden Desk Lamp?
Turn off power before wiring. Follow the lamp kit instructions carefully. Use insulated tools and secure all connections tightly. Test the wiring with a multimeter. Proper wiring prevents electrical hazards and ensures your lamp works correctly.
What Wood Types Work Best For Desk Lamps?
Hardwoods like oak, maple, or walnut are ideal. They offer durability and a smooth finish. Softwoods like pine are easier to work but less durable. Choose wood that matches your style and workspace needs.
How Can I Customize My Wooden Desk Lamp Design?
Add carvings, paint, or stain to personalize the lamp. Change the lamp shape or size to fit your desk. Use unique wood grains or mix materials like metal. Customization makes your lamp unique and stylish.
Conclusion
Building a wooden desk lamp is a fun and useful project. You can create a lamp that fits your style and space. The process uses simple tools and easy steps. Enjoy the warm light and natural look of wood in your room.
This project also helps you learn new skills. Give it a try and see how satisfying it feels. A handmade lamp adds charm to any desk or shelf. Take your time and enjoy each step of making it.


