
Looking to hang a mirror on your wall but don’t want to damage it with nails? You’re not alone.
Many people want a clean, stylish look without the hassle and holes that come with traditional methods. What if you could have a perfectly mounted mirror that stays put, looks great, and keeps your walls intact? You’ll discover simple, effective ways to stick a mirror on the wall without nails—solutions that anyone can try.
Keep reading, and you’ll find easy tips that save time, protect your walls, and transform your space effortlessly.
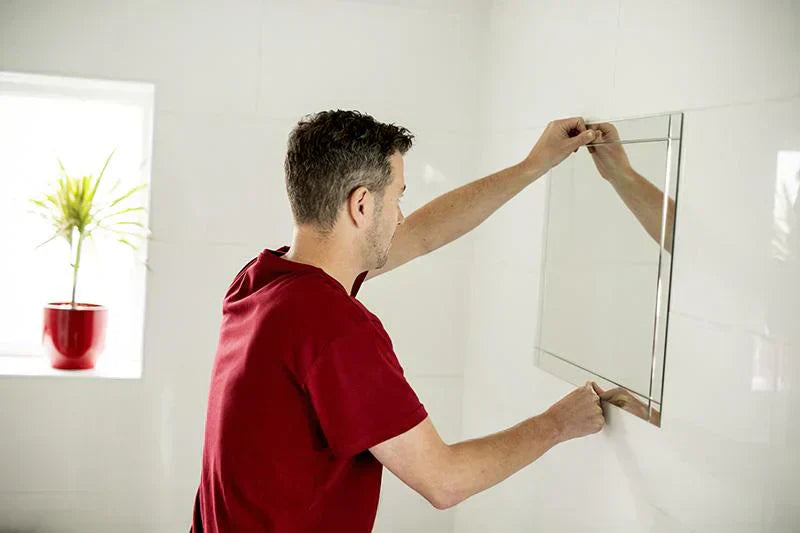
Credit: bfymirror.com
Choosing The Right Adhesive
Choosing the right adhesive is key to securely sticking a mirror on your wall without leaving holes or marks. The wrong glue can cause your mirror to fall or damage your wall’s surface. Understanding the options and what suits your wall type and mirror weight helps you make a smart choice.
Types Of Adhesives For Mirrors
There are several adhesives designed specifically for mounting mirrors. Each type offers different strengths and application methods.
- Mirror Adhesive Tape:Double-sided tape made for mirrors; easy to apply and clean. Ideal for small and lightweight mirrors.
- Silicone Sealant:Flexible and water-resistant, it holds mirrors firmly and can absorb slight wall movements.
- Construction Adhesive:Heavy-duty glue that bonds well to many surfaces. Best for larger and heavier mirrors.
- Glue Dots:Small, sticky dots offering quick fixes but limited strength. Suitable for temporary or light use.
Have you considered the surface where your mirror will hang? Different adhesives perform better on smooth tiles, drywall, or painted wood.
Factors To Consider Before Buying
Think about your mirror’s size and weight first. A tiny mirror needs less powerful adhesive than a large, thick one. Check the adhesive’s weight capacity on the packaging.
Also, look at the wall material. Porous walls like brick or plaster may require stronger glue than smooth surfaces. Moisture levels matter too — bathrooms need water-resistant adhesives.
Ask yourself: do you want a permanent hold or something removable? Some adhesives can damage paint when removed, while others peel off easily.
| Factor | Impact on Adhesive Choice | Example |
|---|---|---|
| Mirror Weight | Heavier mirrors need stronger bonding agents | Construction adhesive for mirrors over 10 lbs |
| Wall Surface | Porous walls require adhesives with good penetration | Silicone sealant on plaster walls |
| Moisture Exposure | Water-resistant adhesives prevent loosening in humid areas | Mirror adhesive tape designed for bathrooms |
| Removability | Some adhesives allow clean removal without damage | Glue dots for temporary decoration |
Choosing the right adhesive is more than just buying the first product you find. Consider these factors carefully to keep your mirror safe and your walls intact.
Preparing The Wall Surface
Clean the wall with a damp cloth to remove dust and dirt. Make sure the surface is dry and smooth for better adhesion. Avoid rough or uneven areas that may weaken the stickiness.
Preparing the wall surface is a crucial step when you want to stick a mirror on the wall without nails. Ensuring that the surface is ready not only helps in the mirror staying put but also prevents any future mishaps. Let’s dive into how you can effectively prepare your wall to achieve a seamless, secure finish.Cleaning The Wall
Start with a clean slate. Dust, dirt, and grime can hinder the adhesive’s grip. Use a damp cloth to wipe the wall surface gently. For stubborn stains, a mild detergent mixed with water can do wonders. Avoid harsh chemicals as they might damage the wall paint. Once clean, let the wall dry completely. This prevents moisture from weakening the adhesive bond.Ensuring A Smooth Surface
A smooth surface is essential for optimal adhesion. Feel the wall with your hands to identify any bumps or rough patches. If you find any, a light sanding can help smooth things out. Remember to wipe away any dust created by sanding. Imagine sticking a mirror on a bumpy wall—would you trust it to stay put? That’s why this step is non-negotiable. Taking these preparatory steps might seem tedious, but they make a world of difference. Have you ever experienced a mirror falling unexpectedly? Avoid that scenario by investing a little time in preparation. Your future self will thank you.Preparing The Mirror
Preparing your mirror properly is the key to a secure, nail-free wall mount. Taking time now will prevent slipping or damage later. Let’s look at two crucial steps: cleaning the back of the mirror and marking its placement on the wall.
Cleaning The Mirror Back
Before sticking anything, the mirror’s back must be spotless. Dust, oils, or old adhesive residues can stop glue or tape from sticking well. Use rubbing alcohol and a soft cloth to clean the surface thoroughly.
Make sure you let it dry completely. Have you ever tried sticking something only to watch it fall off within hours? That’s often because the surface wasn’t clean enough.
Marking Placement
Knowing exactly where the mirror will go saves frustration and extra holes. Use a pencil and a level to lightly mark the top edge and sides on the wall.
Consider how the mirror will interact with light and furniture around it. Will it reflect something you want to highlight? Does it fit naturally in the space? Marking first lets you adjust without damaging your wall.

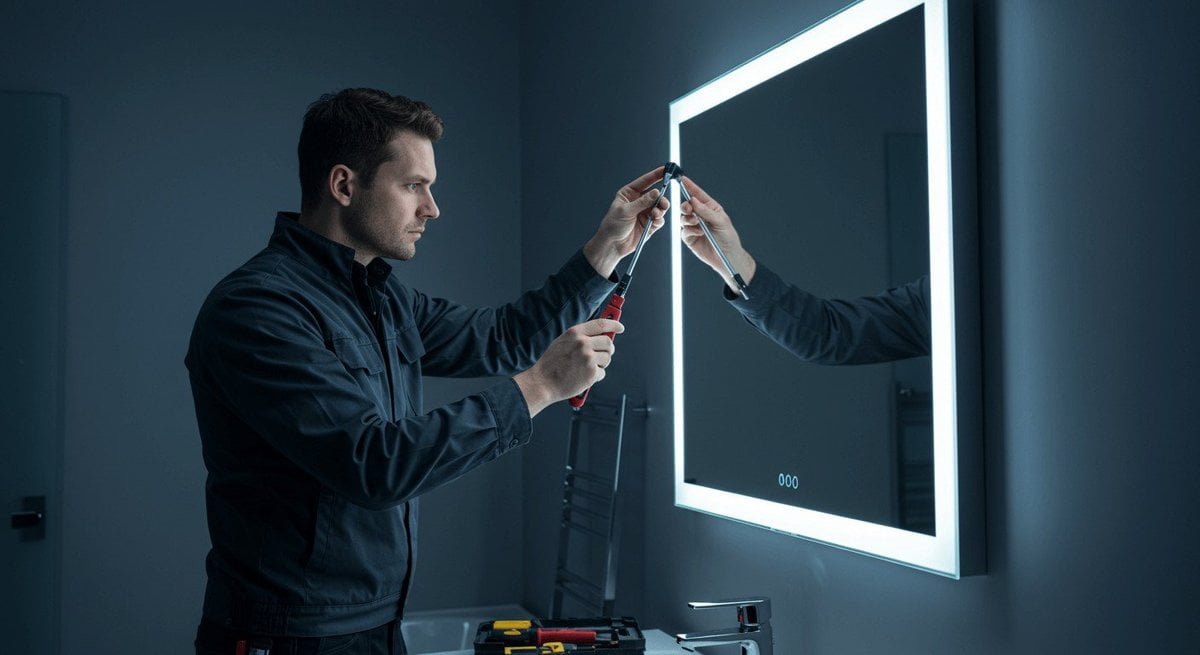
Credit: bfymirror.com
Step-by-step Application
Sticking a mirror on the wall without nails requires careful steps. Each part of the process helps ensure the mirror stays safe and secure. Follow these instructions for a smooth and effective application. Prepare the surface and materials before starting. Take your time and work carefully for the best results.
Applying Adhesive Correctly
Choose an adhesive suitable for mirrors and walls. Clean the mirror back and wall surface. Remove dust, dirt, and grease using rubbing alcohol. Apply adhesive in small dots or strips on the mirror’s back. Avoid covering the entire surface to prevent mess. Use enough adhesive to hold the mirror firmly. Do not apply too much, as it can squeeze out.
Positioning The Mirror
Mark the wall where you want the mirror. Use a pencil and level to get it straight. Hold the mirror near the wall and check alignment. Ask someone to help if the mirror is heavy. Gently press the mirror against the wall at the marked spot. Adjust the position quickly before the adhesive starts to set.
Securing And Curing Time
Support the mirror with tape or props to keep it steady. Avoid touching or moving the mirror during curing. Let the adhesive dry fully as per the product instructions. This may take 24 to 48 hours. Check the mirror after curing to ensure it is firmly attached. Remove any support items only after full curing.
Alternative Mounting Options
Mounting a mirror without nails is possible with several easy options. These alternatives protect your walls and keep your mirror secure. Choose a method based on your mirror size, wall type, and personal preference.
Double-sided Tape
Double-sided tape offers a simple, quick way to stick mirrors on walls. Use strong, heavy-duty tape designed for wall mounting. Clean the wall surface and mirror back before applying tape.
- Cut tape strips to fit the mirror edges.
- Press the tape firmly on the mirror.
- Hold the mirror against the wall for a few seconds.
This method works best for small, lightweight mirrors. Avoid using on rough or textured walls for better hold.
Command Strips
Command strips are popular for damage-free hanging. They hold mirrors firmly and remove cleanly. Match the strip size to the mirror weight.
- Clean the wall and mirror surface.
- Attach strips on mirror back.
- Press the mirror on the wall and hold for 30 seconds.
Great for renters or temporary displays. Check weight limits on the packaging before use.
Mirror Mounting Clips
Mirror mounting clips provide a sturdy frame without nails. Clips hold the mirror edges securely. These clips come in various styles and finishes.
- Mark clip positions on the wall.
- Use adhesive-backed clips or screw clips gently.
- Slide the mirror into the clips carefully.
Ideal for medium to large mirrors. Clips add a decorative touch and strong support.
Tips For Heavy Or Large Mirrors
Handling heavy or large mirrors without nails demands careful planning. The key is to ensure the mirror stays secure without risking damage to your wall or the mirror itself. Here are practical tips that help you manage the weight and size effectively.
Weight Distribution Techniques
Distributing the mirror’s weight evenly reduces stress on any single point. Use multiple adhesive strips or mounting tapes across the frame rather than relying on just one spot. This spreads the load and keeps your mirror stable.
Consider using a French cleat system designed for adhesive use. It allows you to attach one part to the wall and the other to the mirror, letting the weight hang more evenly. Have you checked the weight limits on your chosen adhesive? It’s crucial to pick products rated well above your mirror’s weight for safety.
Additional Support Methods
For extra security, combine adhesive solutions with support brackets or ledges. A sturdy shelf beneath the mirror can hold some weight, reducing strain on the adhesive. This method worked for me when hanging a large vintage mirror that felt too heavy for tape alone.
Another option is using tension rods or corner braces inside the frame to prevent bending or warping. These supports keep the mirror rigid, which means less chance of it loosening from the wall. What small changes can you make to your mirror’s setup to add these supports without altering its look?
Removing Mirrors Without Damage
Removing a mirror from the wall without causing damage requires care and the right approach. Mirrors often use adhesive strips or glue, which can be tricky to remove. Taking your time and using gentle techniques helps protect both the mirror and the wall surface. Avoid pulling or forcing the mirror off, as this can cause cracks or wall damage.
Safe Detachment Methods
- Use a thin, flexible plastic card or putty knife to slide under the mirror edge.
- Gently wiggle the card side to loosen the adhesive bit by bit.
- Apply heat with a hairdryer on low setting to soften glue without harming paint.
- Peel the mirror slowly, supporting it firmly to avoid dropping or breaking.
- For stubborn spots, use a small amount of rubbing alcohol on a cloth to weaken adhesive.
Cleaning Residue Off Walls
- After removing the mirror, check for leftover adhesive patches on the wall.
- Use warm soapy water and a soft cloth to scrub the residue gently.
- For tougher glue, apply a little rubbing alcohol or adhesive remover sparingly.
- Test any cleaning solution on a small, hidden area first to avoid paint damage.
- Wipe the wall dry with a clean cloth to prevent moisture issues.

Credit: ledmirrorworld.co.uk
Frequently Asked Questions
How Can I Stick A Mirror Without Damaging Walls?
Use adhesive strips or mirror mounting tape designed for walls. These options hold mirrors firmly and prevent wall damage. Avoid nails or screws to keep your walls intact and clean.
What Types Of Adhesives Work Best For Wall Mirrors?
Double-sided mounting tape, adhesive hooks, and mirror glue are effective. Choose adhesives that support your mirror’s weight. Always check product instructions for compatibility with wall surfaces.
Can I Hang A Heavy Mirror Without Nails?
Yes, use heavy-duty adhesive strips or mirror mounting brackets. Ensure the adhesive supports the mirror’s weight. For very heavy mirrors, professional mounting is recommended for safety.
How Do I Prepare The Wall Before Sticking A Mirror?
Clean the wall surface thoroughly with rubbing alcohol. Remove dust, grease, or moisture for better adhesion. Let the area dry completely before applying adhesive.
Conclusion
Sticking a mirror on the wall without nails is simple and safe. Choose the right adhesive for your mirror’s weight and wall type. Clean the wall surface well before you stick the mirror. Press the mirror firmly and hold it for a few minutes.
This method saves your walls from damage and looks neat. Now, you can hang mirrors easily, even in rental homes. Try these steps to add style without nails or holes. A small effort brings a big change to your space.


