
Have you ever looked at a mirror on your wall and wondered how to take it down without causing damage? Whether you’re redecorating, moving, or just want to clean behind it, removing a mirror can feel tricky.
You might worry about breaking the glass, leaving marks, or struggling with heavy weight. But don’t worry—this guide is here to help you handle your mirror safely and easily. Keep reading, and you’ll learn simple steps that make the whole process stress-free and smooth.
Your walls—and your hands—will thank you!
Tools Needed
Removing a mirror from a wall needs the right tools. These tools make the job easier and safer. Preparing before you start saves time and prevents damage. Gather everything you need before you begin.
Basic Tools
- Putty knife or flat pry bar for lifting the mirror edges
- Screwdriver (Phillips or flathead) for removing screws or clips
- Utility knife to cut through any adhesive or caulk
- Measuring tape to check mirror size and placement
- Soft cloth or towel to protect the mirror surface
- Bucket or container for holding screws and small parts
Safety Gear
- Safety gloves to protect your hands from sharp edges
- Safety goggles to shield your eyes from dust and glass shards
- Long-sleeve shirt to protect your arms
- Non-slip shoes to keep your footing steady
- Mask to avoid inhaling dust or particles
Prepare The Area
Clear the space around the mirror to avoid accidents. Lay down a drop cloth or old sheet to catch dust or debris. Ensure good lighting to see all parts of the mirror and its mounting.
Preparing the area before removing a mirror is crucial. This ensures safety and prevents damage. Taking time to prepare can make the process smooth and stress-free.Clear The Space
Remove all items near the mirror. This includes furniture, decorations, or anything fragile. Ensure you have ample room to move around. A clear area reduces the risk of accidents. It also gives you space to work comfortably.Protect The Floor
Lay down a drop cloth or old blanket. This protects the floor from falling glass. It also keeps the floor clean from dust and debris. Use thick materials for better protection. Secure the edges with tape if necessary. This prevents the covering from slipping. A well-protected floor adds an extra layer of safety.Identify Mounting Method
Identifying how your mirror is attached to the wall helps in removing it safely. Mirrors can be held by different mounting methods. Knowing the exact method prevents damage to the wall or mirror.
Start by examining the edges and back of the mirror. This helps spot any visible mounting tools or materials. Each mounting type needs a different removal approach.
Check For Screws Or Nails
Look around the mirror frame for screws or nails. These often secure the mirror directly to the wall. Use a flashlight to see hidden fasteners better.
Feel for any rough spots or metal heads on the wall surface. Screws might be covered with paint or filler. Gently tapping the wall can reveal their position.
Look For Adhesive Strips
Some mirrors use strong adhesive strips instead of nails. These strips stick the mirror flat against the wall. Check the mirror’s edges for any peel or slight gaps.
Try to detect if the mirror moves slightly when gently pushed. Adhesive strips often leave no visible hardware. They require careful pulling to avoid damage.
Inspect Hanging Hardware
Check the back of the mirror for hooks, wires, or brackets. These parts hang the mirror on wall hooks or nails. Hanging hardware usually means the mirror can be lifted off easily.
Look for D-rings or wire stretched across the back. These pieces hold the mirror in place but are removable. Knowing this helps you plan how to lift the mirror safely.

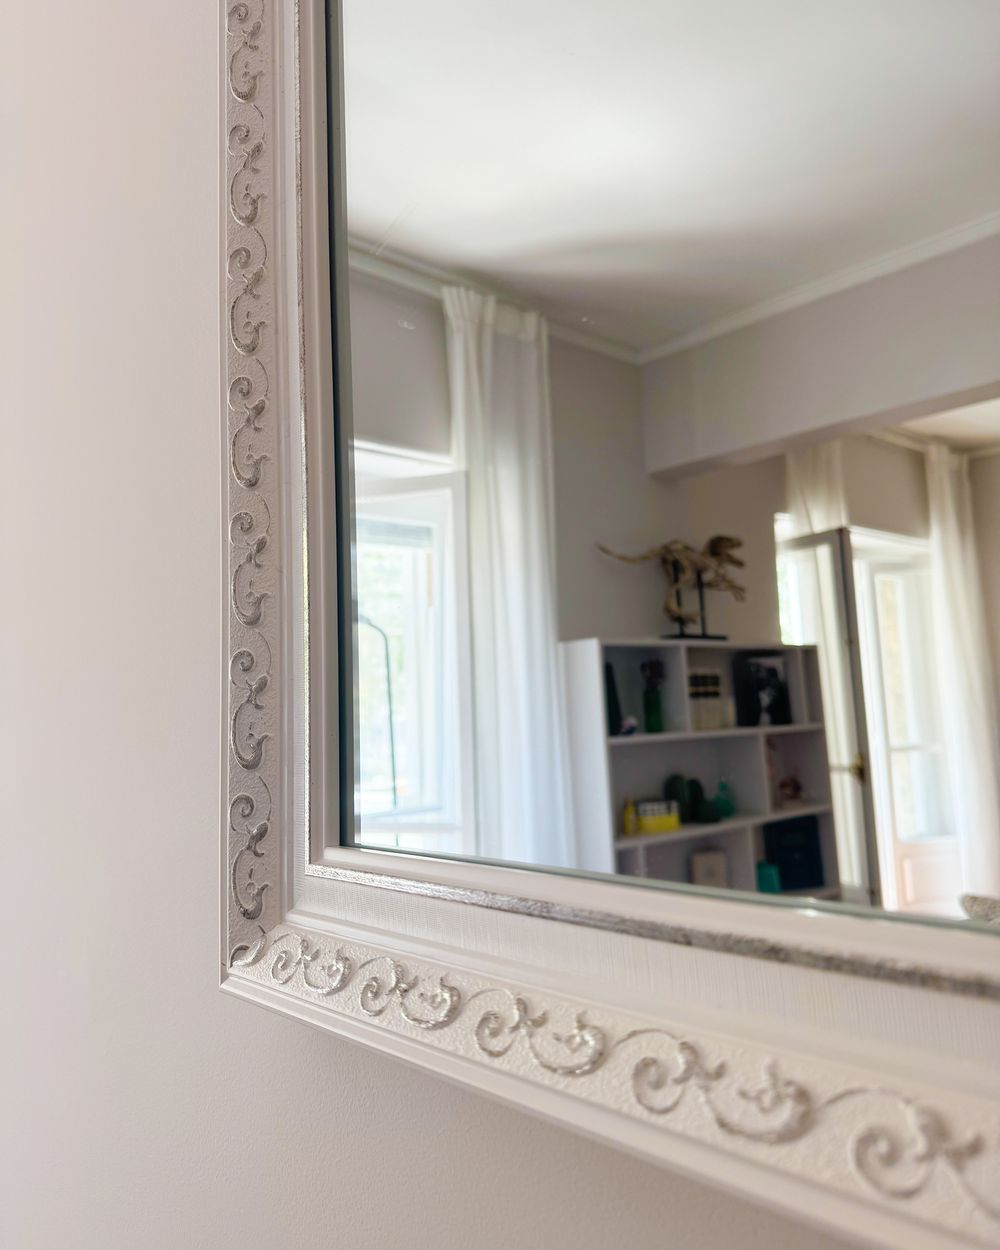
Credit: www.amazon.com
Remove Screws Or Nails
Removing screws or nails is often the trickiest part when you want to take a mirror off a wall. If you rush or use the wrong tools, you might damage the wall or the mirror frame. Handling this step carefully ensures you keep both intact and ready for reuse or safe storage.
Use A Screwdriver
Start by identifying the type of screws holding your mirror. Are they Phillips, flathead, or something else? Matching the right screwdriver to the screw is essential to avoid stripping the heads.
Hold the screwdriver firmly and turn it counterclockwise. If the screw feels stuck, try applying a bit of pressure while turning. Sometimes, a little patience goes a long way in loosening stubborn screws.
Have you noticed how some screws seem almost glued into place? Using a small amount of lubricant like WD-40 can help loosen them without damaging the wall.
Use A Pry Bar
When nails are securing the mirror, a pry bar often works better than a screwdriver. Position the flat end of the pry bar under the nail head gently.
Apply slow, steady pressure to lift the nail out. Avoid sudden force to prevent wall damage or bending the nail, which makes removal harder.
Try sliding a thin piece of wood between the pry bar and the wall. This simple trick distributes pressure and protects the wall surface. Have you tried this before? It’s a small step that saves a lot of repair work later.
Detach Adhesive Strips
Detaching adhesive strips is a common way mirrors stay on walls. Removing them carefully protects your wall and mirror from damage. The strips stick tightly but soften with heat. This makes removal easier and cleaner. Patience and gentle handling help avoid peeling paint or tearing the strips.
Apply Heat
Use a hairdryer on low heat to warm the adhesive strips. Hold it about six inches from the wall. Move the dryer slowly over the strip for one to two minutes. The heat softens the glue, making it less sticky. Avoid using too much heat to protect your wall’s paint.
Slowly Peel Off
Start at one corner of the strip. Pull the strip slowly and steadily. Stretch it parallel to the wall, not away from it. Stretching helps release the adhesive without damage. If the strip resists, apply more heat and try again. Take your time to keep the wall smooth and clean.

Credit: homekode.com
Handle Wall Damage
Removing a mirror from a wall often leaves small holes or marks. These spots can make the wall look uneven and unfinished. Handling wall damage properly helps restore your wall’s smooth surface. It also prepares the wall for a fresh coat of paint or new decoration.
Fill Small Holes
Start by cleaning dust and loose debris from the holes. Use a putty knife to apply spackling paste or wall filler. Press the filler firmly into the holes, filling them completely. Smooth the surface with the knife to make it level with the wall. Let the filler dry as directed on the package. Drying time depends on the size of the hole and the product used.
Sand And Paint
Once the filler is dry, use fine-grit sandpaper to smooth the area. Sand gently until the filled spots blend with the wall. Wipe away dust with a damp cloth. Choose paint that matches your wall color for a seamless finish. Apply paint using a small brush or roller over the repaired areas. Allow the paint to dry fully before touching or hanging anything on the wall.
Clean The Mirror
Cleaning the mirror after you take it off the wall is essential. Dust and smudges can hide cracks or damage you might want to check before rehanging or storing it. A clean mirror also makes any repair or replacement easier and safer to handle.
Remove Dust
Start by gently wiping the mirror with a soft, dry cloth or a microfiber duster. Avoid using rough materials that could scratch the glass. If dust is stubborn, try a slightly damp cloth, but make sure the mirror’s edges don’t get too wet to prevent damage.
Have you noticed how dust can settle in corners and edges? Those spots often get missed but can affect the mirror’s overall clarity. Taking a moment to clean these areas makes a big difference.
Polish The Surface
After removing dust, polish the mirror using a glass cleaner or a mixture of water and vinegar. Spray the cleaner onto a cloth, not directly on the mirror, to avoid drips that could harm the backing. Wipe in a circular motion to get rid of fingerprints and streaks.
If you don’t have glass cleaner, plain water with a soft cloth can work for light cleaning. The key is to avoid harsh chemicals that might damage the reflective surface. Have you tried polishing with newspaper? It can surprisingly leave your mirror streak-free and shiny.
Credit: www.beliani.dk
Frequently Asked Questions
How Do I Safely Remove A Mirror From The Wall?
To safely remove a mirror, first wear gloves and protective eyewear. Gently loosen adhesive or screws holding the mirror. Use a putty knife to separate the mirror from the wall carefully. Always ask for help if the mirror is large or heavy.
What Tools Do I Need To Take A Mirror Off A Wall?
You need a putty knife, screwdriver, gloves, and safety goggles. A pry bar might help with stubborn mirrors. Have a helper assist if the mirror is large. Use a drop cloth to protect your floor during removal.
Can I Reuse The Mirror After Removing It?
Yes, you can reuse a mirror if it is undamaged. Handle it carefully to avoid cracks or chips. Clean the back surface before rehanging. If adhesive was used, remove residue before applying new mounting hardware.
How To Remove Mirror Adhesive Without Damaging The Wall?
Use a putty knife to gently scrape adhesive off the wall. Apply warm soapy water or adhesive remover for stubborn areas. Avoid harsh chemicals that can damage paint or drywall. Work slowly to preserve the wall surface.
Conclusion
Taking a mirror off a wall does not have to be hard. With the right tools and steps, you can do it safely. Always protect your hands and work slowly to avoid damage. Check the type of hanger or adhesive before you start.
Clean the wall and mirror once removed. This way, you keep your space neat and ready for new decor. Stay calm and patient throughout the process. You will feel good after completing the task yourself. Simple steps lead to great results.


