
Are you feeling overwhelmed by the numbers and graphs on a ventilator screen? You’re not alone.
Understanding what these readings mean can be confusing, but it’s crucial if you want to ensure the best care for yourself or a loved one. Imagine being able to quickly interpret the data and make informed decisions with confidence. You’ll learn simple, step-by-step tips to read a ventilator screen like a pro.
Keep reading, and you’ll unlock the knowledge that makes a real difference in critical moments.
Ventilator Basics
Understanding ventilator basics helps in reading its screen effectively. Ventilators support patients who cannot breathe well on their own. The screen shows important data about breathing patterns and machine settings. Knowing what the screen displays makes it easier to monitor patients.
Key Components
The ventilator screen shows several key components. These include:
- Tidal Volume (Vt):The amount of air given in each breath.
- Respiratory Rate (RR):How many breaths the machine delivers per minute.
- Peak Inspiratory Pressure (PIP):The highest pressure during a breath.
- PEEP (Positive End-Expiratory Pressure):Pressure in the lungs at the end of exhalation.
- FiO2:The percentage of oxygen delivered to the patient.
- Waveforms:Graphs showing pressure, volume, and flow over time.
These components help to track the patient’s breathing and adjust settings.
Common Modes
Ventilators have different modes to support breathing. Each mode controls how breaths are given:
- Assist Control (AC):Machine gives full breaths at set rate or patient triggers.
- Synchronized Intermittent Mandatory Ventilation (SIMV):Mix of machine breaths and patient’s own breaths.
- Pressure Support Ventilation (PSV):Patient initiates breaths; machine adds pressure to help.
- Continuous Positive Airway Pressure (CPAP):Keeps airways open without giving breaths.
Knowing the mode helps understand what the ventilator screen values mean.
Credit: owlcation.com
Screen Layout
The ventilator screen shows important information about a patient’s breathing. It has different sections to help healthcare providers understand the patient’s condition quickly. The layout is simple but full of critical data. Learning to read the screen helps in making fast and accurate decisions.
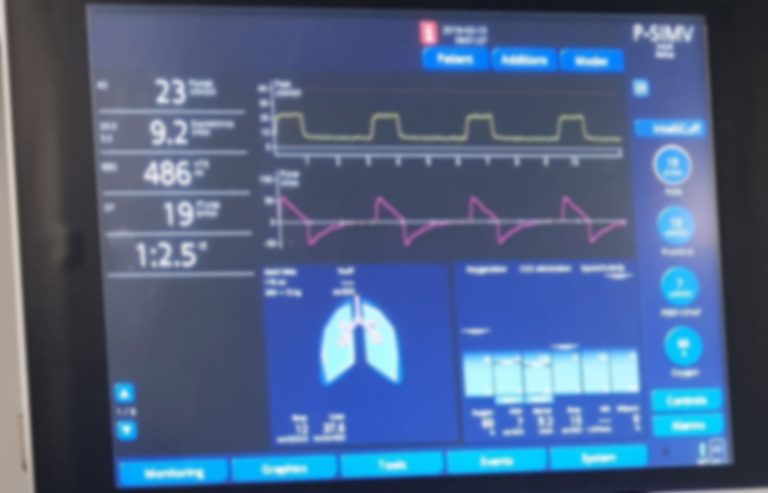
Waveforms To Watch
Waveforms display real-time breathing patterns. They show how the patient inhales and exhales. The most common waveforms include:
- Pressure Waveform:Shows pressure inside the lungs during breathing.
- Volume Waveform:Displays the amount of air moved in each breath.
- Flow Waveform:Represents the speed of airflow in and out of the lungs.
Watching these waveforms helps detect issues like blockages or leaks. Changes in shape can signal problems that need quick action.
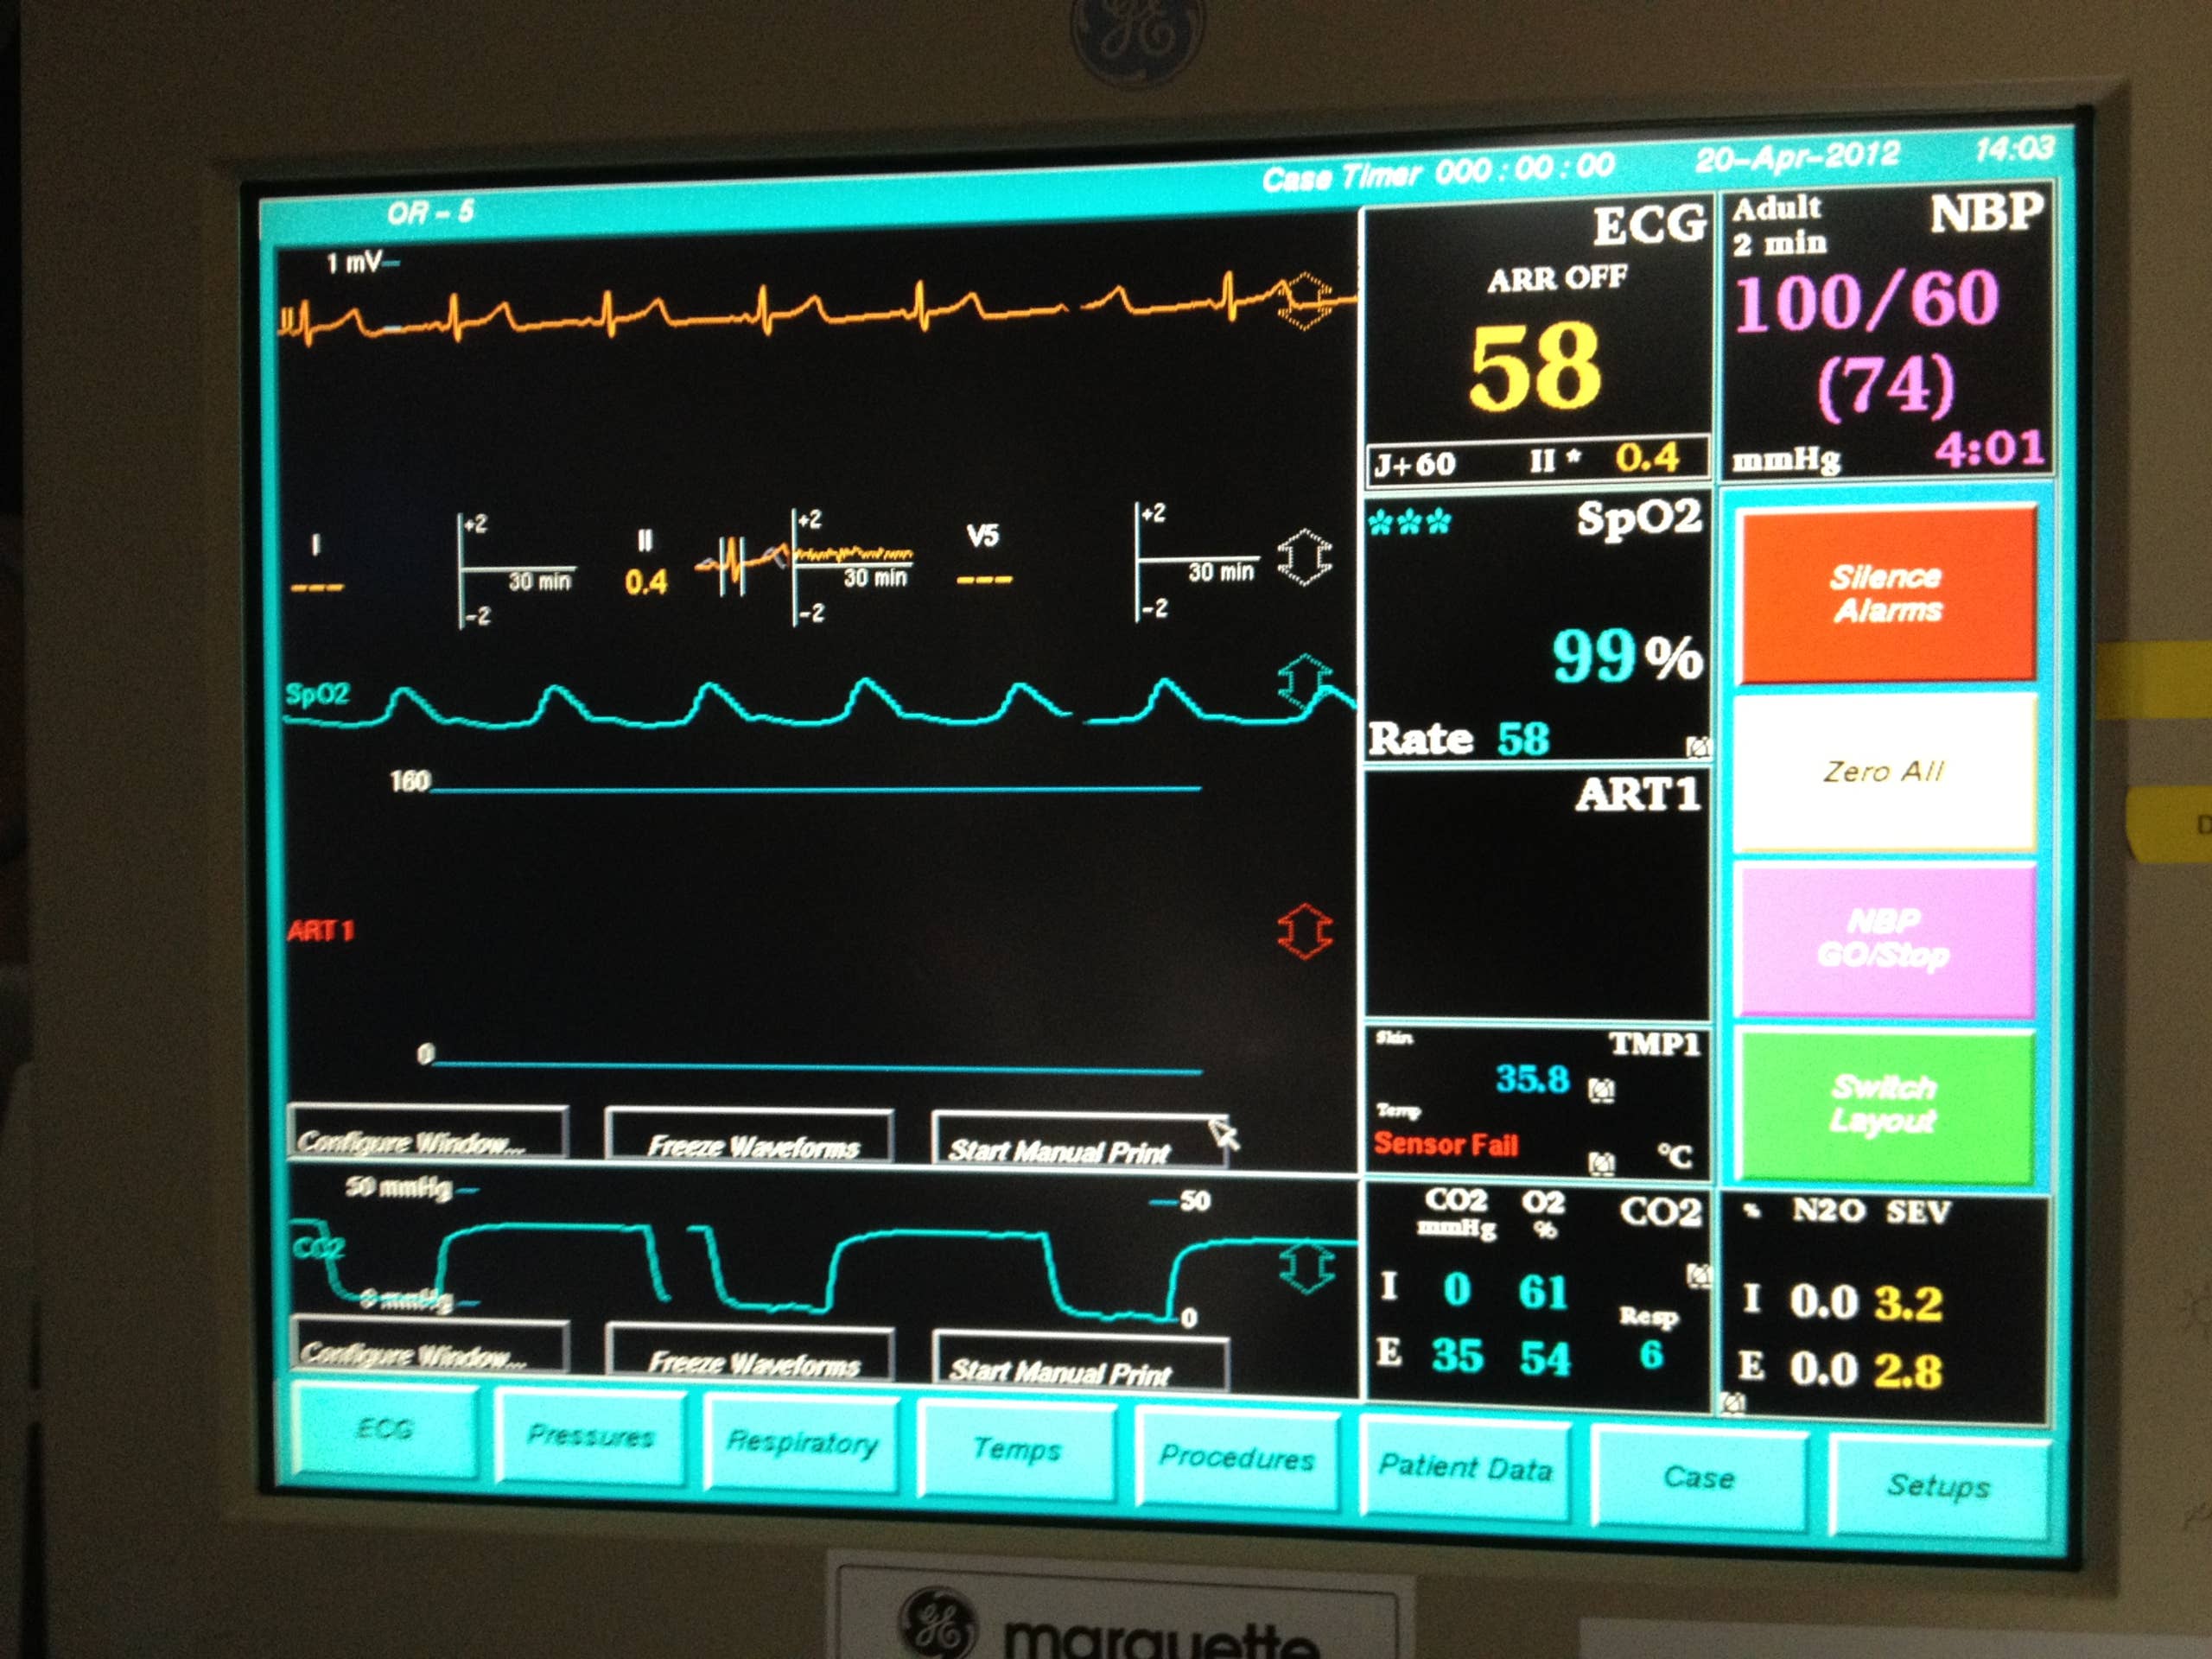
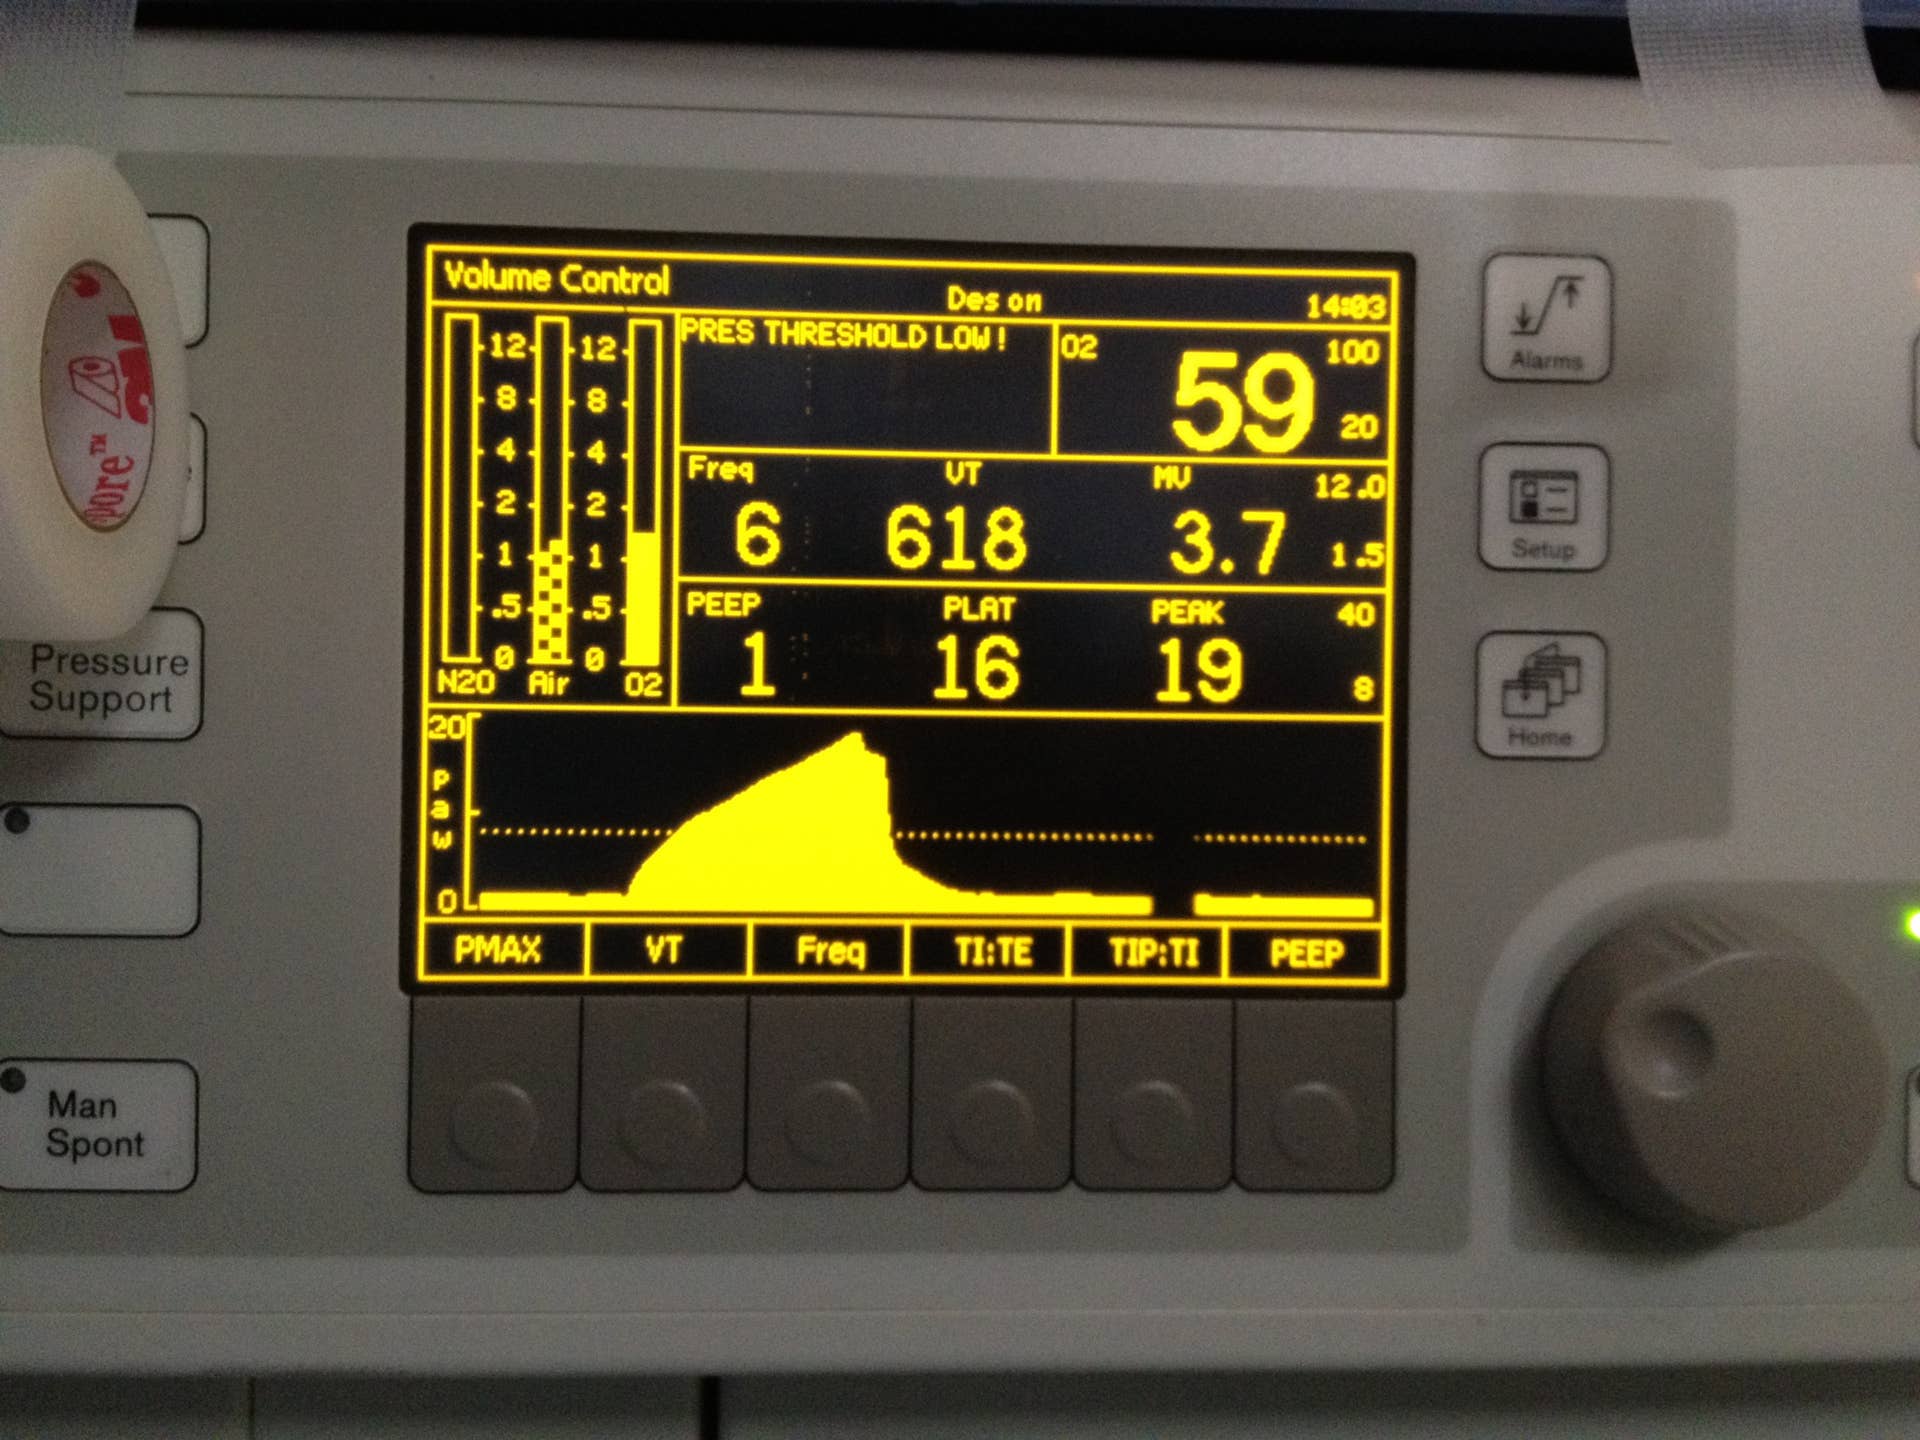
Parameter Displays
Parameter displays show key numbers about breathing. These include:
- Tidal Volume (Vt):Air volume delivered with each breath.
- Respiratory Rate (RR):Number of breaths per minute.
- Peak Inspiratory Pressure (PIP):Highest pressure during inhalation.
- Positive End-Expiratory Pressure (PEEP):Pressure maintained after exhale.
- Oxygen Concentration (FiO2):Amount of oxygen in the air mixture.
These numbers guide treatment and ventilator settings. They provide a quick overview of lung function and oxygen needs.
Interpreting Waveforms
Interpreting waveforms on a ventilator screen is key to understanding how well a patient is breathing and how the machine supports them. Each waveform tells a story about the interaction between the patient’s lungs and the ventilator. Grasping these signals can help you quickly spot problems and adjust settings to improve care.
Pressure Waveform
The pressure waveform shows the pressure inside the airway during each breath. It helps you see if the ventilator is delivering the right amount of pressure and if the patient’s lungs are responding properly.
Look for smooth rises and falls in pressure. A sudden spike or a flat line can indicate issues like airway obstruction or a leak. When I first noticed a pressure waveform that never peaked, I realized the tube was partially blocked, which saved the patient from worsening respiratory distress.
Flow Waveform
The flow waveform tracks the speed of air moving in and out of the lungs. It helps you understand how the patient’s breathing effort matches the ventilator’s support.
Normal flow waveforms have a clear inhalation and exhalation phase. If you see a dip or irregular shape, it might mean the patient is struggling to synchronize with the ventilator. Have you ever noticed a patient’s flow waveform flattening and then improved their comfort by adjusting sensitivity settings? That’s the kind of immediate feedback this waveform provides.
Volume Waveform
The volume waveform displays the amount of air the patient inhales and exhales with each breath. It is crucial to verify that the tidal volume matches the prescribed settings and that the lungs are filling adequately.
Watch for consistent volume peaks; uneven volumes can signal leaks or patient effort changes. When volume drops unexpectedly, checking this waveform can quickly point you towards a disconnection or a patient’s deteriorating lung compliance. How often do you check this waveform to ensure effective ventilation?
Critical Parameters
Understanding critical parameters on a ventilator screen is essential. These parameters ensure patients receive proper ventilation. Each parameter plays a vital role in patient care.
Tidal Volume
Tidal Volume indicates the air delivered to the lungs with each breath. It’s crucial for maintaining adequate gas exchange. Too low or too high can cause harm. Observe this parameter closely to ensure patient safety.
Respiratory Rate
Respiratory Rate shows the number of breaths per minute. It reflects how well the ventilator supports the patient’s breathing. Adjustments might be necessary for optimal patient comfort and oxygenation.
Peep And Fio2
PEEP stands for Positive End-Expiratory Pressure. It keeps alveoli open, improving oxygen exchange. FiO2 represents the fraction of inspired oxygen. It measures the oxygen level delivered by the ventilator. Both are key for proper lung function.
Peak And Plateau Pressures
Peak Pressure measures the highest pressure during inhalation. Plateau Pressure is the pressure when airflow stops briefly. Monitoring these pressures helps prevent lung injury. High pressures may indicate issues needing immediate attention.
Troubleshooting Alarms
Alarms on a ventilator screen can be overwhelming, especially if you’re new to managing respiratory support. However, these alarms are designed to alert you to changes in the patient’s condition or equipment issues. Understanding how to troubleshoot them quickly can make a significant difference in patient safety and your confidence in handling the ventilator.
Common Alarm Types
Ventilators typically have alarms categorized by their urgency and cause. Some alarms warn of high pressure, while others signal low volume or disconnection. Recognizing these alarms helps you react appropriately without panic.
- High-Pressure Alarm:This sounds when airway pressure exceeds safe limits. Causes can include mucus plugs, coughing, or patient biting the tube.
- Low-Pressure Alarm:This occurs if there is a leak or disconnection in the circuit. It may indicate a loose tube or a broken connection.
- Low Volume Alarm:Triggered when the patient’s tidal volume drops below the set level. This might happen if the patient is breathing shallowly or if there’s a leak.
- Apnea Alarm:Alerts when the patient stops breathing for a preset time. Immediate attention is necessary as it suggests respiratory failure or disconnection.
Immediate Actions
When an alarm goes off, your first step is to assess the patient visually. Check if the patient is in distress or if there are any obvious issues like disconnections or kinks in the tubing.
Next, address the alarm based on its type:
| Alarm Type | Immediate Action |
|---|---|
| High-Pressure | Inspect the airway for obstructions, suction if needed, and ensure the patient isn’t biting the tube. |
| Low-Pressure | Check all connections, fix leaks, and re-secure the endotracheal tube. |
| Low Volume | Confirm the patient is breathing adequately, adjust ventilator settings if necessary, and check for leaks. |
| Apnea | Assess the patient’s breathing immediately; provide manual ventilation if needed and notify the medical team. |
Have you ever faced an alarm that seemed confusing at first? Taking a moment to calmly identify the cause can save precious time and prevent unnecessary stress. Remember, the alarm is your tool—not your enemy.
Credit: owlcation.com
Adjusting Settings Safely
Adjusting ventilator settings safely is crucial to ensure the patient receives the right support without causing harm. Every change you make should be thoughtful and based on real-time data and patient condition. Knowing when and how to adjust parameters can improve outcomes and avoid complications.
When To Change Parameters
You should consider changing ventilator settings if you notice signs that the patient’s breathing is not optimal. These signs include changes in oxygen saturation, increased work of breathing, or abnormal blood gas results.
For example, if oxygen levels drop despite current settings, increasing the FiO2 or PEEP might be necessary. However, make sure to adjust one parameter at a time and observe the effect before making further changes.
- Check vital signs regularly.
- Review arterial blood gases for ventilation and oxygenation status.
- Assess patient comfort and synchrony with the ventilator.
Monitoring Patient Response
After adjusting settings, closely monitor how the patient responds. Watch for improvements or signs of distress, such as changes in heart rate, blood pressure, or respiratory effort.
It’s important to ask yourself: Is the patient tolerating the change? Are there any new alarms or unexpected readings on the ventilator screen? These clues guide your next steps.
Document each adjustment and response carefully. This practice helps track progress and informs future decisions.
Documentation And Communication
Documentation and communication play a vital role in managing ventilator care. Accurate records help track patient progress and ventilator settings. Clear communication ensures the whole team understands the patient’s condition and treatment plan. These steps reduce errors and improve patient safety.
Recording Data
Record ventilator settings regularly and precisely. Include tidal volume, respiratory rate, and oxygen levels. Note any alarms or changes in the patient’s condition. Use charts or electronic health records to keep data organized. Ensure entries are legible and timely to support quick decisions.
Collaborating With Team
Share ventilator data during shift changes and rounds. Discuss any changes or concerns clearly with nurses and doctors. Use simple language to avoid confusion. Confirm that everyone understands the patient’s status. Teamwork helps provide consistent and safe care for the patient.

Credit: www.youtube.com
Frequently Asked Questions
What Are The Main Parameters On A Ventilator Screen?
The main parameters include tidal volume, respiratory rate, FiO2, PEEP, and peak pressure. These help monitor patient ventilation effectively.
How Do I Interpret Tidal Volume On The Ventilator?
Tidal volume shows the air amount delivered per breath. It’s crucial for assessing lung ventilation and adjusting settings accordingly.
What Does Peep Indicate On A Ventilator Display?
PEEP stands for Positive End-Expiratory Pressure. It prevents alveoli collapse, improving oxygenation and lung compliance during ventilation.
How To Recognize Alarm Warnings On Ventilator Screens?
Alarms display as flashing icons or sounds. They indicate issues like high pressure, low volume, or disconnections needing immediate attention.
Conclusion
Reading a ventilator screen helps you understand patient status clearly. Focus on key numbers like respiratory rate, tidal volume, and oxygen levels. Regular checks keep patients safe and improve care quality. Practice often to build confidence and skill. Remember, clear screen reading supports quick decisions and better outcomes.
Keep learning and stay attentive to all screen details. Simple steps lead to better patient monitoring every day.


