
Are you staring at a glued mirror on your wall and wondering how to remove it without causing damage? You’re not alone.
Removing a mirror that’s firmly stuck can feel like a tough, risky job. But what if you could do it safely, quickly, and with minimal mess? In this guide, you’ll discover simple, effective steps to take that mirror down without stress or costly repairs.
Keep reading—your walls will thank you.

Credit: www.reddit.com
Tools Needed
Removing a glued mirror from your wall requires the right tools to make the process safer and more efficient. Having these tools ready before you start can save you time and prevent damage to both the mirror and your wall. Let’s look at what you’ll need to get the job done right.
Basic Supplies
- Utility Knife:A sharp blade helps cut through the adhesive around the edges of the mirror. It’s essential for loosening the glue without cracking the glass.
- Putty Knife or Paint Scraper:Use this to gently pry the mirror away from the wall once the adhesive softens. Thin, flexible blades work best for sliding behind the mirror.
- Heat Gun or Hair Dryer:Applying heat softens the glue, making it easier to remove the mirror. A hair dryer is a handy alternative if you don’t have a heat gun.
- Adhesive Remover:After the mirror is off, you’ll likely need a solvent to clear any leftover glue on the wall. Make sure to choose a product safe for your wall surface.
- Clean Cloths:Keep some rags or microfiber cloths nearby to wipe off residue and clean the area after removal.
Safety Gear
- Safety Glasses:Protect your eyes from glass shards or adhesive particles. This is a must-have to avoid injuries.
- Gloves:Wear sturdy gloves to shield your hands from sharp edges and sticky glue. They also provide a better grip when handling the mirror.
- Dust Mask:If you’re working with chemical adhesive removers or dusty surfaces, a mask keeps you from inhaling harmful particles.
Have you ever tried removing a mirror without gloves or eye protection? It’s risky and not worth the trouble. Taking a few minutes to gather these tools and gear will make your project safer and smoother.
Preparation Steps
Gather tools like a putty knife, heat gun, and gloves before starting. Clear the area to protect surfaces and wear safety gear for protection. Prepare a soft cloth and adhesive remover to handle sticky residue gently.
Before removing a glued mirror from the wall, proper preparation is crucial. It ensures safety and protects your home from damage. Follow these steps to make the process smooth and efficient.Clear The Area
Start by removing items near the mirror. Take down pictures, decorations, or furniture. This prevents them from getting damaged. Create a clear space to work in. It also reduces the risk of accidents. Keep the area organized and free of clutter. This helps you focus on the task at hand.Protect The Floor And Walls
Cover the floor with drop cloths or old blankets. This protects it from falling glass or glue residue. Use painter’s tape to secure plastic sheets on walls. This shields them from scratches or marks. You can also place cardboard against the wall. It offers extra protection while removing the mirror. Make sure all protective materials are secure. This minimizes the risk of damage during the process.Heat Method
Removing a glued mirror from a wall can be tricky, but using heat can soften the adhesive and make the process much easier. The heat method involves applying controlled warmth to the glued area, loosening the bond without damaging the wall or the mirror. This technique is practical and accessible, often requiring just tools you might already have at home.
Using A Hair Dryer
A hair dryer is a gentle way to warm the glue behind the mirror. Hold it close to the edges and move it slowly in circular motions to evenly distribute the heat.
Focus on one section at a time. You’ll notice the glue becoming tacky and softer, which helps you pry the mirror off with less effort. Be patient and avoid overheating to prevent damage to the wall paint or mirror backing.
Have you ever tried peeling a sticker after warming it with a hair dryer? The same principle applies here, but on a larger scale. It’s a simple hack that often surprises people with how well it works.
Applying Heat With A Heat Gun
A heat gun is more powerful than a hair dryer and works faster on tough glue. Set it to a medium heat setting to avoid cracking the glass or bubbling the paint.
Keep the gun moving and maintain a distance of about 6 to 8 inches from the surface. This steady heat will soften the adhesive, making it easier to slide a putty knife or scraper behind the mirror.
Using a heat gun requires caution—too much heat can cause damage. But with careful control, it’s an effective tool to free stubborn mirrors without leaving marks.

Credit: www.thehandymanjohannesburg.co.za
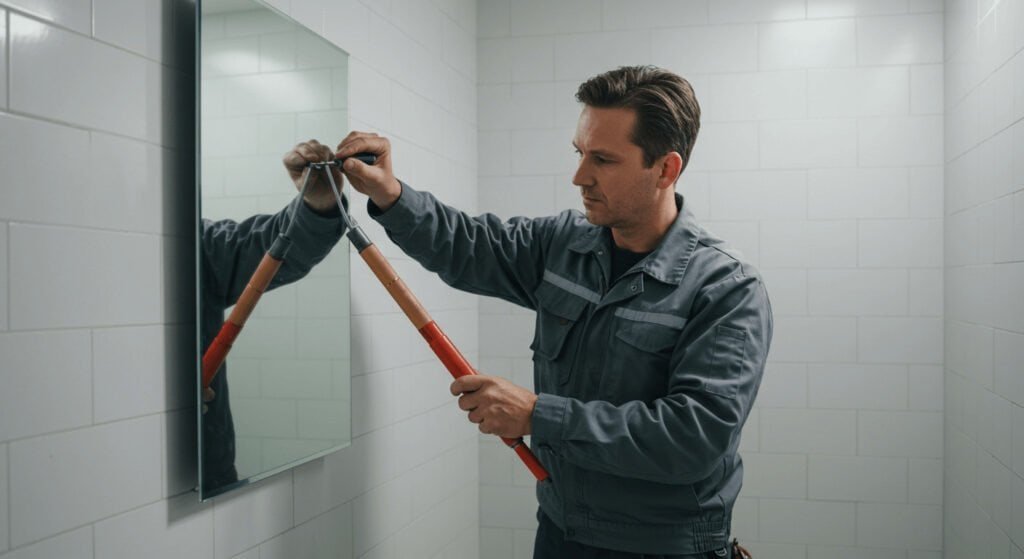
Cutting Adhesive
Cutting the adhesive that holds your mirror to the wall is a delicate task. You want to avoid damaging the wall or breaking the mirror. Choosing the right tool and technique makes all the difference in safely loosening the glued surface.
Using A Putty Knife
A putty knife is a handy tool that can slide between the wall and the mirror, helping to cut through the adhesive. Start by gently inserting the blade at the edge of the mirror, applying steady pressure to avoid cracking the glass.
Work slowly, moving the knife back and forth to soften the glue. If the adhesive feels too tough, try warming it slightly with a hairdryer to make the glue more pliable. This simple trick often makes the putty knife glide in more easily.
Have you noticed how patience during this step saves you from costly repairs? Rushing can lead to chipped paint or shattered glass.
Using Dental Floss Or Wire
Dental floss or a thin wire acts like a saw, cutting through the adhesive with a gentle back-and-forth motion. This technique works well if the mirror is large or firmly stuck.
Hold the floss taut and carefully slide it behind the mirror, moving it in a sawing motion. The floss will gradually slice through the glue without damaging the wall surface.
One surprising benefit of this method is its precision. You control where the cut happens, reducing the risk of unwanted scratches or dents.
Which do you find easier to handle—dental floss or wire? Try both on a small test area before tackling the whole mirror.
Chemical Solvents
Chemical solvents can be a powerful ally when you need to remove a glued mirror from your wall. These liquids break down the adhesive, making it easier to detach the mirror without causing damage. However, choosing and using the right solvent requires care and knowledge to avoid harm to yourself or your wall.
Choosing The Right Adhesive Remover
Not all adhesive removers work the same. Some solvents are designed for strong industrial glues, while others are gentler and better for delicate surfaces.
Look for products labeled as safe for painted walls or drywall to avoid stripping paint or causing stains. Acetone and rubbing alcohol are common and effective choices, but they can be harsh on some surfaces.
Have you checked the label for warnings or compatibility with your wall type? Testing a small, hidden area first can save you from costly mistakes.
Applying Solvents Safely
Safety is key when working with chemical solvents. Always wear gloves and ensure the room is well-ventilated to avoid inhaling fumes.
Use a soft cloth or cotton swab to apply the solvent gently around the edges of the mirror where the glue is exposed. Avoid soaking the wall to prevent water damage or peeling paint.
Patience pays off here. Give the solvent time to break down the adhesive, then try to gently lift the mirror. If it resists, apply more solvent and wait a bit longer rather than forcing it.
Removing Residue
Removing residue after detaching a glued mirror is crucial to restoring your wall’s smooth finish. Leftover glue can attract dust, cause staining, or interfere with repainting. Tackling this residue carefully saves you from extra repairs down the line.
Scraping Glue Remnants
Start by gently scraping off thick glue spots using a plastic scraper or an old credit card. Avoid metal tools as they can damage the wall surface. If the glue is stubborn, soften it first by applying a warm, damp cloth for a few minutes.
Patience pays off here—work slowly to prevent gouging the paint or drywall. If you notice chunks coming off easily, keep scraping until most of the residue is gone. Is the glue still holding on tight? You might need to try a mild adhesive remover next.
Cleaning The Wall Surface
After scraping, clean the wall to remove any sticky leftover residue. Mix warm water with a few drops of dish soap and gently scrub the area using a soft sponge. This helps break down oily or sticky traces that scraping missed.
For tougher spots, rubbing alcohol or vinegar on a cloth can do the trick, but test a small hidden area first to avoid discoloration. Dry the wall completely before touching up paint or hanging anything new. How clean you get this surface impacts your next project’s success.
Safety Tips
Removing a glued mirror from your wall demands caution and care. Ignoring safety can lead to injuries or damage that’s tough to fix. Let’s look at some safety tips to protect yourself and your walls throughout the process.
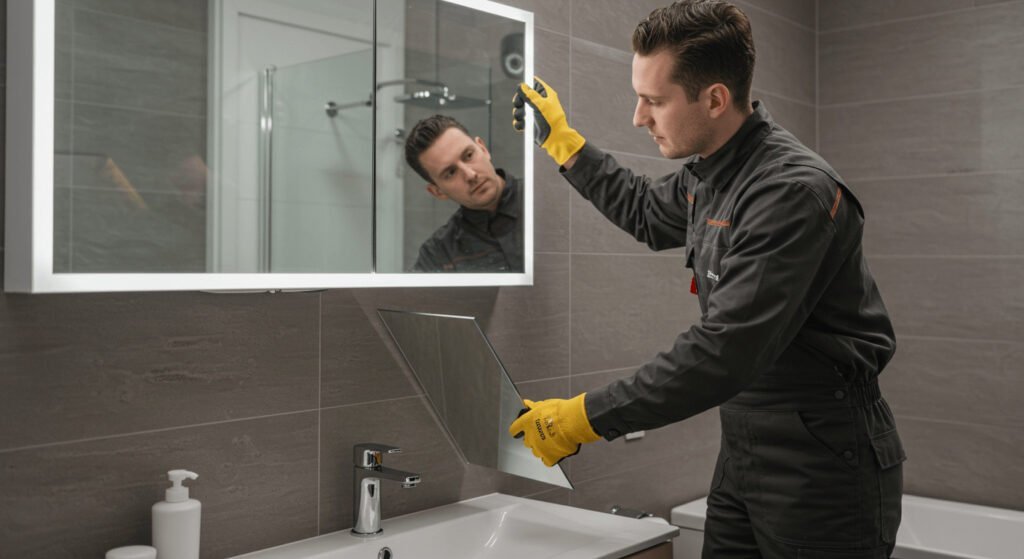
Handling Glass Carefully
Mirrors are fragile and sharp when broken. Always wear thick gloves and safety goggles before touching or prying the mirror. This protects your hands and eyes from unexpected cracks or shards.
Support the mirror firmly while working to prevent sudden falls. If the mirror starts to loosen, don’t rush; let it come off gradually to avoid breakage. Have a soft surface or blanket ready nearby to place the mirror safely once removed.
Avoiding Wall Damage
Peeling off a glued mirror can harm your wall paint or drywall. Use gentle tools like plastic scrapers instead of metal ones to reduce scratches. If the glue is stubborn, soften it with a heat gun or hairdryer before trying to remove the mirror.
Ask yourself: Is there an easier way to loosen the glue without force? Applying a small amount of adhesive remover or warm soapy water can help weaken the bond. This approach often saves your wall from unsightly holes or torn drywall.
Credit: bfymirror.com
Preventing Future Issues
Preventing future issues with glued mirrors starts before you even pick up the adhesive. The right choices in materials and installation can save you hours of frustration later. Think about the last time you tried removing something stuck too well—could it have been easier with a different approach?
Choosing Removable Adhesives
Not all adhesives are created equal, especially when it comes to mirrors on walls. Using removable adhesives gives you flexibility without sacrificing hold.
Look for products labeled as “removable” or “repositionable.” These adhesives stick firmly but peel off cleanly, reducing damage to your wall or mirror.
Silicone-based tapes or adhesive strips designed for hanging pictures often work well. They keep your mirror secure yet allow for easy removal or repositioning.
Proper Installation Techniques
Even the best adhesive fails if the mirror isn’t installed correctly. Your surface must be clean, dry, and free from dust or grease before applying any glue or tape.
Press the mirror firmly but avoid shifting it around too much once placed. Excess movement can weaken the bond and cause uneven sticking.
Consider using temporary supports like painter’s tape or brackets during curing time to keep the mirror stable. This small step can prevent slipping and ensure even adhesion.
Frequently Asked Questions
How Do I Safely Remove A Glued Mirror From The Wall?
Use a utility knife to cut the adhesive around the mirror edges. Apply heat with a hairdryer to soften glue. Gently pry the mirror away using a putty knife, working slowly to avoid damage or injury.
What Tools Are Needed To Remove A Glued Mirror?
You need a utility knife, hairdryer, putty knife, safety gloves, and protective eyewear. These tools help soften the glue and safely detach the mirror without breaking it or harming yourself.
Can I Reuse The Mirror After Removing It From The Wall?
Yes, if removed carefully without cracks or chips, you can reuse the mirror. Handle it gently and keep the adhesive residue minimal for easier reinstallation.
How Do I Clean Leftover Glue After Mirror Removal?
Use adhesive remover or rubbing alcohol on a cloth to wipe off glue residue. Apply gently to avoid damaging the wall surface. Repeat until the wall is clean and ready for repainting or new fixtures.
Conclusion
Removing a glued mirror from the wall takes care and patience. Use gentle tools to avoid damage. Heat or special glue remover can help loosen the glue. Work slowly and carefully to protect your wall surface. After removal, clean any leftover glue for a smooth finish.
Following these steps makes the process easier and safer. Keep safety in mind and take your time. You will have a clean wall ready for a new look.


