
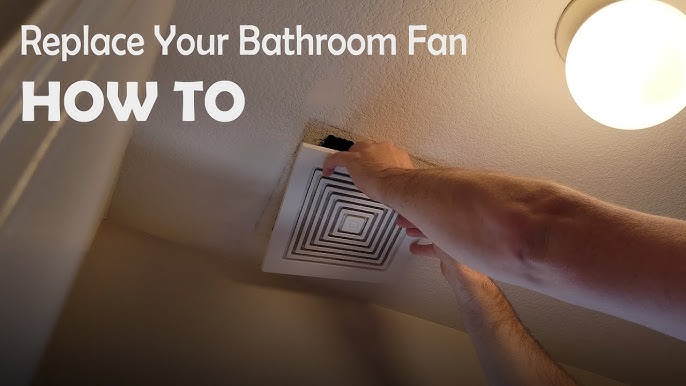
Is your ventilation fan making strange noises or just not working like it used to? Replacing it might seem tricky, but with the right steps, you can do it yourself and save time and money.
Imagine breathing fresher air and enjoying a quieter space without calling a pro. In this guide, you’ll discover simple, clear instructions to replace your ventilation fan safely and efficiently. Ready to take control of your home’s comfort? Let’s get started!
Credit: www.homecrux.com
Tools And Materials Needed
Replacing a ventilation fan is a task that demands the right tools and materials. Without them, you risk damaging your ceiling or installing the fan incorrectly. Gathering everything beforehand saves time and frustration during the project.
Think about the last time you tried fixing something without the proper tools. Did it take longer? Did the results meet your expectations? Having the right equipment makes all the difference.
Essential Tools
- Screwdriver Set:Both flathead and Phillips screwdrivers are necessary for removing the old fan and securing the new one.
- Voltage Tester:Safety first. Confirm the power is off before handling any wiring.
- Wire Strippers:These help you strip the insulation off electrical wires cleanly.
- Drill:Useful for making new holes if the fan mount requires it.
- Utility Knife:Handy for cutting drywall or insulation around the fan area.
- Ladder:Ensure it’s stable and tall enough to comfortably reach the fan.
Necessary Materials
- Replacement Ventilation Fan:Choose a model that fits the size and airflow needs of your room.
- Electrical Wire:Have extra wire on hand in case the existing wiring is too short or damaged.
- Wire Nuts:These secure wire connections safely.
- Mounting Brackets or Screws:Some fans come with these; if not, you’ll need to purchase suitable hardware.
- Foil Tape or Duct Tape:Use this to seal any duct connections and prevent air leaks.
- Caulk or Sealant:Helps close any gaps around the fan housing to improve efficiency.
Extra Tips For Preparation
Check your fan’s manual before buying materials. Sometimes, manufacturers recommend specific parts or accessories.
Think about your room’s ventilation needs. Is the fan’s airflow capacity (measured in CFM) adequate? Choosing the wrong size can reduce effectiveness.
Do you have all these tools ready? If not, consider borrowing or renting before starting. This prevents unnecessary trips mid-project.
Credit: www.tataneu.com
Safety Precautions
Replacing a ventilation fan involves working with electrical components and sometimes awkward spaces. Taking the right safety precautions protects you from injury and prevents damage to your home. Before you start, consider how you can make your workspace safer and your process smoother.
Turn Off Power At The Circuit Breaker
Never rely on just the fan’s switch to cut power. Go straight to your home’s circuit breaker and switch off the power to the room where the fan is located. This step eliminates the risk of electric shock while you handle wiring.
Double-check by trying to turn on the fan or use a voltage tester. Ensuring power is off gives you peace of mind to work confidently.
Use Proper Tools And Equipment
Having the right tools makes the job safer and easier. Use insulated screwdrivers and pliers designed for electrical work to avoid accidental shocks.
Wear safety goggles and a dust mask if you’re dealing with old fans that might have accumulated dust or mold. Protecting your eyes and lungs is often overlooked but very important.
Secure Your Ladder Or Step Stool
Many ventilation fans are installed on ceilings, so you’ll need a ladder or step stool. Make sure it’s stable and placed on a flat surface before climbing.
Have someone nearby to hold the ladder if possible. This simple precaution can prevent falls and serious injuries.
Handle Old Wiring Carefully
Older homes might have wiring that doesn’t meet current safety standards. Inspect wires for cracks, fraying, or corrosion before disconnecting anything.
If you spot damaged wiring, consider calling an electrician. Questioning whether you should proceed is better than risking a fire hazard.
Keep Your Work Area Clean And Organized
Clutter can cause accidents, especially when you’re working with tools and electrical parts. Clear the area of unnecessary items before starting.
Organize screws, brackets, and parts in a small container to avoid losing them. Staying organized helps you stay focused and safe.
Removing The Old Fan
Removing the old ventilation fan is the first crucial step before installing a new one. This process requires care to avoid damage and ensure safety. Follow these steps to remove the fan properly and prepare the space for the new unit.
Turn Off Power
Safety is the top priority. Locate the circuit breaker that controls the fan’s power. Switch it off to cut electricity to the fan. Use a voltage tester to confirm no power flows to the fan wires. This step prevents electric shocks during removal.
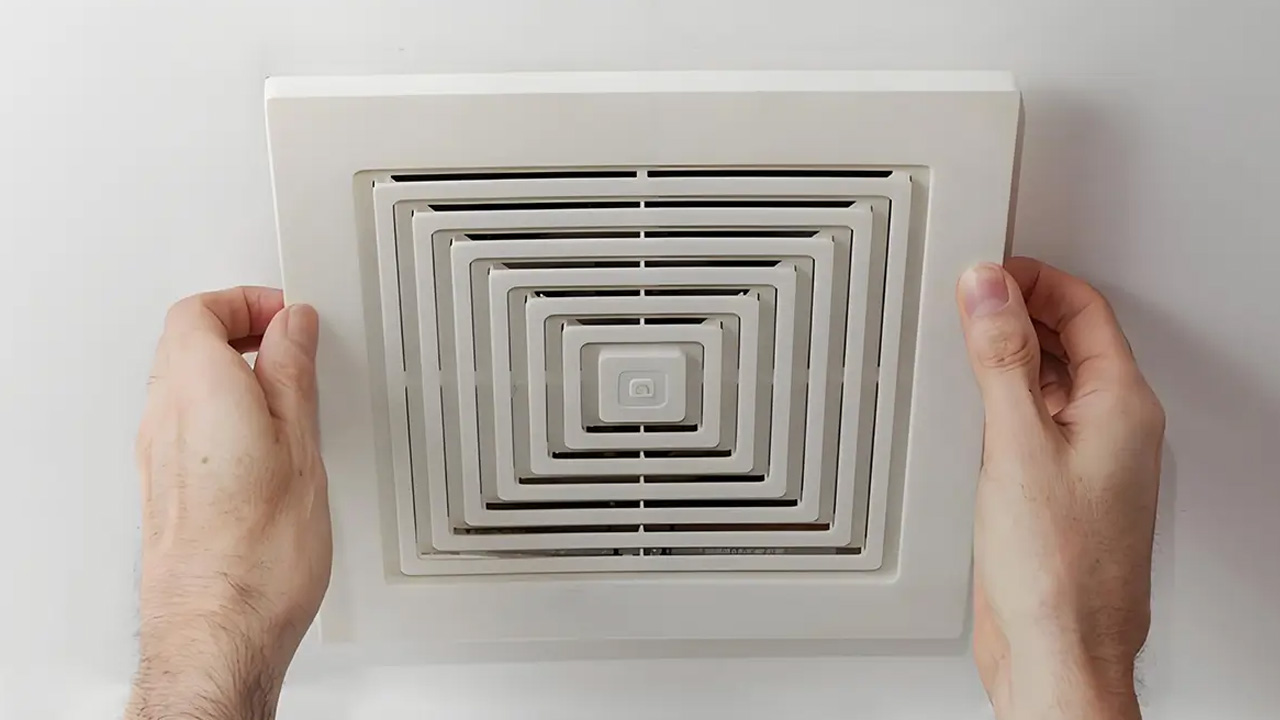
Detach Fan Cover
The fan cover protects the fan blades and motor. Most covers snap off or are held with screws. Gently remove any screws using a screwdriver. Carefully pull or slide the cover away from the ceiling or wall. Set it aside for disposal or reuse.
Disconnect Wiring
Inside the fan housing, wires connect the fan to your home’s electrical system. Note or photograph the wire connections for reference. Unscrew wire nuts or connectors to separate wires. Make sure wires do not touch each other or the fan housing.
Remove Fan Housing
The fan housing is the main body attached to the ceiling or wall. Check for mounting screws or brackets holding it in place. Unscrew or unclip these fasteners. Carefully pull the fan housing down from its position. Remove any remaining wires or parts attached to the housing.
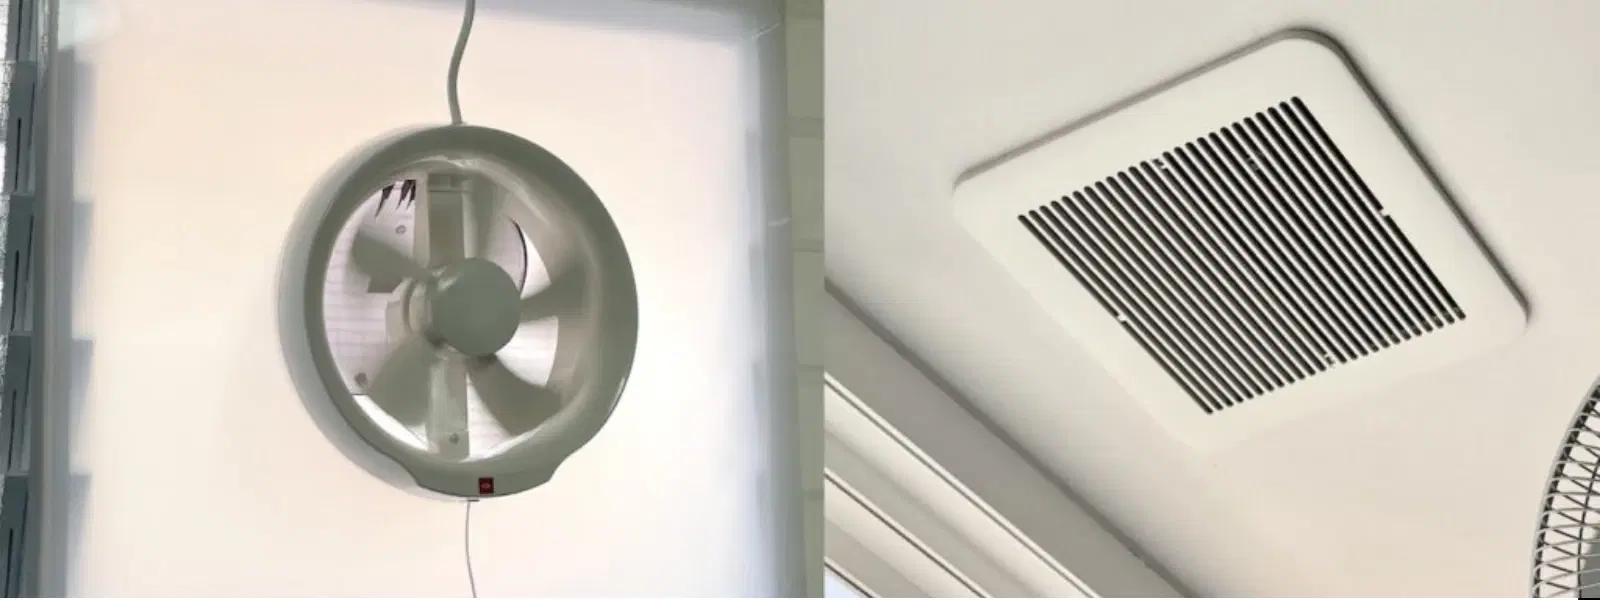
Choosing The Right Replacement Fan
Choosing the right replacement fan is important for effective ventilation. The new fan should fit well, work with your vent, and save energy. Picking the right fan keeps your space fresh and prevents problems. This guide helps you find the best replacement fan for your needs.
Match Size And Style
Start by measuring the old fan’s size. The new fan must fit the same space. Check the fan’s style too. Some fans have a basic design, while others look more modern. Choose a fan style that matches your room’s look. A proper fit avoids extra work and saves time.
Check Vent Compatibility
Look at the vent where the fan connects. The replacement fan must fit the vent size and type. Some vents are round, others are rectangular. The fan’s duct should connect tightly to avoid leaks. A good connection helps the fan work well and keeps air moving.
Consider Energy Efficiency
Energy-efficient fans use less power. They lower electricity bills and help the environment. Look for fans with an Energy Star label. These fans meet strict energy rules. Quiet operation is also important. Energy-saving fans often run quietly, making your space more comfortable.
Installing The New Fan
Replacing a ventilation fan enhances air quality in your home. First, turn off the power supply for safety. Then, remove the old fan and disconnect wiring. Install the new fan by following the manufacturer’s instructions, securing it properly. Finally, reconnect the wiring and restore power to enjoy improved ventilation.
Installing a new ventilation fan can improve your home’s air quality. It’s essential to follow some steps to ensure a safe and efficient installation. Let’s dive into the details.Connect Wiring Safely
Before starting, turn off the power at the circuit breaker. This step is crucial to prevent any accidents. Locate the wires in your ceiling. Typically, these include a black, white, and green or bare wire. Match these wires to your new fan’s wiring. Use wire connectors to join the wires securely. Ensure there are no exposed wires. This prevents potential electrical hazards.Secure Fan Housing
Position the fan housing in the ceiling opening. Align it with the duct and electrical connections. Use screws to secure the housing firmly to the joists. This step ensures the fan remains stable during operation. Check if the housing sits flush with the ceiling. If not, adjust accordingly to achieve a snug fit. This prevents vibrations and noise.Attach Fan Cover
Once the housing is secure, attach the fan cover. Align the cover with the housing brackets. Gently push until it clicks into place. Ensure the cover is tight and secure. This step completes the fan installation. A well-attached cover ensures effective air circulation. Finally, restore power to test the fan’s functionality. Listen for smooth operation without unusual sounds.
Credit: www.youtube.com
Testing The New Fan
Testing the new ventilation fan is a crucial step to ensure it works efficiently and safely. After the installation, you want to confirm everything runs smoothly before sealing up your ceiling or wall. This process helps catch any issues early and saves you from future headaches.
Restore Power
Before testing, make sure to restore power at the circuit breaker. This step reactivates the fan’s electrical supply. Double-check that the switch controlling the fan is turned on to avoid confusion during testing.
Check Functionality
Turn on the fan and observe if it starts immediately without delay. Watch for consistent airflow—your new fan should move air efficiently without stalling or stopping. If the fan has multiple speeds, test each one to verify smooth operation across settings.
Listen For Unusual Noises
Pay close attention to the sounds your fan makes while running. A properly installed fan should operate quietly with a steady hum. If you hear rattling, grinding, or buzzing, it could indicate loose parts or an installation problem that needs fixing.
Maintenance Tips
Maintaining your ventilation fan keeps it running smoothly and extends its life. Simple tasks done regularly prevent damage and improve air quality. Pay attention to these key maintenance tips to ensure your fan works well.
Regular Cleaning
Dust and dirt build up inside the fan over time. Clean the fan cover and blades often to avoid blockages. Use a soft cloth or brush for gentle cleaning. Never use water directly on electrical parts. Regular cleaning improves airflow and reduces noise.
Inspect Wiring
Check the fan’s wiring for any damage or loose connections. Turn off power before inspecting wires. Look for frayed cables or burnt marks. Secure any loose wires with electrical tape. Proper wiring prevents electrical hazards and fan failure.
Replace Filters If Needed
Some ventilation fans have filters to trap dust and particles. Inspect filters monthly for dirt and clogging. Replace filters when they look dirty or worn out. Clean filters improve air quality and fan efficiency. Always use the right size filter for your fan.
Frequently Asked Questions
How Do I Know When To Replace A Ventilation Fan?
Replace your ventilation fan if it’s noisy, inefficient, or not removing moisture properly. Frequent breakdowns also signal replacement.
What Tools Are Needed To Replace A Ventilation Fan?
You’ll need a screwdriver, voltage tester, wire strippers, and possibly a drill. Safety gear like gloves and goggles is essential.
Can I Replace A Ventilation Fan Myself Safely?
Yes, if you turn off the power and follow instructions carefully. If unsure, consult a professional electrician.
How Long Does It Take To Replace A Ventilation Fan?
Typically, replacing a fan takes about 1 to 2 hours, depending on complexity and your experience.
Conclusion
Replacing a ventilation fan can improve air flow and comfort at home. Follow the steps carefully for a safe and smooth process. Take time to choose the right fan size and type for your space. Always turn off the power before starting any work.
With patience and simple tools, you can complete this task yourself. Good ventilation helps keep your home fresh and healthy. Try this project to save money and gain confidence in home repairs.


