

Are you tired of dealing with foggy mirrors and damp bathroom walls? Installing a bathroom ventilation fan can solve these problems quickly and keep your space fresh and dry.
You might think it’s complicated, but with the right steps, you can do it yourself and save money. In this guide, you’ll learn exactly how to install a bathroom ventilation fan easily and safely. Keep reading to discover simple tips that will make your bathroom more comfortable and protect your home from moisture damage.
Choosing The Right Fan
Choosing the right bathroom ventilation fan is key to keeping your space fresh and dry. A good fan removes moisture, prevents mold, and improves air quality. Selecting the correct type and size ensures the fan works efficiently without wasting energy. Focus on the fan’s features to match your bathroom’s needs and layout.
Types Of Bathroom Fans
Bathroom fans come in several types, each serving different needs:
- Ceiling-mounted fans:Most common, easy to install, suitable for average bathrooms.
- Inline fans:Installed in ductwork, quieter, ideal for large bathrooms or long ducts.
- Wall-mounted fans:Mounted on exterior walls, good for rooms without attic access.
- Combination fans:Include lights or heaters for extra functionality.
Choose a fan type that fits your bathroom design and installation options.
Sizing Your Ventilation Fan
Fan size matters. A too-small fan won’t remove moisture well. A too-large fan wastes energy and money.
Measure your bathroom size in square feet. Multiply the area by 1 CFM per square foot. For example, a 50 sq. ft. bathroom needs a 50 CFM fan.
Consider adding more CFM for larger bathrooms or those with high ceilings.
Energy Efficiency Ratings
Look for fans with ENERGY STAR ratings to save electricity. Efficient fans use less power but still remove moisture effectively.
Check the fan’s Sone rating. Lower Sone means quieter operation. A rating below 3 is ideal for bathrooms.
Choosing an energy-efficient fan reduces utility bills and noise levels.

Credit: www.youtube.com
Gathering Tools And Materials
Before you start installing your bathroom ventilation fan, gathering the right tools and materials is key. Having everything on hand saves time and keeps your project running smoothly. It also helps you avoid frustrating interruptions that can happen when you realize you’re missing something halfway through.
Essential Tools List
- Drill with bits:Needed for making holes and securing screws.
- Screwdrivers:Both flathead and Phillips types work best for different screws.
- Measuring tape:Ensures accurate placement of the fan and ducting.
- Utility knife:Useful for cutting drywall or insulation.
- Wire strippers:Needed for electrical connections.
- Stud finder:Helps locate joists or studs for mounting the fan securely.
- Caulking gun:For sealing gaps around the fan housing.
Required Materials
- Bathroom ventilation fan kit:Includes the fan, grille, and often a mounting bracket.
- Ducting:Flexible or rigid duct to channel air outside.
- Vent cap:Installed on the exterior wall or roof to prevent backdrafts.
- Electrical wiring:Usually 14/2 or 12/2 gauge wire, depending on local codes.
- Wire nuts and connectors:For safe and secure electrical connections.
- Caulk or foam sealant:To seal around ducts and fan housing.
- Drywall anchors or screws:To secure the fan if no studs are available.
Safety Gear
Protecting yourself should never be an afterthought. You’ll want safety goggles to shield your eyes from dust and debris.
Wear gloves to protect your hands from sharp edges and electrical components. A dust mask is also helpful, especially if you’re cutting drywall or working in tight spaces.
Have a flashlight or headlamp ready if you’re working in dimly lit areas. Staying safe lets you focus better and finish the job without injury.
Preparing The Installation Area
Preparing the installation area is a crucial part of fitting your bathroom ventilation fan. Getting this right ensures the fan works efficiently and lasts longer. It also helps you avoid costly mistakes or damage to your bathroom walls and ceiling.
Locating The Fan Position
Choose a spot on the ceiling or wall where the fan will pull the most moisture away. Ideally, place it near the shower or bathtub since these areas generate the most steam.
Think about where the ductwork will run. Will it vent directly outside, or do you need to route it through an attic or crawl space? You don’t want the fan’s airflow blocked or reduced.
Have you considered noise levels? Some fans are louder when mounted too close to the sleeping area or a frequently used space. Finding the right position can balance performance and comfort.
Checking Electrical Connections
Before cutting any holes, confirm there’s an electrical power source nearby. You’ll need a 120-volt circuit dedicated to the fan or one that can handle the additional load safely.
Turn off power at the breaker before inspecting wiring to avoid shocks. Use a voltage tester to double-check that the wires are dead before touching anything.
Ask yourself: Can you easily connect to existing wiring, or will you need to run a new line? Planning ahead saves you from last-minute trips to the hardware store or calls to an electrician.
Measuring And Marking
Use the fan’s template or manual to mark the exact cutout size on the ceiling or wall. Measure twice to avoid mistakes that could require patching drywall later.
Mark the center point of the fan and outline the area where the housing will fit snugly. Remember to check for any hidden pipes or studs behind the surface before cutting.
Double-check your marks with a level to make sure the fan will sit straight. A crooked installation looks unprofessional and may affect performance.
Removing The Old Fan
Removing the old bathroom ventilation fan is the crucial first step before installing a new one. It might seem straightforward, but handling electrical components demands care and attention. Taking the right precautions not only protects you but also ensures the new fan fits perfectly without any hiccups.
Turning Off Power
Safety starts with cutting off the power supply. Locate your home’s circuit breaker panel and switch off the breaker connected to the bathroom fan. Double-check by trying to turn on the fan or using a voltage tester to confirm there’s no electricity running to the unit.
Have you ever skipped this step and faced a sudden shock? It’s a harsh reminder that safety can’t be overlooked.
Detaching The Fan Cover
Most fan covers are held by either clips or screws. Gently pull or unscrew the cover—don’t force it, as this could break the plastic or damage the ceiling. Set the cover aside carefully; it might still be useful for your new installation or as a reference.
Sometimes, dust buildup keeps the cover stuck. Using a putty knife to carefully loosen edges can save you from accidental damage.
Disconnecting Wiring
After exposing the fan motor and wiring, observe how the wires connect. Take a clear photo or make a note to help during reconnection. Use a screwdriver to loosen wire nuts and gently separate the wires.
Never pull wires directly—this can cause breaks or shorts. If the fan is hardwired, you may need to cut the wires, but leave enough length for the new fan connection.
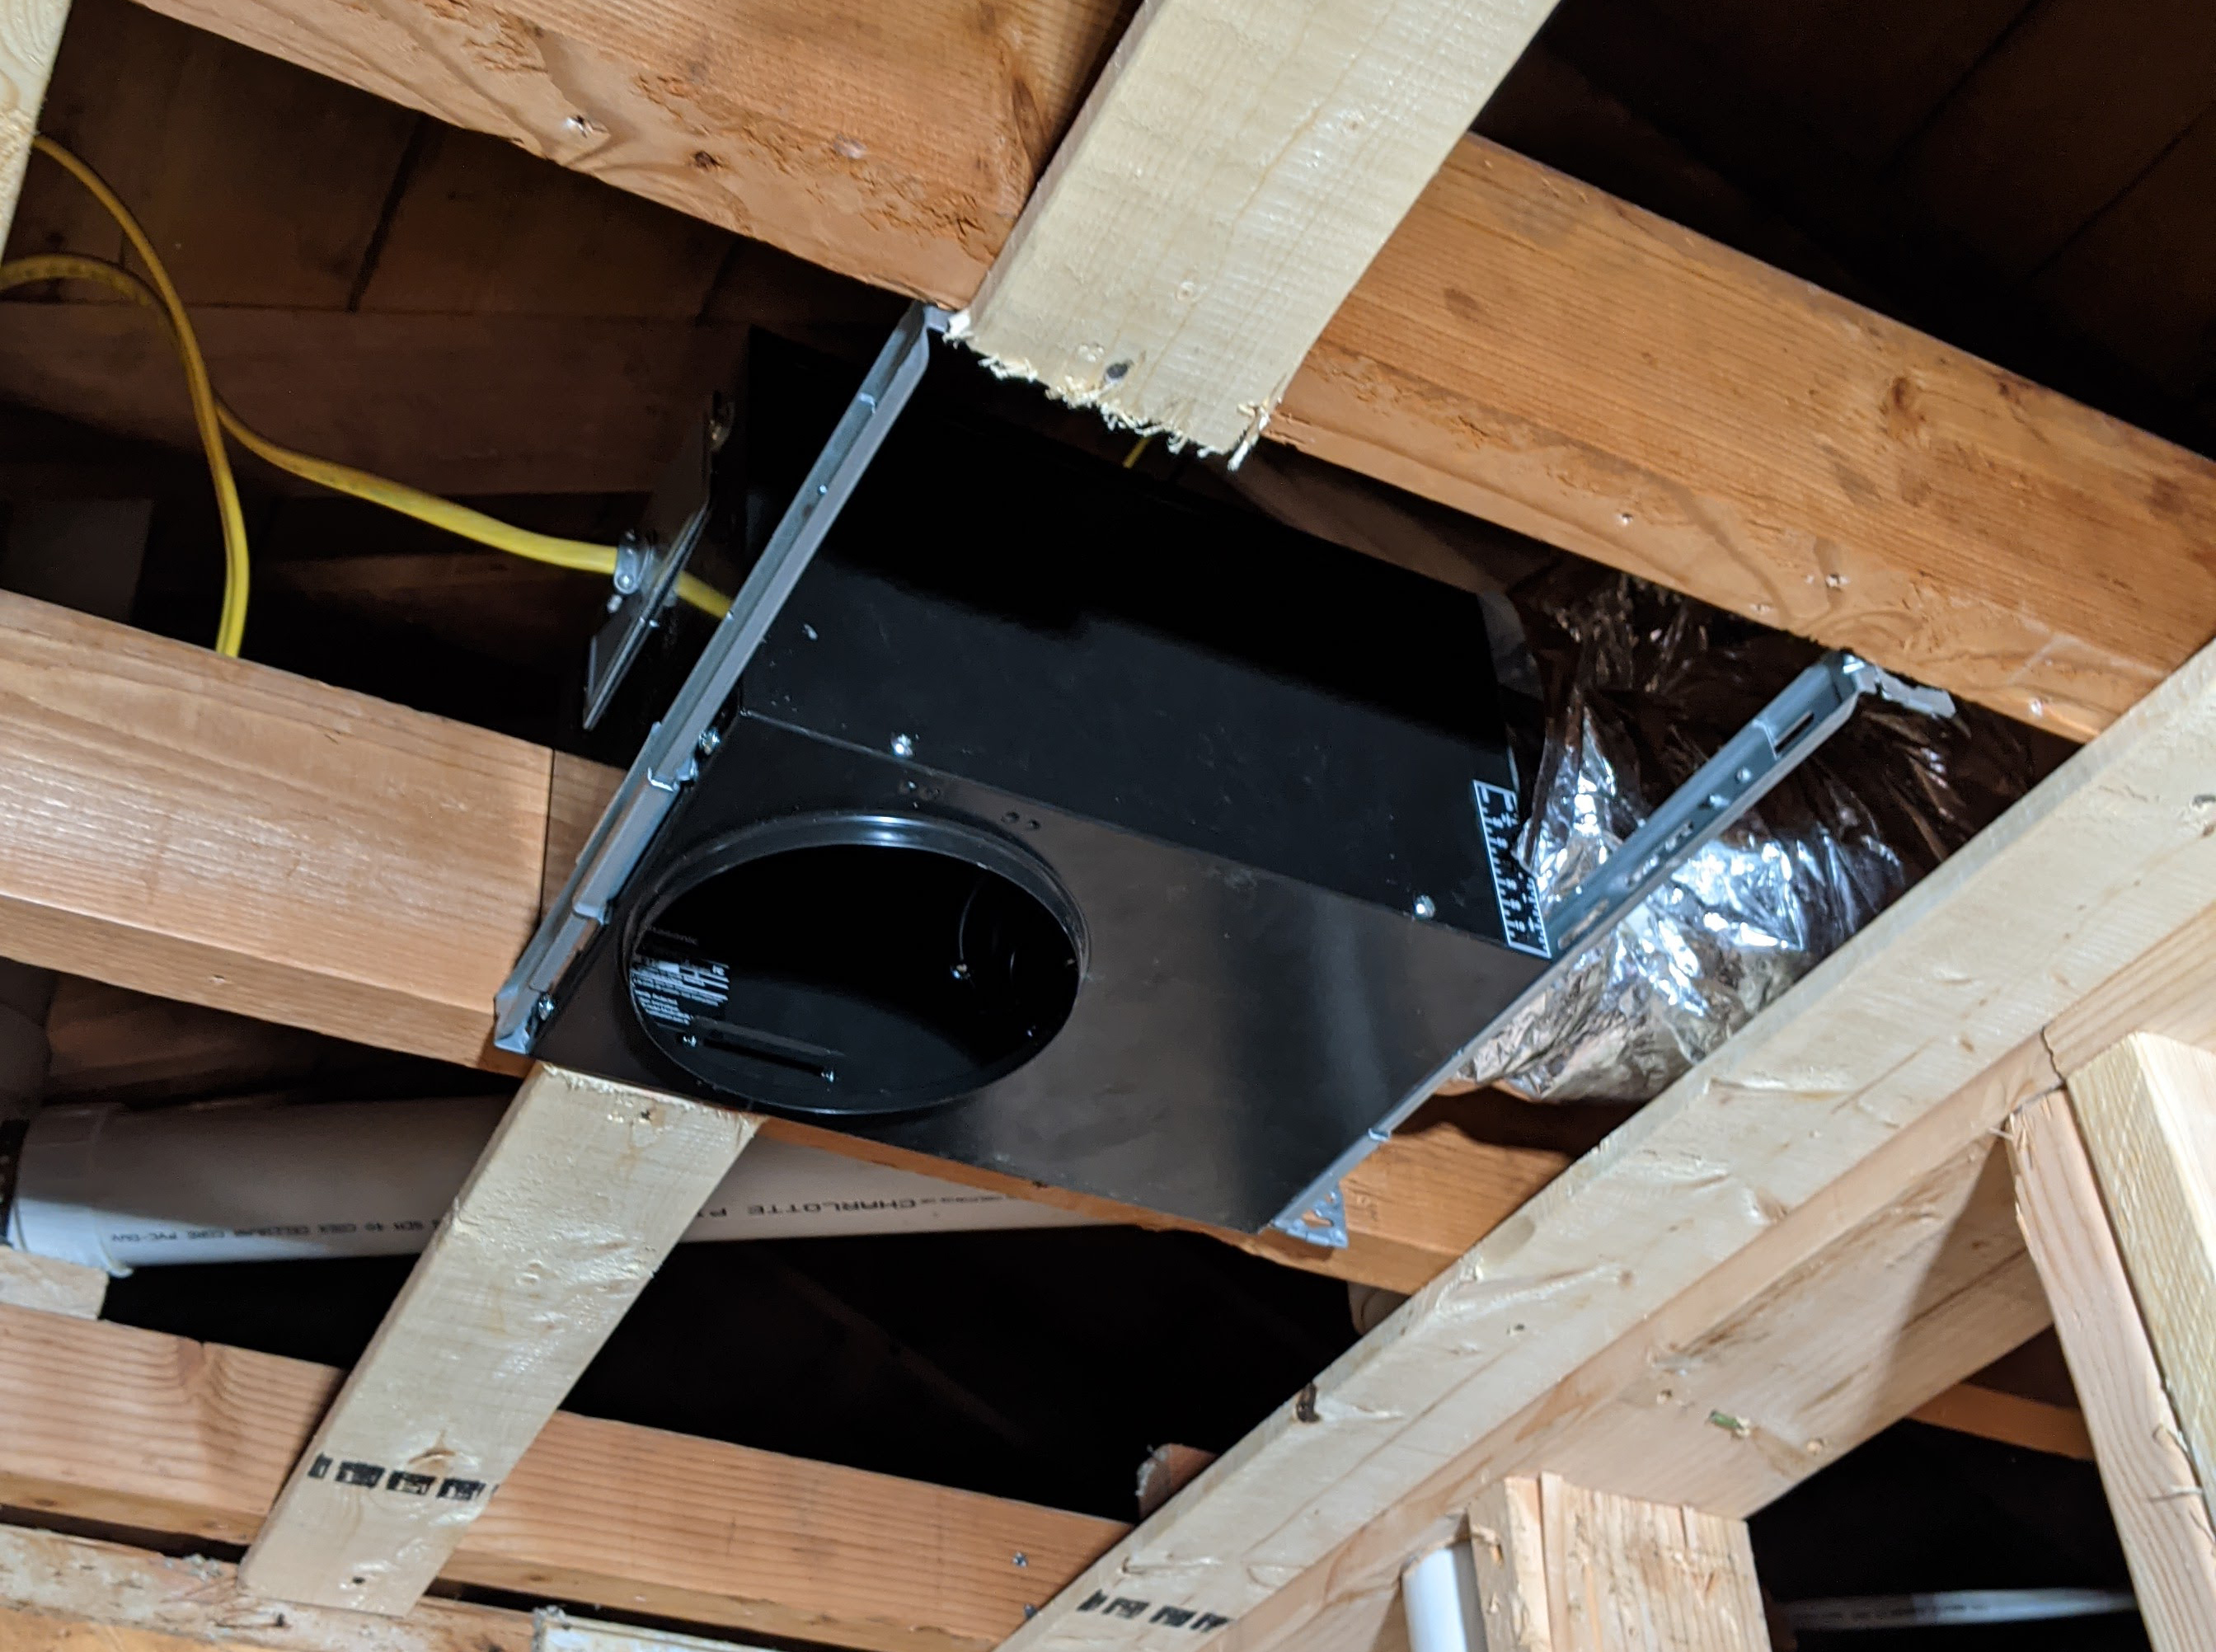
Installing The New Fan
Begin by turning off the power to ensure safety. Secure the fan housing to the ceiling joists and connect the wiring carefully. Finally, attach the fan cover and test the unit to confirm proper operation.
Installing a new bathroom ventilation fan can boost air quality. It helps reduce humidity and prevents mold growth. This task might seem tough, but with patience, it’s manageable. First, ensure you have all the tools needed. Gather a screwdriver, wire nuts, and duct tape. Now, let’s dive into the installation process.Mounting The Fan Housing
Start by positioning the fan housing in the ceiling. Use screws to secure it tightly to the joists. Make sure it’s level and stable. Avoid overtightening the screws. This ensures a snug fit without damaging the housing. Double-check the alignment with your ductwork opening.Connecting The Ductwork
Attach the ductwork to the fan’s exhaust port. Use duct tape to seal the connections securely. This prevents air leaks and ensures efficient operation. Align the ductwork with the exhaust outlet. Make sure there are no bends or kinks in the duct. This maximizes airflow and efficiency.Wiring The Fan
Turn off the power at the circuit breaker. Carefully connect the fan wires to the house wiring. Match black to black and white to white wires. Use wire nuts to secure the connections. Attach the ground wire to the fan’s grounding screw. Double-check all connections for safety. Then, restore power and test the fan.Finishing Touches
The finishing touches complete your bathroom ventilation fan installation. These final steps ensure the fan works well and looks neat. Proper finishing also helps keep the fan safe and durable. Focus on securing the fan grill, testing the fan operation, and cleaning up the area. These tasks wrap up your installation smoothly.
Securing The Fan Grill
Attach the fan grill firmly to the fan housing. Align the grill evenly over the fan. Use screws to hold it tight. Avoid over-tightening to prevent damage. The grill protects the fan blades and stops debris. A secure grill also keeps the fan quiet during use.
Testing The Fan Operation
Turn on the power and switch on the fan. Listen for smooth, quiet operation. Check if the fan pulls air properly. Make sure no vibrations or rattles occur. Confirm the fan light works, if included. Proper testing prevents future problems and ensures good airflow.
Cleaning Up
Remove all tools and leftover materials. Wipe away dust and debris from the fan and surrounding areas. Dispose of packaging and scraps responsibly. Clean surfaces improve air quality and appearance. A tidy space makes your bathroom look fresh and complete.
Troubleshooting Common Issues
Troubleshooting your bathroom ventilation fan can save you time and money. Problems often arise, but you don’t need to call a pro right away. Understanding common issues helps you fix them quickly and keep your bathroom fresh and dry.
Fan Not Turning On
Check if the fan has power by testing the switch and circuit breaker. Sometimes, the problem is a simple blown fuse or a tripped breaker. If the power is fine, inspect the wiring connections inside the fan housing for any loose or disconnected wires.
If everything looks good electrically, the motor might be stuck or burnt out. Try spinning the fan blades gently by hand to see if they move freely. If not, dust and debris could be blocking the motor, or the motor itself might need replacement.
Excessive Noise
Noise issues often stem from loose parts or worn-out motor bearings. Tighten any screws holding the fan in place and clean out dust from the blades and housing. Dirt buildup can cause imbalance, making the fan louder than usual.
Sometimes, the noise is due to the fan rubbing against the housing or duct. Adding a little lubrication to the motor shaft can reduce squeaking sounds. If the noise persists, consider upgrading to a quieter model designed for low noise operation.
Poor Airflow
Have you noticed your fan running but not moving much air? Blocked or kinked ducts are often the culprits. Check the ductwork for obstructions and make sure it’s properly vented to the outside, not just into the attic or ceiling space.
Dirty fan blades and grills also reduce airflow. Regular cleaning can improve performance significantly. Also, confirm that the fan size matches your bathroom size; a small fan in a large room won’t ventilate effectively.
Credit: www.jlconline.com
Maintaining Your Ventilation Fan
Regular cleaning helps keep your bathroom ventilation fan working well. Check for dust buildup and clean the fan blades carefully. Proper maintenance extends the fan’s life and improves air flow.
Maintaining your bathroom ventilation fan ensures it works efficiently. A well-maintained fan improves air quality and extends its lifespan. Regular upkeep prevents mold and mildew growth. Let’s explore how to keep your ventilation fan in top shape.Regular Cleaning Tips
Clean the fan cover every three months. Use a vacuum with a brush attachment. Gently remove dust and debris. Wipe the fan blades with a damp cloth. Ensure the power is off before cleaning. A clean fan operates more quietly and efficiently.When To Replace Parts
Listen for unusual noises from the fan. Squeaking or grinding sounds indicate worn parts. Replace the fan motor if it’s struggling to run. Check the fan blades for damage. Cracked or bent blades need replacement. Ensure all parts are compatible with your fan model.Improving Fan Efficiency
Install a timer switch for your fan. Set it to run after showers. This reduces humidity effectively. Ensure the vent duct is clear. Blockages reduce airflow and efficiency. Check for any leaks in the duct. Seal them to maintain proper ventilation.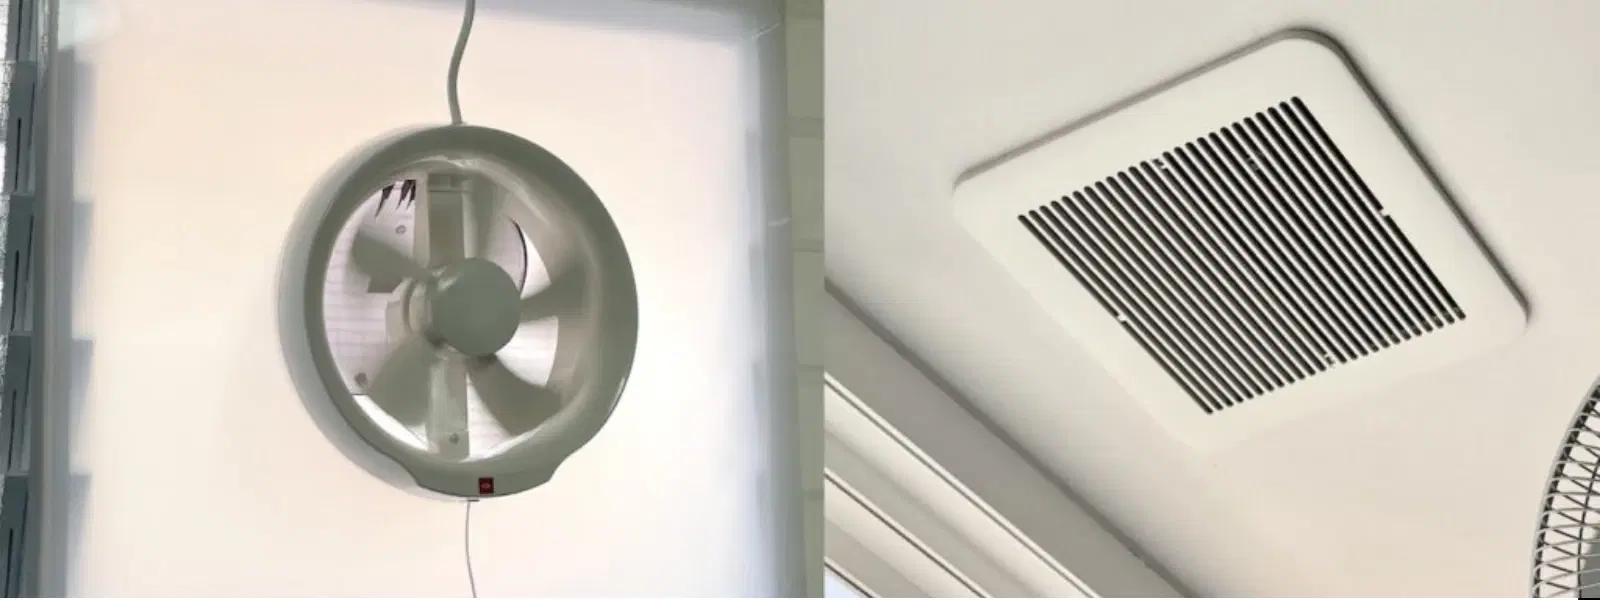
Credit: www.tataneu.com
Frequently Asked Questions
How Do I Choose The Right Bathroom Ventilation Fan?
Select a fan based on your bathroom size and moisture levels. Look for noise rating and energy efficiency. Ensure it meets building codes for proper airflow and ventilation.
What Tools Are Needed To Install A Bathroom Fan?
You need a drill, screwdriver, wire stripper, measuring tape, and safety gear. A ladder and drywall saw may be required for ceiling installation.
Can I Install A Bathroom Fan Myself?
Yes, with basic electrical and carpentry skills, you can install it. Follow manufacturer instructions carefully and turn off power before starting any electrical work.
How Long Does Bathroom Fan Installation Usually Take?
Installation typically takes 1 to 3 hours depending on complexity. New ductwork or electrical wiring can extend the time needed.
Conclusion
Installing a bathroom ventilation fan helps keep your space fresh and dry. It prevents mold and reduces moisture damage. Follow each step carefully for safe and proper setup. A well-installed fan improves air quality and comfort. Regular use keeps your bathroom clean and healthy.
Take your time, and don’t rush the process. Soon, you’ll enjoy a fresher, more comfortable bathroom every day.


