
Have you ever faced the tricky task of removing a mirror glued tightly to your wall? It might seem impossible without causing damage, but you’re not alone—and there’s a way to do it safely.
Whether you’re redecorating, moving, or just need a change, knowing how to take down a glued mirror can save you time, money, and frustration. Keep reading, and you’ll discover simple, effective steps to get that mirror off your wall without hassle or harm.
Your walls—and your peace of mind—will thank you.
Prepare Your Workspace
Preparing your workspace is key before removing a mirror glued to the wall. This step ensures safety and helps avoid damage to your walls and belongings. A well-organized area makes the process smoother and faster.
Gather Necessary Tools
Collect all tools needed for the job in one place. Common tools include:
- Utility knife or razor blade
- Putty knife or thin scraper
- Hairdryer or heat gun
- Gloves to protect your hands
- Protective eyewear
- Soft cloths or rags
- Adhesive remover (optional)
Having these tools ready saves time and keeps you prepared for each step.
Protect Surrounding Areas
Cover floors and furniture near the mirror to prevent damage. Use drop cloths or old sheets to catch debris or glue residue. Tape edges of coverings to keep them in place.
Remove fragile items from the area. Keep children and pets away for safety. This preparation reduces cleanup and prevents accidents.
Assess The Mirror And Adhesive
Check the mirror’s size and weight before removal. Identify the type of glue used to ensure safe detachment. Understanding these details helps prevent damage to the wall and mirror.
Assessing the mirror and adhesive is the first crucial step. Understanding the mirror’s size, weight, and adhesive type will guide your removal process. Careful assessment prevents damage to walls and ensures safety.Check Mirror Size And Weight
Begin by measuring the mirror’s dimensions. Use a tape measure for accuracy. Note both height and width. Estimating weight is also vital. Heavier mirrors need more support during removal. Consider enlisting help for larger mirrors. Safety should always be a top priority.Identify Adhesive Type
Look for signs of adhesive around the mirror’s edges. Different adhesives require different removal techniques. Common types include mastic, epoxy, or double-sided tape. Check if adhesive is visible or covered by trim. Identifying the adhesive helps in choosing the right tools.Soften The Adhesive
Removing a mirror glued to a wall can feel like a tough challenge, especially when the adhesive is strong. The key to an easier removal lies in softening that adhesive first. By loosening the glue, you reduce the risk of damage to both the mirror and your wall.
Use Heat Methods
Applying heat is a simple way to soften the adhesive. You can use a hairdryer or a heat gun to warm the glue behind the mirror. Keep the heat source moving to avoid overheating one spot, which can crack the glass.
Heat makes the adhesive more flexible, so it stretches instead of breaking suddenly. This means you can gently pry the mirror off without it shattering. Have you tried using heat before when removing something stuck? You might be surprised how effective it can be.
Apply Solvents Safely
Certain solvents can break down adhesive bonds quickly. Products like rubbing alcohol, acetone, or commercial adhesive removers work well, but you must use them carefully. Always test a small, hidden area first to ensure the solvent won’t damage your wall paint or mirror backing.
Use a cotton ball or soft cloth to apply the solvent around the edges of the mirror. Let it sit for a few minutes to penetrate the glue. This method softens the adhesive and makes it easier to separate the mirror without excessive force.
Remember, proper ventilation is important when working with solvents. Are you ready to try these safe, practical tips to handle stubborn adhesives and save your wall?
Credit: mirrorvista.com
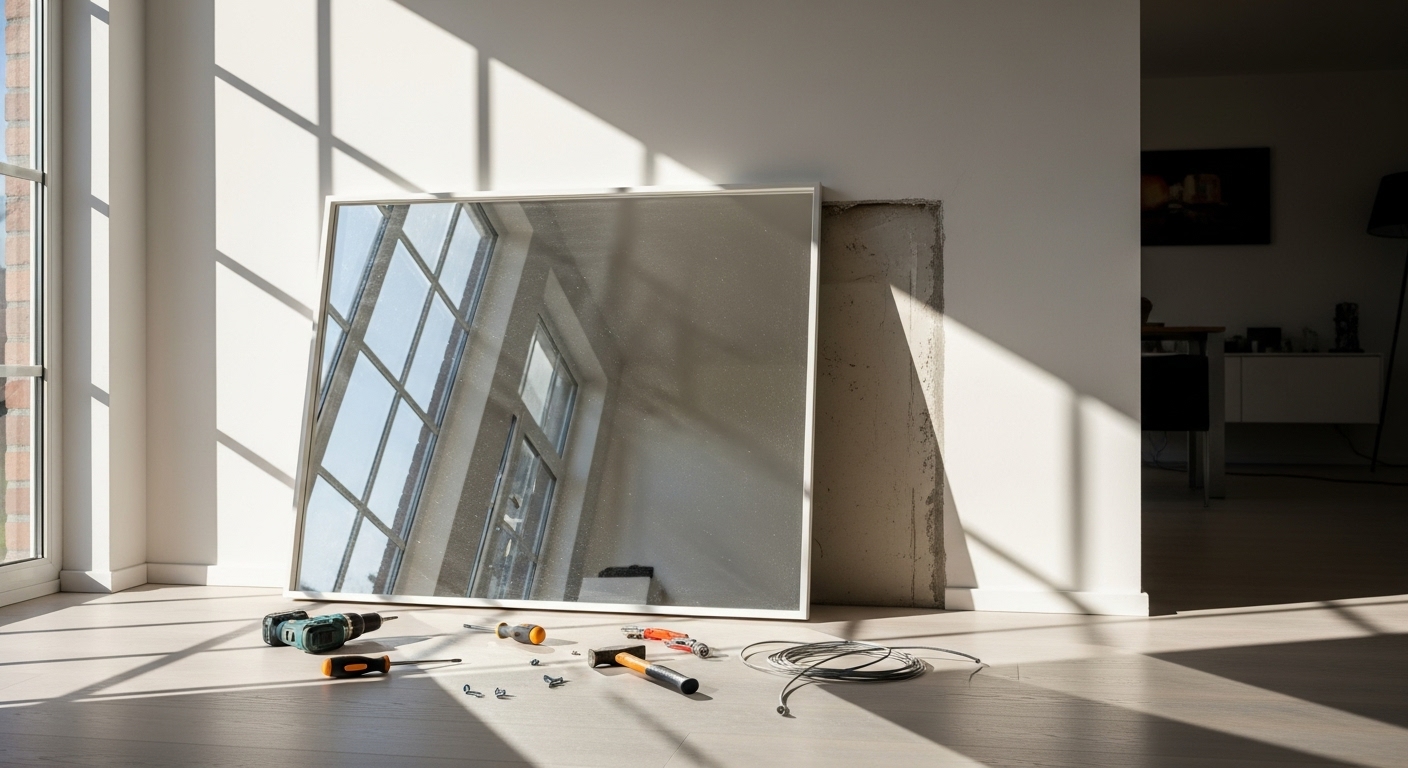
Remove The Mirror Carefully
Removing a mirror glued to the wall requires patience and precision. You want to avoid cracking the glass or damaging your wall. Taking the right approach ensures safety and preserves both your mirror and the surface behind it.
Loosen Edges Gently
Start by carefully loosening the edges of the mirror. Use a thin, flexible tool like a putty knife or a plastic card to slide under the mirror’s edge. Move slowly and steadily to avoid cracking the glass.
Apply gentle pressure and wiggle the tool back and forth to break the adhesive bond. If the glue feels too strong, consider softening it with a hairdryer on low heat. Warmth can make the adhesive more pliable and easier to separate.
Use Proper Lifting Techniques
Once the edges are loosened, lift the mirror evenly to prevent stress on one side. Hold it firmly with both hands close to the edges, keeping your fingers flat to distribute pressure. Avoid pulling from the top only, as this can cause the mirror to crack or fall.
Ask for help if the mirror is large or heavy. Two people can lift it safely, reducing the risk of accidents. Have a soft surface like a blanket or foam ready to place the mirror on once removed.
Clean The Wall After Removal
After successfully removing a mirror glued to your wall, your job isn’t done yet. The wall often holds behind it stubborn adhesive residues and marks that can affect the appearance and texture of the surface. Cleaning the wall thoroughly is essential before you think about repainting, repairing, or even reinstalling another mirror.
Remove Residual Adhesive
Adhesive residue can be sticky and tough to remove, but tackling it early saves you frustration later. Start by gently scraping off any thick glue pieces with a plastic scraper to avoid damaging the wall.
Next, apply a small amount of adhesive remover or rubbing alcohol on a clean cloth. Rub the area in a circular motion until the sticky residue loosens and comes off.
Be cautious with harsh chemicals—test a small hidden spot first to ensure the wall surface won’t discolor or degrade. Have you noticed how some adhesives dissolve faster with heat? A hairdryer set on low can soften the glue, making it easier to wipe away.
Prepare Surface For Repair Or Reinstallation
Once the adhesive is removed, check the wall for any damage like scratches, holes, or rough patches. Use fine sandpaper to smooth out uneven areas, which helps paint or new adhesive stick better.
If there are holes or cracks, fill them with a suitable wall filler and let it dry completely. After drying, sand the patch lightly to make it flush with the wall surface.
Finally, wipe the entire area with a damp cloth to remove dust and debris. A clean, smooth wall ensures your next project will look professional and last longer. What’s your plan for the next step—painting or mounting another mirror?

Credit: www.angi.com
Safety Tips And Precautions
Taking down a mirror glued to the wall can be tricky and potentially dangerous if you don’t take the right safety measures. Glass can shatter easily, and heavy mirrors can cause injuries if they fall unexpectedly. Protecting yourself and handling the mirror with care are essential steps to avoid accidents and damage.
Wear Protective Gear
Always wear thick gloves to protect your hands from sharp edges and broken glass. Safety goggles are a must to shield your eyes from shards that might fly during removal. Consider wearing long sleeves and sturdy shoes to cover exposed skin and prevent cuts.
I once underestimated the importance of gloves and ended up with painful cuts while trying to remove a glued mirror. That experience taught me that protective gear isn’t optional—it’s essential.
Handle Glass With Care
Mirrors can break suddenly, so handle them gently and avoid applying too much force in one spot. Use a flat, flexible tool to slowly loosen the adhesive behind the mirror without prying aggressively. If the mirror is large, get a helper to hold it steady while you work.
Ask yourself: are you prepared for what might happen if the glass shatters unexpectedly? Planning your moves carefully can save you from injury and costly repairs.
Prevent Damage To Walls
Removing a mirror glued to a wall requires care to keep the wall intact. Walls can easily get damaged if you rush or use wrong tools. Taking time and using the right tools helps protect your wall’s surface. This approach makes sure your wall stays smooth and free of holes or cracks.
Use The Right Tools
Choose tools that gently separate the mirror from the wall. A thin putty knife or a plastic scraper works well. Avoid metal tools that can scratch or gouge the wall. Soft cloths help clean glue residue without damage. A hairdryer or heat gun can soften the glue for easier removal. Use gloves to protect your hands from sharp edges.
Take Time With Each Step
Do not rush the removal process. Work slowly and carefully to avoid sudden cracks. Warm the glue slightly before trying to lift the mirror. Insert the putty knife gently and move it back and forth. Stop if you feel resistance and reapply heat if needed. Small pauses prevent damage and make the job safer. Patience pays off with better results and no wall harm.

Credit: www.youtube.com
Frequently Asked Questions
How Do I Safely Remove A Mirror Glued To The Wall?
Use a hairdryer to heat the glue and soften it. Gently insert a thin wire or a putty knife behind the mirror. Slowly work the wire back and forth to detach the glue. Always wear gloves and protect the wall to avoid damage.
What Tools Are Needed To Take Down A Glued Mirror?
You will need a hairdryer or heat gun, thin wire or fishing line, putty knife, gloves, and safety goggles. These tools help soften the adhesive and safely separate the mirror from the wall without breaking it.
Can I Reuse A Mirror After Removing It From The Wall?
Yes, if removed carefully without cracks or chips, the mirror can be reused. Handle it gently and clean any leftover adhesive. Proper removal preserves the mirror’s condition for future use or relocation.
How To Prevent Wall Damage When Removing A Glued Mirror?
Heat the glue thoroughly before attempting removal. Use thin wire or a putty knife gently to avoid gouging. Place a protective cloth on the wall and work slowly to reduce damage risk.
Conclusion
Removing a mirror glued to the wall takes care and patience. Use the right tools and work slowly to avoid damage. Protect yourself with gloves and safety glasses. Take breaks if needed to stay safe and steady. The process may take time, but it will be worth it.
Now, you can move or replace your mirror easily and safely. Keep these tips in mind for your next project. Simple steps lead to good results every time.


