
Are you looking to upgrade your room’s lighting without spending a fortune or hiring an electrician? A Light to Pendant Light Conversion Kit might be exactly what you need.
It’s a simple, affordable way to transform your existing light fixtures into stylish pendant lights that add charm and personality to any space. Imagine turning a plain ceiling light into a stunning focal point that reflects your style—all by yourself.
Keep reading to discover how this small change can make a big impact on your home’s look and feel.

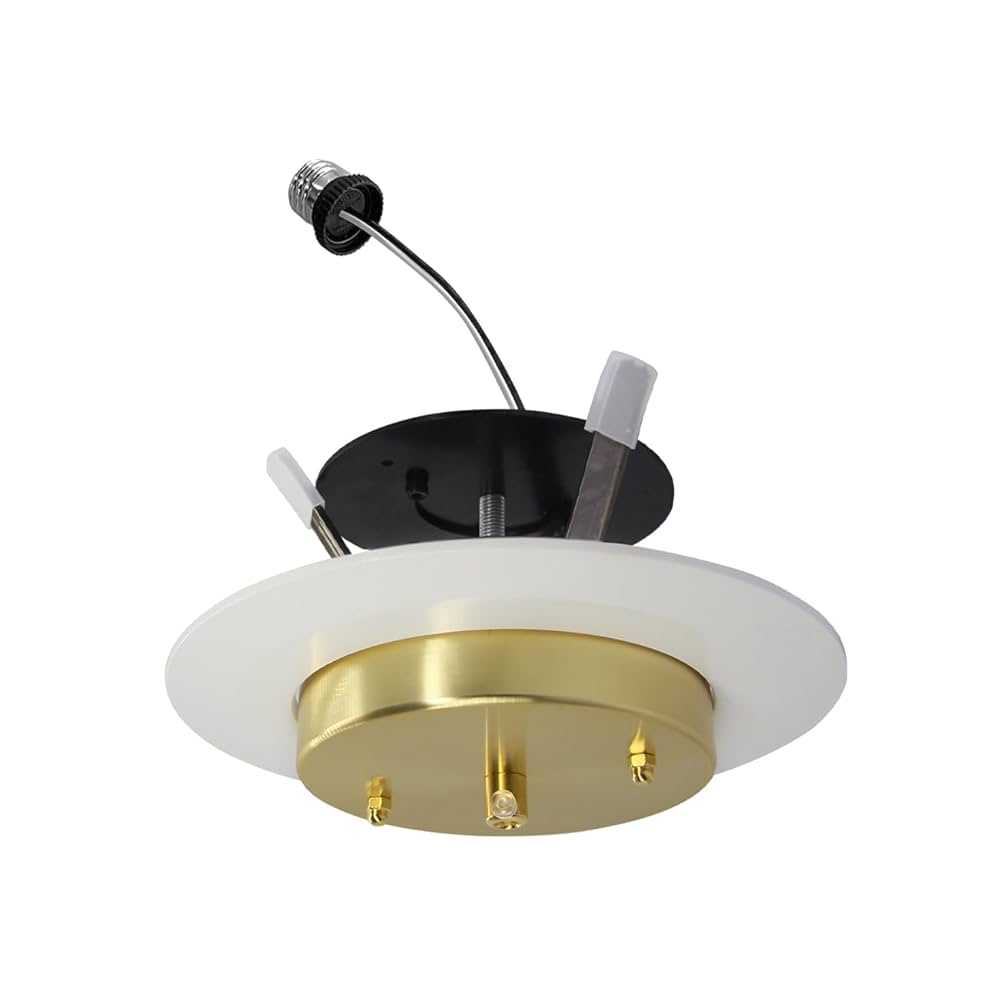
Credit: www.amazon.com
Why Choose A Pendant Light
Pendant lights add style and function to any room. They hang from the ceiling and create focused lighting. This type of lighting brightens spaces with a warm, inviting glow. Pendant lights can change a room’s look instantly.
Choosing pendant lights allows you to update your space easily. They fit many rooms, such as kitchens, dining areas, and living rooms. Pendant lighting offers flexibility in height and brightness. It gives a fresh, modern feel without complex installation.
Benefits Of Pendant Lighting
- Provides focused light for tasks and dining.
- Saves space by hanging from the ceiling.
- Easy to install and update with conversion kits.
- Adds warmth and ambiance to a room.
- Energy-efficient options available for savings.
- Helps highlight design elements or areas.
Styles And Designs
- Modern minimalist with clean lines and shapes.
- Classic glass or metal for traditional spaces.
- Industrial style with exposed bulbs and metal finishes.
- Rustic designs with wood and natural materials.
- Colorful and artistic pendants for a unique touch.
- Adjustable heights to fit different ceiling types.
Tools And Materials Needed
Converting a light to a pendant light requires specific tools and materials. Having the right items makes the process smooth and safe. Prepare everything before you start the installation. This saves time and avoids hassle.
Essential Tools
- Screwdriver set (flat and Phillips head)
- Wire stripper and cutter
- Voltage tester for safety checks
- Measuring tape for accurate placement
- Drill with bits for mounting
- Pliers for gripping wires
- Electrical tape to secure connections
Choosing The Right Conversion Kit
Select a kit that fits your existing ceiling fixture. Check the weight limit to support the pendant light. Confirm the wiring type matches your home’s system. Kits often include mounting hardware and canopy covers. Choose a design that suits your room’s style. Ensure the kit comes with clear instructions for easy installation.
Preparing For Installation
Preparing for installation is the key to a smooth and safe light to pendant light conversion. Taking the right steps before you begin can save you time and prevent accidents. It also helps you understand the process better, making the whole project less intimidating.
Safety Precautions
Safety should always come first. Before touching any electrical parts, make sure you are wearing insulated gloves to protect yourself from electric shocks. Use a sturdy ladder if your fixture is high up, and have a helper nearby if possible.
Ask yourself: have you cleared the area of any flammable materials? Keep a fire extinguisher within reach just in case. Also, make sure your tools are in good condition to avoid slips or damage.
Turning Off Power
Never start without switching off the power at the circuit breaker. This step is non-negotiable to avoid serious injury. Use a voltage tester to double-check that no electricity is flowing to the fixture before you proceed.
Do you know which breaker controls the light you’re working on? Labeling your breakers can save you confusion and prevent accidental power restoration. It’s a small step that makes a big difference in safety.
Removing Existing Fixtures
Before removing the old light fixture, carefully inspect how it’s attached. Some fixtures use screws, while others might have clips or mounting brackets. Keep all screws and parts in a small container so you don’t lose anything important.
Gently disconnect the wires by loosening the wire nuts. Take a photo or make a note of how the wires are connected to help with the new installation. Have you ever tried to remember wire connections without a reference? It’s much harder than it sounds.

Credit: www.amazon.ca
Step-by-step Conversion Process
Transforming your home lighting can be as simple as swapping out those mundane can lights for stunning pendant lights. The process might seem daunting at first, but with a conversion kit, it becomes a straightforward DIY project. Here’s a detailed breakdown of how you can achieve this transformation effortlessly.
Installing The Conversion Kit
First, ensure the power is off at the main breaker. Safety is paramount when working with electrical fixtures. Once confirmed, remove the existing can light trim and bulb.
With your conversion kit ready, follow the instructions to attach the kit’s bracket to the can light housing. This step sets the foundation for your new pendant.
Most kits offer a universal fit, simplifying the process. Ensure everything feels secure before proceeding to the next step. A little wiggle test can confirm stability.
Attaching The Pendant Light
Select a pendant light that complements your space’s aesthetic. The fun part is choosing a fixture that matches your style.
Attach the pendant light to the conversion kit’s socket. This usually involves screwing the light’s base to the kit’s socket adapter.
Double-check the wiring connections. Loose connections can result in flickering lights, or worse, potential safety hazards.
Securing And Adjusting Height
Adjust the pendant light to your desired height. A well-placed pendant can transform the ambiance of a room.
Use the adjustable cord or chain provided to find the perfect length. Consider the room’s size and the function of the space when determining height.
Once satisfied with the positioning, secure the cord or chain tightly. This ensures the pendant remains in place and avoids any unwanted mishaps.
By following these steps, you’ll not only enhance your home’s lighting but also add a personal touch to your living space. Have you ever considered how lighting can change the mood of a room? Now’s your chance to experiment and see the difference!
Common Challenges And Fixes
Converting a ceiling light to a pendant light often brings a few common challenges. These problems can slow down the project or cause safety concerns. Understanding typical issues helps fix them quickly. This section covers wiring troubles, fitting difficulties, and tips for smooth troubleshooting.
Wiring Issues
Wiring is the most critical part of the conversion. Incorrect wiring can cause the light to not work or create a safety hazard. Common problems include loose connections, mismatched wires, or unclear wiring instructions.
- Turn off the power before handling any wires.
- Identify the live, neutral, and ground wires correctly.
- Use wire nuts or connectors to secure wire joins tightly.
- Check for damaged or frayed wires and replace if needed.
Proper wiring ensures the pendant light functions safely and reliably.
Fitting Problems
Fitting the new pendant light can be tricky due to size or mounting differences. Some ceilings have limited space or uneven surfaces. The pendant kit may not fit the existing electrical box or ceiling plate.
- Measure the ceiling box and pendant kit before installation.
- Use an adapter plate if the new fixture does not align with the old mount.
- Ensure the pendant hangs at the desired height without strain on wires.
- Tighten screws securely but avoid over-tightening, which can damage parts.
Troubleshooting Tips
Problems may still occur after installation. Testing and simple fixes help resolve these issues fast. Use a voltage tester to confirm power flow. Check bulb compatibility with the new fixture.
- Reset the circuit breaker if the light does not turn on.
- Swap bulbs to rule out faulty bulbs.
- Inspect connections again for loose wires or poor contact.
- Clean any dust or debris blocking the fixture’s components.
Following these tips reduces downtime and keeps the conversion safe.
Enhancing Your Pendant Light
Enhancing your pendant light can transform any room’s mood and style. A light to pendant light conversion kit offers flexibility to personalize your space. Small changes can make a big difference in both function and look. Let’s explore easy ways to upgrade your pendant lighting for better ambiance and design.
Choosing Bulbs And Shades
Selecting the right bulb affects brightness and warmth. LED bulbs save energy and last longer. Choose bulbs with soft white or warm tones for cozy lighting.
Shades shape the light and add style. Glass shades offer a modern look. Fabric shades create a soft, diffused glow. Pick shades that match your room’s decor and size.
Adding Dimmer Switches
Dimmer switches control light intensity with ease. They allow you to adjust brightness for different activities. Installing a dimmer creates a flexible lighting environment.
Dimmer switches save energy by lowering power use. They extend bulb life by reducing strain. Choose dimmers compatible with your bulb type for smooth operation.
Maintenance And Care
Maintaining your can light to pendant light conversion kit ensures long-lasting beauty and function. Regular care keeps the fixture safe and bright. It also prevents damage and extends the life of your lighting.
Cleaning Tips
Turn off power before cleaning to avoid electric shock. Use a soft cloth or microfiber duster to remove dust. Avoid harsh chemicals that can damage the finish. A mild soap solution works well for stubborn dirt. Dry the fixture completely to prevent moisture buildup. Clean the bulbs gently to keep them shining bright.
Replacing Components
Check bulbs regularly for signs of wear or dimming. Replace bulbs with the same type and wattage to maintain safety. Inspect the wiring for any loose connections or frays. Tighten screws and fasteners to keep the fixture secure. Use parts recommended by the manufacturer for best results. Turn off the power before performing any replacements.

Credit: www.walmart.com
Frequently Asked Questions
What Is A Light To Pendant Light Conversion Kit?
A light to pendant light conversion kit allows you to turn a basic ceiling light into a stylish pendant light. It includes all necessary parts for easy installation and adds a modern look to any room.
Can I Install A Pendant Light Kit Myself?
Yes, most pendant light conversion kits are designed for easy DIY installation. Basic electrical knowledge and tools are needed. Always follow the instructions and turn off power before starting.
Are Pendant Light Kits Compatible With All Ceilings?
Most pendant light kits fit standard ceiling types like drywall or plaster. Check the product specifications for compatibility with your ceiling material before purchase. Some kits may require additional mounting hardware.
How Much Does A Pendant Light Conversion Kit Cost?
Prices for conversion kits vary, typically ranging from $20 to $60. Costs depend on the kit’s design, materials, and brand. Investing in quality ensures durability and safety.
Conclusion
Converting a light to a pendant light is simple and practical. It changes the room’s look with little effort. You can add style and better lighting quickly. Most kits come with clear instructions to help you. This project fits many budgets and skill levels.
Try it to refresh your space without a full renovation. Small changes can make a big difference. A pendant light adds charm and function to any room. Give your home a fresh feel today.


