
Have you ever wondered how to turn your favorite photos into beautiful canvas prints? Whether you want to decorate your home or create a personalized gift, making canvas prints is easier than you think.
You’ll discover simple steps that anyone can follow to transform your memories into stunning wall art. Keep reading, and you’ll learn exactly how to bring your pictures to life on canvas—quickly, affordably, and with impressive results. Your walls are about to get a whole lot more interesting!
Credit: www.canva.com
Choosing The Right Photo
Choosing a photo with clear details and good lighting ensures a sharp canvas print. Select images with simple backgrounds to highlight the main subject. High-resolution pictures make the final print look more vibrant and professional.
Choosing the right photo is crucial for beautiful canvas prints. A well-selected image sets the tone and mood of your space. It reflects your style and personality. The right photo can transform a room, making it vibrant and engaging.Selecting High-resolution Images
High-resolution images ensure clarity and detail on canvas prints. Low-resolution photos may appear blurry or pixelated. Choose images with at least 300 DPI for the best results. This ensures sharpness and vivid colors on your canvas. Check your camera settings or image file properties to confirm resolution.Considering Composition And Colors
Composition affects the visual appeal of your canvas. Balanced images with a clear focal point work best. Consider the rule of thirds for dynamic compositions. This technique places the subject off-center for greater interest. Colors play a key role in your canvas’s impact. Choose colors that match your room’s decor. Complementary colors add contrast and excitement. Harmonious colors create a soothing and unified look. Keep these factors in mind for a stunning canvas print.Preparing The Image
Preparing your image is a crucial part of making a canvas print that truly stands out. This stage shapes how your final product will look, so paying close attention can make all the difference. Let’s dive into how to get your image ready for printing.
Cropping And Resizing
Start by deciding the exact portion of the photo you want on your canvas. Cropping helps you focus on the most important parts and remove any distractions around the edges.
Resizing is just as important. Your image needs to match the dimensions of your canvas to avoid stretching or pixelation. Check the resolution—aim for at least 300 DPI for clear, sharp prints.
Have you ever seen a canvas where the key part of the image was cut off? Avoid that by previewing your crop before printing.
Enhancing With Editing Tools
Once your image is cropped and resized, use editing tools to improve colors, contrast, and brightness. Small tweaks can breathe new life into your photo.
You can also fix minor flaws like red-eye, dust spots, or uneven lighting. These edits elevate your canvas from good to professional quality.
Don’t overdo it—keep the image natural but polished. Have you tried adjusting the sharpness or saturation to see how it impacts the mood of your photo?
Picking The Canvas Material
Picking the right canvas material is key to making great canvas prints. The choice affects the print’s quality, durability, and overall look. Different canvas fabrics offer unique traits that suit various types of artwork and settings.
Understanding the surface finish and texture also helps create the perfect canvas print. These elements influence how the colors show and how the print feels to the touch. Choosing the right combination of fabric and finish ensures the final product meets your expectations.
Types Of Canvas Fabric
Canvas fabric comes in different types, each with distinct qualities:
- Cotton Canvas:Soft and natural feel, ideal for fine art prints.
- Linen Canvas:Stronger than cotton, has a natural texture for a classic look.
- Polyester Canvas:Durable and water-resistant, great for outdoor use.
- Blended Canvas:Mix of cotton and polyester, balances softness and strength.
Choosing the fabric depends on the style of art and where the print will hang.
Surface Finishes And Textures
The surface finish changes how light interacts with the print. Common finishes include:
- Matte Finish:No shine, reduces glare, good for detailed images.
- Satin Finish:Slight shine, enhances colors without too much reflection.
- Glossy Finish:High shine, makes colors pop but can reflect light.
Textures vary from smooth to rough. Smooth surfaces suit sharp images. Rough textures add depth and character to paintings.
Credit: www.canvaschamp.com
Printing Methods
Printing methods play a crucial role in making high-quality canvas prints. The technique you choose affects the colors, durability, and overall look of your artwork. Understanding the basics of printing can help you create stunning canvas prints that last.
Inkjet Printing Basics
Inkjet printing is a popular choice for canvas prints because it produces sharp, vivid images. The printer sprays tiny droplets of ink directly onto the canvas, allowing for detailed color gradients and smooth transitions.
One advantage is the ability to print a wide range of colors, which makes your photos or artwork look vibrant and true to life. However, not all inkjet printers use the same type of ink. Pigment-based inks tend to be more durable and fade-resistant than dye-based ones.
Have you ever noticed how some prints lose their color over time? Choosing pigment inks can help avoid that problem, ensuring your canvas remains bright for years.
Choosing The Right Printer
Picking the right printer is key to achieving professional-quality canvas prints. Look for printers specifically designed for fine art or photo printing, as they offer better color accuracy and higher resolution.
- Printer size:Larger printers can handle bigger canvas sizes without losing detail.
- Ink type:Pigment-based inks provide longevity and resistance to fading.
- Resolution:Higher DPI (dots per inch) results in sharper images.
Personal experience taught me that investing in a good printer saves money and frustration later. Cheaper printers may seem tempting but often produce dull colors and weak prints. Do you want your canvas prints to impress or just fill wall space?
Stretching The Canvas
Stretching the canvas is a crucial step in making canvas prints that look professional and last long. It involves pulling the printed canvas tightly over a frame to create a smooth, wrinkle-free surface. If you don’t stretch it properly, your artwork can sag or warp, which ruins the overall look.
Mounting Techniques
There are several ways to mount a canvas, but the goal is always the same: to keep the canvas tight and secure. Some people use adhesive sprays or tack strips, but these methods can be less durable. Using staples or tacks along the back edges of the frame is the most common and reliable way to hold the canvas in place.
When stretching, start by fastening the canvas in the middle of one side, then move to the opposite side and pull the fabric tight before stapling. This helps avoid uneven tension and wrinkles. Continue this process, working your way around the frame, always pulling the canvas tight and keeping it smooth.
Using A Stretcher Frame
A stretcher frame is a wooden frame designed specifically for stretching canvas. It has a simple design with smooth edges to prevent damage to the fabric. You place your printed canvas over the frame and secure it with staples on the back side.
One trick I learned is to slightly dampen the canvas before stretching. This makes the fibers a bit more flexible, allowing for a tighter, smoother stretch once dry. Have you ever noticed how a freshly stretched canvas looks almost like a professional gallery piece? That’s the effect a good stretcher frame can give you.
Remember to check the corners carefully. Fold them neatly, as sloppy corners can ruin the final appearance. Try to keep the tension even around the edges—if one side is tighter, it can pull the canvas out of shape.
Finishing Touches
Finishing touches bring your canvas print to life and protect it for years. These final steps enhance color, texture, and durability. They also prepare the canvas for display. Proper finishing ensures your artwork looks professional and lasts longer.
Applying Protective Coatings
Protective coatings shield your canvas from dust, moisture, and sunlight. Use a clear varnish or spray designed for canvas prints. These coatings keep colors bright and prevent fading. Apply thin, even layers with a brush or spray. Let each layer dry fully before adding another. Avoid heavy coats to prevent cracking or cloudiness. Protective coatings also reduce glare and enhance texture.
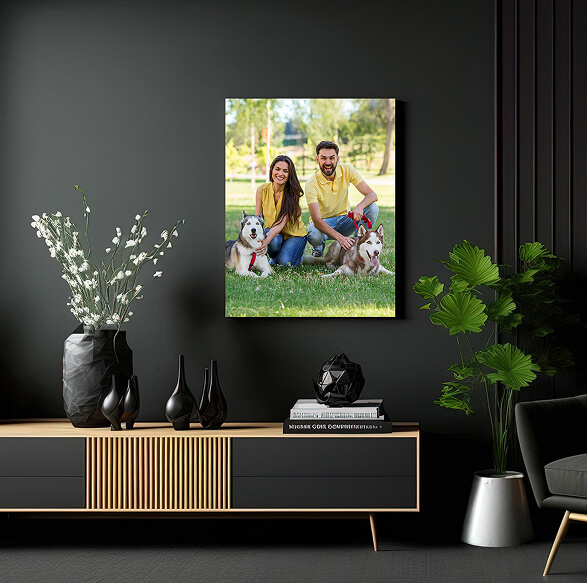
Framing Options
Framing gives your canvas a polished, finished look. Choose a frame that matches your decor and style. Popular options include:
- Floating frames that leave space between the canvas and frame
- Gallery wraps where the canvas edges are stretched over a wooden frame
- Simple wooden or metal frames for a classic appearance
Frames protect the edges and make hanging easier. Secure the canvas firmly to avoid sagging. Use hanging hardware suited to your wall type. A well-chosen frame can elevate your canvas print’s appeal.
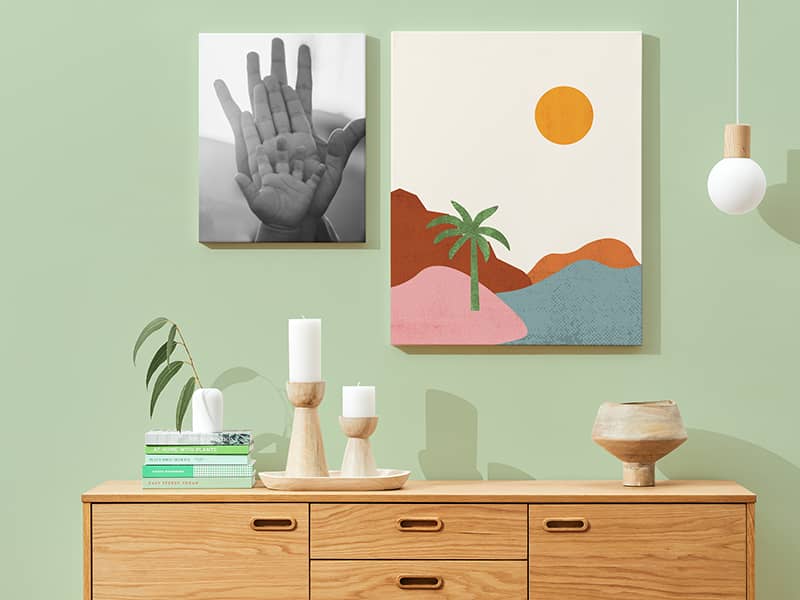
Displaying And Caring For Canvas Prints
Displaying and caring for your canvas prints properly ensures they stay vibrant and beautiful for years. The right placement highlights your artwork’s details and colors. Meanwhile, proper maintenance keeps dust, moisture, and fading at bay.
Ideal Placement Tips
Choose a spot where your canvas print can catch attention but avoid direct sunlight. UV rays can cause colors to fade quickly, dulling your print’s impact.
Think about the room’s humidity. Bathrooms or kitchens with high moisture can damage the canvas fabric and frame over time.
Use sturdy hooks or picture rails to hang your canvas securely. A tilted or unstable canvas can warp or fall, risking damage.
- Place canvas prints away from heat sources like radiators or fireplaces.
- Consider eye-level placement for the best viewing experience.
- Group multiple canvas prints to create a gallery wall effect.
Cleaning And Maintenance
Dust your canvas prints regularly using a soft brush or microfiber cloth. Avoid using harsh chemicals or water directly on the canvas.
For stubborn spots, lightly dampen a cloth with water and gently dab; never rub aggressively.
Check the frame edges for any signs of loosening or damage. Tighten or repair as needed to maintain the print’s structure.
- Avoid placing canvas prints where pets or children might accidentally scratch or bump them.
- Consider using a UV-protective spray designed for canvas to extend color life.
- Rotate your canvas prints occasionally to prevent uneven exposure to light.
Have you noticed how a well-cared-for canvas print can brighten a room? Taking a few minutes each month to care for your prints makes a big difference in preserving your artwork’s beauty.

Credit: www.canva.com
Frequently Asked Questions
How Do You Prepare An Image For Canvas Printing?
To prepare an image, choose high-resolution photos for clarity. Edit brightness, contrast, and colors for best results. Crop to your desired size and save in a print-friendly format like TIFF or JPEG. Proper preparation ensures sharp, vibrant canvas prints.
What Materials Are Used For Making Canvas Prints?
Canvas prints use high-quality cotton or polyester canvas fabric. Inkjet printers use fade-resistant, pigmented inks. A wooden frame stretches the canvas tightly. Protective coatings add durability and enhance colors. These materials ensure longevity and vivid print quality.
How Long Does It Take To Make Canvas Prints?
Making canvas prints typically takes 1 to 3 days. This includes image preparation, printing, drying, stretching, and framing. Complex orders or custom sizes may take longer. Quick turnaround depends on printing technology and workload.
Can I Make Canvas Prints At Home?
Yes, you can make canvas prints at home with a good printer and canvas sheets. However, professional printers offer better color accuracy and durability. Home printing is cost-effective for small projects but may lack gallery-quality finishes.
Conclusion
Making canvas prints is simple and fun. Start by choosing a good photo. Print it on special canvas material. Stretch the canvas over a wooden frame tightly. Use glue or staples to hold it in place. Finally, let it dry well before hanging.
This process lets you create beautiful wall art. Anyone can try it at home with basic tools. Enjoy personalizing your space with your own canvas prints.


