

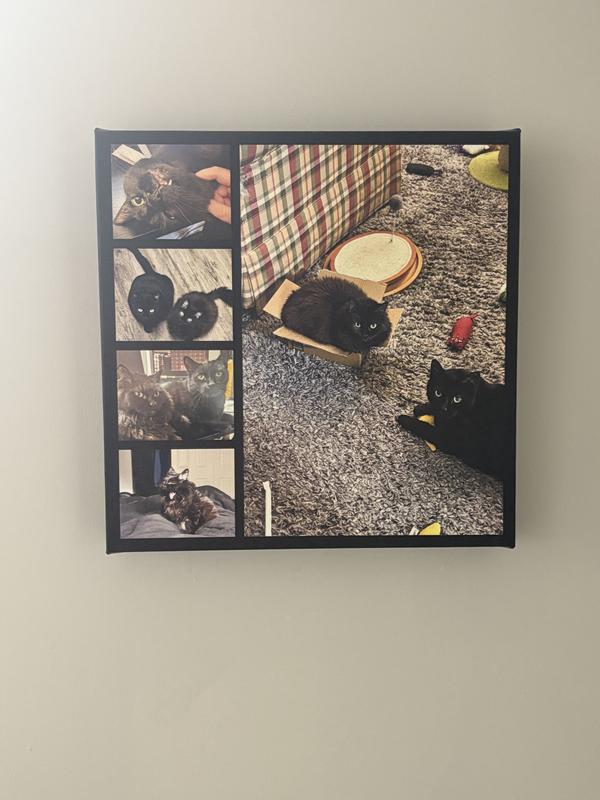
Have you ever wanted to turn your favorite photos into beautiful wall art? Putting pictures on canvas is a simple way to make your memories stand out and add a personal touch to any room.
Whether it’s a family portrait, a stunning landscape, or a special moment, you can easily transform your images into eye-catching canvas prints. In this guide, you’ll discover easy steps and expert tips to create your own canvas masterpiece. Ready to bring your pictures to life?
Let’s dive in and make your walls speak your story!
Choosing The Right Photo
Choosing a clear and high-quality photo ensures your canvas print looks sharp and vibrant. Select images with good lighting and simple backgrounds for the best results.
Choosing the right photo for your canvas can be challenging. It’s important to select images that will look stunning once printed. A perfect photo enhances the beauty of your space. The right choice involves several considerations. Here are some key factors to help you decide.Selecting High-resolution Images
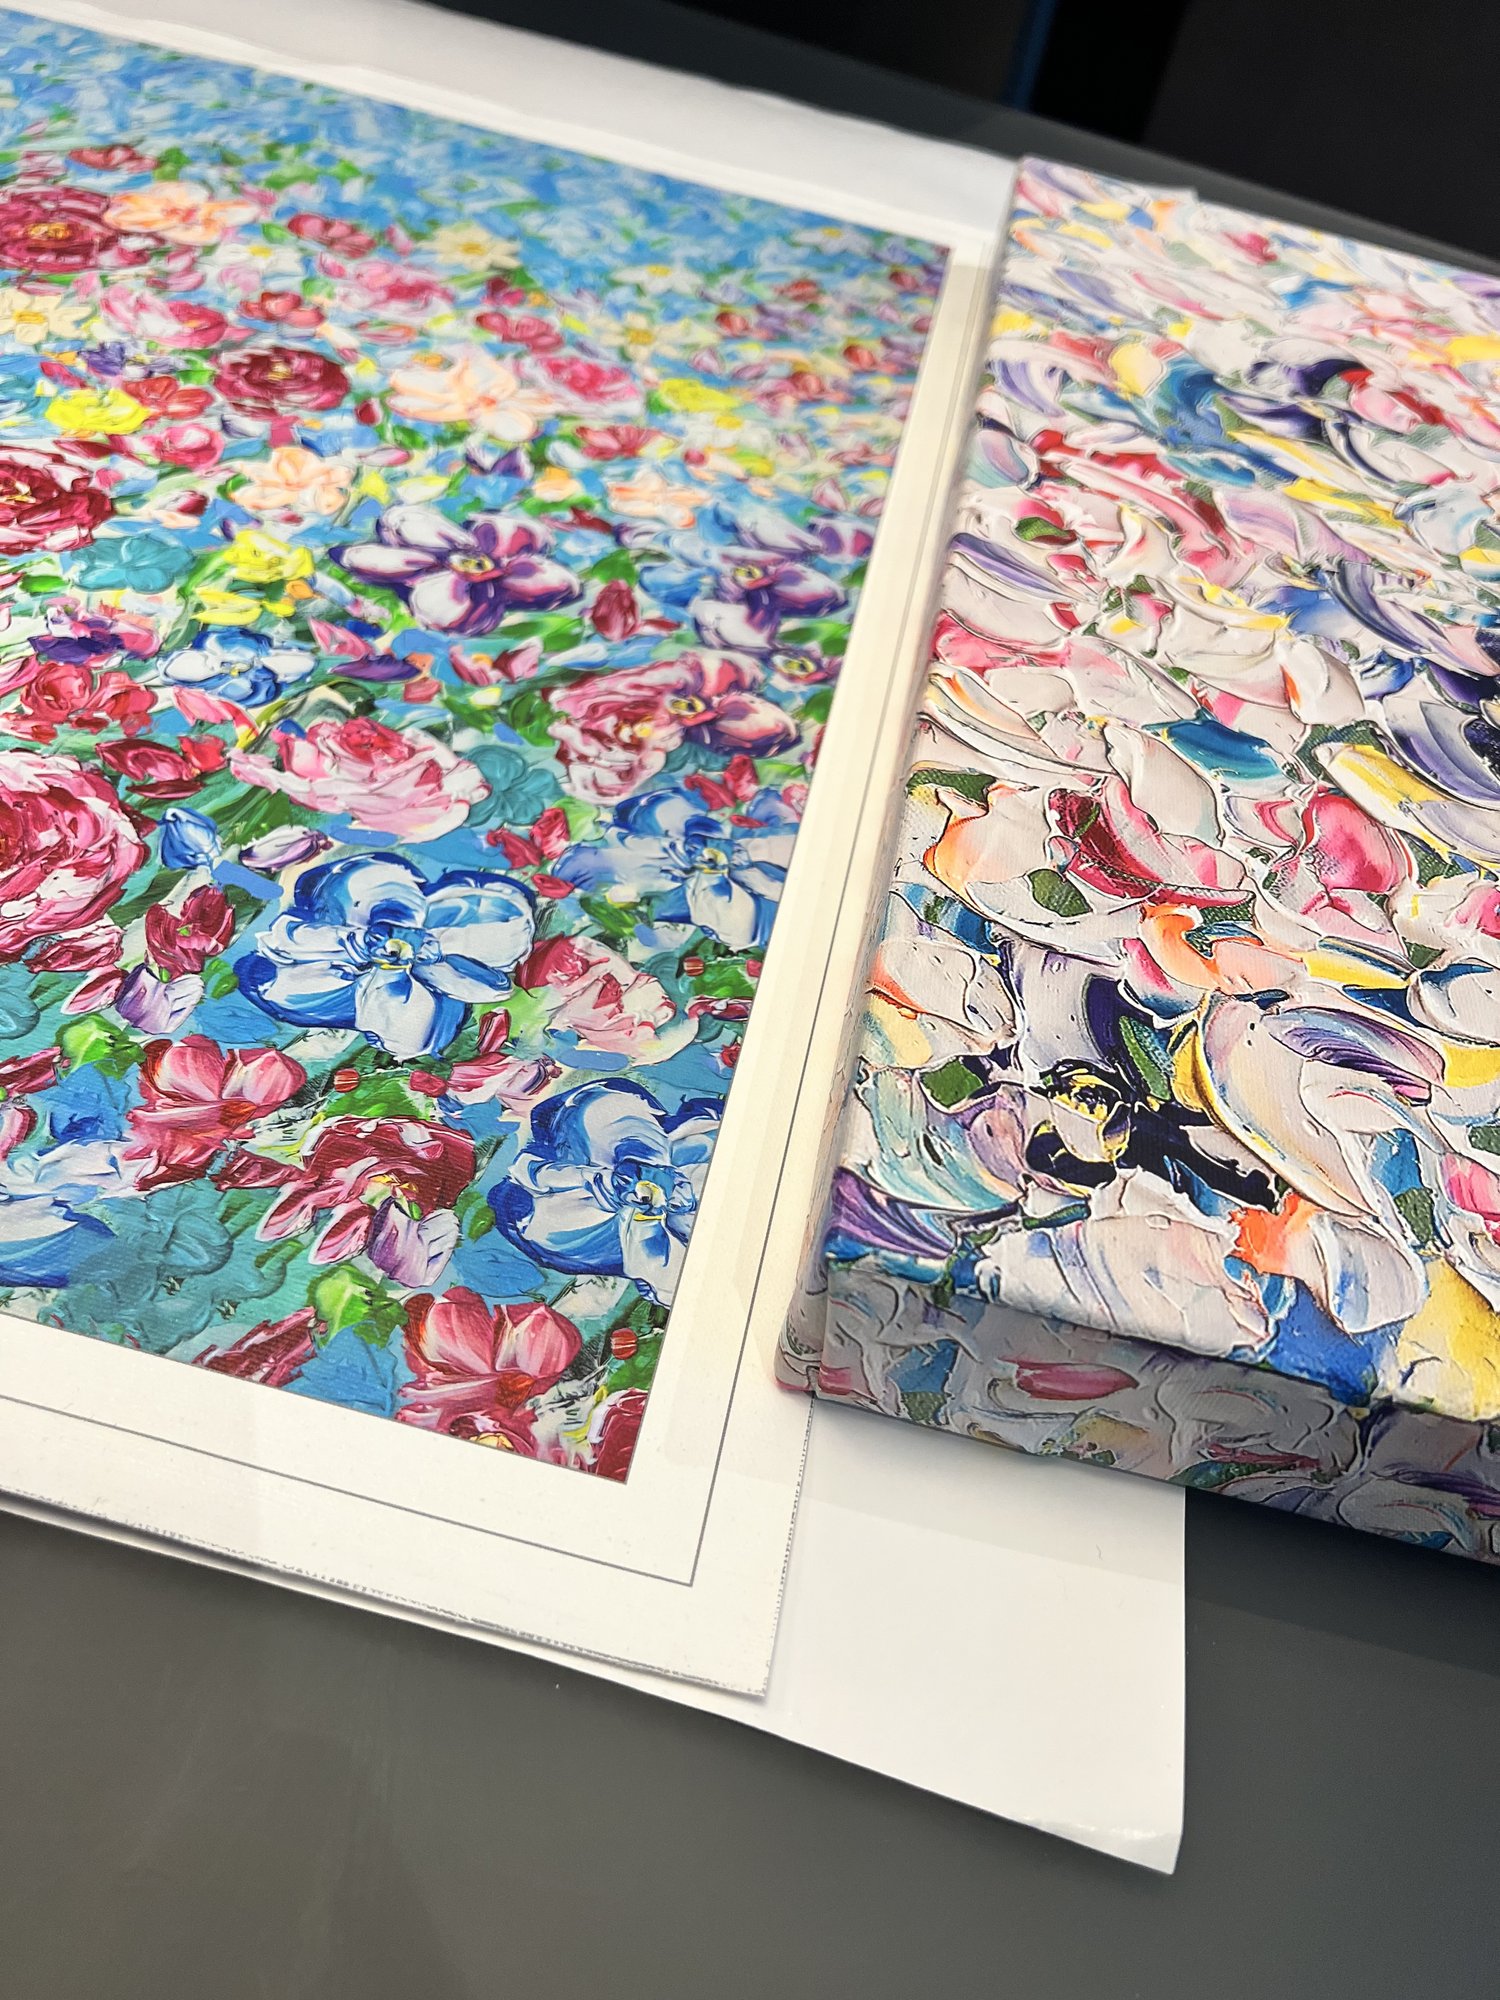
High-resolution images ensure clarity and detail. Low-resolution photos can look blurry on canvas. Aim for a resolution of at least 300 DPI. This provides a sharp and clear image. If unsure, check the file size. Larger files typically offer better resolution. Always start with the highest quality image available.Considering Image Composition
Composition is crucial for aesthetic appeal. A well-balanced photo draws attention. Consider the rule of thirds. Divide your image into nine equal parts. Place key elements along these lines or intersections. This creates a more engaging visual. Pay attention to the background. Ensure it complements the main subject.Matching Photos To Room Decor
The photo should blend with your room’s decor. Choose colors that harmonize with the surroundings. A vibrant photo can add energy to a neutral room. A soft image might soothe a busy space. Consider the room’s theme. A coastal scene fits well in a beach-themed room. Ensure the photo enhances the room’s mood and style.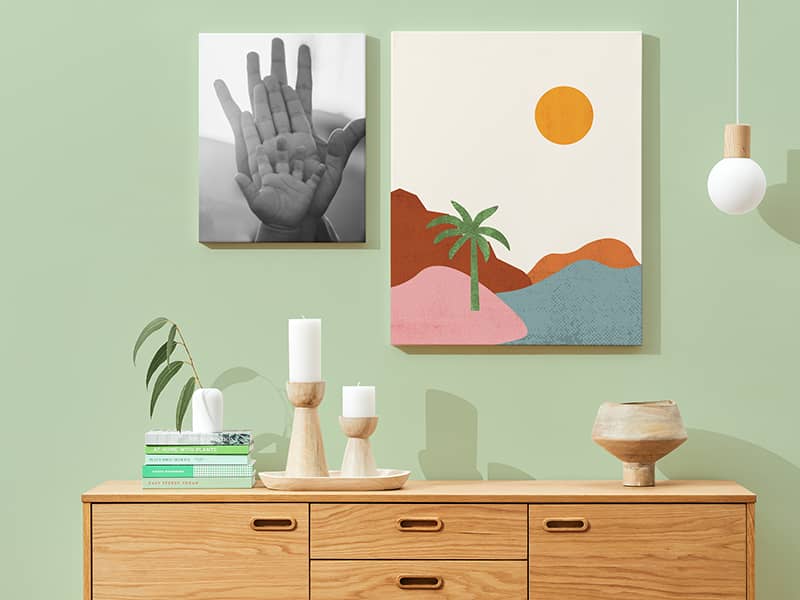
Credit: www.canva.com
Preparing Your Image
Preparing your image is a crucial step before printing on canvas. A well-prepared image ensures a clear, vibrant, and beautiful final product. This process involves editing, resizing, cropping, and converting the photo into the right format. Taking time to prepare the image improves the overall look of your canvas print.
Editing And Enhancing Photos
Enhance your photo to make colors brighter and details sharper. Adjust brightness and contrast to improve visibility. Remove any blemishes or unwanted spots. Use simple photo editing tools for quick fixes. Clear and clean images print better on canvas.
Adjusting Size And Crop
Check the image size to fit your canvas dimensions. Crop the photo to focus on the main subject. Avoid stretching the image to prevent distortion. Keep important parts centered or well-balanced. Proper sizing and cropping ensure the best composition on canvas.
Converting To Canvas-friendly Formats
Save your image in high-quality formats like PNG or TIFF. Avoid low-resolution files such as small JPEGs. High-resolution files retain detail and color. Make sure the file size meets the printer’s requirements. The right format helps create a sharp and lasting canvas print.
Picking Canvas Materials
Picking the right canvas materials is a crucial step in putting pictures on canvas. The material you choose affects not only the look and feel of your final piece but also its durability and how well it holds the image. Understanding the options available helps you make choices that fit your style and purpose.
Types Of Canvas Fabrics
Canvas comes in several fabric types, each offering a different texture and strength. Cotton canvas is soft and affordable, making it ideal for beginners and casual projects. Linen canvas, on the other hand, is stronger and has a smoother surface, which works well for fine art prints.
Polyester canvas is resistant to stretching and moisture, perfect for outdoor or long-lasting displays. You might ask yourself, is durability more important than texture? Your answer will guide your fabric choice.
Choosing Frame Styles
The frame style you pick affects how your picture stands out on the wall. A traditional wooden stretcher frame provides a classic look and keeps the canvas taut. Floating frames add a modern touch by creating space between the canvas edge and the frame, giving a sense of depth.
Consider where you will display your canvas. Would a sleek metal frame fit your space better, or does a rustic wooden frame suit your decor? The frame sets the tone for your artwork, so choose one that complements both the image and your environment.
Understanding Finishes And Coatings
Finishes and coatings protect your canvas and enhance the image’s appearance. Matte finishes reduce glare and give a soft look, which is great for detailed photos or paintings. Glossy finishes make colors pop but can reflect light, so think about the lighting in your room before choosing.
Some coatings add extra protection against dust, moisture, and UV rays, extending the life of your canvas. Would you prefer a finish that keeps your canvas looking vibrant over time, or one that emphasizes subtlety? This decision impacts how your artwork ages and stays beautiful.
Credit: www.snapfish.com
Printing Methods For Canvas
Printing pictures on canvas involves various techniques. Each method affects image quality, durability, and cost. Choosing the right printing method is key to getting the best result for your artwork or photo. Here, we explore popular printing methods for canvas and their benefits.
Inkjet Vs. Giclée Printing
Inkjet printing sprays tiny ink droplets onto canvas. It is common and affordable. Giclée printing is a type of inkjet printing but uses higher quality inks and printers. Giclée produces sharper images and more vibrant colors. It lasts longer without fading. Both offer good detail but giclée is preferred for fine art and professional prints.
Direct-to-canvas Printing
This method prints the image directly onto the canvas material. It skips the need for paper or film transfer. Direct-to-canvas prints dry quickly and have a textured, natural look. It suits bold designs and large prints well. This technique can save time and reduce waste during production. It works best on cotton or polyester canvas.
Pros And Cons Of Different Techniques
| Printing Method | Advantages | Disadvantages |
|---|---|---|
| Inkjet | Affordable, widely available, good color range | Less durable, may fade faster |
| Giclée | High detail, vibrant colors, long-lasting | More expensive, slower process |
| Direct-to-Canvas | Fast drying, natural texture, eco-friendly | Limited color depth, better for bold images |
Diy Canvas Transfer Techniques
Transferring your favorite pictures onto canvas can bring a personal touch to your home decor or gifts. DIY canvas transfer techniques allow you to achieve this without expensive equipment. These methods give you control over the final look, letting you experiment with textures and finishes that suit your style.
Using Mod Podge For Transfers
Mod Podge is a popular choice for transferring images onto canvas because it acts as both an adhesive and a sealant. Start by printing your image on regular paper using a laser printer for best results.
Apply a thick, even layer of Mod Podge to the canvas, then place your printed image face down. Press firmly to avoid air bubbles and smooth out wrinkles. Let it dry completely—usually overnight.
After drying, dampen the paper with water and gently rub it off with your fingers or a sponge. The image will remain on the canvas, creating a vintage, slightly textured effect.
Gel Medium Method
The gel medium method offers a smooth finish and works well with both laser and inkjet prints. You begin by applying a generous coat of gel medium to the front of your printed image.
Place the image face down on your canvas and press it evenly to avoid wrinkles. Allow it to dry for at least 24 hours to ensure the image adheres well.
Once dry, moisten the paper and carefully rub it away, revealing the transferred picture. This method preserves more detail and creates a sharper image than Mod Podge.
Troubleshooting Common Issues
Sometimes, transfers don’t come out as expected. If your image looks faded or patchy, it might be due to insufficient drying time or uneven application of adhesive.
Too much water when removing paper can cause the image to smudge or peel. Try using a light touch and let the paper dry a bit before continuing.
Another common problem is air bubbles trapped under the image. Use a credit card or flat tool to smooth out the surface during application to prevent this.
What challenges have you faced with your canvas transfers? Trying different techniques might reveal what works best for your specific materials and images.
Professional Printing Services
Professional printing services offer a simple way to turn photos into beautiful canvas art. They use advanced technology to ensure high-quality prints with vivid colors and sharp details. These services save time and effort, delivering ready-to-hang canvases that brighten any room.
Finding Reliable Vendors
Choose vendors with positive reviews and strong reputations. Check samples of their work to confirm print quality. Look for clear customer service policies and easy communication. Trusted vendors provide consistent results and meet deadlines.
Cost And Turnaround Time
Prices vary based on canvas size, print quality, and framing options. Expect higher costs for large or custom-sized canvases. Turnaround time typically ranges from a few days to two weeks. Some services offer express options for faster delivery.
Customizing Orders
Many printing services allow customization such as:
- Canvas size and shape
- Border style and color
- Image adjustments like cropping or color enhancement
- Adding text or special effects
Custom options help create a unique piece that matches your style perfectly.
Framing And Display Tips
Framing and displaying your canvas pictures properly can transform your space and highlight your artwork’s true potential. The right frame and setup do more than just protect your canvas; they elevate the entire visual experience. Let’s dive into how you can make your canvas stand out with smart framing and display choices.
Choosing Frame Colors
Your frame color should complement the colors in your picture, not compete with them. If your canvas has vibrant tones, a neutral frame like white, black, or natural wood often works best. For softer artwork, try frames in pastel shades or metallic finishes to add subtle elegance.
Think about the room where you’ll hang the canvas. Does the wall color clash with the frame? Sometimes, matching the frame to a prominent color in the room can create a cohesive look. You might hesitate to pick bold frames, but those can add a surprising pop if balanced well.
Mounting Canvas On Walls
Mounting your canvas at the right height makes all the difference. Aim to place the center of the artwork at eye level—usually around 57 to 60 inches from the floor. This simple adjustment ensures your picture gets the attention it deserves.
Use sturdy hooks or brackets designed for canvas weight. Avoid nails alone; they might not hold up over time. If you’re worried about wall damage, consider adhesive strips rated for heavy items—they offer strong support without leaving marks.
Grouping canvases can create an impressive gallery wall. Keep consistent spacing, usually 2 to 4 inches apart, to maintain balance. Have you ever noticed how uneven spacing can make even great art look cluttered? Don’t let that happen to your display.
Lighting To Enhance Artwork
Lighting can make your canvas come alive or leave it dull and lifeless. Use adjustable track lighting or picture lights to direct light evenly across the surface. Avoid harsh overhead lighting that creates glare or shadows.
Natural light is beautiful but can fade your canvas over time. If your space has lots of sunlight, consider UV-protective glass or position your canvas where direct sun won’t hit it. Have you checked if your current lighting highlights your artwork’s best features or hides them?
Experiment with warm and cool light bulbs. Warm light brings out earthy tones, while cool light enhances blues and greens. Test different bulbs to find what makes your particular canvas pop.
Maintaining Canvas Art
Keeping your canvas art in top shape ensures it stays vibrant and meaningful for years. Proper maintenance protects your investment and preserves the beauty you cherish. Let’s look at some practical ways you can care for your canvas prints every day.
Cleaning And Dusting
Dust can settle on your canvas and dull its colors. Use a soft, dry cloth or a gentle brush to wipe the surface regularly. Avoid using water or cleaning sprays, as these can damage the paint or fabric.
If you notice stubborn spots, lightly dab them with a barely damp cloth, but never rub hard. Do you check your canvas for dust as often as you do other home decor? Making it a habit can prevent buildup that’s harder to remove later.
Avoiding Sun Damage
Sunlight can fade the colors and weaken the canvas over time. Place your artwork away from direct sunlight or use UV-protective glass if framing it. Even indirect light can affect the pigments, so consider rotating your pieces occasionally to balance exposure.
Have you ever noticed a photo or painting losing its vibrancy? It’s a silent process that sneaks up on you. Taking simple steps to control light exposure keeps your canvas looking fresh longer.
Repairing Minor Damages
Small tears or scratches don’t mean your canvas is ruined. You can fix minor damage with clear acrylic gel or special art repair kits available online. Gently apply the gel over the tear and smooth it with a soft brush, then let it dry completely.
For loose edges, re-stretching the canvas or using acid-free tape on the back can help. Have you ever tried a small repair yourself? It can be satisfying and saves you from costly restorations.
Credit: anthonypullano.ca
Frequently Asked Questions
How Do I Transfer Photos To Canvas At Home?
You can transfer photos using gel medium or printable canvas sheets. Print your image, apply gel medium to the canvas, place the photo face down, and let it dry. Gently remove the paper for a clear image on canvas.
What Materials Are Needed To Put Pictures On Canvas?
You need canvas, a printer or photo print, gel medium or adhesive, a brush, and a protective sealant. These materials help transfer and protect your photo on the canvas surface.
Can I Use Regular Printer Paper For Canvas Printing?
Regular printer paper can be used with gel medium transfers but is less durable. For best results, use printable canvas sheets designed for inkjet printers to ensure better quality and longevity.
How Do I Preserve Pictures On Canvas?
Apply a clear acrylic sealant or varnish after transferring your photo. This protects against fading, moisture, and dust, keeping your picture vibrant and long-lasting on the canvas.
Conclusion
Putting pictures on canvas brings your photos to life. You can create unique art for your home or gifts. The steps are simple and fun to follow. Choose your favorite photo, prepare the canvas, and transfer the image carefully. Take your time to get the best result.
Enjoy the process and be proud of your creation. Canvas pictures add a personal touch to any space. Try it yourself and see the difference it makes. Your memories deserve to be seen in a new way.


