
Are you ready to add a sleek, modern touch to your space? Floating shelves are a simple way to showcase your favorite items while keeping your walls clutter-free.
But how do you mount a floating shelf securely so it looks great and holds up over time? If you’ve ever wondered about the steps or worried about making mistakes, this guide is for you. By the end, you’ll have the confidence to install your own floating shelf like a pro—no hassle, no guesswork.
Let’s dive in and make your walls work smarter and look better!

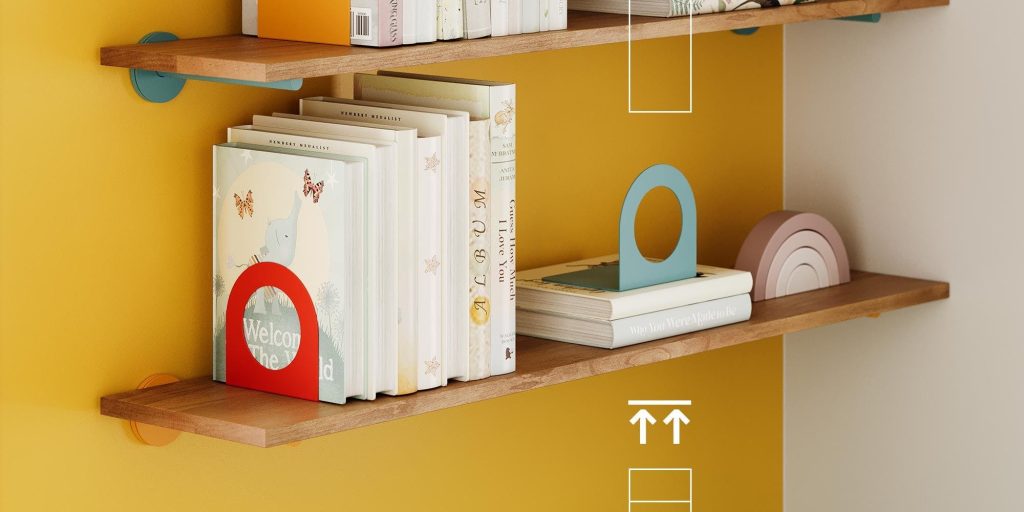
Credit: www.create-enjoy.com
Choosing The Right Shelf
Choosing the right floating shelf is more than just picking a pretty design. It’s about finding the perfect match for your space, style, and what you plan to display. The material and size you select will determine how sturdy and practical your shelf will be.
Material Options
Floating shelves come in various materials, each with its own benefits. Wood shelves offer a warm, natural look and are great for heavier items. MDF or engineered wood is budget-friendly and can be painted any color, but may not hold as much weight as solid wood.
Metal shelves provide a modern, industrial vibe and are very strong, but might feel cold or heavy in some rooms. Glass shelves look sleek and open up space visually, but they’re fragile and better for light decor. Think about the room’s style and how much wear and tear the shelf will face before deciding.
Size And Weight Considerations
How big and how heavy your shelf can be will depend on the wall and the mounting hardware. If you want a long shelf to hold many items, make sure the wall can support it, especially if it’s drywall without studs. Smaller shelves work well for displaying a few key pieces without crowding the space.
Ask yourself: What do you want to put on the shelf? Books, plants, or just decorative items? The heavier your items, the sturdier your shelf and brackets need to be. Don’t forget to measure your wall space carefully to avoid a shelf that looks out of place or doesn’t fit at all.
Credit: www.christeneholderhome.com
Tools And Materials Needed
Before you start mounting a floating shelf, gathering the right tools and materials is crucial. Having everything on hand saves time and avoids frustrating interruptions. It also ensures your shelf is secure and looks great on your wall.
Essential Tools
You’ll need a few basic tools that most DIY enthusiasts already have. A drill is key for making holes in the wall to hold the shelf brackets securely. Don’t forget a level to keep your shelf perfectly horizontal—crooked shelves can ruin the look and function.
- Drill:Choose one with different drill bits for various wall types.
- Level:A small bubble level or laser level works well to check alignment.
- Measuring Tape:Accurate measurements prevent costly mistakes.
- Pencil:Marking your drill points clearly is essential.
- Screwdriver:A manual or electric screwdriver helps to tighten screws firmly.
- Stud Finder:Finding studs provides stronger support for heavier shelves.
Have you ever tried to hang a shelf only to find it wobbly or falling? Missing just one tool like the stud finder can make all the difference.
Mounting Hardware
Choosing the right hardware depends on your wall type and the shelf’s weight. For drywall, use wall anchors to prevent the shelf from pulling out. If your shelf is heavy or will hold weighty items, securing it directly into studs is best.
- Wall Anchors:Plastic or metal anchors provide extra grip in drywall.
- Screws:Pick screws long enough to go through the shelf bracket and into the wall or stud.
- Brackets or Mounting Rails:Floating shelves often come with hidden brackets that need precise installation.
Think about what you’ll place on your shelf before buying hardware. Are you displaying light decor or heavy books? Matching your hardware to your needs ensures safety and style.
Preparing The Wall
Begin by clearing the wall surface of dust and dirt. Use a level to mark where the shelf will go, ensuring it’s straight. Check for studs to securely anchor the shelf brackets.
Preparing the wall for a floating shelf is crucial for stability. A well-prepared wall ensures your shelf holds weight without issues. Let’s dive into the steps to get your wall ready.Finding Studs
Use a stud finder to locate wall studs. Move the device slowly across the wall. It will beep or light up when it finds a stud. Mark this spot lightly with a pencil. Studs are usually 16 inches apart. Check for multiple studs to ensure strong support.Marking Mounting Points
With the studs found, decide where your shelf will go. Hold the shelf up to the wall at your desired height. Use a level to ensure it’s straight. Mark the spots where the shelf brackets will align with the studs. These will be your mounting points. Double-check measurements to avoid errors.Installing The Brackets
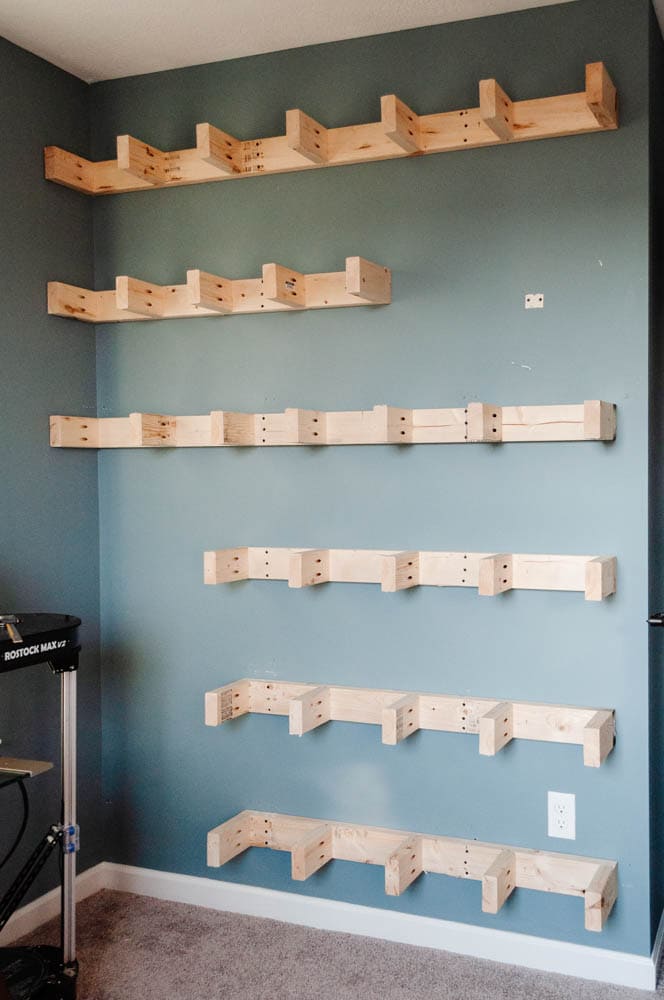
Installing the brackets is a crucial part of mounting a floating shelf. The brackets not only support the shelf but also keep it level and secure. Taking time with this step ensures your shelf holds strong and looks great.
Aligning Brackets
Start by deciding where your shelf will go on the wall. Use a level to mark a straight line that matches the desired height. This line will guide the placement of your brackets and keep everything even.
Measure the distance between the brackets on the shelf itself. Transfer these measurements to the wall along the level line you drew. This precision prevents the shelf from being crooked or unstable.
Double-check your marks before drilling. A small misalignment here can cause big headaches later. Have you ever installed something only to realize it was slightly off? Avoid that by being exact now.
Securing Brackets To Wall
Choose the right anchors for your wall type—drywall, plaster, or concrete all require different hardware. Using the wrong anchors can lead to a shelf that falls easily. Make sure your anchors can support the weight you plan to put on the shelf.
Drill pilot holes where you marked the bracket positions. This step makes it easier to screw in the anchors without damaging the wall. Insert the anchors firmly into the holes for a solid grip.
Attach the brackets by driving screws through them into the anchors. Tighten the screws until the brackets feel sturdy and don’t wiggle. Give the brackets a gentle shake; if they move, tighten the screws some more or check the anchors.
Mounting The Shelf
Mounting the shelf is the moment when your preparation turns into visible progress. It’s where the shelf finally takes shape on your wall, transforming the space. Getting this step right ensures your shelf is secure and looks great.
Sliding Shelf Onto Brackets
Once your brackets are firmly attached to the wall, it’s time to slide the shelf onto them. Align the shelf carefully with the brackets, making sure it fits snugly without forcing it. If the shelf feels tight, check that the brackets are level and properly spaced.
I learned the hard way that rushing this part can scratch your shelf’s finish or loosen the brackets. Take your time and gently slide the shelf, supporting it evenly on both sides to avoid tipping.
Ensuring Level Placement
Even a slight tilt can ruin the look and function of your floating shelf. Use a spirit level across the shelf’s surface to check for perfect horizontal placement. Adjust the shelf gently if you spot any unevenness.
If your shelf isn’t level, it might cause items to slide off or create unnecessary stress on the brackets. Double-check your work before securing the shelf fully. Have you noticed how much a small tilt can distract your eye in a room? This step is worth your full attention.
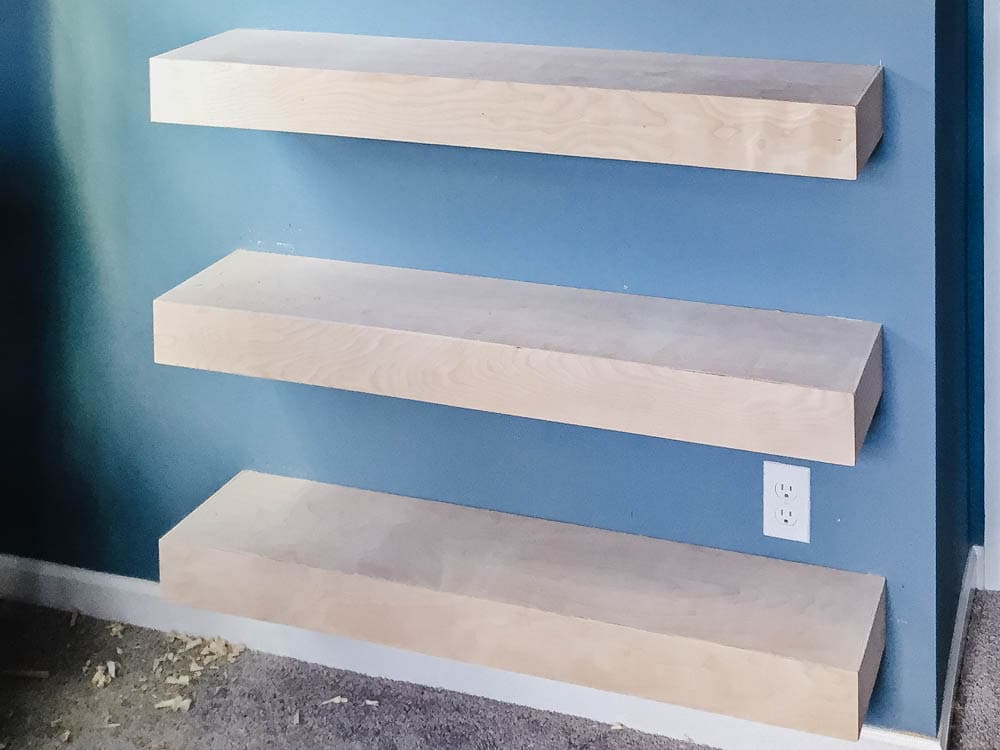
Credit: www.christeneholderhome.com
Finishing Touches
Finishing touches make your floating shelf look neat and secure. These final steps help your shelf blend well with your room. They also ensure the shelf stays strong and safe for use. Focus on hiding hardware and checking stability for the best results.
Hiding Hardware
Cover visible screws and brackets to keep a clean look. Use wood filler or matching paint to blend the hardware with the shelf. Some shelves come with built-in covers or caps for screws. These small details make the shelf look like it floats effortlessly.
Checking Stability
Press gently on the shelf to test its strength. Make sure it does not wobble or feel loose. Tighten any screws or brackets if needed. Place items carefully to avoid overloading the shelf. A sturdy shelf keeps your items safe and your wall damage-free.
Common Installation Mistakes
Mounting a floating shelf might seem straightforward, but many people run into common mistakes that can cause damage or failure. Knowing what to avoid can save you time, money, and frustration. Let’s look at some key errors and how to steer clear of them for a strong, safe installation.
Avoiding Wall Damage
One big mistake is not checking what’s behind the wall before drilling. You might hit electrical wires, plumbing, or weak drywall, which can cause serious problems.
Use a stud finder to locate solid studs instead of just drywall. If you only drill into drywall, the shelf won’t hold well and may pull away, leaving holes and damaged wallboard.
Don’t rush to hammer in anchors without knowing their weight limits. Using the wrong anchors can cause the shelf to fall and damage your wall. Have you ever experienced a shelf crashing down? It’s often because the wall wasn’t prepared properly.
Ensuring Weight Support
Another common error is underestimating the weight the shelf will hold. Floating shelves rely on hidden brackets, so if they aren’t strong enough, the shelf can sag or collapse.
Choose brackets rated for at least 20-30% more than the expected load. For example, if you want to place heavy books or decor, stronger hardware is essential.
Also, spreading weight evenly matters. Avoid placing all heavy items on one side, which can stress the bracket and cause instability. Have you thought about what you’ll put on your shelf before mounting it?
Frequently Asked Questions
How Do You Find Studs For Mounting A Floating Shelf?
Use a stud finder to locate studs behind your wall. Mark their positions with a pencil for accurate shelf support. Mounting on studs ensures strong and stable shelf installation.
What Tools Are Needed To Mount A Floating Shelf?
You need a drill, level, stud finder, screws, anchors, and a screwdriver. These tools help ensure precise and secure mounting of your shelf.
Can Floating Shelves Hold Heavy Items Safely?
Yes, if mounted on studs using proper anchors and screws. Weight capacity depends on shelf material and mounting hardware quality.
How High Should You Mount A Floating Shelf?
Mount shelves at eye level or slightly above for easy access and aesthetic appeal. Adjust height based on room layout and shelf use.
Conclusion
Mounting a floating shelf is simple and rewarding. Follow the steps carefully for strong support. Use the right tools and materials for safety. Check the wall type before drilling holes. Take your time to level the shelf perfectly. A well-installed shelf adds style and storage space.
Enjoy your new shelf for books, plants, or decor. Small effort, big difference in your room’s look. Try it yourself and see the great results.


