
Looking to add a cozy, stylish touch to your living space without spending a fortune? You’re in the right place.
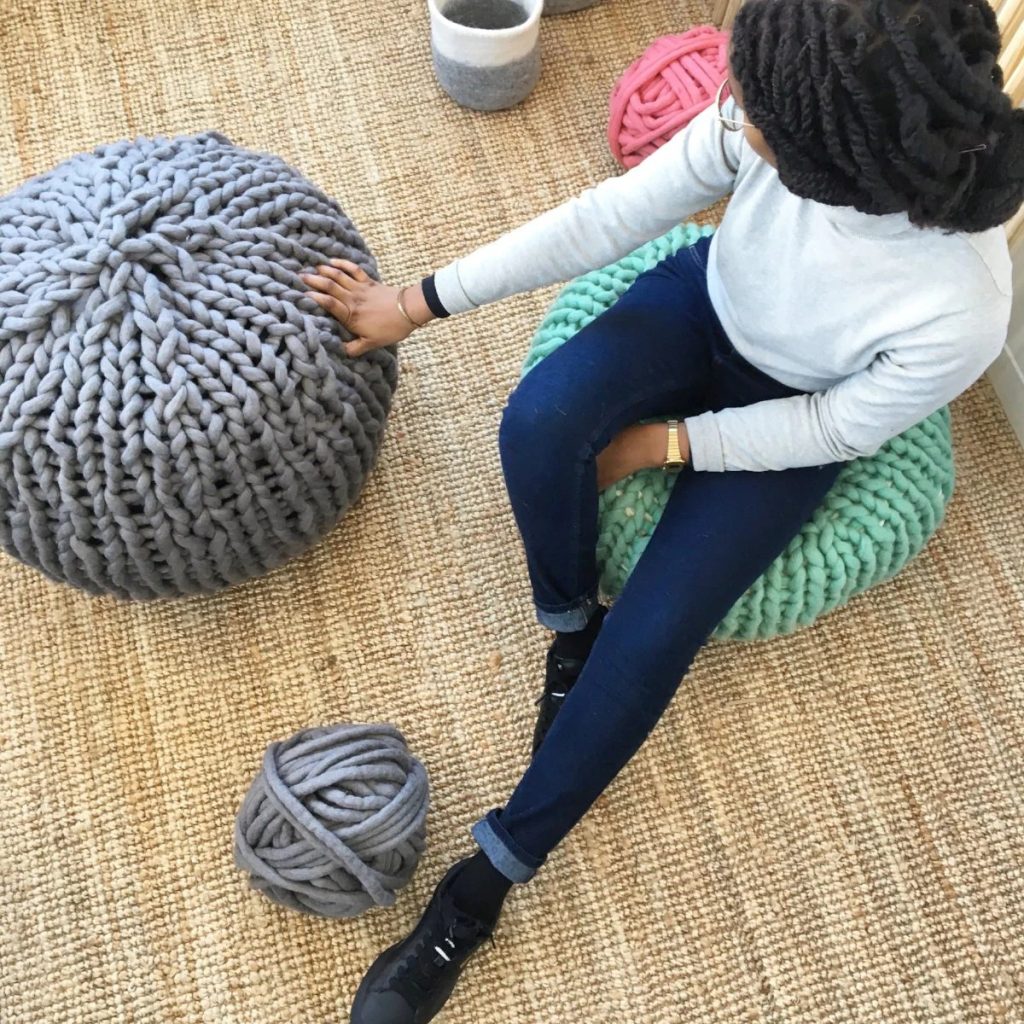
Learning how to arm knit a floor pouf is easier than you might think—and it’s a fun way to create something unique with your own hands. Imagine sinking your feet into a soft, chunky pouf that you made yourself. Ready to get started?
Keep reading, and by the end, you’ll have all the simple steps to craft your very own floor pouf that friends will admire and you’ll love to use.
Materials Needed
Gathering the right materials is key to creating a beautiful arm knit floor pouf. Choosing quality supplies helps the project go smoothly. Prepare your workspace with everything at hand. Knowing what you need saves time and frustration.
Yarn Selection
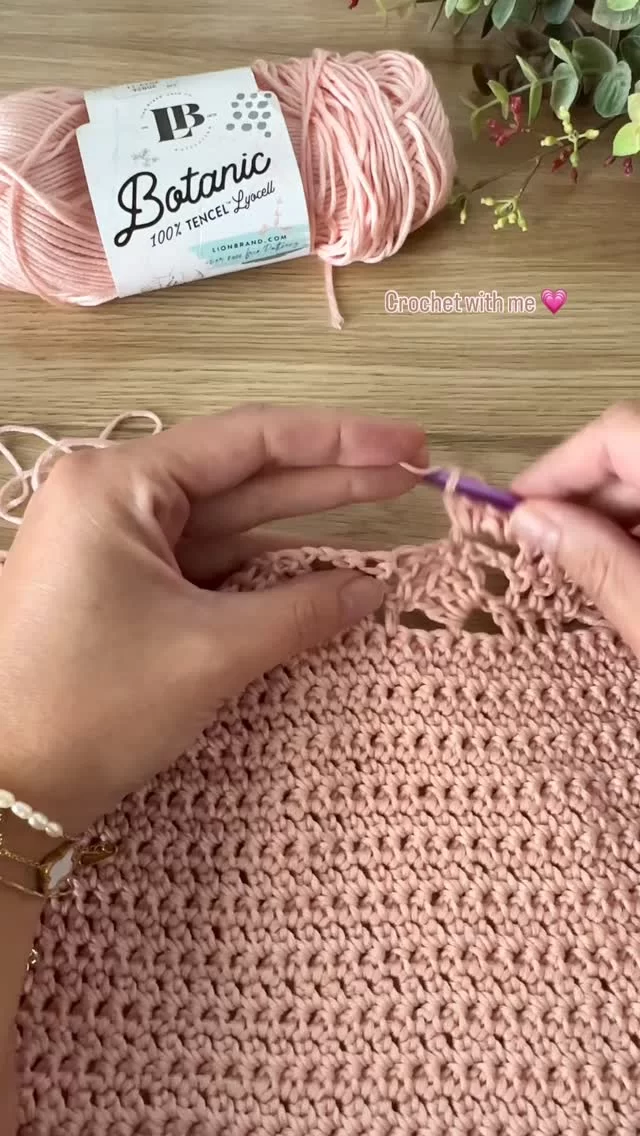
Pick thick, chunky yarn for a sturdy pouf. Super bulky or roving yarn works best for arm knitting. Cotton or wool blends offer durability and softness. Choose colors that match your room decor. Avoid thin yarn; it won’t hold the shape well.
Additional Supplies
- Stuffing: Use polyester fiberfill or old pillows for filling.
- Scissors: Sharp scissors to cut yarn cleanly.
- Tapestry Needle: Helps weave in yarn ends neatly.
- Measuring Tape: Checks pouf size as you knit.
- Optional: Stitch markers to keep track of your rows.
Credit: www.eandpcrochet.com
Preparing Your Workspace
Preparing your workspace is key before starting your arm knit floor pouf. A neat and comfortable area helps you focus on your project. It also keeps your materials safe and easy to reach. Clear space avoids distractions and makes the knitting process smooth.
Choosing A Comfortable Spot
Pick a place with enough room to stretch your arms freely. A soft rug or cushioned floor works well to sit on. Good lighting is important so you can see your yarn clearly. Quiet corners reduce noise and help you concentrate better. Make sure the spot is free from drafts or strong sunlight.
Organizing Materials
Gather all your yarn, stuffing, and scissors before starting. Use a basket or box to keep everything together. Arrange the yarn so it doesn’t tangle while knitting. Place scissors and other tools within arm’s reach. Keeping your materials tidy saves time and avoids frustration.
Starting The Arm Knit
Begin by choosing thick yarn to make your arm knitting easier and the pouf sturdy. Create a slip knot and place it on one arm, then start looping yarn around your arms to form stitches.
Starting the journey to arm knit your own floor pouf is an exciting endeavor that combines creativity and functionality. Arm knitting is a delightful craft that allows you to create a cozy pouf with just your hands and some chunky yarn. Before you know it, you’ll have a stylish and functional piece to adorn your living space. Let’s dive into the initial steps of arm knitting, where you’ll learn to create a slip knot and cast on stitches, setting the foundation for your pouf.Creating The Slip Knot
The slip knot is the starting point of your arm knitting project. It’s a simple loop that anchors your yarn and gets everything in motion. To create one, take the end of your yarn and form a loop by crossing the yarn over itself. Pull the yarn through the loop to create a knot. This knot should slide easily along the yarn, allowing you to adjust its size. Slip this knot onto your arm, ensuring it’s snug but not tight. Imagine this as laying the first brick of a house—small, yet vital. Ready to move forward? Let’s talk about casting on stitches.Casting On Stitches
Casting on stitches is your next move, a fundamental skill in arm knitting. This step is where your project begins to take shape, stitch by stitch. With the slip knot secure on your arm, take the working yarn (the part connected to the yarn ball) in your hand. Use your other hand to create a loop and pull it over your arm, creating a new stitch. Repeat this process until you have the desired number of stitches cast onto your arm. Feeling a rhythm yet? This repetitive motion sets the groundwork for your entire pouf. Each stitch is a step closer to your finished piece. What will your pouf say about your style?
Credit: www3.designindaba.com
Basic Arm Knitting Stitches
Mastering the basic arm knitting stitches is your first step toward creating a cozy floor pouf that feels both stylish and personal. These stitches form the foundation of your project, so getting comfortable with them will make the entire process smoother. Let’s dive into the essential techniques you’ll use throughout your arm knitting journey.
Knit Stitch Technique
The knit stitch is the core of arm knitting and it’s surprisingly easy once you get the hang of it. Start by holding the yarn in your dominant hand and looping it over your arm to create the first stitch.
When you pull the new loop through the old one, you form a knit stitch. Practice this motion several times to build muscle memory—it’s a simple, repetitive move that feels natural after a few tries.
Have you noticed how the yarn’s thickness affects your stitch size? Chunkier yarn makes bigger stitches, which can speed up your project and add texture to your pouf.
Maintaining Tension
Keeping consistent tension is key to a neat and uniform pouf. Too tight, and your stitches will be hard to work with and the fabric will be stiff. Too loose, and your pouf might lose its shape.
Try to find a comfortable grip on the yarn, and relax your hands as you knit. If you feel your tension slipping, pause and adjust your hold before continuing.
Do you find your stitches vary in size when you switch hands? This is common. Focus on steady, even pulls and your tension will improve quickly.
Knitting The Pouf Body
Knitting the pouf body is where your project truly starts to take shape. This part involves creating a sturdy, chunky fabric that will form the main structure of your floor pouf. Keeping a consistent rhythm and checking your progress will make the process smoother and more enjoyable.
Working In Rows
When you begin knitting the body, work back and forth in rows using your arms as giant needles. Each row builds on the previous one, so keep your tension even to avoid loose spots or overly tight sections.
Here are some tips to keep your rows neat and consistent:
- Use your fingers to pull the yarn snug but not too tight.
- Count stitches regularly to make sure you haven’t accidentally added or dropped any.
- Take breaks if your arms get tired—fatigue can affect your tension.
Have you noticed how your knitting changes when you speed up or slow down? Experiment with your pace to find what feels natural and keeps your stitches uniform.
Measuring Progress
Measuring your work as you go is key to making sure your pouf will be the right size. Use a tape measure or ruler to check the length and width of the knitted fabric regularly.
Don’t rely only on counting rows or stitches—fabric can stretch or compress, especially with arm knitting. Stop every few rows to see if the dimensions match your pouf’s intended size.
If you find your piece growing unevenly, adjust your tension or the number of stitches in your rows. This helps avoid surprises when it’s time to stuff and finish your pouf.
Shaping The Pouf
Shaping the pouf is a key step in arm knitting. This process gives your pouf its round, full look. The shape depends on how you decrease stitches and form the overall structure. Careful shaping makes the pouf sturdy and comfortable.
Decreasing Stitches
Decreasing stitches helps create the pouf’s curved edges. You reduce the number of loops on your arm as you knit. This pulls the fabric inward, forming a round shape. Use simple decreases by knitting two stitches together. Repeat decreases evenly across the row. Keep track of your stitch count to maintain balance.
Forming The Pouf Shape
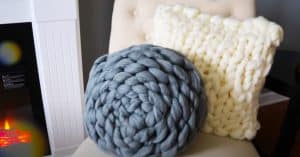
After decreasing, the pouf begins to take shape. The top and bottom close up smoothly. The sides stay wide and cushy. You can stuff your pouf with filling before finishing. This adds volume and firmness. Shape the pouf by adjusting the tightness of your stitches. A tighter knit gives a solid form, while looser stitches create softness.
Assembling The Floor Pouf
Assembling your arm knitted floor pouf is where your work really starts to take shape. This stage brings together all the loops and stitches into a snug, cozy piece that’s both functional and stylish. Paying close attention to how you join and secure the edges will make sure your pouf holds up well over time.
Joining Edges
Joining the edges is like closing the loop—literally. You’ll want to connect the ends of your knitted piece to form a round, pouf shape. Use a large, blunt needle or your fingers to weave the yarn through the final stitches carefully.
Take your time to pull the yarn tight enough that the seam is secure but not so tight that it puckers. If you find the edges aren’t aligning perfectly, gently adjust the loops before tightening. This step affects the overall look and durability of your pouf, so it’s worth the extra attention.
Securing The Pouf
Once the edges are joined, you need to secure the pouf so it keeps its shape. Stuff your pouf firmly with soft filling like polyester fiberfill, old pillows, or even fabric scraps. The amount of stuffing depends on how firm or squishy you want your pouf to be.
After stuffing, close the final opening by weaving the yarn into the stitches and knotting it securely. Double-check the knots because a loose end could unravel your hard work. Have you considered how often you’ll use your pouf? That can guide how tightly you secure it.
Credit: diyjoy.com
Filling The Pouf
Filling your arm-knit floor pouf is more than just a final step—it determines the comfort, shape, and durability of your creation. The right stuffing makes your pouf inviting and sturdy, ready to be a cozy spot in any room. Let’s dive into how you can choose the best stuffing and master the techniques for filling your pouf perfectly.
Choosing The Right Stuffing
What you use to fill your pouf affects how it feels and holds up over time. Common choices include:
- Polyester Fiberfill:Lightweight and soft, it’s easy to work with and gives a plush feel.
- Foam Chunks:Offer firmer support and maintain shape well, but can be bulky.
- Old Clothes or Fabric Scraps:Eco-friendly and budget-wise, though they might make the pouf heavier.
- Bean Bag Beads:Provide flexibility and bounce but can shift inside the pouf.
Think about how you’ll use the pouf. Do you want it soft for lounging or firm for sitting? Your choice here sets the tone for the entire piece.
Stuffing Techniques
How you add the stuffing is just as important as what you choose. Start by filling the pouf loosely to shape it, then add more stuffing to firm it up. This approach helps avoid lumps and uneven spots.
To get an even distribution, try these tips:
- Break up the stuffing into small pieces before adding it.
- Use your hands to push the stuffing into corners and edges.
- Periodically press the pouf down to test firmness and adjust.
Have you ever struggled with a pouf that loses shape quickly? Taking your time during stuffing can prevent that frustration. Remember, a well-stuffed pouf invites you to relax more comfortably and lasts longer.
Finishing Touches
Finishing touches give your floor pouf a polished look. These final steps secure the shape and add personality. They make your pouf ready for use and style.
Closing The Pouf
Secure the last stitches tightly to close the pouf. Tuck the yarn ends inside for a neat finish. Check all loops to ensure no gaps remain. Use a yarn needle to weave in loose ends. This keeps the pouf strong and tidy. Fill the pouf fully with stuffing before closing. A firm fill helps maintain its shape over time.
Adding Decorative Elements
Decorate your pouf to match your room’s style. Add buttons or pom-poms for a fun touch. Use fabric glue or sew decorations securely. Try tassels at the corners for a boho look. Choose colors that complement your yarn choice. Keep decorations simple to avoid overpowering the pouf. These small details make your pouf unique and inviting.
Care And Maintenance
Keep your floor pouf clean by gently dusting it regularly. Spot clean stains with mild soap and cold water. Avoid heavy washing to maintain its shape and texture.
Caring for your arm-knitted floor pouf ensures it remains a cozy and stylish addition to your space for years to come. Maintenance might seem tricky, but it’s all about understanding your material and treating it with a gentle hand. Let’s dive into practical tips that will keep your pouf looking its best.Cleaning Tips
Regular cleaning extends the life of your pouf. Begin by gently shaking it outside to remove dust and debris. For spot cleaning, use a damp cloth with a mild detergent, dabbing gently on the stained area. If your pouf is machine washable, place it in a large mesh bag to protect the fibers. Use a delicate cycle with cold water and mild detergent. Always air dry to prevent shrinking or warping. Consider using a fabric freshener spray to keep it smelling fresh. Avoid bleach or harsh chemicals that could damage the fibers. Do you have a favorite gentle cleaner you trust?Storage Advice
Proper storage is key to maintaining your pouf’s shape and color. When not in use, keep it in a cool, dry place away from direct sunlight to prevent fading. If you’re storing it for an extended period, consider placing it in a breathable storage bag to protect it from dust. Avoid tightly packing it, which could deform its shape. Think about rotating its position in your home occasionally to ensure even wear. Is there a spot in your house where it could take on a new look?Frequently Asked Questions
What Materials Do I Need To Arm Knit A Floor Pouf?
You need bulky yarn, a stuffing material like polyester fiberfill, and your arms. No needles or tools are required for arm knitting a floor pouf.
How Long Does It Take To Arm Knit A Floor Pouf?
Arm knitting a floor pouf typically takes 1 to 2 hours. The time depends on your knitting speed and pouf size.
Can Beginners Arm Knit A Floor Pouf Easily?
Yes, beginners can easily arm knit a floor pouf. The technique is simple and requires no prior knitting experience.
How Much Yarn Is Needed For A Floor Pouf?
You usually need about 3 to 5 skeins of bulky yarn. The amount varies based on the pouf’s size and yarn thickness.
Conclusion
Arm knitting a floor pouf is fun and easy to try. You only need thick yarn and your arms. Each stitch brings you closer to a cozy, stylish pouf. It adds comfort and charm to any room. Enjoy the process and feel proud of your work.
Give it a go and see how relaxing it can be. Your handmade pouf will brighten up your space nicely. Simple steps lead to great results. Happy knitting!


