
Are you tired of your Ottlite floor lamp taking up too much space? Imagine transforming it into a sleek desk clamp that frees up your workspace and gives you better lighting exactly where you need it.
You don’t have to buy a new lamp or spend a fortune. In this guide, you’ll discover simple, step-by-step tips to convert your Ottlite floor lamp into a handy desk clamp. Keep reading to unlock a smart, space-saving lighting solution that fits perfectly into your daily routine.
Tools And Materials Needed
To convert your Ottlite floor lamp to a desk clamp, gather the right tools and materials first. This will make the process smooth and efficient. Knowing each component and tool helps avoid mistakes.
Below are the key items you need to prepare before starting the conversion.
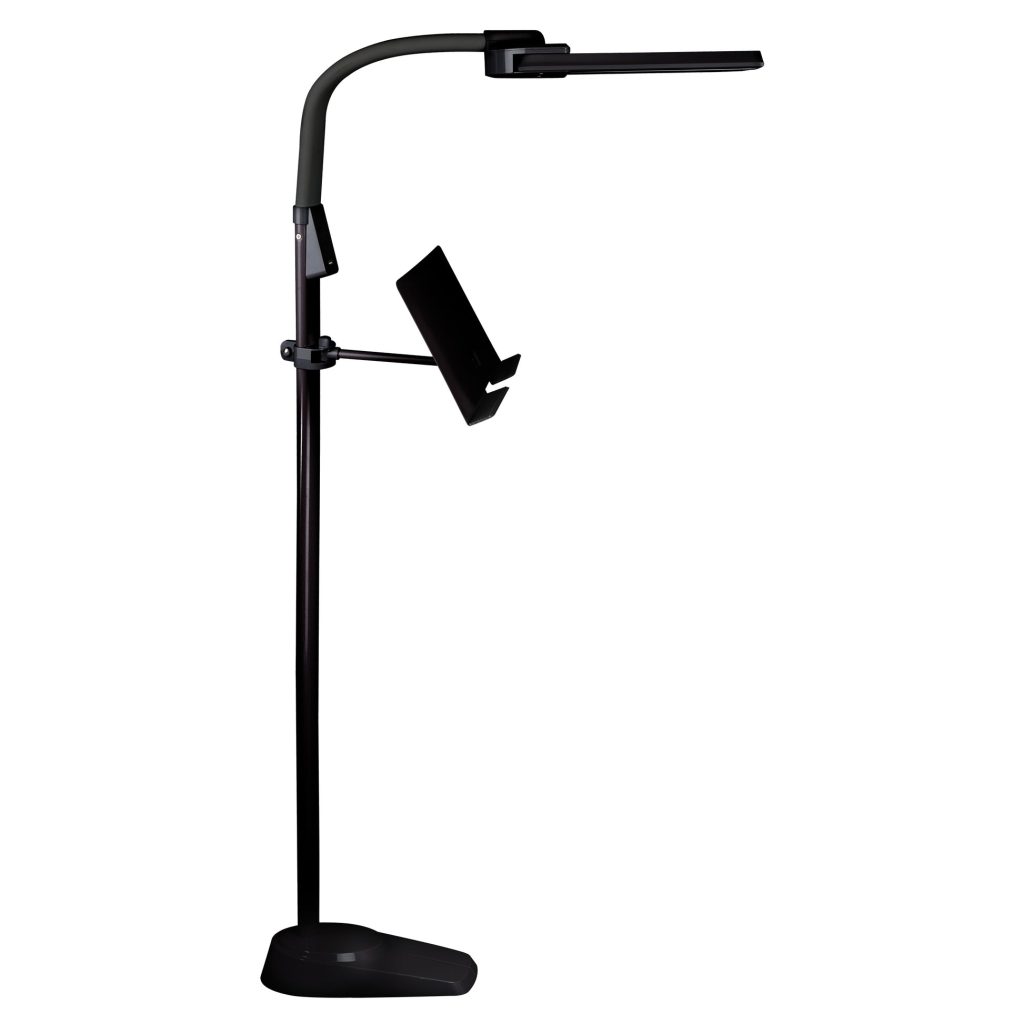
Ottlite Floor Lamp Components
- Base: The lamp’s heavy stand designed for floor use
- Lamp Arm: Adjustable arm holding the light head
- Light Head: The part with the bulb and diffuser
- Power Cord: Connects the lamp to the electrical outlet
- Control Switch: Turns the lamp on and off
Understanding these parts helps identify which to modify or remove.
Clamp Options
- Desk Clamp: Attaches the lamp securely to a desk edge
- Universal C-Clamp: Fits most desk thicknesses
- Heavy-Duty Clamp: Best for thicker or uneven surfaces
- Swivel Clamp: Allows lamp angle adjustment after mounting
Select a clamp that suits your desk size and lamp arm design.
Essential Tools
- Screwdriver Set: For removing and attaching screws
- Drill with Bits: To create holes if needed
- Wrench or Pliers: For tightening bolts
- Measuring Tape: To check clamp and desk dimensions
- Marker or Pencil: To mark drilling spots
- Safety Gloves: Protect your hands during work
- Sandpaper: Smooth any rough edges after modification
Having these tools ready saves time and ensures safety.
Credit: ottlite.com
Preparing The Floor Lamp
Preparing the Ottlite floor lamp for conversion requires careful attention. The process begins by safely taking apart the lamp to make it suitable for a desk clamp. This preparation ensures the lamp remains functional and stable after the change.
First, focus on removing the base of the floor lamp. This step allows better access to the arm and makes the lamp lighter and easier to work with. Proper disassembly prevents damage and helps in reusing parts effectively.
Disassembling The Base
Unplug the lamp to avoid electrical hazards. Locate the screws or bolts holding the base to the lamp pole. Use a screwdriver or wrench to remove these fasteners carefully. Place all small parts in a container to avoid losing them. Gently lift the base off the pole once all fasteners are removed. Check the base for any damage and clean it if needed. This step clears the way to access the lamp arm easily.
Inspecting The Lamp Arm
Examine the lamp arm for any signs of wear or damage. Look for loose joints or cracks in the metal or plastic parts. Test the arm’s movement to ensure it can bend and hold position properly. Tighten any loose screws or bolts to improve stability. Clean the arm with a soft cloth to remove dust. Confirm the wiring inside the arm is intact and not frayed. A well-maintained arm will work smoothly when attached to the desk clamp.
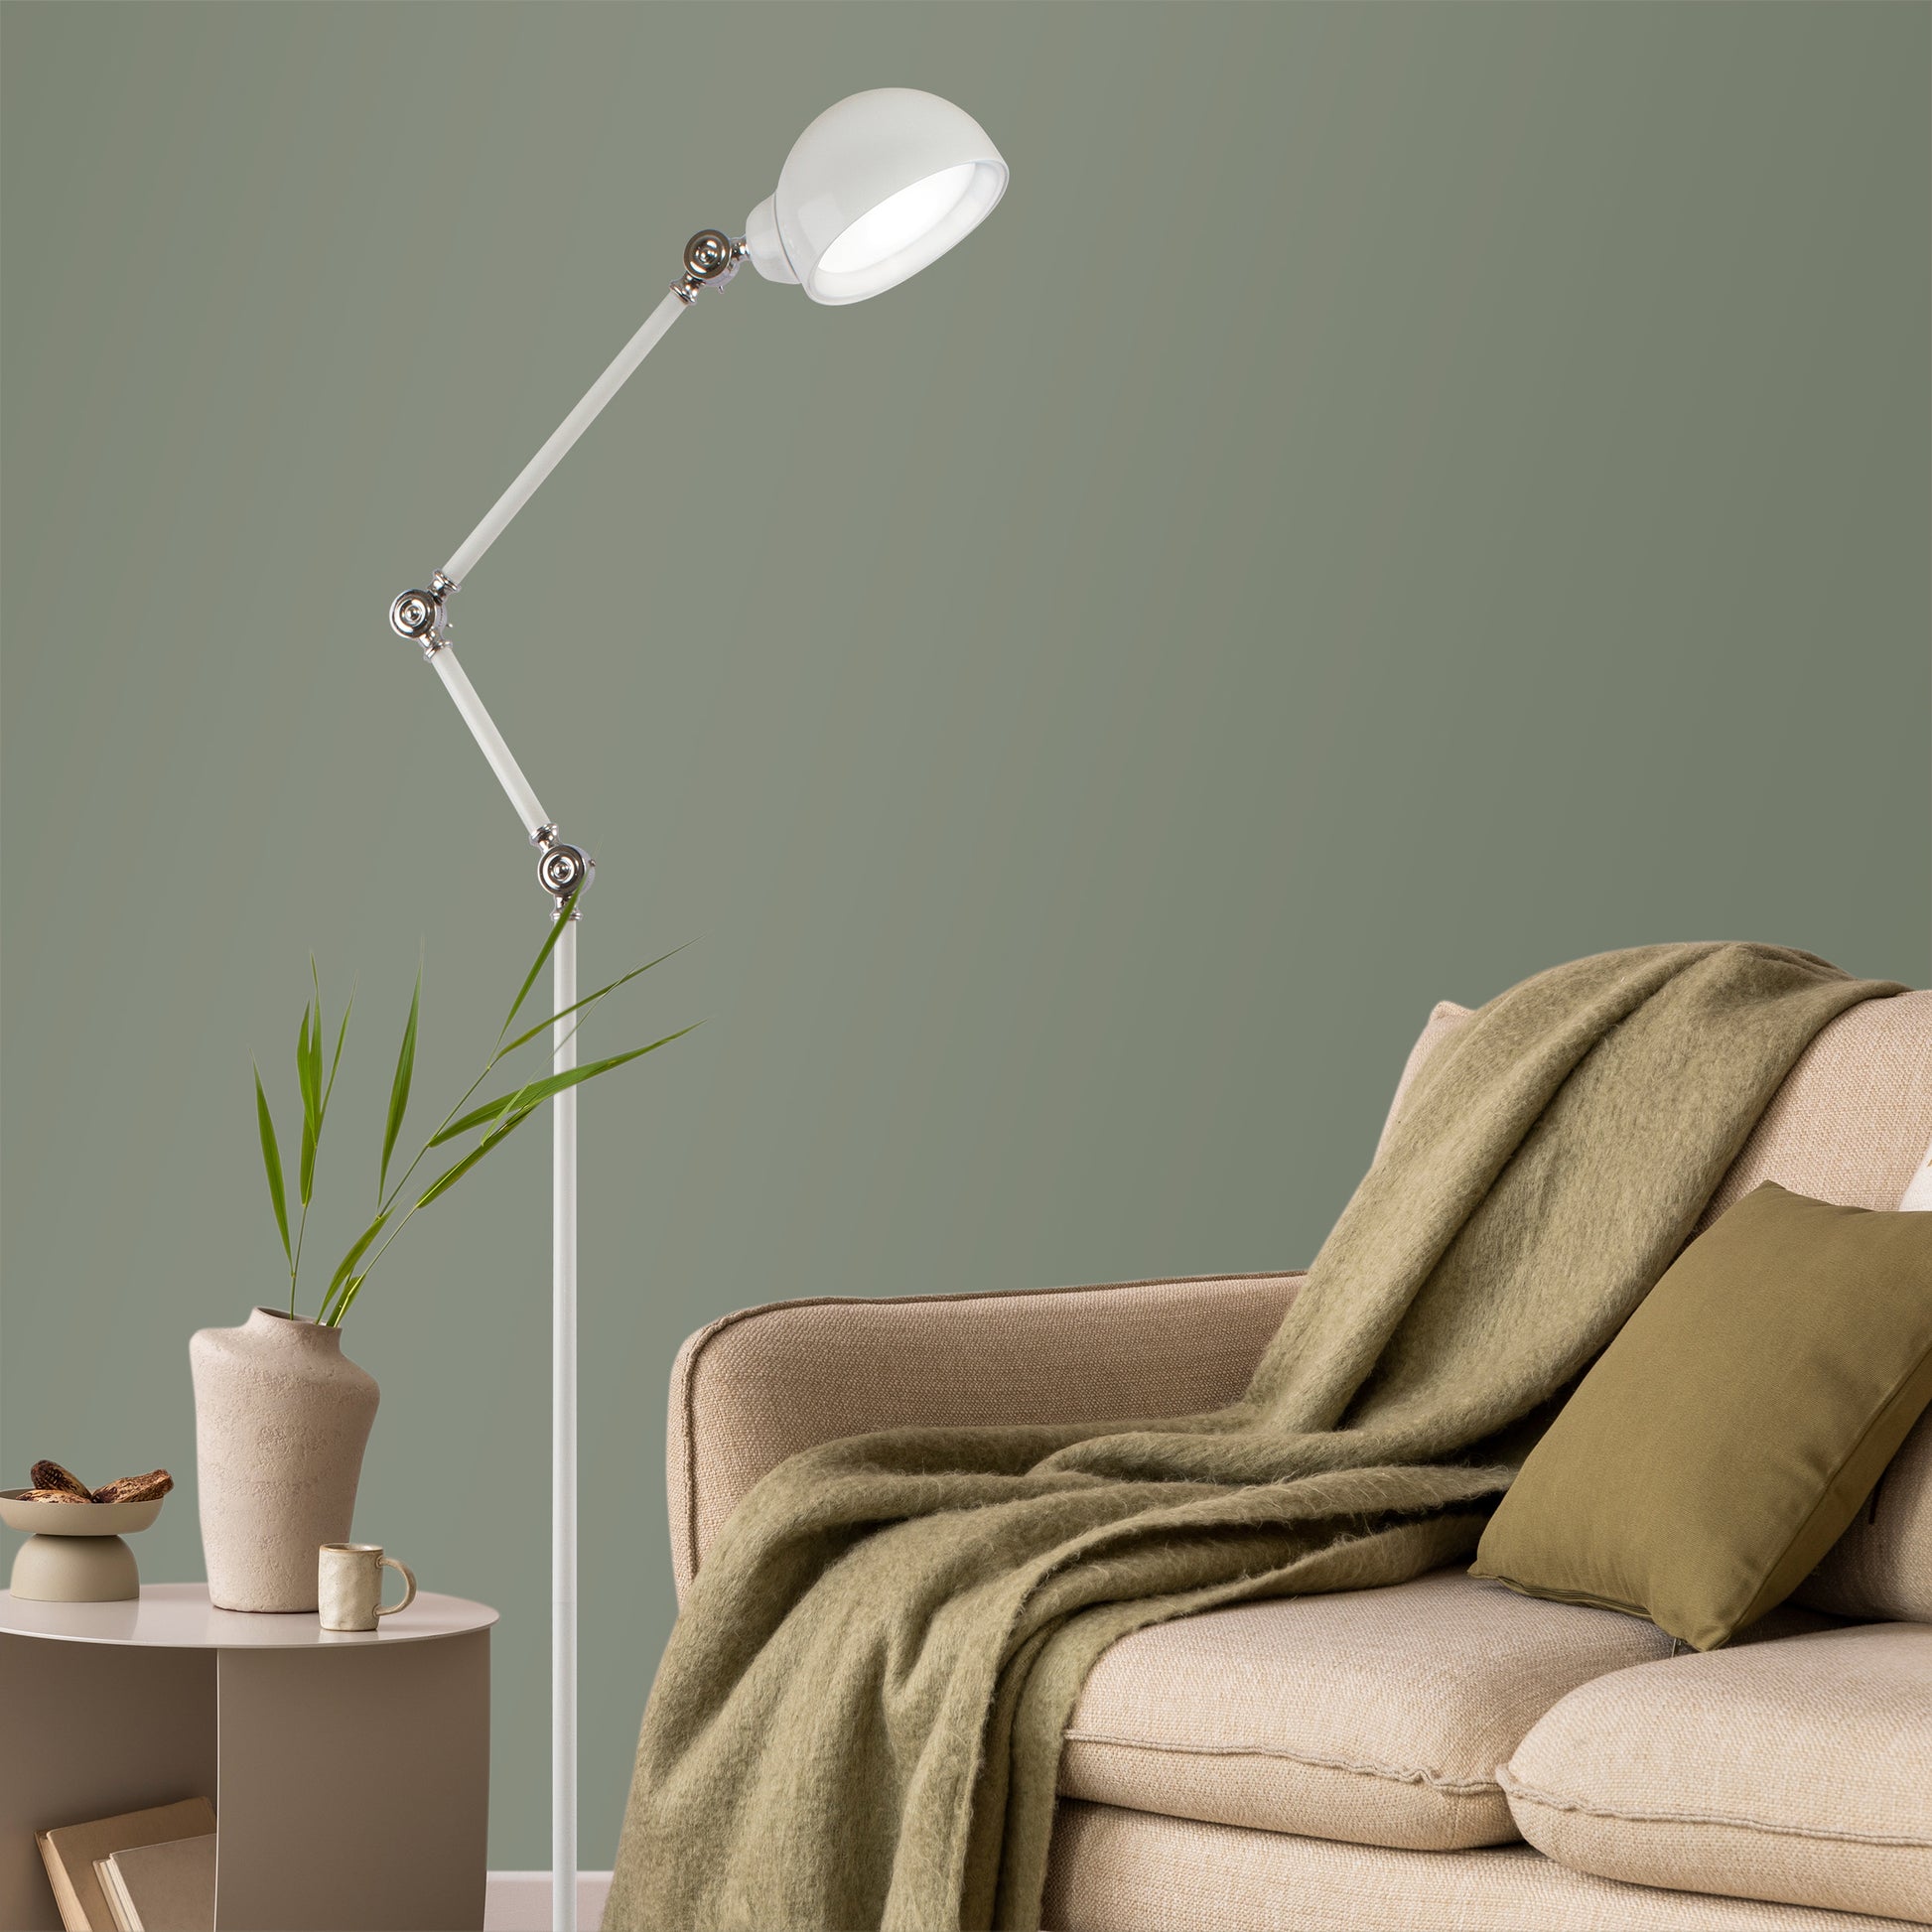
Choosing The Right Clamp
Choosing a clamp that fits your desk thickness ensures a secure hold for the Ottlite floor lamp. Pick one with adjustable grip to avoid damage and provide stability during use.
Choosing the right clamp is essential for converting your Ottlite floor lamp to a desk clamp. The clamp provides stability and ensures the lamp fits snugly on your desk. With various options available, selecting the correct clamp can seem overwhelming. Here, we delve into important aspects to consider.Clamp Types And Sizes
Clamps come in various types and sizes. Each serves different needs. Consider a C-clamp for general use. It’s adjustable and fits most desks. For a sleeker look, consider a G-clamp. It’s compact and provides strong grip. Measure the desk thickness before choosing. This ensures a perfect fit.Material Compatibility
Check the materials of the clamp and desk. Match them for the best results. Metal clamps work well with wooden desks. They provide a solid hold. For glass desks, use clamps with protective pads. This prevents scratches and damage. Ensure the clamp’s material is durable. This guarantees long-lasting use.Attaching The Clamp
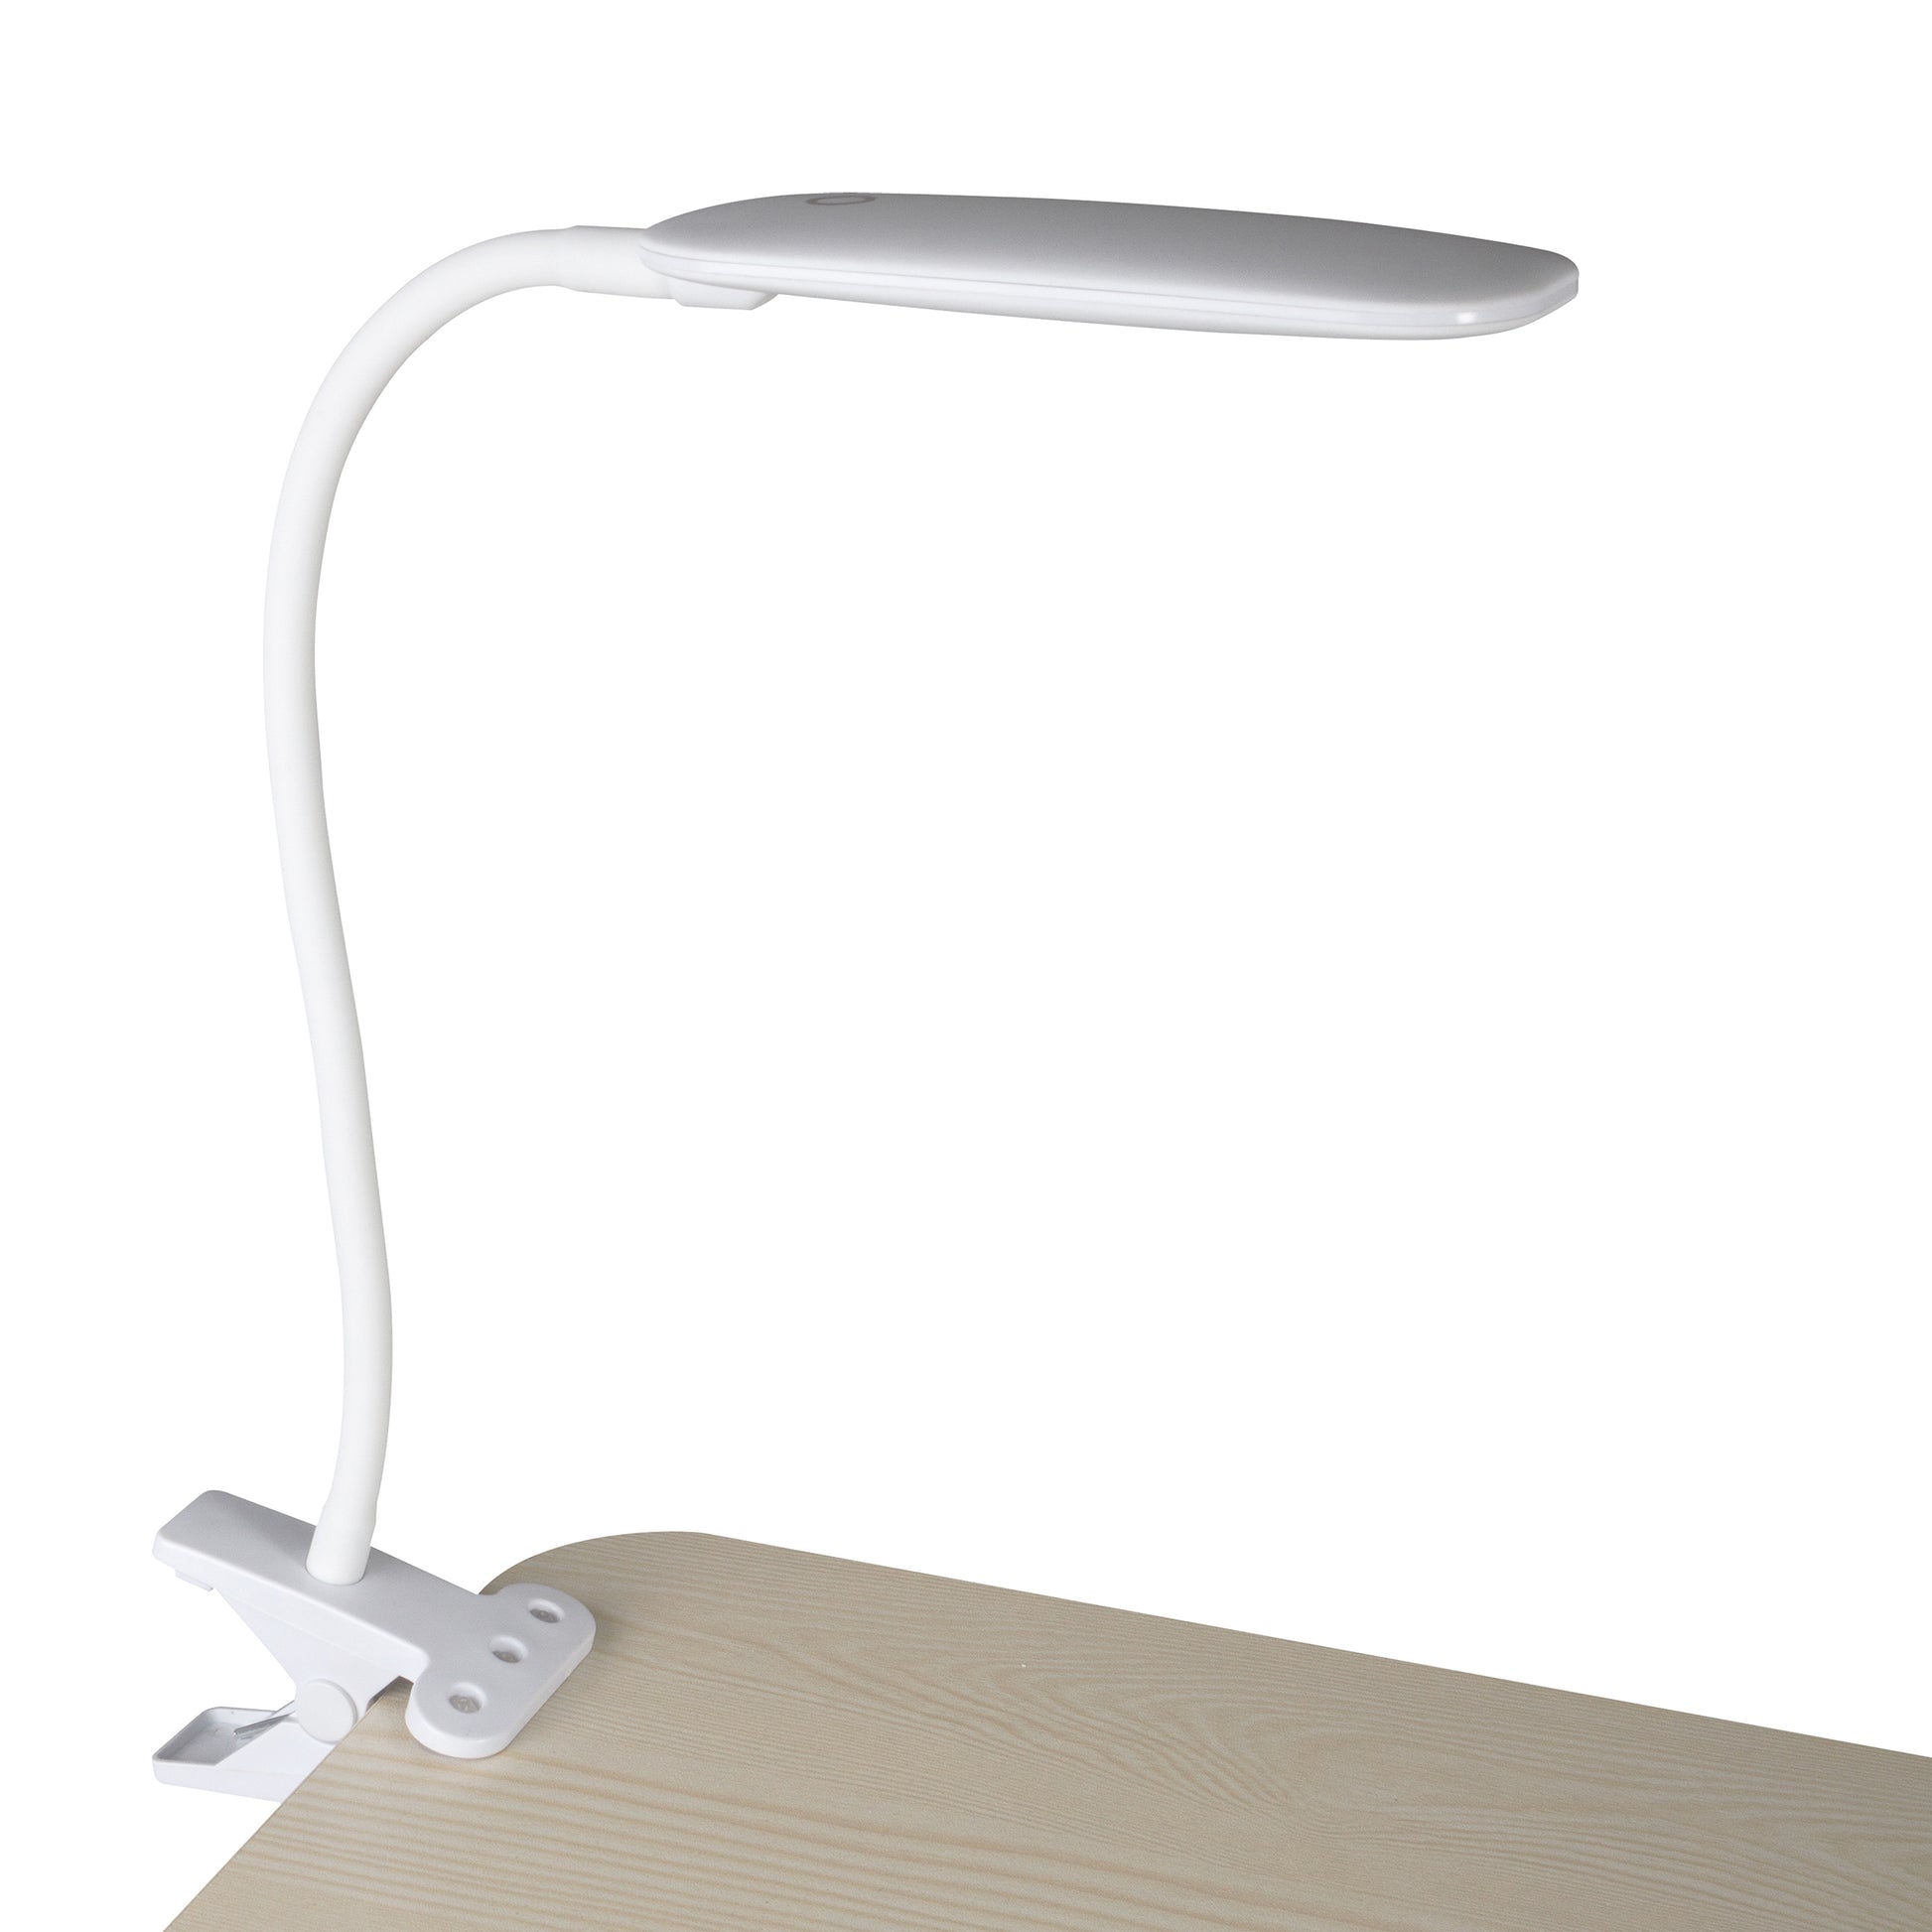
Attaching the clamp to your Ottlite floor lamp changes its function and saves desk space. This process requires careful handling to keep the lamp secure and stable. Focus on fixing the clamp tightly and checking the balance before use.
Securing The Clamp To The Lamp
First, identify the spot on the lamp pole where the clamp fits best. The clamp should sit on a smooth, flat surface for a firm grip. Open the clamp by turning the screw or lever. Position the clamp around the lamp pole and tighten it slowly. Ensure the clamp does not slip or rotate as you tighten. Use your hand to press the clamp against the pole while securing it.
Ensuring Stability
Test the clamp by gently shaking the lamp. The lamp must not wobble or move. Adjust the clamp if there is any looseness. Check that the lamp head can move freely without pulling the clamp loose. If needed, use a small piece of rubber or cloth inside the clamp for extra grip. Confirm the entire setup feels solid before placing the lamp on your desk.
Adjusting And Testing
After converting your Ottlite floor lamp to a desk clamp, the next crucial phase is adjusting and testing. This ensures the lamp functions properly and fits perfectly in its new setup. Taking time here saves frustration later and helps you get the best lighting for your workspace.
Positioning The Lamp
Start by deciding where the lamp clamp feels most stable on your desk edge. Make sure the clamp is tight but not so much that it damages your desk surface. You want the lamp to stay put without wobbling when you adjust it.
Next, adjust the lamp arm and head to direct light exactly where you need it. Try moving the lamp around while working or reading to find the most comfortable angle. Have you noticed how small changes in angle can reduce glare or shadows?
Keep in mind the lamp’s height and reach. A good test is to mimic your usual work posture and check if the light covers your whole workspace. If not, reposition the clamp or arm until the lighting feels natural and even.
Electrical Safety Check
Before plugging in your converted lamp, inspect the wiring carefully. Look for any loose connections, exposed wires, or damage caused during the conversion. Electrical safety isn’t optional—it protects you and your workspace.
Once plugged in, test the on/off switch multiple times to confirm it works smoothly. If the lamp flickers or doesn’t respond consistently, disconnect and recheck your wiring setup. Have a surge protector handy for extra safety during initial testing.
Finally, monitor the lamp for a few minutes to ensure it doesn’t overheat or emit any unusual smells. Your attention to these details now can prevent costly repairs or hazards later on. How often do you pause to check your lighting gear’s safety?
Credit: ottlite.com
Tips For Maintenance
Keeping your Ottlite floor lamp converted to a desk clamp in top shape ensures safety and extends its lifespan. Simple maintenance habits can save you from unexpected wobbling or dim lighting. Paying attention to small details makes your workspace more comfortable and productive.
Regular Tightening
Check all screws and bolts regularly to keep the clamp securely fastened. Over time, vibrations and use can loosen these parts, causing instability. If you notice any wobbling or shifting, tighten the screws immediately to maintain a firm hold.
Don’t forget to inspect the clamp’s grip on the desk. If it feels loose, adjust the clamp’s tightening mechanism to ensure it stays firmly in place without damaging your desk surface. This simple step prevents accidents and keeps your lamp steady while you work.
Cleaning Recommendations
Dust and dirt can accumulate on the lamp and clamp, affecting both appearance and function. Use a soft, dry cloth to wipe down the surfaces weekly, especially around the joints and clamp area. Avoid abrasive cleaners that can scratch or damage the finish.
For tougher grime, dampen a cloth with mild soap and water, then wipe gently. Make sure to dry the lamp thoroughly afterward to prevent any moisture from causing rust or electrical issues. Have you noticed how a clean workspace instantly improves your focus?

Credit: www.amazon.ca
Frequently Asked Questions
How Do I Convert An Ottlite Floor Lamp To A Desk Clamp?
To convert, detach the lamp pole from the base. Attach a compatible desk clamp to the pole. Secure it firmly, ensuring stability. Adjust the lamp angle for proper desk lighting. This DIY method saves space and enhances workspace lighting.
What Tools Are Needed For This Conversion?
You’ll need a screwdriver, wrench, and a desk clamp. A drill may be required for some clamps. Ensure the clamp fits your desk thickness. Having a measuring tape helps for precise installation.
Is It Safe To Use Ottlite As A Desk Lamp?
Yes, Ottlite lamps are designed for safe indoor use. Ensure the clamp is tightly secured to avoid tipping. Keep cords organized to prevent tripping hazards. Follow manufacturer guidelines for electrical safety.
Can I Adjust The Ottlite Lamp After Clamping?
Absolutely, most Ottlite lamps have adjustable arms and heads. You can swivel and tilt the lamp for optimal lighting. This flexibility makes it ideal for detailed tasks and reading.
Conclusion
Converting an Ottlite floor lamp to a desk clamp saves space and adds flexibility. The process is simple and requires basic tools anyone can use. Clamp lamps give better light direction for reading or work. This change makes your desk area neat and organized.
Try this easy project to improve your workspace comfort today.


