
Is your pendulum wall clock not keeping time like it used to? You’re not alone.
These beautiful timepieces can be tricky, but fixing them doesn’t have to be hard. Imagine bringing your clock back to life with a few simple steps—restoring its charm and the steady tick that fills your room. In this guide, you’ll discover easy, practical tips to get your pendulum clock working perfectly again.
Ready to bring your clock back to its full glory? Let’s dive in and fix it together.
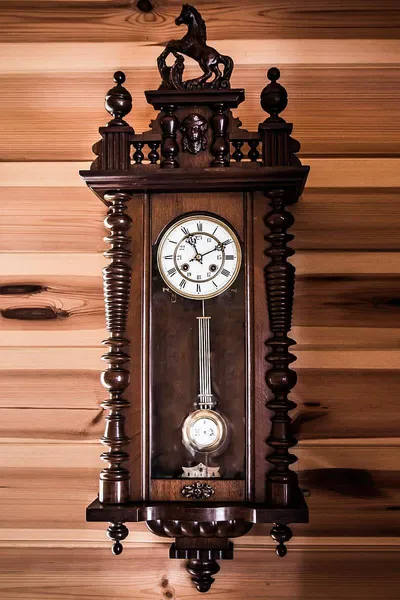
Credit: moverscrosscanada.ca
Common Pendulum Clock Issues
Pendulum wall clocks can face several common issues that affect their performance. Knowing these problems helps you fix your clock quickly and keep it running smoothly. Below are some frequent issues that pendulum clocks encounter and how to spot them.
Pendulum Stops Swinging
The pendulum may stop because the clock is not level or the suspension spring is damaged. Dust or dirt in the movement can also block the pendulum’s motion. Make sure the clock is hanging straight on the wall. Check the pendulum’s suspension spring for cracks or bends. Cleaning the clock’s internal parts can help restore smooth swinging.
Clock Runs Fast Or Slow
The speed of the clock depends on the pendulum length. A shorter pendulum makes the clock run fast, while a longer one makes it slow. Adjust the pendulum bob by moving it up to speed up time or down to slow it. Temperature changes can affect the pendulum’s length too. Regular adjustments keep the clock accurate.
Chimes Out Of Sync
Chimes may strike at the wrong time if the clock’s hands are not set properly. The hour and minute hands might also touch, causing them to stick. To fix this, gently move the minute hand forward to the next hour and let the clock chime fully. If needed, adjust the hour hand to match the chimes. Ensure the hands do not rub against each other or the clock face.
Tools Needed For Repairs
Before you start fixing your pendulum wall clock, having the right tools at hand makes the process smoother and less frustrating. The tools you choose should help you handle delicate parts without causing damage. Let’s look at the essentials that will keep your repair work precise and efficient.
Basic Repair Kit
Your basic repair kit should include items designed for small, delicate mechanical tasks. Precision screwdrivers are a must—they let you loosen and tighten tiny screws without stripping them. Tweezers help you pick up and place small parts like screws and pins with ease.
Additionally, a small hammer and a soft cloth mallet can be useful for gentle tapping without damaging components. Don’t forget a magnifying glass or jeweler’s loupe to inspect fine details closely. Have a set of small pliers ready; they are perfect for bending or holding parts steady.
Cleaning Supplies
Cleaning your pendulum clock is just as important as repairing it. Use soft, lint-free cloths to wipe dust and dirt without scratching delicate surfaces. Cotton swabs work well for reaching tight spots.
A small bottle of clock oil or synthetic lubricant is essential to keep the gears running smoothly after cleaning. Avoid household oils; they can gum up the mechanism. Isopropyl alcohol or a mild cleaning solution helps remove old grease and grime effectively.
Have you ever struggled with sticky gears after a careless cleaning? Using the right cleaning supplies prevents that problem and extends your clock’s life. Keeping these tools organized and ready saves you time and frustration in every repair session.
Preparing The Clock For Repair
Preparing the Clock for Repair Ensure the pendulum wall clock is securely mounted and at eye level for easy access. Carefully remove the pendulum and weights to prevent damage during the repair process.
Preparing a pendulum wall clock for repair involves careful steps. These steps ensure safety and efficiency during the process. First, gather necessary tools and clear your workspace. A clean and organized area prevents mishaps and makes the task smoother.Removing The Clock From The Wall
Safely taking the clock down is crucial. First, ensure the clock is not running. Stop the pendulum gently. This prevents damage to the mechanism. Next, find the screws or hooks securing the clock. Use a sturdy ladder to reach the clock. Carefully unscrew or unhook the clock. Hold it firmly with both hands. This prevents accidental falls or damage. Place the clock on a soft, flat surface.Accessing The Movement Mechanism
To access the movement mechanism, open the clock’s back panel. Most clocks have a removable back cover. Check for clips or screws holding it in place. Use a screwdriver to remove these screws. Gently lift the panel to reveal the mechanism. Handle the internal parts with care. Avoid touching delicate components directly. Use gloves if necessary. Now, the clock is ready for inspection and repair.Fixing The Pendulum
The pendulum is the heart of your wall clock, keeping time steady and reliable. Fixing it requires a careful eye and a gentle touch. Small adjustments here can bring your clock back to life and keep it ticking perfectly.
Checking The Suspension Spring
The suspension spring holds the pendulum in place and allows it to swing freely. Inspect it for any bends, cracks, or breaks—these tiny faults can stop your pendulum from moving smoothly. If the spring looks damaged, replacing it is often the best solution to restore proper motion.
While checking, gently nudge the pendulum to see if the spring holds steady. Does the pendulum stop abruptly or swing unevenly? These signs point to suspension spring issues that need your attention.
Adjusting The Pendulum Length
The length of the pendulum controls the speed of the clock. A longer pendulum slows down the clock, while a shorter one speeds it up. Try adjusting the pendulum bob up or down to fine-tune the timing.
Make small changes—just a few millimeters at a time—and observe the clock’s performance over several hours. Have you noticed your clock running fast or slow lately? This simple adjustment might be the fix you need.
Securing The Pendulum Bob
The pendulum bob is the weight at the bottom, and it must be firmly attached to avoid wobbling. Check if it’s loose or rattling during swings, as this can cause irregular ticking. Tighten the nut or screw holding the bob to keep it stable.
Sometimes, dust or dirt can build up around the bob’s attachment, affecting its movement. Cleaning this area carefully can improve stability and help your clock keep better time. Have you checked this small detail before?
Adjusting The Timing
Adjusting the timing of your pendulum wall clock is key to keeping accurate time. Small changes to the pendulum’s length can speed up or slow down the clock. Careful adjustments help the clock run smoothly and precisely.
Speeding Up The Clock
To make the clock run faster, shorten the pendulum. Locate the small nut or screw at the bottom of the pendulum bob. Turn this nut clockwise to raise the bob.
- Raise the bob in small steps, about 1-2 millimeters at a time.
- After each adjustment, let the clock run for a day to check accuracy.
- Repeat until the clock keeps time correctly.
Slowing Down The Clock
To slow the clock, lengthen the pendulum by lowering the bob. Turn the nut counterclockwise to move the bob down.
- Lower the bob gradually, about 1-2 millimeters each time.
- Test the clock’s time after each change over 24 hours.
- Continue adjusting until the clock stays accurate.
Cleaning And Lubricating
Cleaning and lubricating your pendulum wall clock is essential for keeping it running smoothly and accurately. Dirt and old oil can cause the gears to stick or wear down faster. Taking the time to clean and oil the movement carefully can save you from costly repairs and extend your clock’s life.
Cleaning The Movement
Start by removing the clock movement from the case. Use a soft brush or a blower to remove dust and dirt gently. Avoid using water or harsh chemicals as they can damage delicate parts.
If grime is stubborn, dip a cotton swab in a clock cleaning solution and carefully clean the gears. Be patient and work slowly to avoid bending or breaking tiny components. Remember, even a small speck of dust can affect the clock’s performance.
Applying Lubricant Properly
Choose a high-quality clock oil designed specifically for fine movements. Avoid using household oils like WD-40 or sewing machine oil—they can gum up the works.
Apply lubricant sparingly to the pivot points and gear teeth. Use an oiler or a fine needle to control the amount. Too much oil attracts dust and causes build-up, which slows the clock down.
After oiling, let the movement sit for a few minutes to allow the oil to spread evenly. Check if the gears move freely without resistance. How often do you think your clock needs this attention to keep ticking perfectly?
Aligning The Chimes
Aligning the chimes on your pendulum wall clock is key to restoring its perfect rhythm. If the chimes sound off or strike at the wrong time, the entire charm of the clock fades. You can bring back harmony by carefully resetting the chime sequence and synchronizing the hour and quarter chimes to work together flawlessly.
Resetting The Chime Sequence
Start by stopping the pendulum gently to avoid damage. Then, move the minute hand slowly to the hour and listen closely to the chimes. If the chimes don’t match the hour displayed, you need to reset the sequence.
To reset, advance the minute hand to the next quarter hour and wait for the chime to finish. Repeat this process until the chimes align with the displayed time. This patient approach prevents misalignment and keeps the mechanism safe.
Synchronizing Hour And Quarter Chimes
Once the chime sequence sounds right, check if the hour chime matches the actual hour. Sometimes the quarter chimes play correctly, but the hour strike is off by one or more counts.
If this happens, stop the pendulum and move the hour hand manually to match the number of hour strikes. Then restart the pendulum and observe if the chimes and hour hand stay in sync. This step ensures your clock’s melody matches the time it shows perfectly.
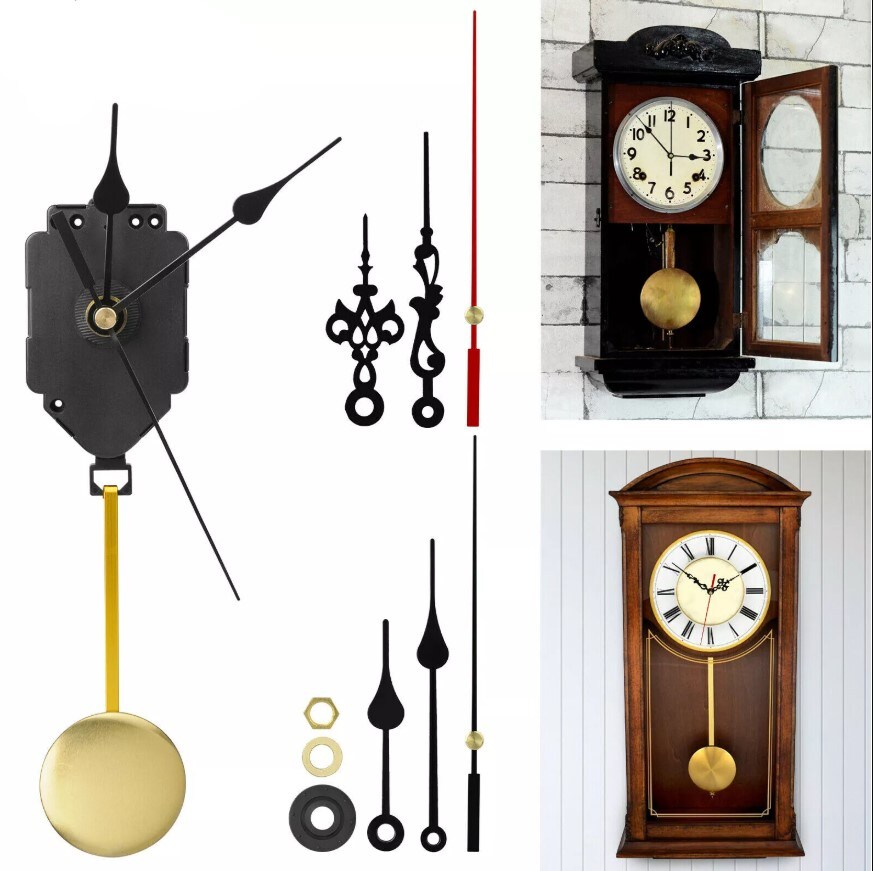
Credit: tictocclockrepairs.co.uk
Testing And Fine-tuning
Testing and fine-tuning a pendulum wall clock is key to its accurate timekeeping. This stage ensures the clock runs smoothly and keeps time correctly. Careful observation and small adjustments help achieve the best performance.
Monitoring Clock Performance
Observe the clock over several hours or a full day. Check if the pendulum swings evenly and without interruption. Listen for a steady tick-tock sound. Uneven ticking can mean the clock is out of balance.
Watch the clock hands closely. Compare the time with a reliable source every few hours. Note any time gains or losses. This tracking reveals how well the clock keeps time.
Making Final Adjustments
Use the pendulum’s regulating nut to adjust speed. Lower the pendulum bob to slow the clock. Raise it slightly to speed up the clock. Make changes in small increments.
After each adjustment, monitor the clock’s time for several hours. Repeat this process until the clock runs accurately. Avoid rushing; precision takes patience.
Ensure the clock is level on the wall. A tilted clock can affect pendulum motion. Use a spirit level to confirm proper alignment.
Preventive Maintenance Tips
Preventive maintenance keeps your pendulum wall clock running smoothly. Small care steps stop bigger problems later. Routine attention helps maintain accuracy and extends clock life.
Regular Cleaning Schedule
Dust and dirt affect clock parts and movement. Clean the clock’s exterior gently with a soft cloth every few weeks.
Use a small brush or compressed air to clear dust from the pendulum and inside areas. Avoid harsh chemicals that damage finishes or mechanisms.
Set a reminder to inspect and clean your clock regularly. This prevents buildup that can slow or stop the pendulum’s swing.
Proper Clock Placement
Place the clock on a stable, level wall. Avoid spots with direct sunlight, which can fade and dry out wood.
Keep the clock away from heaters, vents, or damp areas. Temperature changes and moisture harm the clock’s materials.
Choose a location with minimal vibration or movement. This helps the pendulum swing evenly and keeps time accurately.

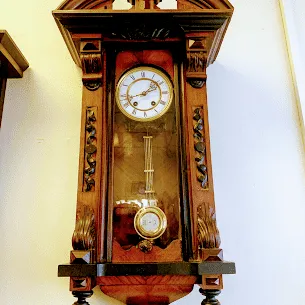
Credit: www.youtube.com
Frequently Asked Questions
How Do I Fix A Stopped Pendulum Wall Clock?
First, check the clock’s power source and batteries. Ensure the pendulum is properly hung and swinging freely. Clean and oil the clock’s movement if needed. Adjust the clock’s level on the wall for accurate operation.
Why Is My Pendulum Clock Not Keeping Time?
Your clock might be out of beat or level. Check if the pendulum swings evenly. Adjust the pendulum length to speed up or slow down time. Clean and lubricate the mechanism to prevent friction.
How Do I Adjust The Pendulum Speed On My Clock?
Move the pendulum bob up to speed up the clock. Lower the bob to slow it down. Make small adjustments and monitor time accuracy over several hours.
What Causes A Pendulum Clock To Stop Swinging?
Common causes include dirt buildup, worn parts, or misalignment. Check for obstructions and clean the mechanism. Ensure the clock is level and the pendulum is hung correctly.
Conclusion
Fixing a pendulum wall clock can be simple and rewarding. Start by checking the basics like the pendulum’s swing and battery. Small adjustments often bring the clock back to life. Take your time and be patient with each step. Enjoy the steady tick-tock sound once it works again.
Your clock will keep time accurately after these fixes. Keep it clean and well-maintained to avoid future problems. Now, you can confidently repair your pendulum clock at home. Simple care makes a big difference in clock performance.


