
Have you ever wanted to turn your favorite photo into a beautiful canvas print? Imagine seeing your cherished memories or stunning images come to life, ready to hang on your wall and catch everyone’s eye.
Getting a picture onto canvas isn’t as complicated as it sounds, and you don’t need to be an artist or tech expert to do it. You’ll discover simple, effective ways to transform your photos into lasting pieces of art. Keep reading, and by the end, you’ll know exactly how to create a canvas print that adds a personal touch to your space.
Credit: gluesticksblog.com
Choosing The Right Image
Choosing a clear, high-quality image ensures the best result on canvas. Simple designs with good contrast transfer well and look sharp. Select pictures that match the canvas size to avoid distortion.
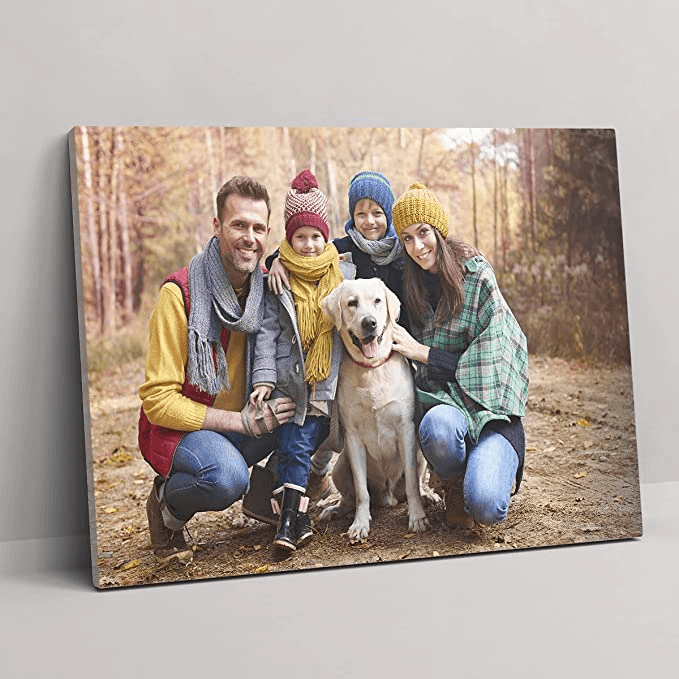
Choosing the Right Image Transforming a picture into a canvas masterpiece is a delightful journey. But how do you choose the right image? This decision is crucial as it dictates the final look of your canvas. Whether you’re immortalizing a family memory or showcasing your artistic prowess, selecting the perfect photo ensures that your canvas becomes a cherished part of your space.Selecting High-quality Photos
When you’re aiming for a canvas print, quality is king. High-quality photos have clarity and detail that stand out. Ensure your image is sharp and clear, without any blurriness or pixelation. Think about what draws your eye when you look at a picture. Is it the vibrant colors or the sharp details? These elements should be present in your chosen photo to ensure a stunning canvas.Considering Image Resolution
Resolution matters more than you might think. A low-resolution image can result in a blurry and disappointing canvas. Always check the resolution of your photo before proceeding. Most canvas printers recommend a resolution of at least 300 DPI (dots per inch) for the best results. This ensures that every detail is captured, making your canvas a true work of art.Picking The Perfect Subject
What story do you want your canvas to tell? Your subject should resonate with you and your audience. Whether it’s a candid family moment or a breathtaking landscape, the subject should evoke emotion and interest. Think about the space where the canvas will hang. Does the subject complement the room’s aesthetics? Picking the right subject can enhance the room’s ambiance and make the canvas a focal point. Choosing the right image is more than just picking a pretty picture. It’s about selecting a photo that will stand the test of time and bring joy every time it’s viewed. How will you choose your next canvas masterpiece?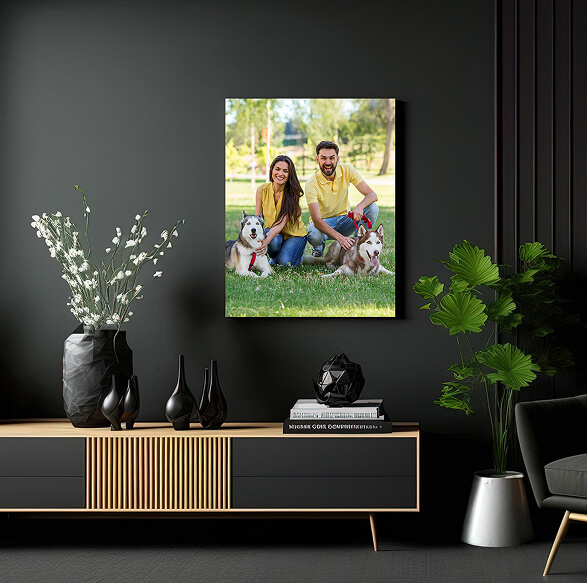
Credit: www.canvaschamp.com
Preparing Your Canvas
Preparing your canvas is a crucial step in turning your picture into a stunning work of art. It sets the foundation for how your image will appear and how long it will last. Taking the time to choose the right canvas and prepare its surface can make a huge difference in the final result.
Choosing Canvas Size And Type
Think about where you want to display your canvas. A larger canvas can make a bold statement, while a smaller size might suit cozy spaces better.
The type of canvas also matters. Cotton canvas is affordable and easy to work with, but linen offers a finer texture and greater durability. If you’re aiming for a smooth surface, look for a canvas with a tight weave.
Have you considered how the weight of the canvas affects handling? Heavier canvases provide more stability, especially if you plan to paint multiple layers or use heavy mediums.
Priming The Canvas Surface
Priming your canvas prepares it to hold paint and prevents the fibers from absorbing too much moisture. This step helps your picture stay vibrant over time.
You can use gesso, a common primer that creates a smooth, white surface. Apply it evenly with a brush or roller, letting each coat dry before adding the next. Two or three coats usually do the trick.
If you want a different texture, experiment with sanding the dried primer between coats. It’s a small detail that can change how your paint behaves and how your picture looks.
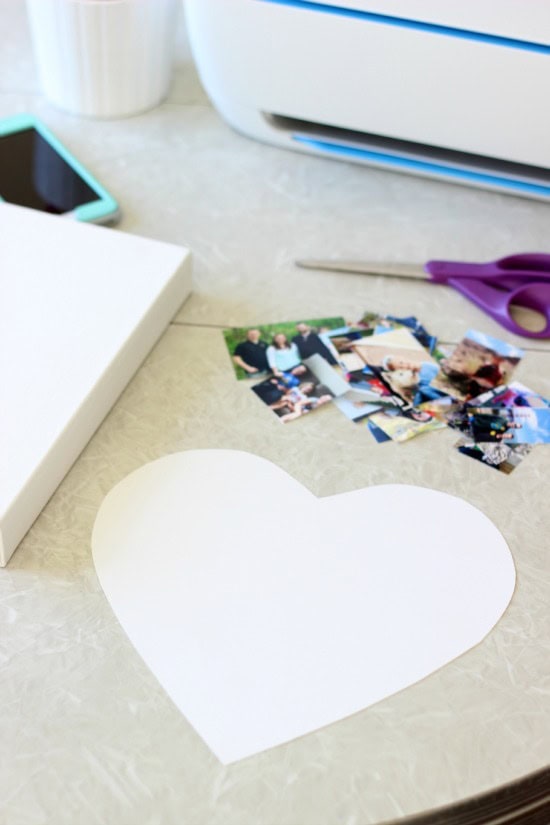
Methods To Transfer Images
Transferring an image onto canvas can bring your art ideas to life. Various techniques suit different skill levels and tools. Choose a method that fits your style and resources.
Using Transfer Paper
Transfer paper works by copying the image onto canvas. Place the paper between your image and canvas. Trace the picture lines with a pencil or pen. The design appears on the canvas ready to paint. This method is simple and precise. It helps keep details clear.
Projector Techniques
A projector displays the image directly on the canvas. Adjust the size to match your canvas dimensions. Trace the projected image with a pencil. This technique saves time and effort. It works well for large or complex designs. A dark room improves visibility.
Grid Drawing Method
The grid method breaks the image into squares. Draw a grid over the picture and canvas. Copy each square one by one. This helps keep proportions accurate. It requires patience but improves drawing skills. Perfect for beginners who want control.
Direct Printing On Canvas
Direct printing uses special printers for canvas material. Upload your image to the printer software. The printer applies ink directly on the canvas. This gives a professional and clean look. It suits digital art or photos. Printing shops often offer this service.
Painting And Finishing Touches
Painting and finishing touches bring your picture to life on canvas. This stage transforms a simple outline into a vibrant artwork. Careful choices in materials and techniques create depth and character. Each brushstroke adds emotion and detail to your work.
Selecting Paints And Brushes
Choose paints based on your desired effect. Acrylics dry fast and are easy to use. Oils offer rich colors but take longer to dry. Select brushes by size and shape. Flat brushes cover large areas smoothly. Round brushes help with fine lines and details. Use soft brushes for blending and stiff ones for texture.
Layering And Blending Colors
Start with thin layers of paint. Build up colors gradually for depth. Blend colors softly to avoid harsh edges. Use a dry brush or sponge for smooth transitions. Let each layer dry before adding the next. This process makes your painting look natural and lively.
Adding Details And Texture
Focus on small details to enhance your image. Use fine brushes for delicate lines and highlights. Create texture by applying thick paint or using palette knives. Experiment with dots, dashes, or strokes for different effects. Texture adds interest and a tactile feel to your canvas.
Sealing And Protecting Your Art
Sealing and protecting your art is essential after transferring a picture onto canvas. It preserves the colors and keeps the image safe from dust, moisture, and sunlight. Proper sealing extends the life of your artwork and keeps it looking fresh over time.
Choosing The Right Varnish
Select a varnish that suits your canvas type and the paint used. Glossy varnish adds shine, while matte varnish gives a smooth, non-reflective finish. Satin varnish balances between shiny and matte. Choose archival-quality varnish for long-lasting protection.
Proper Application Techniques
- Apply varnish in a clean, dust-free area.
- Use a wide, soft brush or spray for an even coat.
- Let the first layer dry completely before applying another.
- Apply thin coats to avoid drips or uneven texture.
- Work in one direction to reduce brush marks.
Maintaining Canvas Longevity
Keep your canvas away from direct sunlight to prevent fading. Avoid placing it in humid areas to stop mold growth. Clean the surface gently with a soft, dry cloth. Store or display your canvas in a stable environment for lasting beauty.
Displaying Your Canvas Art
Displaying your canvas art is just as important as creating it. How you choose to present your artwork can change the entire feel of a room and highlight the details you want others to notice. Think about the space you have and how the art interacts with the surroundings to make the best impression.
Framing Options
Frames can protect your canvas and give it a polished look. You can go with a classic wooden frame for warmth or a sleek metal one for a modern vibe. Some canvases look great without frames, especially if they have painted edges or a gallery wrap.
Consider using floating frames that create a gap between the canvas and the frame. This adds depth and draws attention to the artwork itself. If you want a minimalist look, try simple black or white frames that don’t distract from your image.
Hanging Tips
Choosing the right spot for your canvas is key. Eye level is generally the best height, but think about where people will be standing or sitting. You want the art to catch attention without forcing viewers to strain their necks.
Use sturdy hooks or picture hangers that can support the weight of the canvas. If your piece is large, consider using two hooks for better stability. Don’t forget to measure and mark the wall carefully before hanging to avoid crooked displays.
Lighting For Impact
Lighting can completely change how your canvas looks. Natural light brings out true colors but can fade the artwork over time if too strong. Position your canvas where it gets indirect sunlight or use UV-protective glass if framing.
Artificial lighting like track lights or picture lights lets you highlight your art anytime. Aim the light at a 30-degree angle to avoid glare and shadows. Experiment with warmer bulbs to create a cozy atmosphere or cooler bulbs to emphasize details.
What’s the story you want your canvas to tell? How you frame, hang, and light your art helps shape that story and invites others to experience it with you.

Credit: marquindesigns.com
Frequently Asked Questions
How Do I Transfer A Photo Onto Canvas Easily?
You can transfer a photo using gel medium or transfer paper. Print the image on regular paper, apply gel medium on canvas, place the photo face down, let it dry, then peel the paper gently. This method preserves image quality and is simple for beginners.
What Materials Are Needed To Put Pictures On Canvas?
Essential materials include canvas, printed photo, gel medium or transfer paper, a brush, and a scraper. Optional items are acrylic paint and a sealing spray. These tools help securely transfer and protect your image on canvas for lasting results.
Can I Use A Printer To Put Images On Canvas?
Yes, use an inkjet printer with transfer paper designed for canvas. Print your image in reverse on the transfer paper, then iron or press it onto the canvas. This method ensures clear images and is widely accessible for DIY projects.
How Do I Preserve A Picture On Canvas After Transfer?
After transfer, seal the canvas with a clear acrylic spray or varnish. This protects the image from fading, moisture, and damage. Apply thin, even coats and let each layer dry completely for best durability and a professional finish.
Conclusion
Getting your picture onto canvas brings your memories to life. Choose the right method that fits your needs and budget. Print shops and online services offer easy, fast options. For DIY lovers, transferring photos at home is fun and rewarding.
Canvas prints add a special touch to any room. Take time to select the best photo and size. Your wall will thank you for this personal art. Enjoy the process and the beautiful results you create.


