
Are you ready to add more space and style to your room? Hanging a shelf on your wall is one of the easiest and most effective ways to do just that.
But if you’ve never done it before, the idea might seem tricky or even overwhelming. Don’t worry—you’re in the right place. This guide will walk you through every step, making sure your shelf is strong, level, and looks great. Keep reading, and you’ll soon have a perfect spot to display your favorite items or keep things organized.
Let’s get started!

Credit: www.youtube.com
Choose The Right Shelf
Choosing the right shelf is key to creating a strong and stylish display. The shelf should match the room’s style and hold the items you plan to place on it. Picking the right materials and design ensures your shelf looks great and lasts long.
Materials And Styles
Shelves come in many materials like wood, metal, and glass. Wood shelves bring warmth and fit well in most rooms. Metal shelves offer a modern look and are very sturdy. Glass shelves look sleek but need careful handling.
Styles range from simple floating shelves to decorative brackets. Floating shelves hide the supports for a clean look. Bracket shelves add character and can hold heavier items. Choose a style that fits your room’s vibe and your needs.
Weight Capacity Considerations
Think about what you will put on the shelf. Heavy books need strong shelves with solid support. Light decorations work fine on slim, delicate shelves. Check the shelf’s weight limit before buying or installing.
Look for shelves with clear weight ratings. Use anchors and brackets that match the shelf’s capacity. This prevents damage to your wall and keeps your items safe. Always choose a shelf that can hold more than your heaviest item.
Gather Essential Tools
Before you start hanging a shelf on your wall, gathering the right tools is crucial. Having everything ready not only saves time but also ensures your shelf is secure and level. Let’s look at the essential measuring and drilling equipment you will need to make the job smooth and precise.
Measuring And Marking Tools
Accurate measurements are the backbone of a well-installed shelf. You’ll want a reliable tape measure to check distances and mark where the brackets will go. A pencil is perfect for marking spots because it’s easy to erase if you need to adjust.
Consider using a level to keep your shelf straight. Nothing looks worse than a crooked shelf, and a level guarantees your shelf sits perfectly horizontal. If you want extra precision, a stud finder helps locate the wall studs for stronger support.
Drilling And Mounting Equipment
Drilling holes in your wall requires a good drill and the right drill bits. Make sure your drill is charged or plugged in for continuous power. Choose drill bits that match the size of your wall anchors or screws to avoid loose fittings.
Wall anchors and screws are essential for holding the shelf up, especially if you’re not drilling directly into studs. Pick anchors suitable for your wall type—drywall, plaster, or concrete all need different kinds. Having a screwdriver or a drill with a screwdriver bit will make tightening screws faster and easier.
Select The Perfect Location
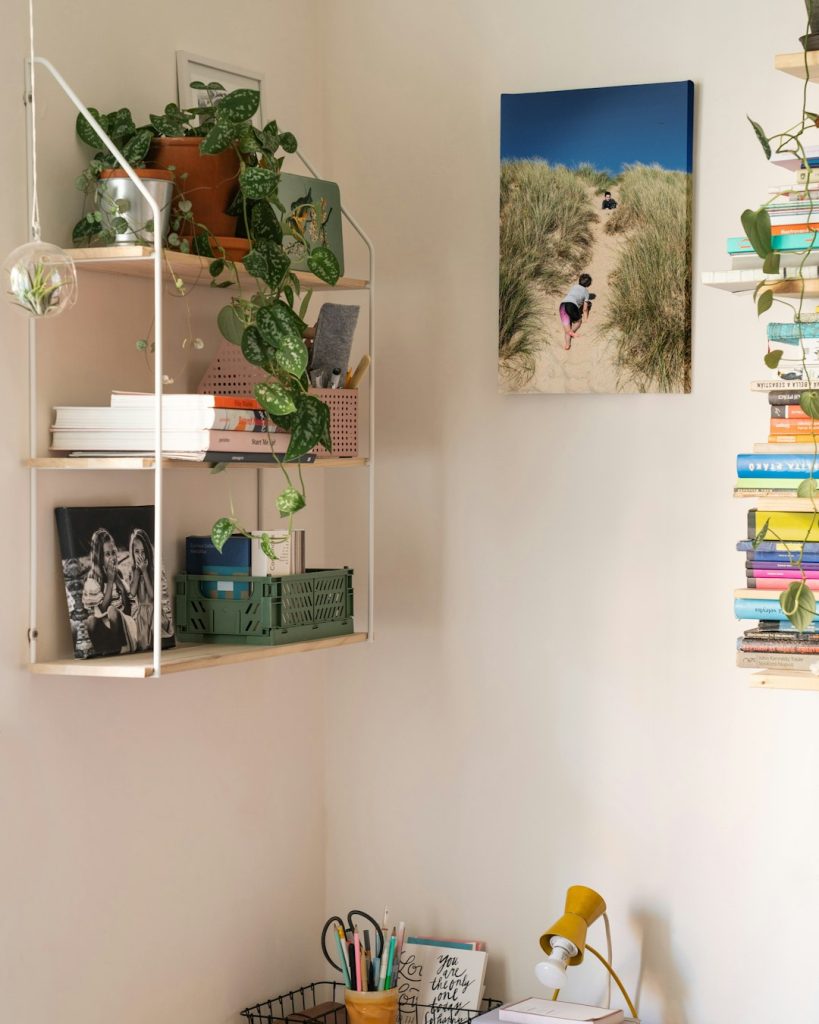
Choose a spot on the wall that suits your shelf’s purpose. Ensure it’s at eye level for easy access. Avoid placing it above furniture where it may be hard to reach.
Selecting the perfect location for your shelf is crucial. It ensures safety and enhances room aesthetics. A well-placed shelf can transform your space, offering functionality and style. Consider the room’s purpose and traffic flow. This helps in deciding where the shelf will be most useful.Wall Types And Suitability
Different wall types require specific considerations. Drywall is common but needs anchors for support. Brick walls offer a sturdy base but need masonry tools. Concrete walls also provide strength but are challenging to drill into. Wood walls are ideal for shelves, providing natural support. Always choose a wall that matches the weight and purpose of your shelf.Studs And Anchors Placement
Studs provide the best support for heavy shelves. Use a stud finder to locate them. Mark the spots to ensure precision. Anchors are essential for walls without studs. They distribute weight, preventing damage. Choose the right type for your wall material. Proper placement ensures stability and safety for your shelf and belongings.Mark The Mounting Points
Marking the mounting points is a crucial step in hanging a shelf securely and evenly. If these points aren’t accurate, your shelf could end up crooked or unstable. Taking the time to mark precisely helps avoid unnecessary rework and keeps your shelf strong enough to hold your items.
Leveling Techniques
Start by using a level to ensure your shelf will be perfectly horizontal. Hold the level against the wall where you want the shelf and adjust until the bubble is centered.
Mark a small line at the desired height on both ends of the shelf. These marks act as your baseline for mounting points.
Double-check your marks by measuring the distance from the floor or ceiling to each point. This helps catch any slight misalignment before drilling.
Spacing For Supports
Think about how much weight your shelf will hold when deciding where to place supports. Too few supports might cause sagging over time.
For most shelves, place supports around 16 to 24 inches apart. This spacing balances strength without overcrowding the wall.
- Measure the length of your shelf.
- Divide the length by the number of supports you plan to use.
- Mark the wall at these intervals along your baseline.
Have you considered the weight of your heaviest items? Adjust your support points accordingly to avoid surprises later.
Drill And Install Anchors
Drilling and installing anchors is a crucial part of securely hanging a shelf on your wall. It ensures the shelf can hold weight without damaging your wall or falling off. Taking your time during this step will save you from future repairs and frustration.
Choosing Anchor Types
Not all anchors work the same way or fit every wall. Drywall anchors are great for light to medium loads, while toggle bolts handle heavier shelves better. If you’re mounting on a stud, you might only need screws without anchors at all.
Think about what you plan to put on the shelf and how much weight it will hold. For heavy items like books or kitchenware, stronger anchors like molly bolts or toggle anchors are your best bet. If you’re unsure, testing the anchor strength in a small area first can save you trouble later.
Safe Drilling Practices
Drilling into your wall might seem straightforward, but safety is key. Always wear safety glasses to protect your eyes from dust and debris. Using a stud finder before drilling helps you avoid hitting electrical wires or plumbing hidden behind the wall.
Start with a small pilot hole to guide the drill bit accurately. Keep the drill steady and perpendicular to the wall to prevent damage. If your drill has adjustable speed, use a slower speed for better control and less risk of cracking the wall.
Have you checked your tools and workspace before drilling? A clean, organized area reduces accidents and makes the process smoother. Taking these precautions makes hanging your shelf safer and more precise.
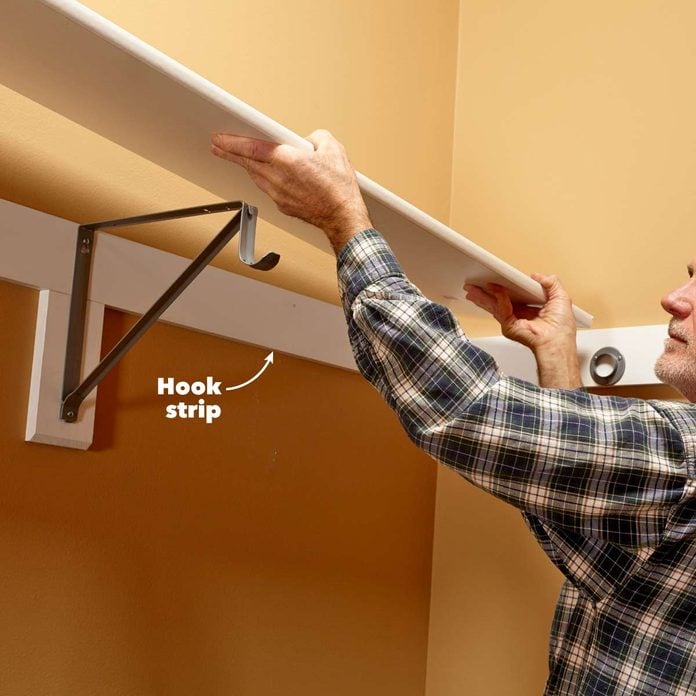
Attach Brackets Or Supports
Attaching brackets or supports is a key step in hanging a shelf securely. These parts hold the shelf in place and carry the weight of your items. Choosing the right screws and fixing the brackets tightly ensures the shelf stays stable and safe.
Proper Screw Selection
Select screws that match your wall type and bracket holes. Use longer screws for drywall with anchors. For wooden studs, shorter screws work well. Screws should be thick enough to support the shelf’s weight. Avoid screws that are too short or thin. This prevents the shelf from falling or wobbling.
Securing Brackets Firmly
Place brackets on the marked spots carefully. Hold them steady and drill pilot holes first. This stops the wall from cracking. Tighten screws fully but do not over-tighten. Over-tightening can damage the wall or bracket. Check that brackets do not move or shift. A firm hold means the shelf will stay strong and steady.
Mount The Shelf
Mounting the shelf is where your project really takes shape. This stage requires focus and precision to make sure your shelf sits securely and looks great. Getting this right means your shelf will hold up over time and become a useful part of your space.
Aligning The Shelf
Start by placing the shelf on the brackets or supports. Check if it’s level using a spirit level or a smartphone app. Even a small tilt can make items slide off or make the whole setup look off.
Adjust the shelf until it’s perfectly horizontal. If you’re mounting directly on the wall without brackets, hold the shelf firmly and mark the screw holes. Double-check these marks before drilling to avoid mistakes.
Final Adjustments
Once the shelf is in place, tighten all screws or bolts securely. Don’t overtighten, as this can damage the shelf or wall. Give the shelf a gentle shake to test its stability.
Look at your shelf from different angles to ensure it’s straight and well-positioned. If something seems off, it’s easier to fix it now than after loading it with items. What items do you plan to display on your new shelf? This can affect how sturdy it needs to be.

Credit: shelfology.com
Test Stability And Load
Testing the stability and load of your shelf is key to avoid accidents. A stable shelf holds your items safely and lasts longer. This step ensures the shelf can support the weight you plan to put on it. Checking for any movement or weakness helps you fix problems early. Let’s explore how to test weight and solve wobbling issues.
Weight Testing
Start by placing light objects on the shelf. Slowly increase the weight to the shelf’s limit. Observe the shelf for any bending or sagging signs. Use a level to check if the shelf stays even. If the shelf holds the weight without moving, it’s stable. Stop adding weight once you notice any strain. Testing weight helps confirm the shelf can handle daily use.
Troubleshooting Wobbles
Wobbles mean the shelf is not secure enough. Check if the screws or anchors are tight. Tighten loose screws using a screwdriver. If the wall anchors are weak, replace them with stronger ones. Adjust the shelf brackets to sit flush against the wall. Use shims behind the brackets to fix minor gaps. Recheck the shelf’s stability after each fix. A solid shelf stays firm and does not move.
Maintain And Care For Your Shelf
Taking care of your shelf after installation is key to keeping it sturdy and looking great. A well-maintained shelf holds your items safely and enhances your room’s style for years. Simple habits can save you from unexpected damages and costly repairs.
Regular Inspections
Check your shelf often for any signs of wear or looseness. Pay attention to screws, brackets, and wall anchors to make sure they stay tight. Spotting a small wobble early can prevent bigger problems down the line.
Look for cracks or warping in the shelf board itself, especially if it holds heavy items. If you notice any damage, replace or reinforce the shelf before it fails. How often do you think about the condition of your shelves?
Cleaning Tips
Dust your shelf regularly to keep it clean and inviting. Use a soft cloth or a microfiber duster to avoid scratching the surface. For wooden shelves, a slightly damp cloth works well, but avoid soaking the wood.
For tougher stains or sticky spots, mix a small amount of mild soap with water and gently wipe the area. Avoid harsh chemicals that can damage the shelf’s finish. Keeping your shelf clean not only improves its look but also helps you notice any developing issues early.
Credit: www.familyhandyman.com
Frequently Asked Questions
How Do I Find Studs For Hanging A Shelf?
Use a stud finder tool to locate studs behind the drywall. Studs provide strong support for heavy shelves. Mark the stud locations with a pencil before drilling.
What Type Of Wall Anchors Should I Use?
Choose wall anchors based on wall type and shelf weight. Plastic anchors suit light loads; metal or toggle anchors are best for heavier shelves.
How High Should I Hang A Shelf On The Wall?
Hang shelves at eye level or slightly above for easy access. Consider the shelf’s purpose and room layout for ideal height.
Can I Hang A Shelf On Drywall Without Studs?
Yes, use strong wall anchors designed for drywall. Avoid heavy loads to prevent damage or shelf falling.
Conclusion
Hanging a shelf on a wall is simple with the right steps. Measure carefully and choose the right tools. Use anchors or studs for strong support. Check the level to keep the shelf straight. Take your time and work safely.
A well-hung shelf adds space and style to any room. Try it yourself and enjoy the results. Small efforts can make a big difference in your home.


