
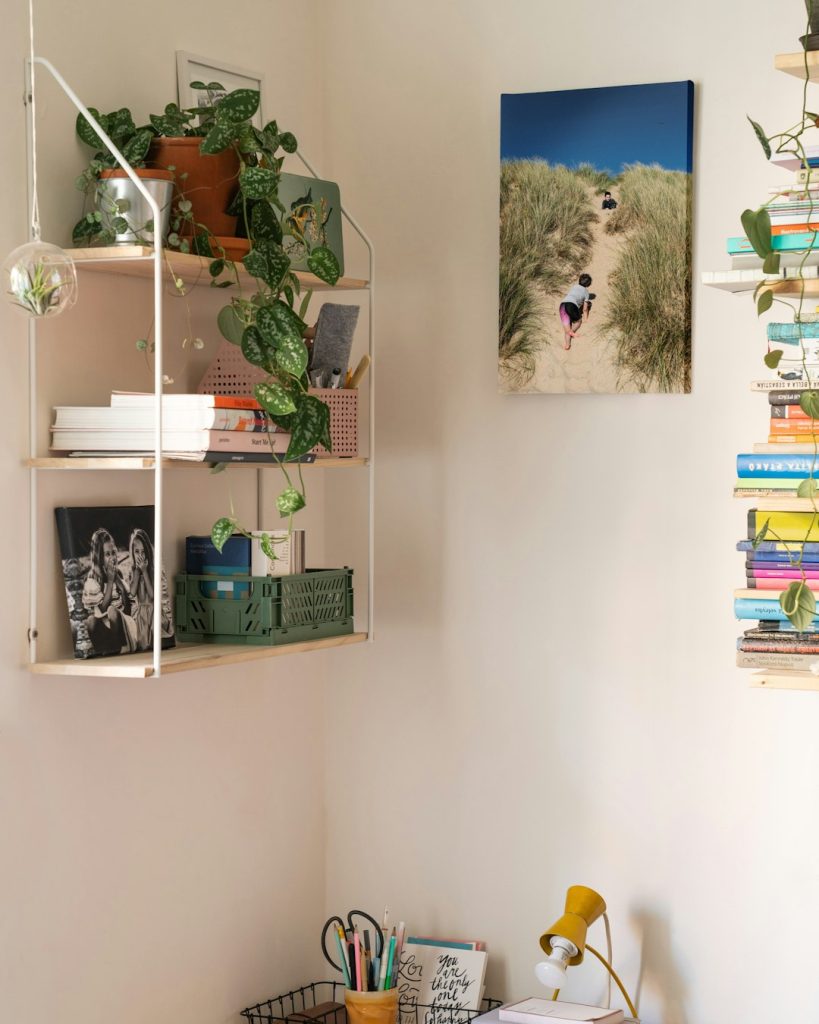
Are you ready to add more space and style to your room? Hanging a shelf on the wall is a simple way to organize your things and show off your favorite items.
But if you’re not sure where to start, it can feel tricky. Don’t worry—you’re closer than you think to mastering this easy DIY skill. In this guide, you’ll learn exactly how to hang a shelf safely and securely, step by step.
Keep reading, and by the end, you’ll have the confidence to transform your space with a perfectly mounted shelf.

Credit: www.youtube.com
Choosing The Right Shelf
Choosing the right shelf is key to a successful wall installation. The shelf must suit the room’s style and hold the items you plan to place on it. Think about the purpose and look of the shelf before buying. This helps avoid extra work or unsafe setups later.
Types Of Shelves
Shelves come in many styles. Floating shelves have no visible brackets and offer a clean look. Bracket shelves use metal or wooden supports and provide strong hold. Corner shelves fit well in small spaces. Ladder shelves lean against the wall and add style with storage.
Materials And Sizes
Shelves are made from wood, metal, glass, or plastic. Wood fits most rooms and feels warm. Metal is strong and modern. Glass looks sleek but holds less weight. Choose a size that fits your wall space and needs. Measure the wall space first to avoid mistakes.
Weight Capacity Considerations
Each shelf type has a weight limit. Heavy items need strong shelves and sturdy brackets. Check the shelf’s weight capacity before buying. Overloading a shelf can cause it to fall and damage your wall. Think about what you will place on the shelf and pick one that can hold it safely.
Gathering Tools And Materials
Before hanging a shelf, gather all necessary tools and materials. Having everything ready makes the job easier and faster. It also helps avoid mistakes and keeps the work safe. This section lists the key items needed for a successful shelf installation.
Essential Tools
- Drill with drill bits
- Screwdriver (manual or electric)
- Level to ensure shelf is straight
- Measuring tape for accurate placement
- Pencil to mark drill points
- Stud finder to locate wall studs
- Hammer for anchors or nails
Hardware Selection
Choose screws, anchors, and brackets based on wall type and shelf weight. Drywall requires anchors for support. Solid wood walls may only need screws. Metal brackets offer better strength for heavier shelves. Match hardware size to the shelf and load.
Safety Gear
- Safety goggles to protect eyes from dust
- Work gloves to avoid splinters and cuts
- Mask to prevent dust inhalation
- Closed-toe shoes for foot protection
Preparing The Wall
Clear the wall surface and check for any nails or screws. Use a stud finder to locate studs for secure shelf support. Clean the area to ensure strong adhesion if needed.
Preparing the wall is a crucial step before you hang any shelf. This ensures not only the stability of your shelf but also the safety of whatever you plan to place on it. Let’s dive into the details to make sure your wall is ready for the task.Finding Studs
Finding the studs in your wall is essential for hanging a shelf securely. You can use a stud finder, a handy tool that beeps when it detects a stud behind the drywall. If you don’t have one, simply knock on the wall and listen for a solid sound, indicating a stud is present. Once located, mark the stud positions with a pencil. This will guide where you should drill the screws to support your shelf. Remember, mounting your shelf directly into a stud provides the most stability.Marking The Placement
Decide the height at which you want your shelf to be placed. Use a measuring tape to ensure it’s at the right level and mark the spot on the wall. This helps in keeping your shelf even and aligned, avoiding a crooked look. Consider what you plan to display on the shelf. Will it be within reach? Visualizing the end result can help in making these decisions. Use a level to make sure your markings are straight.Checking For Obstacles
Before drilling, it’s important to check for any obstacles inside the wall. Electrical wires and plumbing can be hidden behind drywall, and you don’t want to damage them. Use a wire detector to scan the wall for electrical lines. This simple step can save you from costly repairs. If you detect any obstacles, adjust your shelf placement accordingly. Have you ever hung a shelf only to realize it’s not where you want it? Preparing the wall properly can prevent such mishaps. Taking the time to plan ensures a satisfying result and avoids unnecessary headaches.
Credit: shelfology.com
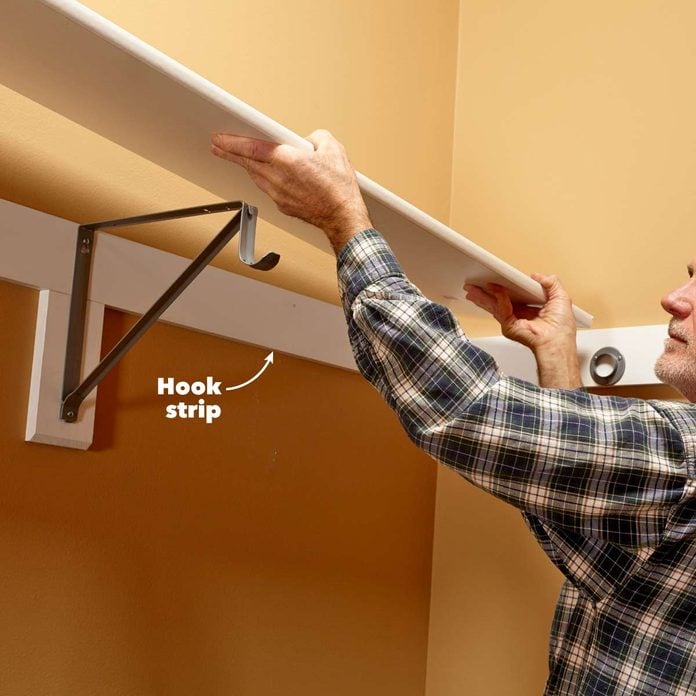
Mounting The Shelf Brackets
Mounting the shelf brackets is a crucial step that determines the stability and longevity of your shelf. If the brackets aren’t level or firmly attached, the shelf can tilt or even fall. Taking your time here ensures your shelf stays put and looks great.
Leveling The Brackets
Start by holding the bracket against the wall where you want to mount it. Use a spirit level to make sure it’s perfectly horizontal. Even a small tilt can cause your shelf to look crooked or items to slide off.
Mark the screw holes with a pencil once the bracket is level. Double-check the marks before moving on. Have you ever hung something only to realize it was off by a tiny bit? This step helps you avoid that frustration.
Drilling Pilot Holes
Drilling pilot holes prevents the wall from cracking and makes screwing easier. Choose a drill bit slightly smaller than your screws. This ensures the screws bite into the wall securely without splitting the material.
Hold the bracket steady as you drill into the marked spots. If you’re mounting into drywall, consider using wall anchors for extra support. Have you checked if your wall type requires anchors? Skipping this can cost you later.
Securing The Brackets
Use screws that are long enough to go through the bracket and deep into the wall studs or anchors. Tighten them firmly but don’t overtighten—this can strip the hole or damage the bracket. Feel the bracket as you tighten; it should feel solid and not move.
After securing the first bracket, use the level again before attaching the second bracket. This step ensures your shelf will sit perfectly flat. Would you rather fix a crooked shelf or get it right the first time? Your choice makes all the difference.
Attaching The Shelf
Attaching the shelf is a crucial part of the process. It ensures the shelf stays secure and holds weight safely. Take your time to position everything carefully and tighten all screws firmly. This step brings your project closer to completion and adds functionality to your space.
Placing The Shelf
Place the shelf gently onto the brackets. Make sure it sits evenly without tilting. Check the alignment with the wall and adjust as needed. The shelf should fit snugly, resting firmly on the supports.
Securing The Shelf To Brackets
Use screws to attach the shelf to the brackets. Choose screws the right size for your shelf and brackets. Screw them in tightly but avoid over-tightening. This keeps the shelf stable and prevents movement.
- Use a drill or screwdriver for better control
- Attach screws through the bracket holes into the shelf base
- Double-check each screw is secure and flush with the surface
Final Adjustments
After securing, test the shelf’s stability. Press gently on different spots to confirm it holds firm. If it wobbles, tighten the screws or reposition the brackets. Clean the shelf and surrounding wall area to finish the job neatly.
Tips For Long-lasting Shelves
Keeping shelves sturdy and safe requires some care and smart choices. These tips help your shelves hold up well over time. Strong, well-maintained shelves avoid accidents and keep your items secure.
Weight Distribution
Place heavy items close to the wall. Spread weight evenly across the shelf. Avoid putting all weight on one side. Use brackets that support the shelf’s length. This balance prevents bending and falling.
Regular Maintenance
Check shelves often for signs of wear. Tighten screws and brackets if loose. Clean shelves to stop dust buildup. Replace damaged parts quickly. Routine checks keep shelves safe and strong.
Avoiding Common Mistakes
Do not ignore wall type when choosing anchors. Avoid overloading shelves beyond their limit. Use a level to keep shelves straight. Do not skip measuring before drilling. These simple steps prevent damage and accidents.
Credit: www.familyhandyman.com
Frequently Asked Questions
How Do I Choose The Right Wall Anchors For Shelves?
Select wall anchors based on wall type and shelf weight. Use plastic anchors for drywall and toggle bolts for heavy loads. Anchors ensure stability and prevent damage. Always check anchor weight ratings before installation for safety and durability.
What Tools Are Needed To Hang A Shelf Properly?
Basic tools include a drill, level, measuring tape, screwdriver, and wall anchors. A stud finder helps locate studs for secure mounting. Having these tools ensures accurate placement and strong support for your shelf.
How Do I Find Studs For Secure Shelf Installation?
Use a stud finder to locate wooden studs behind drywall. Studs provide the best support for heavy shelves. Mark stud locations with a pencil before drilling to ensure proper anchor placement.
Can I Hang A Shelf On Drywall Without Studs?
Yes, use heavy-duty wall anchors or toggle bolts designed for drywall. These provide sufficient support for lightweight to medium shelves. Avoid placing heavy items on unsupported drywall shelves to prevent damage.
Conclusion
Hanging a shelf on the wall is simple with the right steps. Choose the right tools and materials first. Mark your spots carefully to keep the shelf steady. Drill holes and insert anchors to hold screws tight. Attach brackets and place the shelf on them securely.
Double-check the level to avoid a crooked shelf. Now, enjoy the new space for your books or decorations. A well-hung shelf adds both style and function to your room. Try it yourself and see how easy it can be!


