
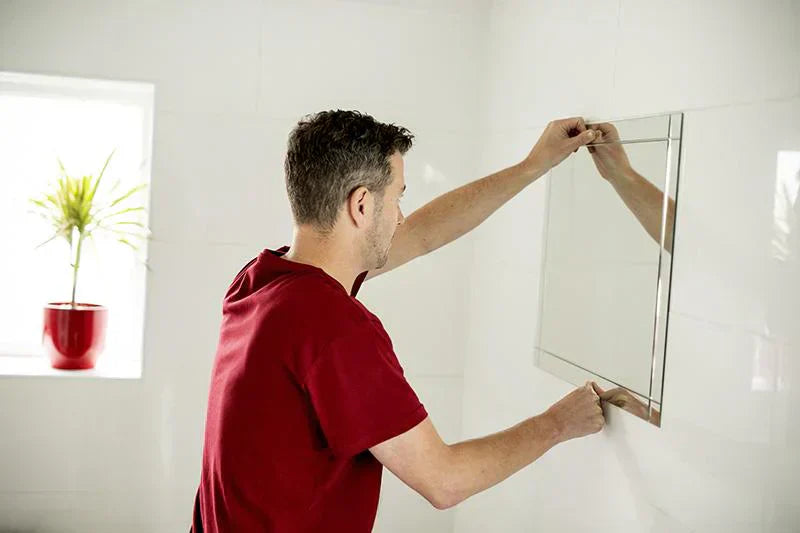
Hanging a mirror might seem simple, but getting it just right can change the whole look of your room. You want your mirror to be secure, straight, and perfectly placed to reflect light and open up your space.
If you’ve ever struggled with crooked frames or walls full of unnecessary holes, this guide is for you. Keep reading, and you’ll learn easy, step-by-step tips to hang your mirrors like a pro—making your walls look stunning and your home feel brighter instantly.

Credit: www.rjliving.com.au
Choosing The Right Mirror
Choosing the right mirror is a crucial step before you hang it on your wall. The mirror you pick can change the entire mood of a room and affect how light and space feel. Think of your mirror not just as a reflective surface but as a piece of decor that should complement your room’s vibe and function.
Selecting Mirror Size And Style
Size matters more than you might think. A mirror that’s too small can get lost on a large wall, while one that’s too big might overpower a cozy space. Measure the wall area and imagine how the mirror will fit with other furniture and decor.
Style plays a big role in your choice too. Do you want a sleek modern look with a frameless mirror, or something more classic with an ornate frame? Consider the existing style of your room. A rustic wooden frame can add warmth, while a metal frame might bring an industrial edge.
Considering Wall Space And Room Layout
Think about where you want to place the mirror. Is it above a console table, on a blank wall, or near a window? The mirror’s location will influence how much natural light it reflects and how it interacts with the room’s flow.
Also, consider what’s around the mirror. If your wall has artwork or shelves, the mirror should complement rather than compete with them. Ask yourself if the mirror will create balance or disrupt the visual harmony of the space.
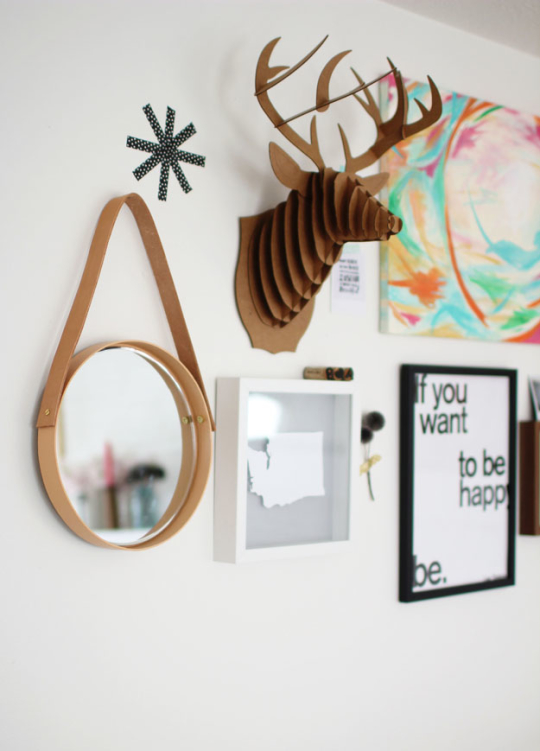
Credit: sugarandcloth.com
Gathering Necessary Tools
Gather all tools like a drill, screws, anchors, a level, and measuring tape before starting. Having everything ready makes hanging mirrors easier and safer.
Gathering the right tools is crucial when you’re preparing to hang mirrors on your wall. Without the appropriate equipment, the task can become unnecessarily complicated or even risky. Having everything you need at hand ensures a smooth and successful installation process, saving you time and potential frustration.Essential Hanging Tools
To start, a measuring tape is indispensable for ensuring your mirror is centered and aligned perfectly. Accurate measurements prevent any awkward placements and ensure symmetry in your space. Next, you’ll need a pencil for marking positions on the wall. These small marks guide you on where to place hooks or nails, and they can be easily erased or painted over afterward. A reliable level is also crucial. This tool helps you verify that your mirror is perfectly horizontal. An uneven mirror can be visually unsettling, and a level helps avoid this common pitfall. Don’t forget screws or wall anchors. The right type depends on your wall’s material—drywall, plaster, or masonry. Ensure they can support the weight of your mirror. Finally, a drill or screwdriver is necessary for securing your mirror to the wall. Choose one based on the type of screws or anchors you’ve decided on.Optional Items For Stability
Consider using adhesive strips for additional support, especially if you’re concerned about stability. These strips can help keep the mirror flush against the wall, reducing the chance of it shifting over time. Bumpers or pads are useful if you want to prevent the mirror from directly touching the wall. They provide a small buffer to protect both the mirror and the wall surface. If you’re dealing with a heavy mirror, a stud finder can be a game-changer. It helps locate the studs in your wall, allowing you to anchor the mirror securely to a solid base. Think about whether your mirror could benefit from using mirror clips. These provide added security, especially for larger mirrors, ensuring they stay in place. Each tool and optional item you gather can make a significant difference in the outcome. What tools do you consider essential for hanging mirrors in your space?Preparing The Wall
Preparing the wall is a crucial step before hanging mirrors. It ensures the mirror stays secure and looks great. Taking time to clean and inspect the surface, and finding the right support points, makes all the difference.
Cleaning And Inspecting The Surface
Start by wiping the wall with a damp cloth to remove dust and dirt. A clean surface helps adhesives stick better and prevents damage to your wall.
Look closely for cracks, holes, or uneven areas. These imperfections can weaken the hold of nails or hooks. Fix any damage with spackle or filler before hanging your mirror.
Have you ever hung something only to see it fall later? Skipping this step often causes that problem.
Locating Studs For Support
Mirrors can be heavy. Hanging them directly on drywall without support can cause accidents. Use a stud finder to locate wooden studs behind your wall.
If you don’t have a stud finder, tap the wall and listen for a solid sound. Studs are usually spaced 16 to 24 inches apart.
Mark the stud positions lightly with a pencil. Hanging your mirror on a stud provides much stronger support than drywall anchors alone.
Think about the weight of your mirror. Are you sure your chosen spot can hold it safely?
Measuring For Placement
Measuring for placement is the key to hanging mirrors perfectly. Proper measurements ensure the mirror fits well and looks balanced on the wall. Take your time to get accurate results before drilling any holes.
Determining Mirror Height
Start by deciding the best height for your mirror. Consider the room’s function and typical eye level. A good rule is to hang the mirror so its center is about 57 to 60 inches from the floor. This height works well for most people.
Think about what will be reflected in the mirror. Avoid placing it too high or too low. Check the mirror’s size and shape to help find the right spot. Use a tape measure and mark the wall lightly with a pencil.
Marking Hanging Points Accurately
Measure the distance between the mirror’s hanging hardware. Transfer these measurements to the wall. Use a level to make sure the marks are even. Uneven marks cause a crooked mirror.
Use a pencil to mark the exact spots for nails or hooks. Double-check all measurements before drilling. This careful step saves time and keeps your wall safe from extra holes.
Selecting Hanging Hardware
Selecting the right hardware for hanging your mirror is crucial to ensure safety and style. The hardware you choose affects not only how secure your mirror will be but also how easy the installation process turns out. Let’s break down what options you have and how to match them to your mirror’s needs.
Choosing Hooks, Nails, Or Anchors
You might wonder whether to use hooks, nails, or anchors for your mirror. Hooks are great for lightweight mirrors and come in different sizes and styles to hold various frame types. Nails work well with wooden walls but may not be strong enough for heavier pieces.
Anchors are your best bet for drywall or plaster walls because they provide extra support. They come in plastic, metal, or toggle designs depending on how much weight you need to hold. Think about the wall material before picking your hardware—what works for one wall might fail on another.
Matching Hardware To Mirror Weight
Knowing your mirror’s weight is essential before deciding on hardware. A small mirror under 10 pounds often only needs simple picture hooks or nails. For heavier mirrors, over 20 pounds, you’ll want to use wall anchors or even screws into studs.
Have you ever hung a heavy mirror on drywall without anchors? It might have slipped or caused wall damage. Avoid this by weighing your mirror first and then selecting the strongest hardware you can find. If you’re unsure, it’s better to err on the side of extra support.
Installing The Hardware
Installing the hardware is a key part of hanging a mirror securely. Proper hardware keeps the mirror stable and protects the wall. This process includes drilling holes, securing anchors, and attaching hooks or brackets. Taking care at this stage ensures safety and a neat finish.
Drilling And Securing Anchors
Start by marking the spots where the anchors will go. Use a level to keep marks straight and even. Choose the right drill bit size for the anchors. Drill holes gently to avoid wall damage. Insert anchors fully until they sit flush with the wall surface. Anchors provide strong support, especially for heavy mirrors.
Attaching Hooks Or Brackets
Select hooks or brackets that match the mirror’s weight and style. Screw them into the anchors tightly to prevent wobbling. For extra security, check that all screws are flush and firm. Hooks work well for lighter mirrors, while brackets hold heavier pieces. Make sure the hardware aligns correctly with the mirror’s hanging points.
Hanging The Mirror
Hanging a mirror requires care to avoid damage and ensure it looks great. Take your time placing the mirror on the wall. Proper handling keeps the mirror safe and your walls intact.
Lifting And Positioning Safely
Hold the mirror firmly with both hands. Use gloves to avoid fingerprints or cuts. If the mirror is large, ask for help. Lift it close to your body to keep control. Move slowly to prevent bumping into walls or furniture.
Place the mirror near the wall before hanging. Check that the hanging hardware is ready. Align the hooks or brackets with the wall anchors. Make sure the mirror weight matches the wall support.
Adjusting For Level And Alignment
Use a spirit level to check the mirror’s position. Place the level on top or side of the mirror frame. Adjust the mirror until the bubble is centered. Small movements make a big difference in balance.
Step back and look at the mirror from different angles. Make sure it lines up with other wall decorations. Check that it hangs straight and is not tilted. Tighten screws or hooks once the perfect spot is found.
Ensuring Safety And Stability
Hanging a mirror isn’t just about aesthetics; safety and stability must come first. A poorly secured mirror can fall, causing damage or injury. Taking time to ensure your mirror is firmly attached gives you peace of mind and protects your space.
Testing Secure Attachment
After you hang the mirror, don’t rush to step back and admire it just yet. Give it a gentle shake to see if it feels solid. If you notice any movement or hear creaking sounds, the attachment isn’t secure enough.
Use a level to confirm the mirror hangs straight. An off-balance mirror can put uneven stress on the hooks or anchors, increasing the risk of falling. Check the hardware regularly, especially if your mirror is in a high-traffic area or a spot that vibrates, like near a door or window.
Tips For Heavy Or Large Mirrors
Heavy or large mirrors need stronger support than smaller ones. Consider using wall anchors designed for heavy loads or mounting the mirror on studs rather than drywall alone.
- Locate studs with a stud finder and use screws long enough to secure into the wood.
- Use two or more hooks spaced evenly to distribute the weight.
- Consider a French cleat system for extra stability; it locks the mirror in place and spreads the load.
Have you ever seen a mirror suddenly fall and shatter? That’s often because the hanging method wasn’t suited for the mirror’s size or weight. Don’t risk it—choose the right hardware and double-check your setup to keep your mirror safe and stable.
Maintaining Your Mirror
Maintaining your mirror is key to keeping it beautiful and safe on your wall. Regular care helps it last longer and look clear. Simple actions prevent damage and keep the frame strong. A little attention goes a long way in preserving your mirror’s shine and stability.
Cleaning Tips
Use a soft cloth to clean the mirror surface. Avoid harsh chemicals that can damage the glass or frame. A mix of water and mild soap works well. Spray the cleaner on the cloth, not directly on the mirror. Wipe gently in a circular motion to remove dust and smudges. Dry with a clean, dry cloth to prevent streaks.
Checking Hardware Over Time
Inspect the mirror’s hanging hardware regularly. Look for loose screws, hooks, or brackets. Tighten any parts that feel weak or wobbly. Replace damaged or rusty hardware immediately. This prevents accidents and keeps your mirror securely on the wall. A stable mount protects both your mirror and your wall.

Credit: ledmirrorworld.co.uk
Frequently Asked Questions
How Do I Choose The Right Wall For Hanging A Mirror?
Pick a sturdy, clean wall free from moisture. Ensure it supports the mirror’s weight. Avoid walls exposed to direct sunlight or high humidity to prevent damage.
What Tools Do I Need To Hang A Mirror Securely?
You need a drill, screws, wall anchors, a level, measuring tape, and a pencil. These tools ensure the mirror is hung straight and safely on the wall.
How High Should I Hang A Mirror On The Wall?
Hang the mirror at eye level, typically 57 to 60 inches from the floor. This height suits most people and enhances room aesthetics and functionality.
Can I Hang A Heavy Mirror Without Studs?
Use heavy-duty wall anchors or toggle bolts designed for drywall. These provide extra support and prevent the mirror from falling if studs are unavailable.
Conclusion
Hanging mirrors on a wall can change your room’s look quickly. Choose the right tools and find the best spot first. Measure carefully and use proper hooks or anchors. Take your time to hang it straight and secure. A well-placed mirror can make any space feel larger and brighter.
Enjoy your new wall decoration that adds style and light. Keep safety in mind, and your mirror will stay put for years. Simple steps lead to great results. Now, your walls have a fresh, polished look.


