
If your kitchen feels stuffy or filled with cooking odors, installing a kitchen ventilation fan can make a huge difference. You might think it’s a tough job, but with the right steps, you can do it yourself and enjoy fresher air every day.
In this guide, you’ll discover simple, clear instructions to install your kitchen ventilation fan quickly and safely. Keep reading, and you’ll be one step closer to a cleaner, more comfortable kitchen space.

Credit: www.youtube.com
Choosing The Right Fan
Choosing the right kitchen ventilation fan is key to keeping your cooking space fresh and comfortable. It’s not just about removing smoke and odors; the right fan improves air quality, reduces moisture, and even protects your kitchen walls from grease buildup. Picking the best fan requires understanding the types available, the size you need, and how energy efficient it is.
Types Of Kitchen Fans
There are several types of kitchen ventilation fans, each serving different needs:
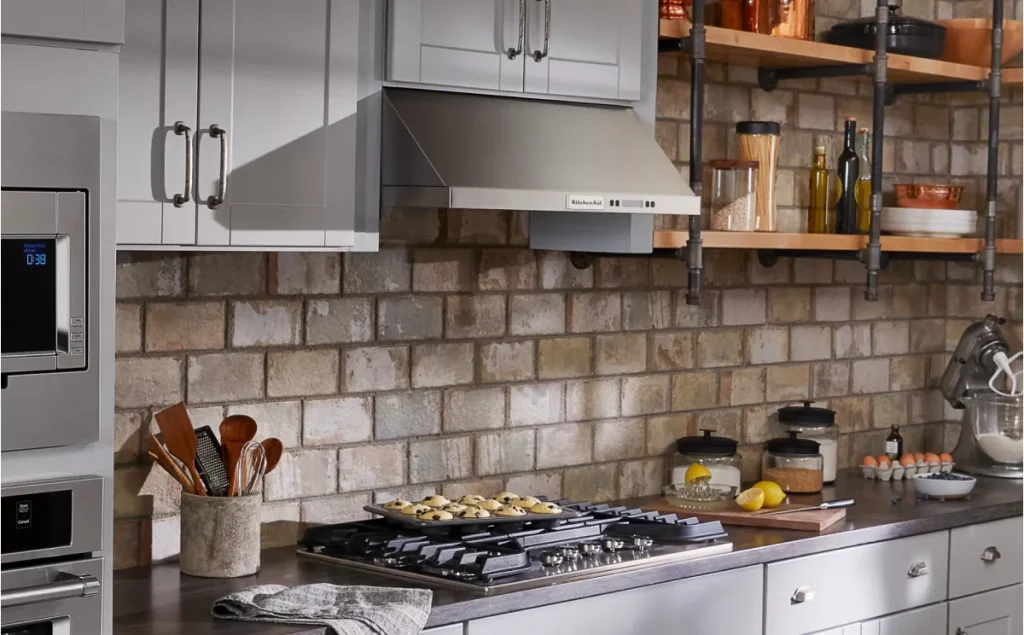
- Range Hoods:Mounted above your stove, these capture smoke and steam directly at the source.
- Under-Cabinet Fans:Installed under kitchen cabinets, they save space and blend into your kitchen design.
- Downdraft Fans:Built into the cooktop, they pull air downwards, good for kitchens without overhead space.
- Wall-Mounted Fans:Fixed on walls, ideal if you don’t want overhead units or cabinets.
What type fits your kitchen layout and cooking style best? Think about where you need the most ventilation and how much space you have.
Size And Capacity
Choosing the right size fan means matching it to your kitchen’s size and your cooking habits. Too small, and it won’t clear the air effectively. Too large, and you risk wasting energy and money.
Look at the fan’s airflow rating, measured in cubic feet per minute (CFM). A good rule is to have at least 100 CFM for every 10,000 BTUs your stove produces. For example, if your stove burners total 40,000 BTUs, aim for a fan with around 400 CFM.
Have you measured your kitchen and stove output before? It’s a simple step that ensures you don’t under or overbuy.
Energy Efficiency
An energy-efficient fan saves you money and reduces environmental impact. Look for models with Energy Star certification or those designed with variable speed settings to adjust airflow as needed.
LED lighting on fans also cuts energy use compared to traditional bulbs. Quiet operation is another sign of a well-designed, efficient motor.
Would you prefer a fan that runs quietly and uses less power even during heavy cooking? Energy efficiency doesn’t just help your bills; it improves your overall kitchen experience.
Gathering Tools And Materials
Gathering the right tools and materials is the first step in installing a kitchen ventilation fan. Having everything ready makes the process smoother and faster. It also helps avoid interruptions while working. Knowing what you need saves time and effort.
Essential Tools
- Power drill with drill bits
- Screwdrivers (flathead and Phillips)
- Measuring tape
- Level
- Wire stripper
- Jigsaw or hole saw
- Pencil or marker for marking
- Stud finder
Required Materials
- Kitchen ventilation fan unit
- Vent ducting (rigid or flexible)
- Vent hood or cover
- Electrical wires and connectors
- Wall or ceiling vent cap
- Mounting brackets or screws
- Sealant or duct tape
Safety Gear
- Safety goggles to protect eyes
- Work gloves for hand protection
- Dust mask to avoid inhaling particles
- Ear protection if using loud power tools
- Non-slip shoes for stable footing
Preparing The Installation Area
Preparing the installation area is a crucial first step for installing a kitchen ventilation fan. A clean, well-measured, and safe workspace makes the entire process smoother and faster. Taking time to prepare ensures safety and accuracy during the fan installation.
Measuring And Marking
Measure the space where the fan will be installed carefully. Use a tape measure to find exact dimensions. Mark the outline on the wall or ceiling with a pencil. Double-check the marks to avoid mistakes. Accurate marking helps fit the fan perfectly without gaps or misalignment.
Turning Off Power
Switch off the power supply to the kitchen area before starting work. Locate the circuit breaker and turn off the correct switch. Use a voltage tester to confirm that the power is off. This step prevents electric shocks and keeps the installation safe.
Clearing The Workspace
Remove any items near the installation spot. Clear counters, cabinets, and floor space to avoid damage. Keep tools and materials organized and within reach. A tidy area reduces accidents and helps you work efficiently.
Credit: avorenovations.co.uk
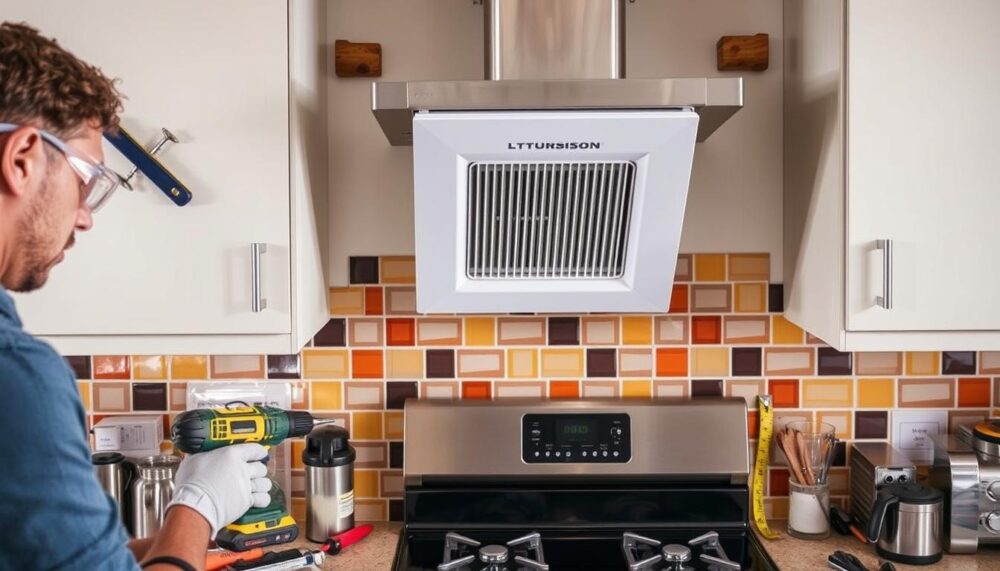
Installing The Fan Housing
Installing the fan housing is a key part of setting up your kitchen ventilation fan. This step ensures the fan stays secure and functions well. Proper installation also reduces noise and vibration.
Focus on placing the housing where it fits tightly. The right setup prevents air leaks and keeps the fan stable.
Mounting Brackets
Start by attaching the mounting brackets to the fan housing. Use screws that fit the bracket holes well. Check that brackets are firm and do not move.
Choose brackets that match your ceiling or wall type. Metal brackets work well for drywall, while wood screws fit wooden beams. Secure brackets evenly to avoid tilting.
Securing The Housing
Lift the fan housing carefully and place it against the mounting surface. Align the brackets with the installation points. Use a drill or screwdriver to fasten the housing tightly.
Check all screws are tight but avoid over-tightening. Over-tightening can damage the housing or wall. Make sure the housing does not wobble or shift.
Checking Alignment
Verify the fan housing is level. Use a spirit level tool for accuracy. Proper alignment helps the fan run smoothly and quietly.
Look from different angles to confirm straight placement. Adjust screws slightly if needed. Correct alignment also ensures the duct connects without gaps.
Wiring The Fan
Connect the fan wires carefully to the power source, matching the colors correctly. Ensure all connections are secure and insulated for safety. Double-check wiring before turning on the fan.
Wiring a kitchen ventilation fan is the heart of the installation process. It ensures the fan runs smoothly and efficiently, whisking away unwanted odors and smoke. Before diving in, make sure you have all the necessary tools and materials ready.Connecting Electrical Wires
Begin by turning off the power supply to the area where you’re working. This is crucial for your safety. Locate the fan’s electrical box, usually found on the side or top of the fan housing. Identify the fan’s wires. Typically, you will see a black wire, a white wire, and a green or bare copper wire for grounding. Match these with the corresponding wires from your home’s electrical system. Securely twist the black wire from the fan to the black wire from the house. Do the same for the white wires. This ensures that the electrical current flows correctly through the fan.Using Wire Nuts
Once the wires are connected, use wire nuts to secure them. These small, plastic connectors prevent the wires from coming loose. Place a wire nut over the twisted wires and screw it on until it’s snug. Give each wire a gentle tug to ensure it’s held firmly. Wire nuts not only secure the connection but also help to prevent short circuits by keeping the wires from touching each other.Testing Connections
After securing the wires, it’s time to test the connections. Turn the power back on, and flip the fan switch. Observe the fan’s operation. It should start smoothly without any flickering or strange noises. If there are issues, double-check your connections. Testing ensures that your installation is both safe and effective. It gives you peace of mind knowing your kitchen ventilation fan is ready to tackle cooking fumes with ease. Have you ever tackled an electrical project before? It can be both challenging and rewarding. Share your experiences or questions in the comments below!Attaching The Vent Duct
Attaching the vent duct is a key part of installing a kitchen ventilation fan. This step connects the fan to the outside air, allowing smoke, steam, and odors to escape. Proper attachment ensures your kitchen stays fresh and safe.
Selecting Vent Ducts
Choose vent ducts made from durable materials like aluminum or galvanized steel. These resist rust and handle heat well. Avoid plastic ducts, as they can melt or trap moisture. Pick ducts with smooth interiors to reduce airflow resistance. Keep the duct length short and straight for better performance.
Sealing And Securing
Use foil tape to seal all duct joints tightly. Avoid regular duct tape, which can peel off over time. Secure ducts firmly with metal clamps or screws. This prevents leaks and keeps the duct stable during operation. Check that no gaps remain where air can escape.
Ensuring Proper Airflow
Make sure the duct runs directly to the outside vent. Avoid sharp bends or long duct runs that reduce airflow. Install a vent cap outside to keep out rain and pests. Confirm the airflow direction matches the fan’s exhaust. Proper airflow improves fan efficiency and kitchen air quality.
Installing The Fan Cover And Controls
Installing the fan cover and controls is a key part of setting up your kitchen ventilation fan. This step protects the fan and helps you operate it easily. The process needs careful attention to ensure everything fits well and works correctly.
Mounting The Cover
Place the fan cover over the ventilation fan frame. Align the screw holes on the cover with those on the fan housing. Use a screwdriver to secure the cover with screws. Avoid overtightening to prevent damage. Check that the cover sits flush and does not wobble. This protects the fan blades and keeps dust away.
Setting Up Controls
Connect the control switch to the fan’s wiring according to the manual. Make sure all wires are properly attached and insulated. Mount the control switch in a convenient spot near the kitchen. Test the switch by turning the fan on and off. Confirm the fan responds smoothly to the controls. Proper setup ensures easy and safe operation.
Final Adjustments
Inspect the fan cover and controls for any loose parts. Tighten screws if needed to secure everything firmly. Clean the cover to remove fingerprints or dust. Turn the fan on and listen for unusual noises. Adjust the control switch position if it feels awkward to use. These final touches enhance performance and user comfort.
Testing The Ventilation Fan
Test the ventilation fan by turning it on and checking for strong airflow. Listen for unusual noises to ensure smooth operation. Confirm the fan effectively removes cooking odors and steam.
Testing the ventilation fan is a crucial step in ensuring that your kitchen remains fresh and free from unwanted odors. After installation, it’s essential to confirm that the fan operates efficiently and quietly. Below are some practical steps to effectively test your new kitchen ventilation fan.Powering On
Once installed, the first thing you need to do is power on the fan. Ensure that the electrical connections are secure and the switch is functional. If the fan doesn’t start, double-check the wiring and consult the installation manual for troubleshooting tips.Checking Noise Levels
Noise can be a deal-breaker for many homeowners. Stand in different parts of your kitchen and listen to the fan’s sound. Is it too loud or just a gentle hum? An excessively noisy fan might indicate loose components or an imbalance in the blades.Verifying Ventilation Efficiency
Ensure that the fan effectively removes smoke and odors. Cook something smoky, like bacon, and observe how quickly the air clears. If the kitchen remains smoky, consider repositioning the fan or checking for obstructions in the ductwork. Testing your kitchen ventilation fan doesn’t just ensure it works—it’s about creating a comfortable cooking environment. Have you ever noticed a persistent kitchen odor despite running the fan? Testing helps you catch such issues early and keep your space fresh and inviting.Maintenance Tips
Keeping your kitchen ventilation fan in top shape is key to maintaining a fresh and safe cooking environment. Regular maintenance not only extends the fan’s lifespan but also ensures it works efficiently. Neglecting simple upkeep can lead to poor air quality and higher energy bills.
Regular Cleaning
Dust and grease build-up can clog your kitchen ventilation fan quickly. Clean the fan blades and housing every month using a soft cloth and mild detergent. Avoid harsh chemicals that might damage the fan’s finish or internal parts.
Don’t forget to wipe down the exterior surfaces regularly to prevent grime from settling. Have you noticed a drop in airflow? It might be time for a thorough cleaning. Keeping your fan clean helps it run quietly and efficiently.
Replacing Filters
Filters trap grease and airborne particles, so they need frequent attention. Check your fan’s manual for recommended filter replacement intervals. Some models use reusable filters that can be washed, while others require new filters.
If you cook daily, consider inspecting the filters every few weeks. A clogged filter reduces airflow and forces the fan to work harder, risking damage. Make filter replacement part of your kitchen cleaning routine to keep air fresh and your fan running smoothly.
Troubleshooting Common Issues
Is your fan making unusual noises or not turning on? These are common signs that something needs fixing. Check for loose screws or debris stuck in the fan blades first.
If the fan doesn’t start, verify that it’s properly connected to power and that the circuit breaker hasn’t tripped. Sometimes, a simple reset or tightening connections solves the problem. Persistent issues might require professional help, but basic troubleshooting often saves time and money.

Credit: www.create-enjoy.com
Frequently Asked Questions
What Tools Are Needed To Install A Kitchen Ventilation Fan?
You need a drill, screwdriver, measuring tape, wire stripper, and sealant. These tools help ensure proper mounting, wiring, and sealing during installation.
How Do I Choose The Right Ventilation Fan Size?
Select a fan based on your kitchen’s size and cooking habits. Calculate airflow needs in cubic feet per minute (CFM) for effective ventilation.
Can I Install A Kitchen Fan Without Professional Help?
Yes, if you have basic electrical and handyman skills. Follow manufacturer instructions carefully and ensure safety measures are in place.
Where Should I Place The Kitchen Ventilation Fan?
Install the fan above the cooking area, near the stove or cooktop. This placement efficiently captures smoke, steam, and odors.
Conclusion
Installing a kitchen ventilation fan helps keep air fresh and clean. It removes smoke, steam, and cooking odors quickly. A well-ventilated kitchen feels more comfortable and healthy. Follow the steps carefully for a safe and efficient setup. Check all connections and test the fan before finishing.
Proper maintenance keeps the fan working well for years. A good ventilation fan makes cooking more enjoyable every day. Simple effort, great results.


