
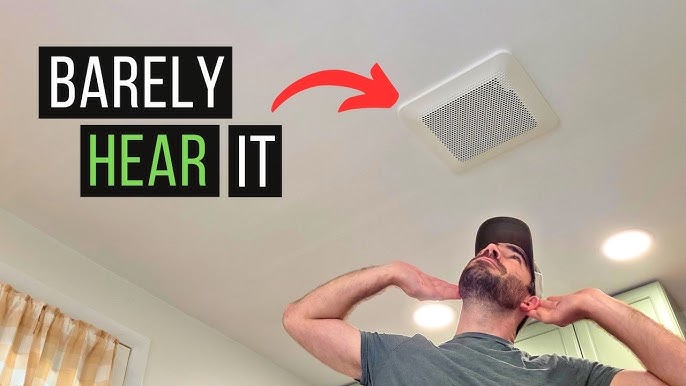
Are you tired of lingering cooking smells and excess moisture in your kitchen? Installing a ventilation fan can make a huge difference in keeping your kitchen fresh and comfortable.
But you might be wondering, “How do I install one myself without making costly mistakes? ” Don’t worry—this guide will walk you through each step in a simple, clear way. By the end, you’ll have the confidence to improve your kitchen’s air quality and enjoy a cleaner, healthier space.
Keep reading to discover how easy it can be to install a ventilation fan in your kitchen!
Credit: www.i-sells.co.uk
Choosing The Right Fan
Choosing the right ventilation fan is crucial for a fresh and clean kitchen. The right fan removes smoke, odors, and excess moisture effectively. It also helps keep your kitchen air healthy and comfortable. Picking the right type, size, and energy level makes a big difference in performance and cost.
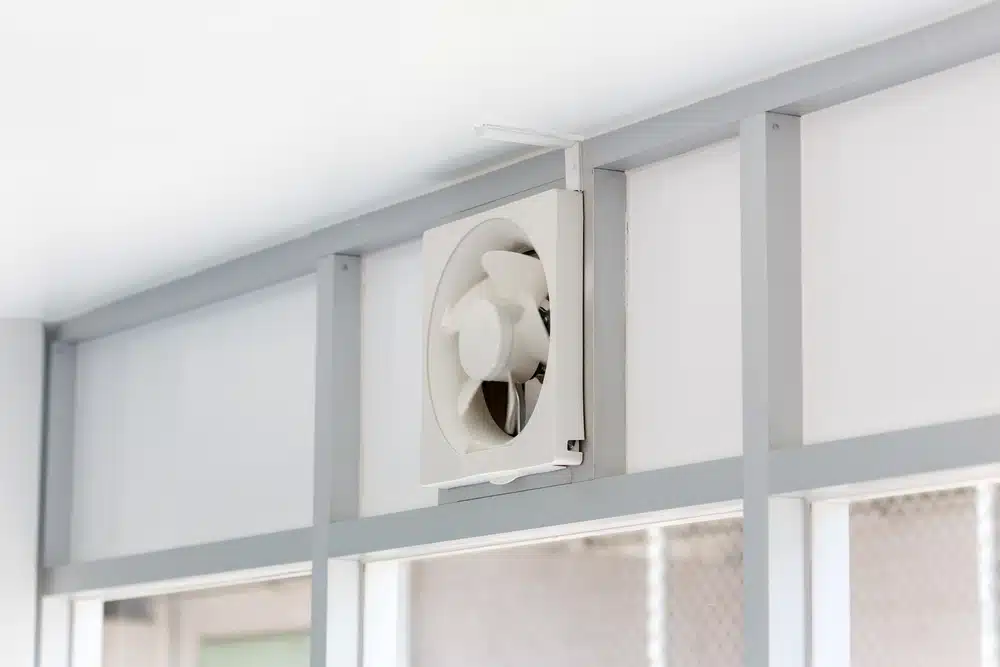
Types Of Kitchen Fans
Kitchen fans come in several types. The most common are:
- Range Hoods:Installed above the stove to capture smoke and steam.
- Inline Fans:Placed in the ductwork to pull air out quietly.
- Under-Cabinet Fans:Mounted under cabinets for small kitchens.
- Wall-Mounted Fans:Fixed on a wall for direct ventilation.
Each type suits different kitchen layouts and ventilation needs.
Fan Size And Capacity
Fan size depends on your kitchen’s size and cooking style. A fan with too low capacity won’t clear air well. Too large can waste energy and be noisy. Use the formula:
CFM = Kitchen Area (sq ft) × 0.1 to 0.15
CFM means cubic feet per minute of air moved. Higher CFM is better for heavy cooking. Choose a fan that fits your kitchen size and cooking habits.
Energy Efficiency
Energy-efficient fans save money and reduce power use. Look for fans with the ENERGY STAR label. These fans use less electricity without losing power. Models with variable speed controls let you adjust airflow. This lowers energy use when full power is not needed.
LED lights in fans also use less energy and last longer. A quiet, efficient fan improves kitchen comfort and saves money.
Preparing For Installation
Preparing for the installation of a ventilation fan in your kitchen sets the foundation for a smooth and successful project. Taking the time to gather the right tools, understand safety measures, and carefully choose the installation spot will save you frustration and ensure your fan works efficiently.
Tools And Materials Needed
Before you start, make sure you have all the necessary tools and materials handy. This includes:
- A power drill with drill bits
- A screwdriver (both flathead and Phillips)
- A stud finder
- Measuring tape
- A pencil for marking
- A ventilation fan kit with mounting brackets
- Electrical wiring and connectors
- Safety goggles and gloves
- Caulk or sealant to prevent air leaks
Having these ready before you begin helps you avoid interruptions and keeps the installation process efficient.
Safety Precautions
Working with electrical fixtures and cutting into walls or ceilings requires caution. Always turn off the power at the circuit breaker before handling any wiring.
Wear safety goggles to protect your eyes from dust and debris. Gloves can prevent cuts when handling sharp materials or tools.
Think about ventilation during the process—dust and fumes can build up quickly. Do you have a way to keep fresh air flowing while you work?
Locating The Installation Spot
Choosing the right spot for your kitchen ventilation fan is crucial for its effectiveness. Look for a location near the cooking area to capture smoke and odors quickly.
Use a stud finder to locate wall studs or ceiling joists to mount the fan securely. Avoid spots with electrical wiring or plumbing behind the walls.
Consider the airflow path—your fan should vent outside, not just into an attic or crawl space. Can you easily access an exterior wall or roof for venting?
Wiring And Electrical Setup
Setting up the wiring and electrical connections for your kitchen ventilation fan is a crucial step that demands attention to safety and precision. Handling electrical components can feel intimidating, but with the right approach, you can manage it confidently and effectively. Let’s focus on how to prepare and connect your fan to power safely, ensuring everything runs smoothly.
Turning Off Power
Before touching any wires, make sure to turn off the power at the circuit breaker. This simple action prevents electrical shocks and protects both you and your equipment.
Double-check by flipping the fan’s switch or using a voltage tester on the wires to confirm there’s no electricity flowing. Taking this extra precaution is a small step that can save you from serious injury.
Connecting Wires
Once the power is off, identify the wires: usually black (hot), white (neutral), and green or bare copper (ground). Match these with the corresponding wires from your ventilation fan.
Use wire nuts to secure connections and wrap them with electrical tape for extra safety. Make sure the wires are tightly connected—loose wires can cause sparks or malfunction.
Don’t forget to attach the ground wire properly; grounding reduces the risk of electrical shock and fire.
Testing Electrical Connections
After wiring, restore power at the breaker. Turn on the ventilation fan switch and observe if it operates correctly without unusual noises or flickering.
If the fan doesn’t start or behaves oddly, immediately switch off the power and recheck all connections. Is every wire tightly joined? Are the wires matched correctly? These questions help you troubleshoot before calling a professional.
Taking time to test ensures your fan works safely and efficiently, giving your kitchen the fresh air it deserves.
Credit: avorenovations.co.uk
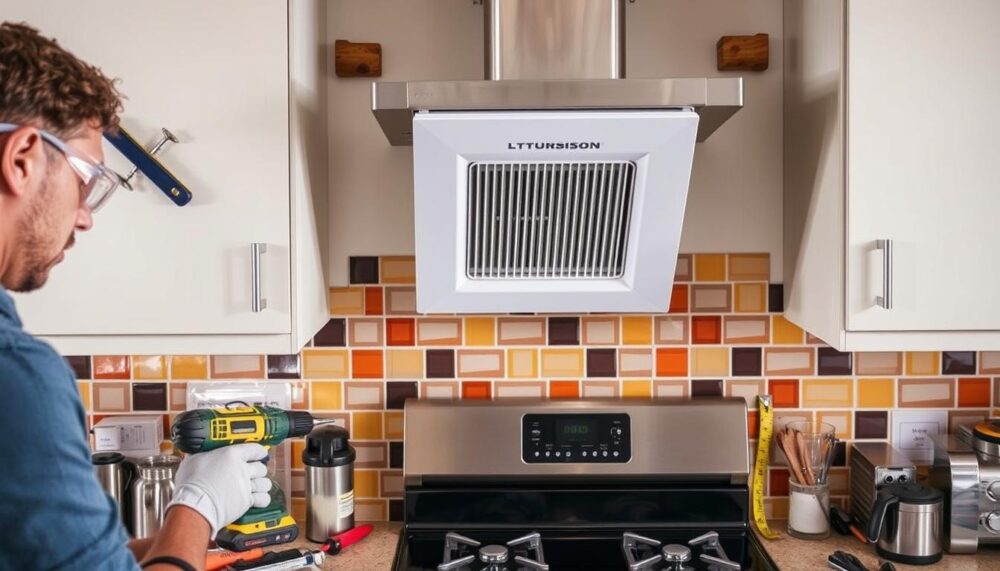
Mounting The Fan
Mounting the ventilation fan correctly is vital for efficient kitchen airflow. This step involves precise measurements and secure fittings. Proper mounting prevents noise and ensures the fan works well.
Marking Drill Points
Start by holding the fan bracket against the wall or ceiling. Use a pencil to mark the spots for drilling holes. Check that the marks align with wall studs or joists for strong support. Double-check measurements to avoid mistakes.
Drilling And Securing Brackets
Use a drill with the right bit size to make holes at the marked points. Insert wall anchors if drilling into drywall. Attach the brackets with screws. Tighten screws firmly but avoid over-tightening to prevent damage. Confirm brackets are level and stable before moving on.
Attaching The Fan Unit
Lift the fan unit carefully and align it with the mounted brackets. Secure the fan using the screws or clips provided. Make sure the fan sits flush against the surface. Test the fan for any wobbling or looseness. Adjust screws if needed for a tight fit.
Ductwork Installation
Start by choosing the right spot for the ventilation fan, near the cooking area. Connect the ductwork securely to allow smoke and odors to exit the kitchen efficiently. Finally, test the fan to ensure it runs smoothly and clears the air well.
Installing ductwork for a kitchen ventilation fan can seem daunting. Yet, it’s crucial for effective airflow. This guide will break down the process. We’ll ensure your fan works efficiently.Choosing The Duct Type
Selecting the right duct type is essential. Flexible ducts are easy to install. They bend around obstacles. Rigid ducts are more efficient. They offer better airflow. Check your kitchen layout before deciding. Measure the space for accuracy. Consider noise reduction. Some ducts minimize sound. This enhances kitchen comfort.Connecting Duct To Fan
Position the duct to align with the fan. Secure it firmly to avoid leaks. Use a metal clamp for a tight fit. Ensure the duct’s end matches the fan outlet. Cut extra duct length if needed. Avoid sharp bends. They reduce airflow efficiency. Keep the path as straight as possible. This maximizes performance.Sealing And Insulating
Seal joints with aluminum tape. This prevents air leaks. It also improves efficiency. Insulate the duct if it passes through unheated areas. Use duct wrap for insulation. This reduces heat loss. It also prevents condensation. Check for any gaps. Seal them to maintain a steady airflow. Proper sealing ensures the system’s longevity.
Credit: www.create-enjoy.com
Final Checks And Maintenance
After installing your kitchen ventilation fan, final checks and maintenance ensure it works well for a long time. Regular care keeps the fan efficient and your kitchen fresh. These simple steps help avoid problems and extend the fan’s life.
Running The Fan Test
Turn on the fan to check its performance. Listen for unusual noises or vibrations. The fan should run smoothly and quietly. Check if the airflow removes cooking smells and smoke effectively. Ensure the switch and any controls work without issues.
Regular Cleaning Tips
- Clean the fan cover and blades every month.
- Use a soft cloth or brush to remove dust and grease.
- Check and clean the vent or duct to prevent blockages.
- Replace or wash filters according to the manufacturer’s guide.
- A clean fan improves air quality and reduces fire risk.
Troubleshooting Common Issues
If the fan does not turn on, check the power supply first. Loose wires or a blown fuse might cause problems. If the fan sounds noisy, clean the blades and motor area. A weak airflow may mean clogged ducts or filters. Tighten any loose screws and parts to avoid rattling sounds.
Frequently Asked Questions
How Do I Choose The Right Kitchen Ventilation Fan?
Select a fan based on kitchen size, airflow needs, and noise level. Look for energy-efficient, easy-to-clean models with proper exhaust capacity.
What Tools Are Needed To Install A Kitchen Ventilation Fan?
You’ll need a drill, screwdriver, measuring tape, wire stripper, and possibly a ladder. Safety gear like gloves and goggles is recommended.
Can I Install A Ventilation Fan Without Professional Help?
Yes, with basic electrical and DIY skills, you can install it. Follow the manufacturer’s instructions carefully and turn off power before starting.
Where Should The Kitchen Ventilation Fan Be Placed?
Place the fan above the stove or cooking area to capture smoke and odors effectively. Ensure proper ducting to vent air outside.
Conclusion
Installing a ventilation fan in your kitchen improves air quality. It helps remove smoke, steam, and odors quickly. Follow each step carefully for a safe setup. Use the right tools and materials for best results. Regular cleaning keeps the fan working well over time.
A well-ventilated kitchen feels fresher and more comfortable. This small upgrade makes cooking more enjoyable every day. Take your time and enjoy the benefits of fresh air.


