
Looking to add a personal touch to your workspace? Making your own base for a desk lamp is easier than you think—and it can transform your room’s look instantly.
Imagine a lamp base that fits perfectly with your style, made by your own hands. In this guide, you’ll discover simple steps and smart tips to create a sturdy, stylish base that holds your lamp just right. Keep reading, and you’ll soon have a unique piece that brightens your desk and sparks your creativity.

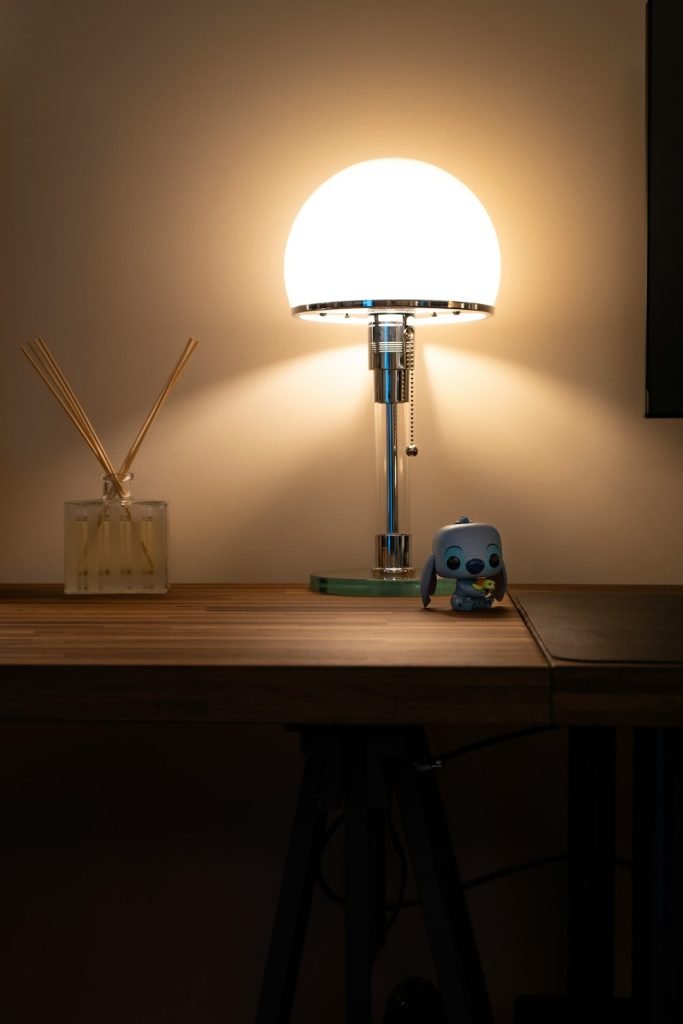
Credit: www.reddit.com
Choosing The Right Materials
Choosing the right materials for your desk lamp base is key to its look and function. The base must be sturdy enough to hold the lamp steady. It also needs to match your style and fit your workspace. Materials affect the lamp’s weight, durability, and appearance.
Think about the environment where the lamp will sit. Some materials suit modern designs, while others fit classic or rustic styles. Your choice will shape the lamp’s personality and how long it lasts.
Common Materials For Lamp Bases
- Wood
- Metal
- Ceramic
- Glass
- Concrete
- Plastic
Pros And Cons Of Each Material
| Material | Pros | Cons |
|---|---|---|
| Wood | Warm look, easy to shape, lightweight | Can scratch or chip, may absorb moisture |
| Metal | Strong, modern look, long-lasting | Can be heavy, may dent or rust |
| Ceramic | Decorative, smooth finish, stable | Fragile, can break if dropped |
| Glass | Elegant, light-reflecting, easy to clean | Breakable, may be slippery |
| Concrete | Very sturdy, industrial style | Heavy, cold to touch |
| Plastic | Affordable, lightweight, many colors | Less durable, may look cheap |
Where To Source Materials
- Local hardware stores offer wood, metal, and concrete supplies
- Craft shops carry ceramic, glass, and decorative items
- Online marketplaces provide a wide variety of materials
- Recycling centers are good for unique and eco-friendly finds
- Home improvement centers stock plastic and basic lamp parts
Tools You’ll Need
Before you start building a base for your desk lamp, gathering the right tools is crucial. The tools you choose will affect the ease and quality of your project. Having everything ready keeps the process smooth and lets your creativity flow without interruption.
Essential Hand Tools
Some hand tools are must-haves for any DIY desk lamp base. A good hammer helps with basic assembly and adjustments. Screwdrivers, both flathead and Phillips, are necessary for tightening screws and small fittings.
A measuring tape ensures your base dimensions are precise. Don’t forget a pencil for marking cuts or drill points. Sandpaper or a sanding block helps smooth rough edges and gives a finished look to your wood or metal base.
Power Tools For Efficiency
Power tools speed up your work and improve accuracy. A drill is invaluable for making holes quickly and securely attaching parts. If you’re working with wood, a jigsaw or circular saw can cut shapes faster than hand tools.
Consider a sander for quick smoothing of surfaces. Power tools may seem intimidating, but they save time and effort. Do you have experience using them, or will this project be your first attempt?
Safety Equipment
Safety should never be overlooked, especially when power tools are involved. Protective eyewear guards your eyes from dust and debris. Gloves protect your hands from splinters and sharp edges during handling.
Use ear protection if you’re operating noisy tools like saws or drills. A dust mask is also helpful when sanding or cutting to avoid inhaling fine particles. Staying safe lets you focus on making a sturdy, stylish desk lamp base without worries.
Designing Your Lamp Base
Choose a sturdy material like wood or metal to create a stable lamp base. Ensure the base size fits your desk and supports the lamp’s weight safely. Drill a hole in the center to hold the lamp rod securely in place.
Designing your lamp base is an exciting part of crafting your own desk lamp. It allows you to express your creativity while ensuring that your lamp is both functional and stylish. Whether you’re a beginner or an experienced DIY enthusiast, designing your lamp base can be a rewarding experience that adds a personal touch to your workspace.Simple Shapes For Beginners
If you’re new to DIY projects, starting with simple shapes can make the process more manageable. Consider using basic geometric forms like squares, circles, or rectangles. These shapes are not only easy to work with but also provide a clean and modern look to your lamp. Think about materials like wood or acrylic, which can be easily shaped and painted. A square wooden block, for example, can be a perfect beginner’s project. Sand it down, drill a hole for the lamp rod, and you’ve got a solid foundation for your desk lamp.Incorporating Stability
Stability is key when designing a lamp base. You don’t want your lamp to tip over every time you adjust it. Choose a base that’s wide and heavy enough to support the lamp’s weight. Adding a felt or rubber pad underneath can prevent slipping and protect your desk surface. You might also want to experiment with weights, such as adding metal plates inside the base for extra stability. Have you considered how the weight distribution affects the lamp’s balance?Personalizing Your Design
Personalizing your lamp base can turn a simple project into something truly unique. Consider adding decorative elements that reflect your style and personality. You could paint the base in your favorite color or add patterns using stencils. Think about using unconventional materials like stone or metal for an industrial vibe. Or perhaps integrate a small shelf into the base for added functionality. Your lamp base can be a canvas for creativity—what elements will make your design stand out?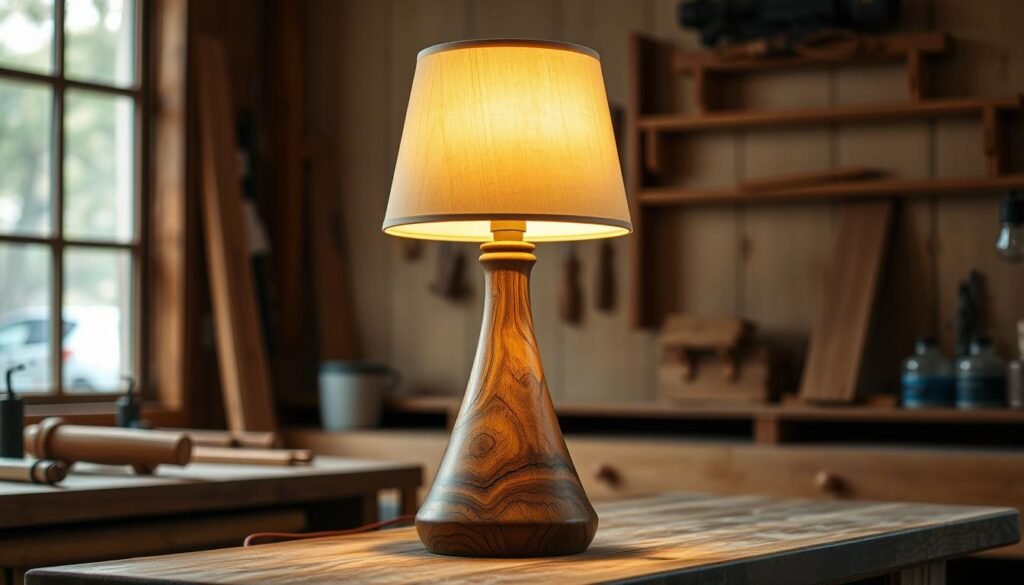
Credit: woodsoulcraft.com
Step-by-step Assembly
Creating a sturdy and attractive base for your desk lamp is a satisfying project that brings both function and style to your workspace. The process involves a few careful steps, but with the right approach, you can build a base that perfectly suits your lamp and decor. Let’s break down the assembly into clear, manageable parts.
Preparing The Materials
Start by gathering all the materials you’ll need. This usually includes wood or metal for the base, screws, glue, and any decorative elements you want to add. Make sure your workspace is clean and well-lit to avoid mistakes.
Double-check your measurements and the lamp’s size to ensure the base will support it properly. Have your tools ready—like a saw, drill, and screwdriver—to keep the process smooth.
Cutting And Shaping
Use a saw to cut your base material to the desired size. If you’re working with wood, sand the edges to remove any splinters and create a smooth finish. For metal, filing the edges can prevent sharp corners.
Think about the shape of your base—do you want a classic square, a rounded edge, or something more unique? This is your chance to add personality to the lamp’s foundation.
Assembling The Base Components
If your base consists of multiple pieces, fit them together carefully. Use wood glue or metal fasteners to secure the parts. Clamping the pieces during drying helps ensure a strong bond.
Check the stability of your assembled base frequently. A wobbly foundation will affect the lamp’s safety and usability.
Drilling For Wiring
Plan the wiring path before you drill. Mark the spot where the lamp’s cord will pass through the base. Use a drill bit that matches the size of your wiring to avoid tight fits or damage.
Drill slowly and steadily to keep the hole clean and precise. After drilling, sand the edges of the hole to protect the wiring from wear.
Have you considered how the placement of the wiring hole affects the lamp’s flexibility and cord management? A well-placed hole can make a big difference in everyday use.
Finishing Touches
The finishing touches can make or break the overall look of your desk lamp base. It’s where your creation moves from rough to refined, showcasing the care and effort you put into the project. Paying attention to details here ensures your lamp not only functions well but also looks great on your desk.
Sanding And Smoothing Surfaces
Start by sanding all surfaces to remove any rough edges or splinters. Use medium-grit sandpaper first, then switch to fine-grit for a smooth finish. Sanding creates a clean canvas that helps paint or sealant stick better and makes your lamp base pleasant to touch.
Don’t rush this step. I once skipped thorough sanding and ended up with paint peeling off after a few days. Taking your time here saves you from frustration later.
Painting And Sealing
Choose a paint that suits the material of your base—wood, metal, or ceramic require different types. Apply thin, even coats to avoid drips and let each layer dry fully before adding the next. Sealing with a clear varnish or polyurethane protects your paint job and adds a professional shine.
Think about the environment where your lamp will sit. Will it face sunlight or humidity? Selecting the right sealant can extend the life of your finish and keep it looking fresh.
Adding Decorative Elements
Personalize your desk lamp base with small touches like decals, stencils, or even fabric wraps. You can also glue on beads, buttons, or metal accents for texture and interest. These details let your personality shine and make the lamp uniquely yours.
Ask yourself: what fits your workspace vibe? Minimalist, rustic, or colorful? The decorative elements you choose can enhance your décor and inspire your daily work.
Installing The Lamp Hardware
Installing the lamp hardware is a crucial stage in creating a sturdy and functional base for your desk lamp. This process involves careful assembly of the electrical components to ensure safety and reliability. With the right approach, you can make a lamp that not only looks great but also works perfectly.
Attaching The Socket And Wiring
Start by securing the socket to the lamp base. Most sockets have a threaded section that fits snugly into the hole in your base material. Make sure it sits tightly to avoid any wobbling.
Next, connect the wiring carefully. Strip about half an inch of insulation from each wire, then attach them to the socket terminals—usually one for the live wire and one for the neutral. Tighten the screws firmly, but avoid over-tightening to prevent damaging the wires.
Securing The Bulb Holder
The bulb holder is where your light bulb will rest, so it needs to be stable. Depending on your lamp design, you might have a clip or screw mechanism to hold the bulb holder in place. Check that it doesn’t move or spin easily once installed.
If your holder came with a plastic or metal ring, use it to lock the bulb holder securely. This prevents the bulb from loosening over time, which could cause flickering or poor contact.
Testing Electrical Connections
Before you finalize the assembly, testing the electrical connections is essential. Use a multimeter to check for continuity and make sure no wires are shorted. This step helps catch any wiring mistakes early.
Once you confirm the wiring is correct, plug in your lamp and switch it on. If the bulb lights steadily without flicker, your connections are solid. If not, double-check your wiring and socket attachments.
Safety Tips And Maintenance
Ensuring safety and proper maintenance is crucial when making a base for a desk lamp. A sturdy and well-kept base not only supports the lamp but also prevents accidents. Regular checks and cleaning help keep the lamp working well and safe to use.
Checking For Stability
A stable base stops the lamp from tipping over easily. Test the base by gently pushing the lamp in different directions. It should not wobble or shift. Use heavy materials like wood or metal for a solid foundation. Tighten all screws and connections regularly. Replace parts if they become loose or damaged.
Avoiding Electrical Hazards
Electrical safety is vital to prevent shocks or fires. Use a lamp cord that meets safety standards. Avoid overloading the electrical outlet. Keep wires away from water and heat sources. Inspect cords for frays or cracks often. Unplug the lamp before doing any repairs or cleaning.
Cleaning And Upkeep
Keep the lamp base clean to avoid dust buildup. Dust can affect the lamp’s performance and cause damage. Use a soft, dry cloth for regular cleaning. Avoid harsh chemicals that can wear out the finish. Check the bulb and socket for dirt and replace bulbs as needed. Store the lamp in a dry place to prevent rust or corrosion.

Credit: www.reddit.com
Frequently Asked Questions
What Materials Are Best For A Desk Lamp Base?
Wood, metal, and resin are popular choices for desk lamp bases. They provide stability and aesthetic appeal. Choose a material that complements your lamp design and workspace decor. Consider weight and durability for safety and longevity.
How Do I Ensure My Lamp Base Is Stable?
Use a heavy, flat material like wood or metal for the base. Make sure the base size matches the lamp’s height and weight. Adding rubber pads underneath prevents slipping and protects surfaces. Stability prevents accidents and extends lamp lifespan.
Can I Customize A Desk Lamp Base At Home?
Yes, you can customize lamp bases using paint, fabric, or decorative elements. DIY customization allows personalization to match your room style. Ensure modifications don’t affect electrical safety or lamp balance. Simple changes can greatly enhance your lamp’s look.
How To Attach The Lamp Socket To The Base?
Secure the lamp socket using screws or adhesive suitable for your base material. Follow the lamp kit instructions for wiring and assembly. Ensure the socket is firmly fixed to avoid movement. Proper attachment ensures safe electrical connections and usability.
Conclusion
Making a desk lamp base can be simple and fun. Choose the right materials for a strong foundation. Take your time to measure and assemble carefully. A steady base keeps your lamp safe and steady. Personalize it to fit your style and space.
This small project adds a unique touch to your room. Try it yourself and enjoy a custom lamp base. You will feel proud of your handy work.


