
Are you looking for a fun and creative way to brighten up your home this holiday season? Making a Christmas tree from string lights is a simple and stunning idea that anyone can try.
Imagine turning ordinary lights into a sparkling centerpiece that draws compliments from all your guests. In this guide, you’ll discover easy steps to create your own glowing tree, even if you’re short on time or space. Ready to add a magical touch to your decorations?
Keep reading, and let’s light up your holidays together!
Credit: sustainability-success.com
Materials Needed
Creating a Christmas tree from string lights is a fun and creative project that brightens up any space. Before you start, gathering the right materials is essential to make sure your tree looks stunning and stays safe. Let’s break down what you’ll need to get your festive light display just right.
Types Of String Lights
Choosing the right string lights can make all the difference. LED lights are a popular choice because they use less energy and stay cool to the touch, which is safer if you have kids or pets around.
Consider the color and size of the bulbs. Warm white lights create a cozy feel, while multicolored lights add a playful touch. Mini lights are easy to shape, but larger globe bulbs can make a bold statement.
Also, check if the lights are rated for indoor or outdoor use, depending on where you plan to display your tree.
Additional Supplies
Besides string lights, you’ll need a sturdy frame or support structure to shape your tree. This could be a metal coat hanger, a wooden dowel, or even PVC pipes depending on your design.
Other helpful items include:
- Hooks or clipsto secure the lights in place without damage
- Zip ties or twist tiesfor neat bundling and adjustments
- Extension cordsto reach your power source safely
- Adhesive putty or tapeto keep wires tidy and prevent slipping
Have you thought about adding ornaments or a star topper? Planning these extras early helps avoid last-minute trips and frustration. Getting your materials ready sets you up for a smooth and enjoyable decorating experience.
Choosing The Right Location
Choosing the right location for your Christmas tree made from string lights is crucial to create the perfect festive atmosphere. The spot you pick affects not only the look of your lighted tree but also safety and ease of setup. Think about where your tree will shine best and be most practical for your holiday celebrations.
Indoor Vs Outdoor Setup
Decide if your Christmas tree will brighten up an indoor space or stand proudly outdoors. Indoor setups allow you to control lighting conditions, making your string light tree a cozy centerpiece. Outdoors, your tree can become a beacon of holiday cheer visible to neighbors and passersby.
Remember, outdoor setups require weatherproof lights and secure installation to withstand wind or rain. Indoors, you have more flexibility with power sources but need to ensure the area is free from hazards like flammable materials. Which atmosphere fits your holiday style better—warm and intimate or bold and festive?
Space Requirements
Assess the size of your chosen spot carefully. String light trees need enough vertical and horizontal space to spread out without crowding the area. A cramped corner might make your creation look cluttered and reduce the impact of the lights.
Consider the height of your ceiling or outdoor clearance and the width available for your tree base. You want to leave room for people to walk by comfortably and avoid accidentally knocking into your masterpiece. Have you measured your space to ensure your glowing tree will have room to dazzle?
Preparing The Base
Begin by choosing a sturdy base to support the tree shape. Secure a cone or frame to wrap the string lights around evenly. This ensures the structure stays steady and lights shine bright.
Preparing the base for your string light Christmas tree is crucial. It sets the foundation for a stable and beautiful display. A well-prepared base ensures your tree stands tall and shines bright. This section guides you through selecting a frame and assembling the structure.Selecting A Frame
Choose a sturdy frame for your tree. Metal or plastic frames work well. Ensure the frame can support the weight of the lights. It should also fit the space where you plan to display your tree. Consider the height and width of your tree. The frame should match your available space. Opt for a collapsible frame for easy storage after the holidays.Assembling The Structure
Place the frame where you want the tree to stand. Ensure it sits level on the ground. Use a spirit level if needed. Secure the frame to prevent it from tipping over. If your frame requires assembly, follow the manufacturer’s instructions. Connect all parts firmly. Check for loose connections before proceeding to hang the lights. Ensure all parts of the frame are stable. Give it a gentle shake to test its sturdiness. A stable structure is key to a safe and beautiful tree.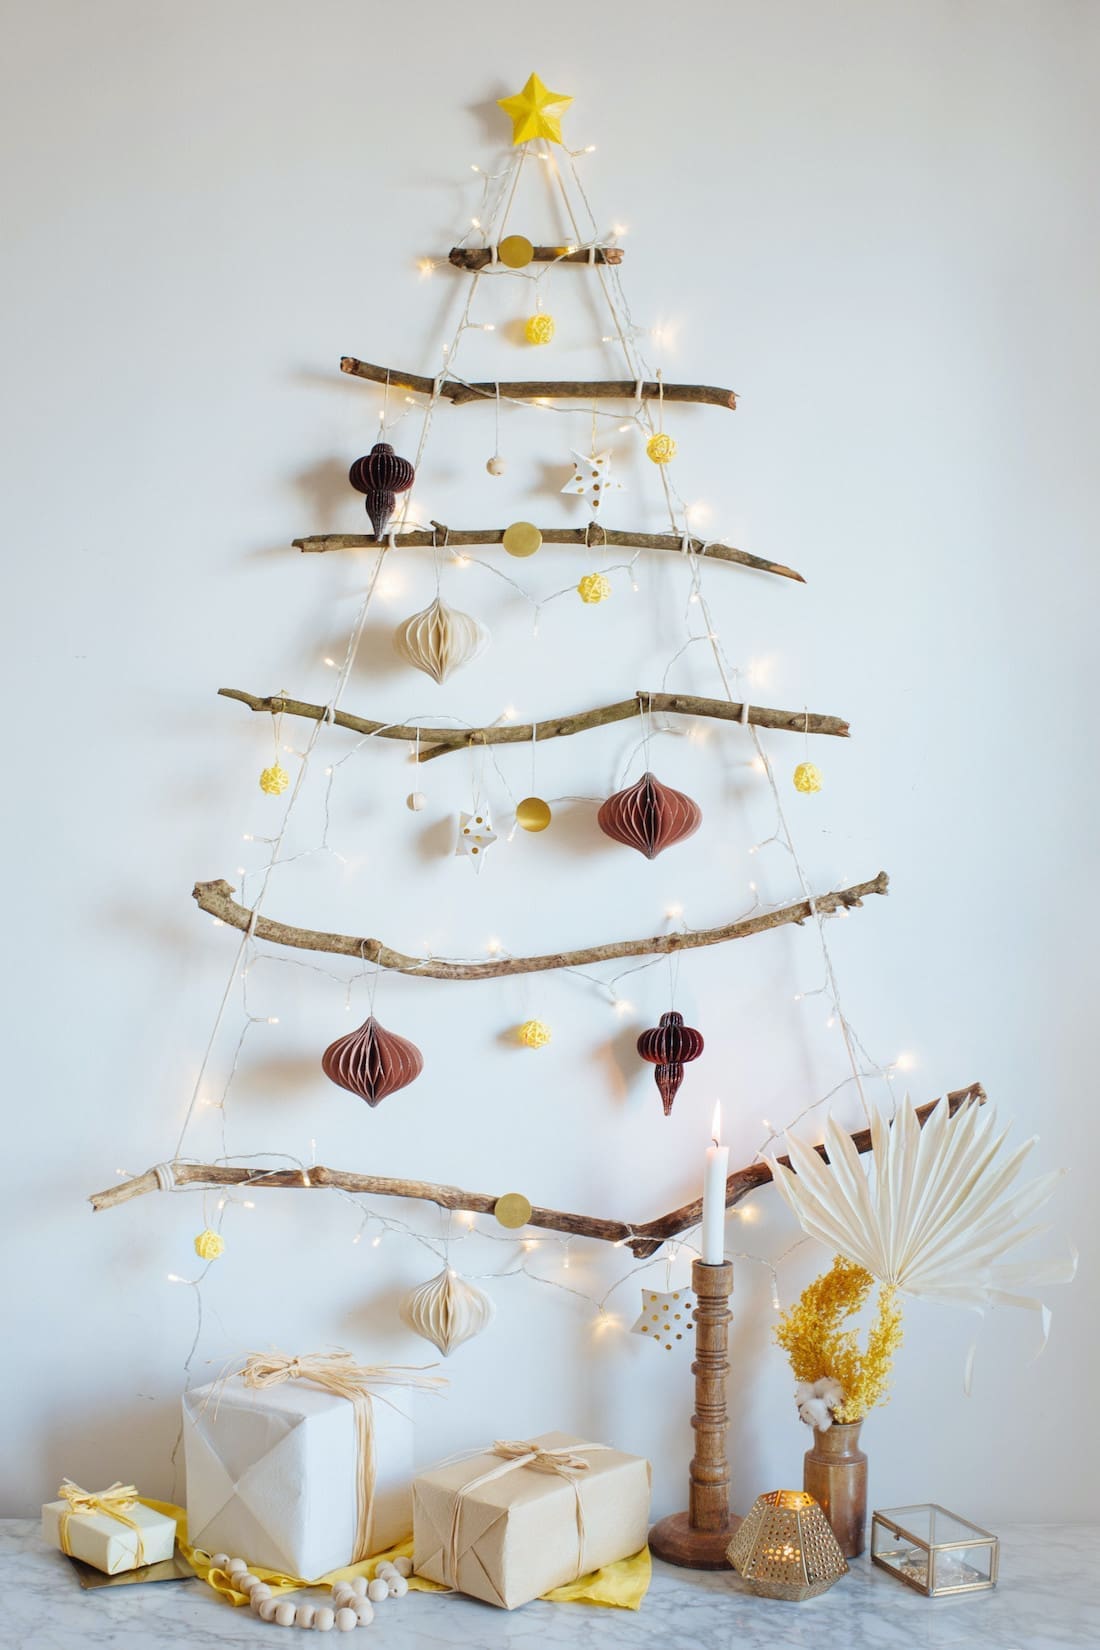
Credit: stylecurator.com.au
Arranging The String Lights
Arranging string lights to create a Christmas tree shape is both fun and rewarding. It transforms your space instantly and offers a unique, modern twist on holiday décor. The key lies in how you wrap and secure the lights to keep the design neat and glowing throughout the season.
Wrapping Techniques
Start by choosing a central point to anchor the top of your tree. This could be a hook on the wall or the ceiling. From there, gently stretch your string lights downward in a triangular shape that resembles a tree.
Try wrapping the lights in gentle loops or zigzags, depending on the look you want. Loops create a fuller, rounded shape, while zigzags give a more geometric, sharp outline. Keep your spacing consistent—too tight and it looks cluttered, too loose and the shape may lose definition.
Imagine how light reflects off your walls—would wider loops catch more attention, or do you prefer a streamlined, minimalist vibe? Play with this balance to suit your room’s style and size.
Securing The Lights
Once you’ve arranged the lights, securing them is essential to maintain the shape. Use clear or color-matched adhesive hooks to attach the string at key points. These hooks won’t damage your walls and are easy to remove after the holidays.
Alternatively, small pieces of painter’s tape can hold the lights in place without leaving residue. Focus on securing the top point, the bottom corners, and a few spots along the sides to prevent sagging.
Have you noticed how a loose string can quickly ruin the entire look? Taking a few extra minutes to secure your lights properly saves you time and frustration later.
Adding Decorative Elements
Adding decorative elements to your Christmas tree made from string lights transforms it from simple to spectacular. These accents bring personality and warmth to your creation, making it a unique centerpiece for your holiday decor. Think beyond just lights—how can you make your tree truly reflect your style and festive spirit?
Ornaments And Garlands
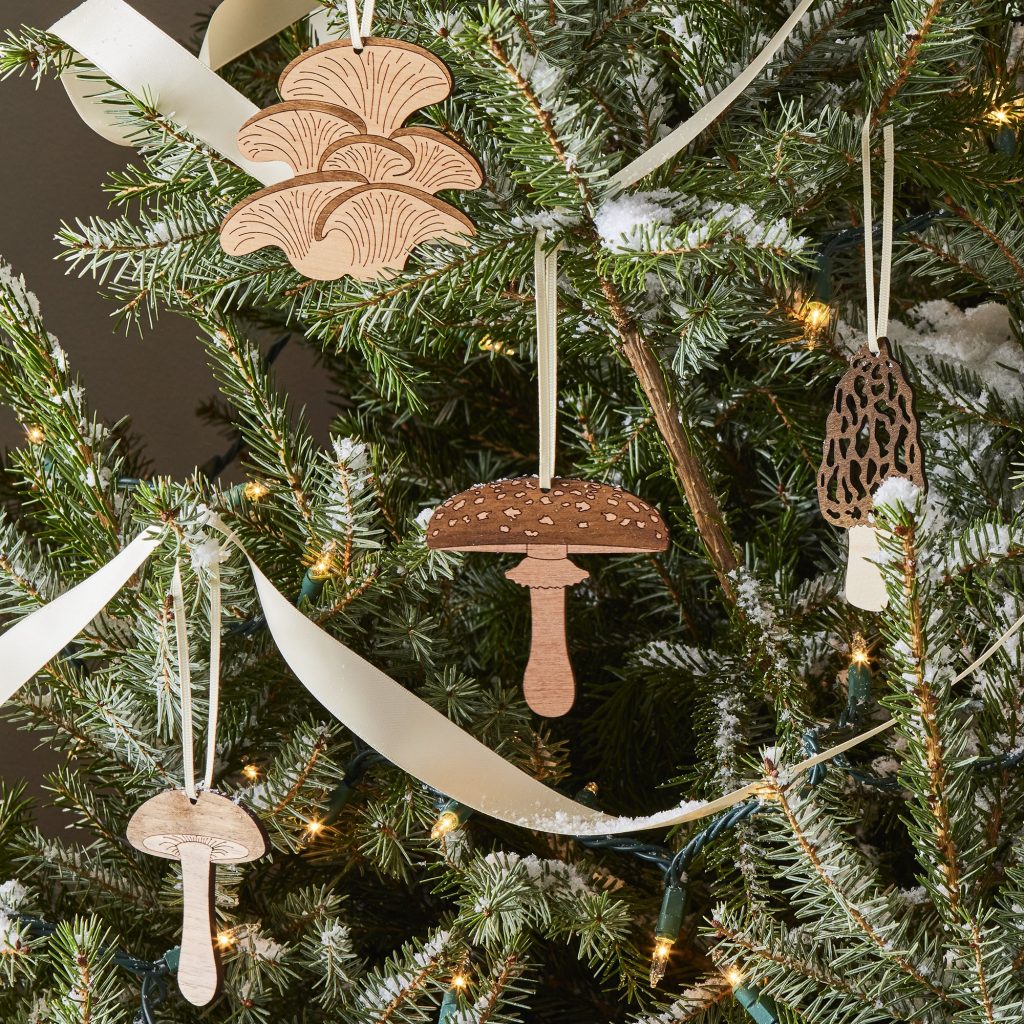
Once your string light tree is set up, start by adding ornaments that catch the eye without weighing down the structure. Lightweight options like paper stars, small wooden shapes, or fabric baubles work perfectly. Avoid heavy glass ornaments as they might pull the lights out of shape.
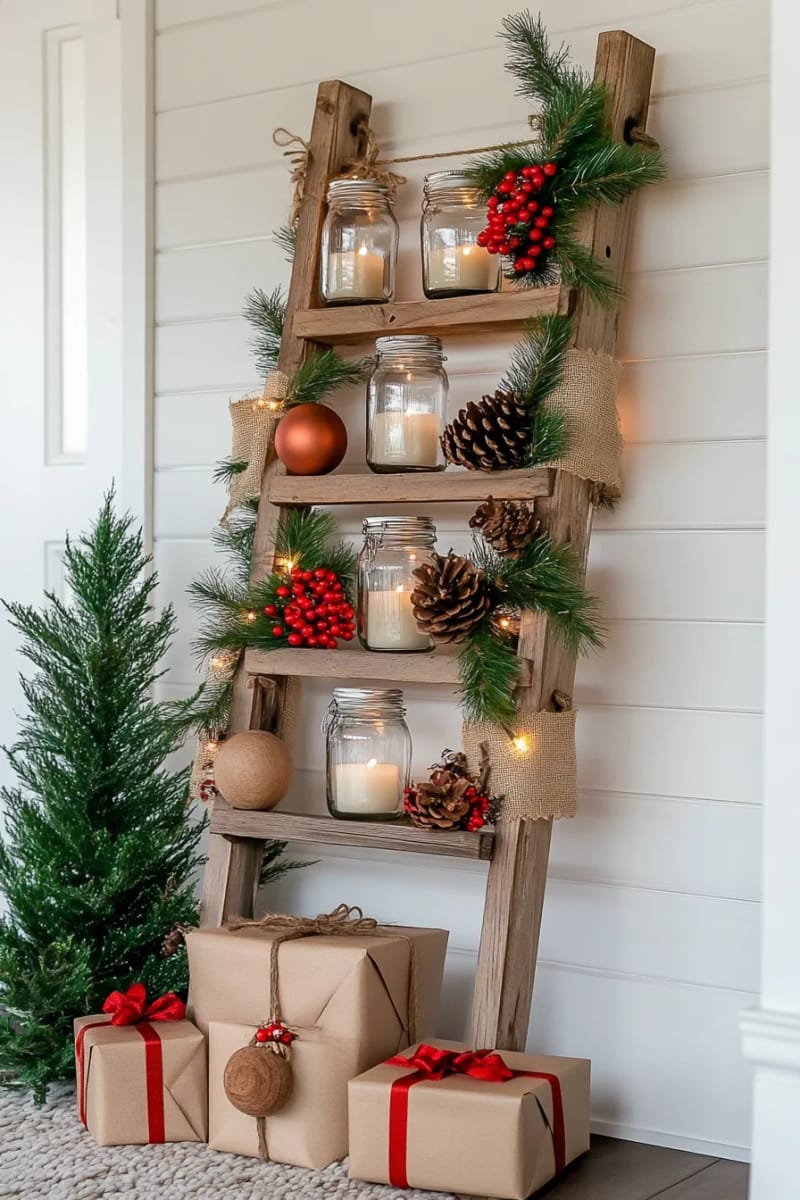
Garlands add texture and color. Try using tinsel, bead strings, or even popcorn strands to wrap gently around your light frame. You could also experiment with natural elements like pinecones or dried orange slices for a rustic touch.
Think about color schemes that complement your room. Would metallic tones brighten your space, or do you prefer classic red and green? Mixing a few different textures keeps the look dynamic and interesting.
Tree Topper Ideas
The top of your string light tree deserves special attention—it’s the finishing touch that draws the eye upward. A simple star made from craft wire and glitter can sparkle brilliantly with the lights behind it. Or, try a large bow made from festive ribbon for an elegant twist.
If you want something more personal, consider a handmade ornament that means something to you or your family. I once used a vintage angel ornament that sparked conversations and added a warm, nostalgic feel.
Ask yourself what mood you want to create. Is it joyful and bright, cozy and traditional, or modern and minimalist? Your tree topper can set that tone immediately.
Safety Tips
Safety is the top priority when creating a Christmas tree from string lights. Taking simple precautions avoids accidents and keeps everyone safe. Follow these safety tips to enjoy a bright and secure holiday decoration.
Electrical Precautions
- Use string lights rated for indoor use only.
- Check for damaged wires or broken bulbs before use.
- Plug lights into outlets with proper voltage matching the lights.
- Avoid overloading electrical outlets with too many plugs.
- Unplug lights before making adjustments or moving the setup.
- Use extension cords rated for the wattage of your lights.
Fire Safety Measures
- Keep string lights away from flammable materials like curtains.
- Place the light tree on a stable, heat-resistant surface.
- Do not leave lights on unattended or while sleeping.
- Turn off all lights before leaving the house or going to bed.
- Have a fire extinguisher nearby just in case of emergency.
- Use LED lights as they generate less heat and reduce fire risk.
Troubleshooting Common Issues
Troubleshooting common issues while making a Christmas tree from string lights can save you time and frustration. Often, the problems are simple to fix but can halt your progress if not addressed promptly. Knowing how to handle these issues keeps your decorating experience smooth and enjoyable.
Fixing Burnt Out Bulbs
Burnt out bulbs are one of the most frequent problems with string lights. Start by checking the entire string for dark or broken bulbs. Replacing these bulbs usually restores the lights without needing a full replacement.
Keep spare bulbs that match your string lights handy. If you notice a section of your tree not lighting up, test each bulb gently by swapping it with a working one. This quick swap can pinpoint the faulty bulb fast.
Have you ever stood back and noticed a dim spot on your tree? That could be a sign of a loose bulb. Press each bulb firmly into its socket to make sure it’s secure and that the connection is solid.
Dealing With Tangled Lights
Tangled string lights can be a major headache, especially when you’re eager to finish your project. Avoid pulling or yanking, as this can damage wires or bulbs. Instead, work slowly and patiently untangling knots by loosening tight loops first.
Try using a flat surface to spread out the lights. This gives you space to see where the tangles are and makes it easier to separate strands. Wrapping the lights around a piece of cardboard can also help keep them organized once untangled.
Have you ever noticed your lights knotting up as you wrap them around the tree? Pause frequently to adjust and smooth the strands. This small step prevents bigger tangles and saves you from rewinding everything.
Credit: www.cleabroad.co.uk
Creative Variations
Adding creative variations to your string light Christmas tree can turn a simple decoration into a stunning centerpiece. Small changes in color and shape can reflect your personal style and make your holiday decor truly unique. Think beyond the traditional and experiment with ideas that surprise and delight both you and your guests.
Color Themes
Choosing a color theme can completely change the mood of your string light tree. You might want to match your home’s existing decor or create a bold contrast that grabs attention.
- Monochrome Magic:Use all white or all blue lights for a sleek and modern look. It’s simple but elegant, perfect for a minimalistic space.
- Rainbow Delight:Combine multiple colors for a playful, festive feel. This works well if you want a cheerful vibe that energizes the room.
- Themed Colors:Pick colors that reflect something meaningful to you, like red and gold for a classic Christmas or green and silver for a winter wonderland theme.
Have you tried mixing warm and cool lights to create depth? It adds dimension and makes the tree feel more alive.
Alternative Shapes
Who says your string light tree has to be a classic triangle? Changing the shape can make your decoration stand out and fit any space.
- Star Shape:Arrange the lights into a large star on the wall. It’s a fantastic way to symbolize the holiday spirit while saving floor space.
- Spiral Tree:Wrap the lights around a vertical pole or stick in a spiral, mimicking a tree shape but with a modern twist.
- Heart or Snowflake:Use wireframes or tape to shape the lights into hearts or snowflakes. These shapes add a personal touch and show creativity.
Try placing your light shape in unexpected places like above a doorway or along a staircase. You might find new spots that bring your home to life in ways you hadn’t imagined.
Frequently Asked Questions
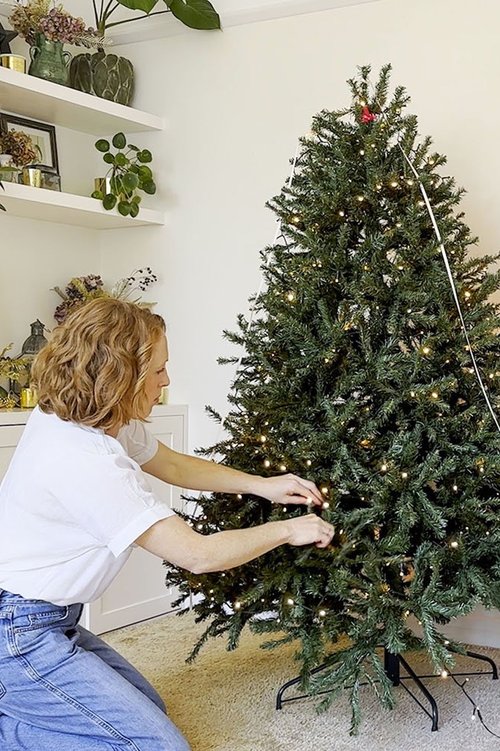
How Do You Start Making A String Light Christmas Tree?
Begin by selecting a sturdy wall or frame. Secure the string lights vertically in a triangular shape. Use hooks or tape to hold the lights in place neatly.
What Materials Are Needed For A String Light Tree?
You need string lights, hooks or adhesive tape, and a power source. Optional items include ornaments and a star topper for decoration.
Can I Use Outdoor String Lights Indoors?
Yes, outdoor string lights are safe indoors if rated for indoor use. They are durable and designed to withstand various conditions.
How Long Do String Light Christmas Trees Last?
With proper care, they can last many holiday seasons. Turn off lights when not in use to extend their lifespan.
Conclusion
Creating a Christmas tree from string lights is simple and fun. You only need a few materials and some patience. This project adds a cozy glow to any room. It also saves space and looks modern. Try different shapes or colors for a unique touch.
Enjoy the warm light and festive feeling it brings. This DIY idea makes holiday decorating easy and special. Give it a try and brighten your home this season.


