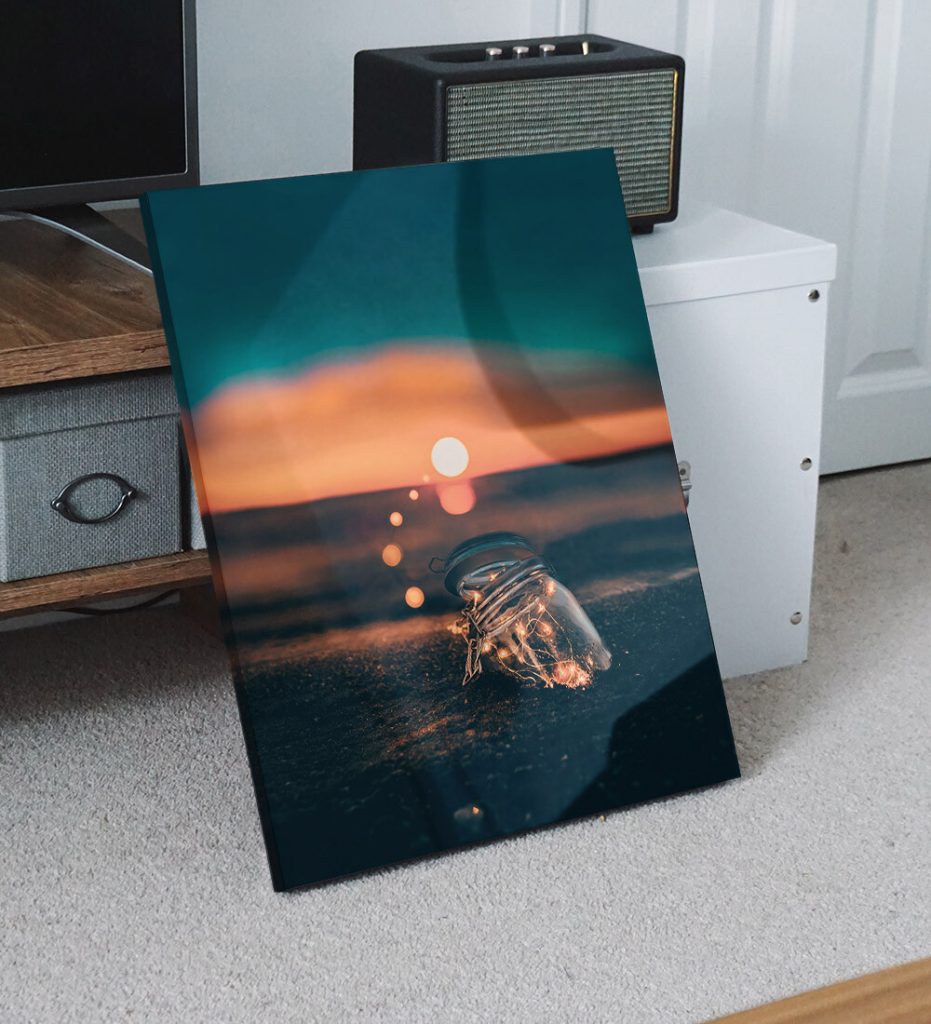
Have you ever wanted to turn your favorite photos or artwork into stunning canvas prints? Making a print on canvas is easier than you might think—and the results can transform any room.
Imagine seeing your memories or creative designs come to life on a vibrant, textured surface that feels like real art. Whether you want to decorate your home, create a personalized gift, or start a small business, this guide will walk you through every step.
By the end, you’ll know exactly how to make a print on canvas that looks professional and lasts for years. Ready to get started? Let’s dive in!
Choosing The Right Image
Choosing the right image for your canvas print is crucial. The image sets the mood and impacts the print’s overall quality. Select with care to ensure stunning results.
Selecting High-resolution Photos
High-resolution photos ensure clarity and detail. Aim for images with at least 300 DPI. This resolution prevents blurring or pixelation. Check the file size; larger files often mean better quality. Photos from digital cameras are usually suitable.
Considering Image Composition
Image composition influences the canvas’s aesthetic appeal. Consider the subject’s placement and background. Rule of thirds can guide your composition choices. It suggests placing subjects in intersecting grid points. This technique enhances visual interest.
Using Custom Artwork
Custom artwork offers a personal touch. Create or commission unique pieces for your canvas. Digital art programs allow easy customization. Ensure the artwork is in a printable format. Vector files are ideal for maintaining quality.
Preparing The Image File
Preparing the image file is a crucial step before printing on canvas. It ensures the final print looks sharp, vibrant, and true to your vision. Proper preparation saves time and avoids poor quality prints.
Focus on the image’s color, contrast, size, and format. These elements affect how the picture will appear on the canvas. Careful adjustments improve the print’s overall impact and durability.
Editing For Color And Contrast
Adjusting color and contrast enhances the image’s visual appeal. Increase brightness to reveal details in dark areas. Boost contrast to make colors pop and create depth.
Use simple editing tools to balance saturation. Avoid over-editing; keep colors natural and true to the original scene. Test small changes and compare results for best effect.
Resizing And Cropping
Resize the image to match the canvas size exactly. This prevents stretching or pixelation. Use high-resolution files with at least 150 DPI for clear prints.
Crop the image to focus on key elements. Remove unnecessary background or distractions. Keep the composition balanced and centered. Check edges to avoid cutting important details.
File Formats To Use
Choose the right file format to maintain image quality. Use lossless formats like TIFF or PNG for best results. JPEG is acceptable but save with maximum quality settings.
Avoid using compressed or low-resolution files. These can cause blurriness or pixelation. Always keep a backup of the original file before editing.
Picking Canvas Materials
Picking the right materials for your print on canvas is crucial to achieving a stunning final product. The choice affects the texture, durability, and overall look of your artwork. Understanding the differences in canvas fabric, frame styles, and thickness helps you make confident decisions that match your vision and space.
Types Of Canvas Fabric
Canvas comes in various fabrics, each offering unique qualities. Cotton canvas is popular for its natural texture and affordability. Linen canvas, on the other hand, provides a smoother surface and is more durable, making it ideal for professional artwork.
Have you ever noticed how some prints look sharper and more vibrant? That often depends on the fabric’s weave and absorbency. Synthetic blends can also offer resistance to moisture and stretching, perfect if your print will hang in humid areas.
Choosing Frame Styles
The frame style influences how your canvas print complements the room. A gallery wrap, where the canvas is stretched around the edges, gives a modern, frameless look that highlights the image itself. Traditional frames, available in wood or metal, add a classic touch and can protect the canvas edges.
Think about where you want your canvas displayed. Would a sleek black frame suit your living room, or does a rustic wooden frame fit better with your decor? Your choice can make the artwork pop or blend seamlessly into your space.
Selecting Canvas Thickness
Thickness affects both the durability and the visual depth of your canvas print. Standard thickness ranges from 0.75 inches to 1.5 inches. Thicker canvases stand out more on the wall and can give a more substantial feel to your artwork.
If you want your print to feel like a real centerpiece, consider going for a thicker canvas. But if space is tight or you prefer a minimalist look, thinner canvases may be better. What kind of impact do you want your print to make?

Credit: thestackhouse.com
Printing Techniques
Printing techniques play a vital role in creating high-quality canvas prints. Each method offers unique benefits and suits different needs. Understanding these techniques helps you choose the best option for your artwork or photos. Let’s explore the main printing methods used for canvas prints.
Inkjet Vs. Giclée Printing
Inkjet printing sprays tiny droplets of ink onto the canvas. It is widely used for home and small business projects. Giclée printing is a high-end version of inkjet printing. It uses archival-quality inks and papers. Giclée produces sharper images with richer colors. Both methods offer good detail, but Giclée lasts longer and resists fading better.
Using Uv Printing
UV printing uses ultraviolet light to dry the ink instantly. This method prints directly onto the canvas surface. It allows for vibrant colors and sharp details. UV printing works well on various materials, including textured canvas. It creates prints that resist scratches and water damage. The result is a durable and vivid canvas print.
Benefits Of Dye-sublimation
Dye-sublimation uses heat to transfer dye onto special coated canvas. This technique produces bright and long-lasting colors. The ink becomes part of the canvas fibers, not just on the surface. This process makes the print more flexible and resistant to cracking. Dye-sublimation is ideal for vibrant, high-quality canvas art.
Stretching And Mounting Canvas
Stretching and mounting canvas is a key step in creating a professional print on canvas. It gives the artwork a strong, smooth surface and ensures it stays flat and secure. Proper stretching prevents wrinkles and sagging over time. Mounting the canvas on a frame adds stability and makes it ready to display. This process requires some basic tools and careful handling for the best results.
Tools Needed For Stretching
- Canvas print
- Wooden stretcher bars
- Staple gun with staples
- Canvas pliers
- Measuring tape or ruler
- Scissors
- Hammer (optional, for securing staples)
Step-by-step Stretching Process
Start by assembling the stretcher bars into a frame. Make sure the corners are square.
Lay the canvas print face down on a clean surface. Place the frame on top.
Begin stretching the canvas on one side. Use canvas pliers to grip the fabric firmly.
Pull the canvas tight and staple it to the middle of one stretcher bar.
Move to the opposite side, pull tight again, and staple in the center.
Repeat this process on the remaining two sides.
Continue adding staples moving outward toward the corners. Keep the canvas tight.
Fold the corners neatly and staple them securely.
Trim any excess canvas with scissors.
Mounting On Frames
The stretched canvas now fits snugly on the wooden frame. Check for even tension.
Make sure the canvas surface is smooth without wrinkles or sagging.
Use additional staples or small nails to secure the canvas on the frame edges.
Add corner braces if needed for extra frame strength.
Finally, attach hanging hardware to the frame for easy wall mounting.

Credit: www.canva.com
Finishing Touches
Finishing touches can make or break your print on canvas project. They protect your artwork and prepare it for display, ensuring it looks stunning for years. Paying attention to these final details gives your canvas a professional, polished feel.
Applying Protective Coatings
Adding a protective coating shields your canvas from dust, moisture, and fading. Use a clear varnish spray designed for canvas prints to keep colors vibrant. Apply thin, even layers and let each coat dry fully before adding the next.
Think about your environment—will the canvas hang in a sunny room or a humid space? Choosing a UV-resistant or water-resistant finish can extend your artwork’s life significantly. Have you checked if your coating changes the texture or glossiness of your print? Experiment on a small corner first.
Adding Hanging Hardware
Proper hanging hardware ensures your canvas sits securely and straight on the wall. D-rings and wire are common choices that offer flexibility for different wall types. Attach hardware to the back stretcher bars, making sure it’s evenly balanced to avoid tilting.
If you want a clean look without visible hooks, consider using sawtooth hangers. These are easy to install and work well for lightweight canvases. Have you thought about the wall material? Drywall, brick, or plaster may require different anchors for safe hanging.
Cleaning And Maintenance Tips
Keeping your canvas clean is simple but important. Use a soft, dry cloth or a gentle brush to remove dust regularly. Avoid harsh chemicals or water, which can damage the print and protective coating.
For stubborn spots, try a slightly damp microfiber cloth and gently dab the area. Do you notice any fading or wear over time? Rotate your artwork occasionally to prevent prolonged exposure to direct sunlight, which can cause uneven fading.
Diy Vs. Professional Printing
Deciding between DIY and professional printing for your canvas art can shape the entire outcome of your project. Both options offer unique benefits and challenges that affect cost, quality, and convenience. Understanding these differences will help you pick the best approach for your needs.
Cost Comparisons
DIY printing often looks cheaper upfront because you only pay for supplies like canvas, ink, and a printer. However, high-quality materials and maintenance for your printer can add up quickly. Professionals charge more initially, but their prices usually cover all materials, labor, and finishing touches.
Think about how often you’ll print. If it’s a one-time project, a pro print might be more cost-effective. For frequent projects, investing in DIY equipment could save money over time.
Quality Differences
Professional printers use advanced equipment and expertise to ensure your images pop with vibrant colors and sharp details. Their canvas stretch and coating techniques usually last longer and resist fading better.
DIY quality depends heavily on your printer and materials. You might get decent results but expect some trial and error. Have you noticed how colors sometimes look different on your screen versus the print? Professionals handle color calibration that most home setups can’t match.
When To Choose Each Option
Choose DIY if you enjoy hands-on projects and want full control over every step. It’s perfect for experimenting with different styles or personalizing small batches of prints.
Opt for professional printing when you need consistent, high-quality results, like for gifts, exhibitions, or selling your art. Professionals save you time and hassle, letting you focus on creating rather than printing.
Ask yourself: Is this print a one-time keepsake or part of a larger, ongoing project? Your answer will guide you to the right choice.
Creative Ideas For Canvas Art
Creative ideas bring life to canvas art. They make your work unique and eye-catching. Trying new techniques can inspire and excite you. Canvas art allows freedom to explore different styles and materials.
Using Mixed Media
Mixed media combines paint, fabric, paper, and other materials. It adds texture and depth to your canvas. Use acrylic paint with scraps of cloth or newspaper. Layering different elements creates a rich, tactile effect. Experiment with glue, ink, and pastels too. This approach makes your canvas stand out with a three-dimensional feel.
Creating Collages
Collages use cutouts from magazines, photos, and colored paper. Arrange pieces on the canvas to form a new image or pattern. This style allows storytelling through various visuals. Use scissors and glue to place items carefully. Overlap elements to add interest and complexity. Collages invite viewers to explore every corner of the artwork.
Personalizing With Text
Adding text makes your canvas art personal and meaningful. Use words, quotes, or names to express your message. Paint or stencil letters directly on the canvas. Combine text with images for a creative effect. Choose fonts and colors that match your theme. Text can guide the viewer’s emotion and thought.

Credit: digital-photography-school.com
Frequently Asked Questions
What Materials Do I Need To Print On Canvas?
You need canvas fabric, printer, ink suitable for fabric, and a protective sealant. A heat press or iron helps fix the print. Ensure your printer supports thick media for best results.
How Do I Prepare My Image For Canvas Printing?
Use high-resolution images with 300 DPI for clear prints. Adjust brightness and contrast for vibrancy. Crop to your canvas size and convert colors to RGB for accurate printing.
Can I Use Any Printer To Print On Canvas?
Not all printers work well on canvas. Inkjet printers with pigment-based ink are best. They offer vibrant colors and resist fading. Avoid laser printers as they may damage the fabric.
How Do I Protect My Canvas Print?
Apply a clear acrylic spray or varnish after printing. This protects against moisture, dust, and UV rays. Let the print dry completely before sealing for durability and longevity.
Conclusion
Creating a print on canvas is a fun and simple process. You only need a good image and some basic tools. Choose the right size and quality for the best look. Stretching the canvas carefully keeps your art neat and smooth.
This project lets you make unique wall art at home. Try different photos or designs to match your style. Enjoy the satisfaction of seeing your picture come to life on canvas. Start your print on canvas journey today and add charm to any room.