

Looking to add a personal touch to your space? Making a shelf out of wood is easier than you might think—and it gives you a unique piece that fits perfectly in your home.
Imagine having a shelf that not only holds your favorite books or decorations but also shows off your own handiwork. Whether you’re a beginner or just want a simple weekend project, this guide will walk you through every step. By the end, you’ll have the skills and confidence to create a sturdy, stylish shelf that you’ll be proud of.
Ready to get started? Let’s dive in!
Choosing The Right Wood
Choosing the right wood for your shelf is key to creating a sturdy and beautiful piece. The wood you pick affects not only the look but also how long your shelf will last. Take your time to understand different wood types, their qualities, and where to find the best materials.
Types Of Wood For Shelves
There are many wood options, but some are better suited for shelves than others. Pine is affordable and easy to work with, making it great for beginners. Oak offers strength and a classic look, but it’s heavier and pricier.
Maple and birch are popular for their smooth finish and durability. If you want something exotic, teak or walnut adds a unique style but demands a higher budget. Think about the weight your shelf needs to hold and the style you want before choosing the wood type.
Wood Quality And Durability
Not all wood is created equal. Look for boards without knots or cracks, as these can weaken your shelf. Solid hardwood tends to last longer and hold weight better than softwood.
Check if the wood has been properly dried to avoid warping later. Sometimes, wood may look good on the surface but has hidden defects. Ask the seller about the wood’s grade and history—it can save you headaches down the road.
Where To Buy Wood
You have several options for buying wood, each with pros and cons. Local lumber yards often offer a wide range of quality woods and expert advice. Home improvement stores are convenient and usually stock common types like pine and oak.
Online retailers can provide specialty woods and detailed descriptions but won’t let you inspect the wood before buying. Visiting a few places allows you to compare prices and pick the best boards. Have you checked if any local woodworking clubs or community centers offer wood sales? Sometimes they have hidden gems at great prices.
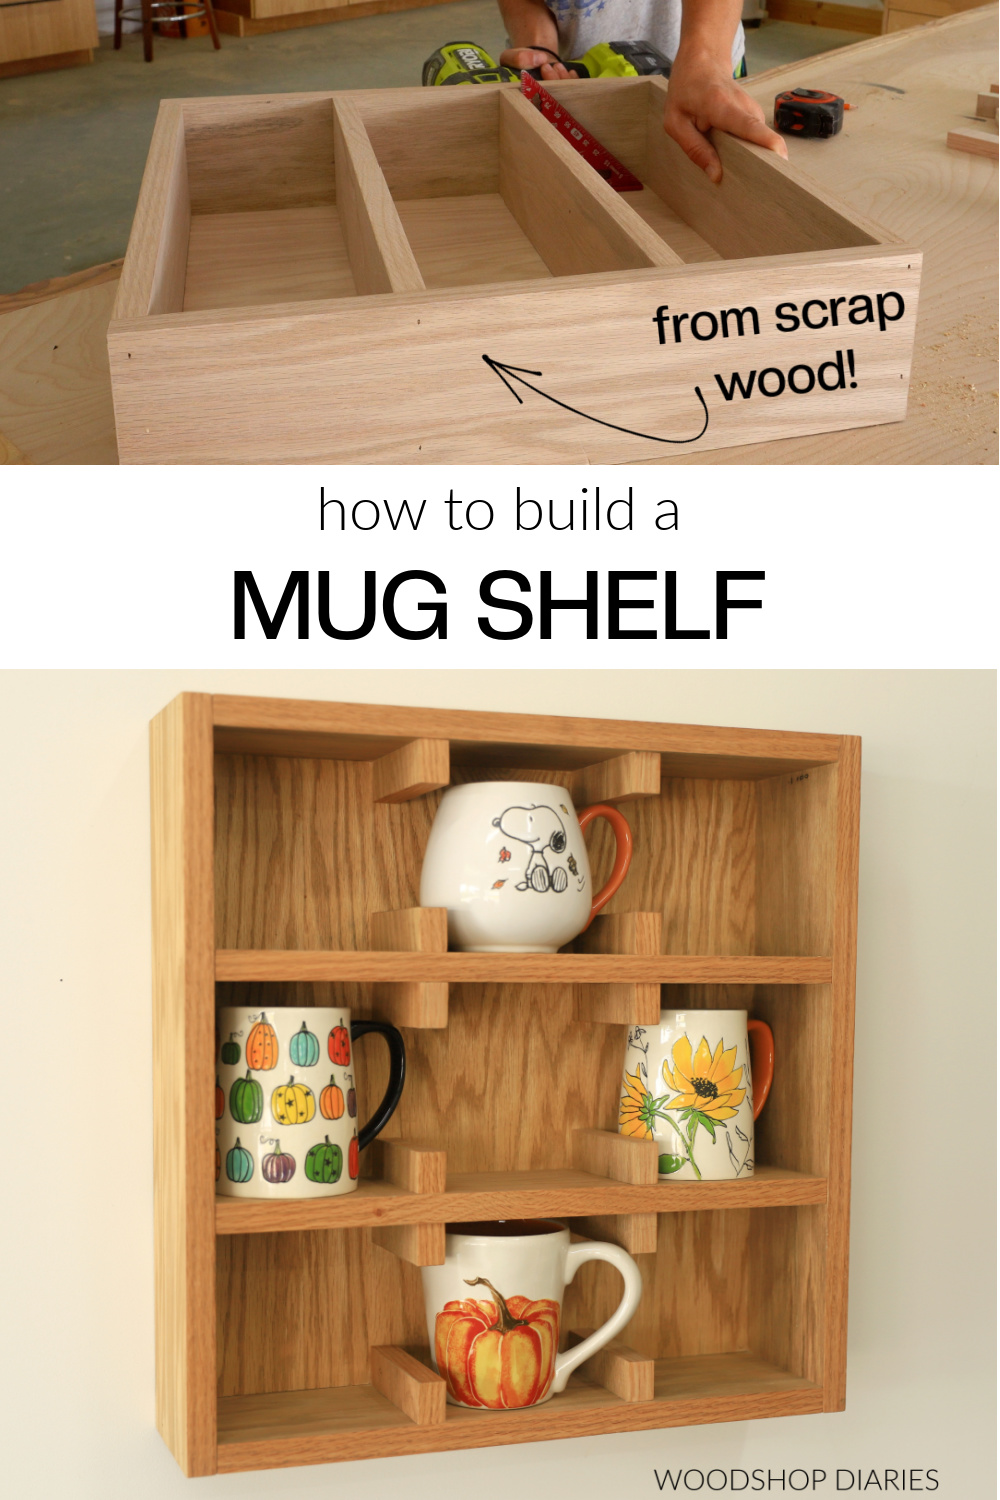
Credit: www.woodshopdiaries.com
Tools And Materials Needed
Before you start building your wooden shelf, gathering the right tools and materials is crucial. Having everything ready saves time and prevents frustration during the project. Let’s break down what you’ll need to make the process smooth and enjoyable.
Essential Tools
- Measuring Tape:Accuracy matters. You’ll need this to measure wood pieces precisely.
- Saw:A handsaw or circular saw works well for cutting wood to size.
- Drill:Essential for making holes and driving screws securely.
- Screwdriver:Helps tighten screws if you prefer manual control or for finishing touches.
- Level:Keeps your shelf straight and balanced on the wall.
- Clamps:Hold wood pieces steady while you work on them.
Skipping any of these tools can make the project harder. Think about how frustrating it was the last time you tried to cut wood without a proper saw—don’t let that happen again.
Additional Supplies
- Wood Boards:Choose the type and size based on your shelf design and weight needs.
- Screws:Wood screws provide a strong hold; make sure they’re the right length for your boards.
- Sandpaper:Smooth edges and surfaces to avoid splinters and give a polished look.
- Wood Finish or Paint:Protects the wood and adds style. Think about the room’s decor when selecting colors or finishes.
- Wall Anchors:Necessary if your shelf will hold heavy items and you’re attaching it to drywall.
Have you ever underestimated the importance of sandpaper? A rough shelf edge can ruin both the look and feel of your project.
Safety Gear
- Safety Glasses:Protect your eyes from sawdust and flying debris.
- Ear Protection:Using power tools can be loud, so earplugs or earmuffs help prevent hearing damage.
- Dust Mask:Keeps you from inhaling wood dust, which can be harmful over time.
- Work Gloves:Shield your hands from splinters and minor cuts.
Have you ever ignored safety gear and regretted it? Taking a moment to gear up properly ensures you finish your shelf without injury.
Measuring And Planning
Building a wooden shelf begins with careful measuring and planning. This ensures your shelf fits perfectly in your chosen spot. Let’s explore the steps for accurate measurement and planning.
Determining Shelf Size
Consider the purpose of your shelf. Decide what you will store on it. Measure the space where the shelf will go. Use a tape measure for accuracy. Write down the length, width, and height. Leave some extra space for easy installation. This avoids a tight fit.
Marking Cut Lines
Use a straight edge to draw cut lines on the wood. Ensure the lines are clear and dark. This helps guide your saw. Double-check measurements before marking. Mistakes can waste wood. Accuracy is key to a perfect shelf.
Creating A Cutting Guide
Use a piece of scrap wood as a guide. Align it with your cut line. Clamp it securely to your work surface. This prevents the wood from shifting while cutting. A stable guide leads to straight cuts. Invest time in setting up your guide. It saves headaches later.
Cutting The Wood
Cutting the wood is a crucial part of making a shelf. It shapes the pieces that will hold your items. Accurate cuts create strong, stable shelves. Take time to prepare and measure before cutting. Safety and precision are key to a good result.
Using A Saw Safely
Always wear safety goggles to protect your eyes. Use gloves to keep your hands safe. Keep fingers away from the blade. Make sure the saw is sharp for smooth cuts. Work in a clean, well-lit area. Secure the wood firmly before cutting. Never rush; move the saw steadily and carefully.
Cutting Straight Lines
Mark the wood clearly with a pencil. Use a ruler or straight edge for accuracy. Clamp a guide to follow with your saw. Check your line twice before cutting. Cut slowly to avoid mistakes. Straight cuts help the shelf fit well together. Clean edges make assembly easier and stronger.
Sanding Edges
Sand the cut edges to remove splinters. Use medium-grit sandpaper first, then fine-grit for smoothness. Sand along the grain of the wood. Check edges with your hand for rough spots. Smooth edges look better and prevent injuries. Take your time to create a polished finish.
Assembling The Shelf
Assembling your wooden shelf is where all your preparation comes to life. This stage requires careful attention to detail to ensure your shelf is both strong and visually pleasing. Let’s dive into how you can join your pieces securely and make sure your shelf stands firm.
Joining Pieces Together
Start by aligning the wooden pieces exactly how you want the shelf to look. Use clamps to hold them in place; this keeps everything steady while you work. You might find it helpful to mark where the joints meet with a pencil—this small step saves a lot of guesswork.
Think about the type of joint that best suits your project. Butt joints are quick and easy, but adding wood glue can make them much stronger. If you want extra durability, consider using dowels or biscuits, which fit into holes and slots to hold the boards tightly together.
Using Screws And Nails
Choose screws over nails when possible because screws hold better and are easier to remove if adjustments are needed. Pre-drill holes to avoid splitting the wood, especially near edges. This simple trick saved me a lot of headaches when building my last shelf.
When using nails, opt for finishing nails for a cleaner look, and use a nail set to sink them below the surface. This way, you can fill the holes with wood filler for a smooth finish. Remember, the right fastener can make or break your shelf’s durability.
Checking For Stability
Once assembled, place your shelf on a flat surface to check for wobbling. Press gently on different parts and feel for any movement. If it feels unstable, reinforce weak spots with additional screws or brackets.
Ask yourself: does the shelf stay level under pressure? If not, adjust the joints or add support braces. A sturdy shelf not only holds your items safely but also gives you confidence in your handiwork.
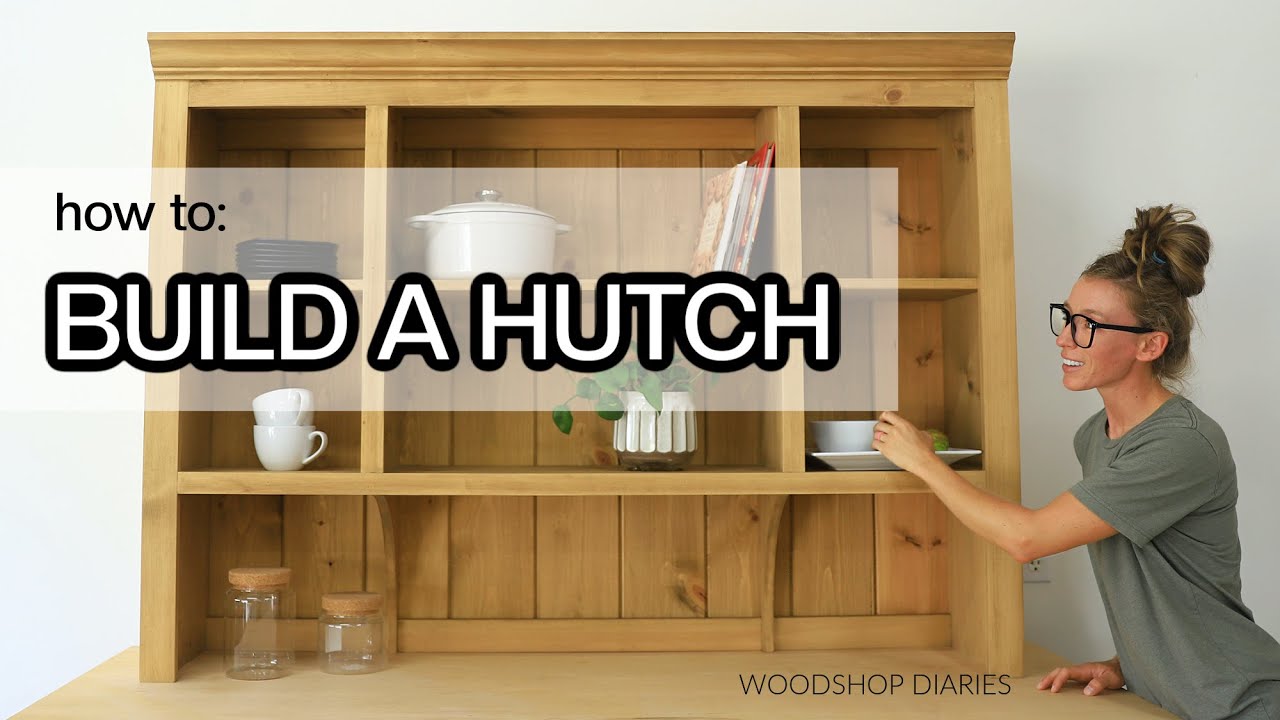
Credit: www.youtube.com
Finishing Touches
Finishing touches make all the difference in your wooden shelf project. They bring out the beauty of the wood and protect it from wear and tear. Paying attention to these final details ensures your shelf not only looks great but lasts longer in your home.
Sanding Smooth Surfaces
Sanding is key to a professional look. Use medium-grit sandpaper first to remove rough spots and any splinters. Then switch to fine-grit sandpaper to create a smooth, even surface that feels soft to the touch.
Don’t rush this step. Take your time to sand along the grain of the wood to avoid scratches. Have you noticed how a well-sanded shelf invites you to run your hand over it? That smoothness is worth the effort.
Applying Paint Or Stain
Choosing between paint and stain depends on the style you want. Paint adds color and hides imperfections, while stain highlights the natural wood grain for a rustic or elegant look.
Apply thin, even coats using a brush or cloth. Let each coat dry completely before adding another. This approach prevents drips and uneven patches that can ruin the finish.
Sealing The Wood
Sealing protects your shelf from moisture, dirt, and scratches. Use a clear polyurethane or varnish for durability. Water-based sealers dry quickly and have less odor, making them easier to work with indoors.
Apply the sealer evenly in a well-ventilated area. Once dry, lightly sand with fine-grit sandpaper and apply a second coat. Would you want your shelf to get damaged after all this effort? Sealing keeps it looking fresh and sturdy.
Mounting The Shelf
Mounting your wooden shelf is a crucial part of the project. It ensures your shelf stays secure and holds weight without wobbling or falling. You’ll need the right tools and techniques to make sure your hard work stands the test of time.
Finding Wall Studs
Wall studs are the strongest points to anchor your shelf. Use a stud finder to locate them behind drywall. If you don’t have one, try tapping the wall lightly and listen for a solid sound instead of a hollow one.
Mark the stud locations with a pencil. Make sure your marks are level and aligned with where you want the shelf brackets. Mounting into studs prevents damage and keeps your shelf stable.
Choosing Mounting Hardware
Select hardware based on the shelf’s size and expected load. Heavy-duty brackets or metal wall anchors work best for larger, heavier shelves. For lighter shelves, simple screws and anchors might be enough.
Think about the type of wall you have—drywall, plaster, or brick—because that affects your choice of anchors. It’s worth investing in quality hardware to avoid future repairs or accidents.
Securing The Shelf Safely
Double-check your measurements before drilling. Use a level to keep your shelf straight during installation. Secure the brackets tightly to the wall studs or anchors to prevent any movement.
Test the shelf by applying some pressure or placing a few items on it. If it feels loose, tighten the screws or reinforce the mounting points. Your safety and the shelf’s longevity depend on a solid hold.
Tips For Beginners
Building a wooden shelf can be a rewarding project, especially if you’re new to woodworking. It’s important to approach it with a clear plan and some practical tips to make the process smoother. These tips will help you avoid frustration and create a sturdy, attractive shelf you’ll be proud of.
Common Mistakes To Avoid
A frequent error is rushing through measurements. Even a small mistake can throw off your entire build. Always double-check your measurements before cutting.
Another mistake is choosing the wrong type of wood. Softwoods like pine are easier to work with for beginners, while hardwoods need more tools and experience. Pick wood that matches your skill level and the shelf’s purpose.
Don’t forget to use the right screws and anchors for your wall type. Using the wrong hardware can cause your shelf to fall, damaging your wall and belongings.
Time-saving Tricks
Cut all your pieces at once before assembly. This saves you from constantly switching between measuring and cutting.
Use clamps to hold wood pieces steady while you drill or screw. This keeps your work precise and speeds up the process.
Pre-drill holes for screws to prevent wood from splitting. It might seem like an extra step, but it saves time fixing mistakes later.
Maintaining Your Shelf
Keep your shelf looking good by wiping it down regularly with a damp cloth. Dust and dirt can wear down the finish over time.
If your shelf is in a humid area, consider sealing the wood with a water-resistant finish. This prevents warping and prolongs the life of your shelf.
Inspect the screws and brackets every few months to ensure they remain tight and secure. Loose hardware can cause accidents or damage.
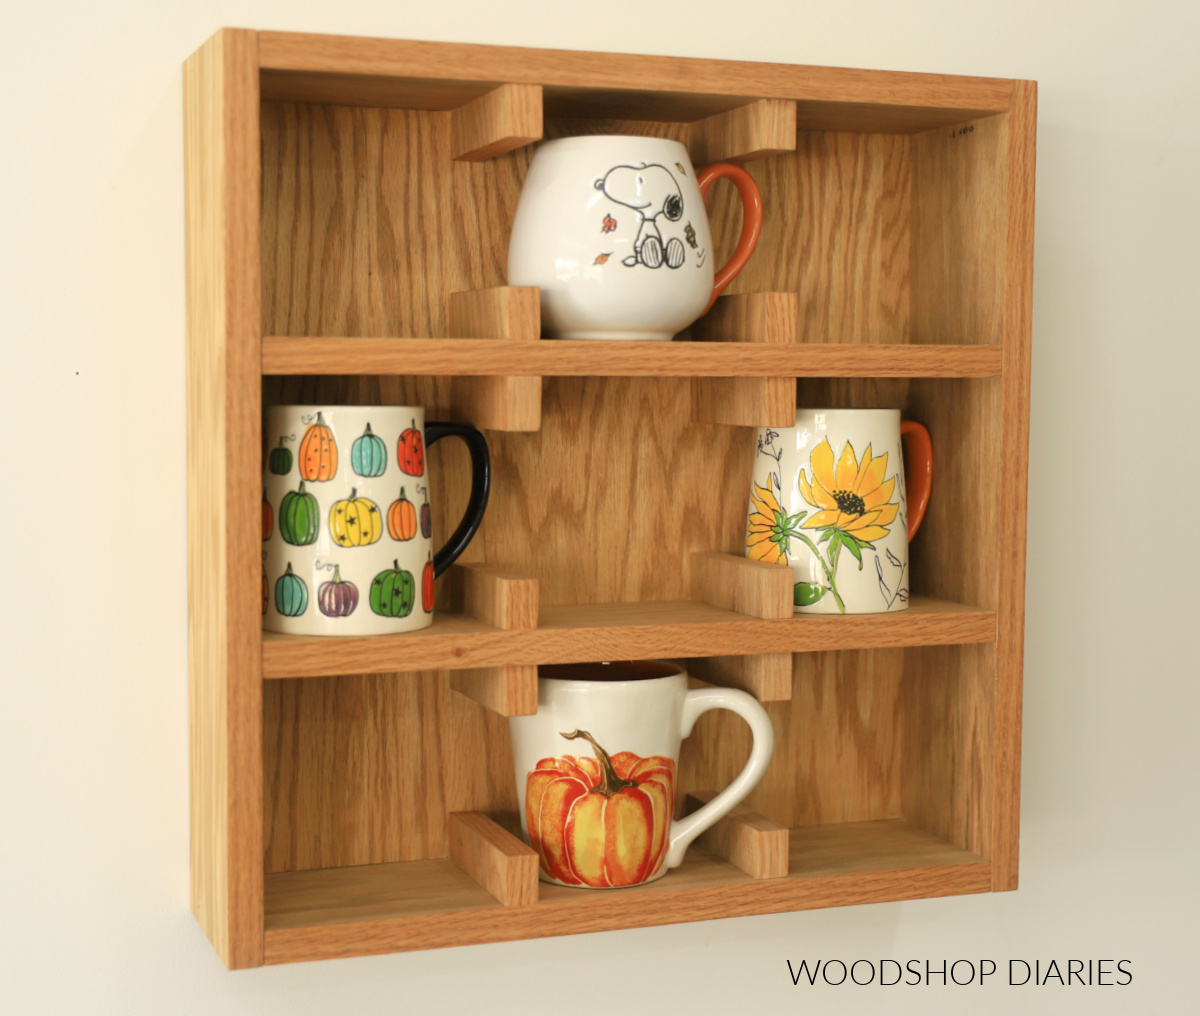
Credit: www.woodshopdiaries.com
Frequently Asked Questions
What Wood Type Is Best For Making A Shelf?
Pine and oak are popular for shelves due to strength and affordability. Pine is lightweight and easy to work with. Oak is more durable and offers a classic look. Choose based on your budget and desired shelf style.
How Do I Measure Wood For A Shelf?
Measure the wall space where the shelf will go. Add extra length for brackets if needed. Use a tape measure for accuracy. Mark your wood according to these measurements before cutting.
What Tools Are Required To Make A Wooden Shelf?
Essential tools include a saw, drill, screwdriver, measuring tape, and level. Sandpaper or a sander smooths the wood surface. Brackets and screws are also needed for mounting the shelf securely.
How Do I Attach A Wooden Shelf To The Wall?
Use wall anchors or studs for strong support. Mark bracket positions and drill pilot holes. Secure brackets with screws, then place the shelf on top. Use a level to ensure the shelf is even.
Conclusion
Building a wooden shelf is simple and rewarding. You only need basic tools and wood. Follow each step carefully for best results. Take your time to measure and cut correctly. Sand the wood to make it smooth and safe. Use screws or nails to hold pieces firmly.
A homemade shelf adds style and storage to any room. Try different wood types or paint for a unique look. Keep practicing, and your skills will improve fast. Enjoy your new shelf and the work you did!


