
Are you looking to add extra storage or style to your space without spending a fortune? Making a shelf with brackets is a simple project you can tackle yourself.
With just a few tools and easy steps, you’ll create a sturdy, attractive shelf that fits perfectly in your room. Imagine having a place to display your favorite books, plants, or decor—right where you want them. Keep reading, and you’ll learn exactly how to build your own shelf quickly and confidently.
Choosing Materials
Choosing the right materials is crucial when making a shelf with brackets. The durability and look of your shelf depend heavily on what you pick. Let’s break down the essentials you need to consider before starting your project.
Types Of Wood
Wood choice affects both strength and appearance. Pine is affordable and easy to work with, great for beginners. Oak and maple offer more durability and a refined look but can be harder to cut and shape.
Think about the room where you’ll place the shelf. Will it need to hold heavy items or just decorative pieces? This will help you decide if you need hardwood or softwood.
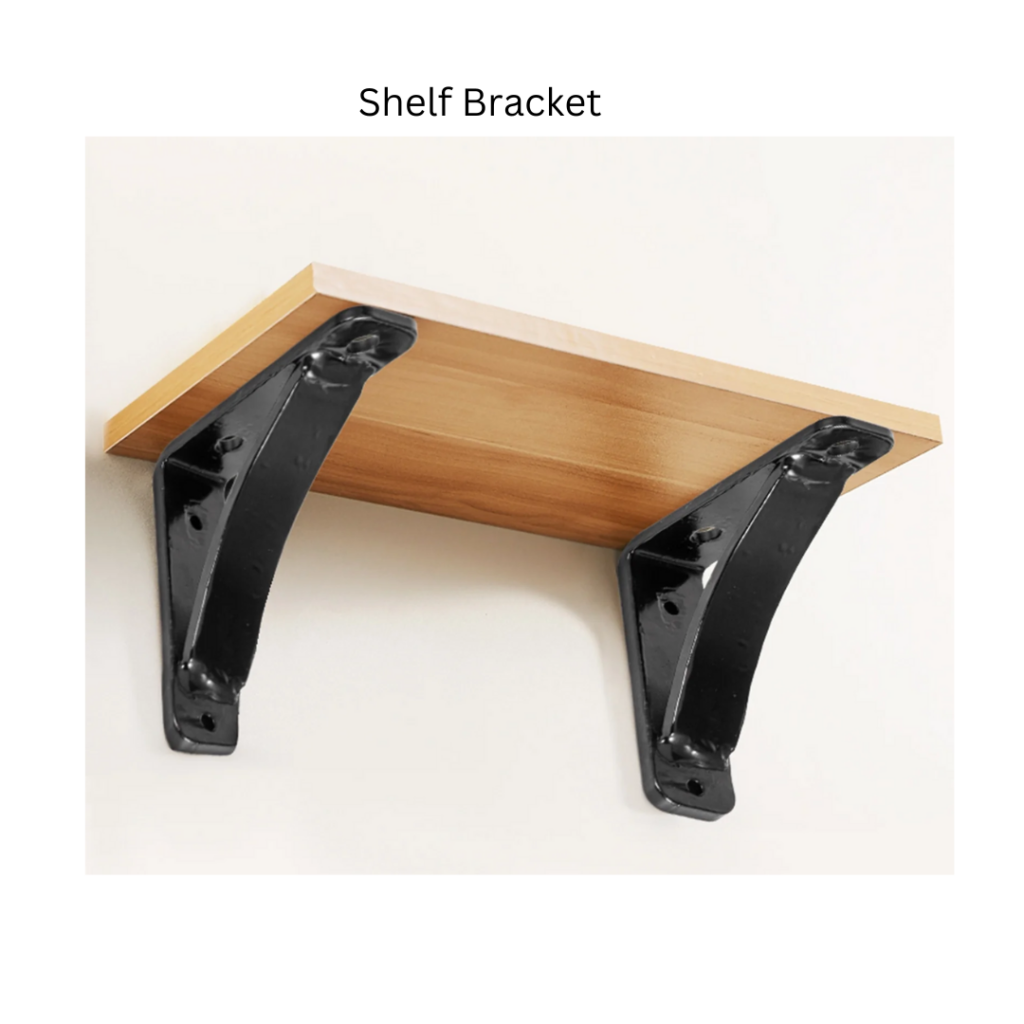
Selecting Brackets
Brackets are the backbone of your shelf, so their strength matters. Metal brackets provide excellent support and come in many designs, from industrial to sleek modern.
Wooden brackets can blend well if you want a uniform look but check their weight capacity carefully. Don’t forget to consider the wall type because that influences the bracket size and screws you’ll need.
Necessary Tools
You’ll need a few basic tools to get started. A drill, level, screwdriver, and measuring tape are essential for accurate installation. Sandpaper and a saw might be necessary, depending on your wood choice and bracket style.
Do you already have these tools, or will you need to buy or borrow some? Having the right tools ready can save you frustration and ensure a smoother build.
Measuring And Planning
Measuring and planning are key to making a sturdy shelf with brackets. This stage ensures the shelf fits your space and holds your items safely. Careful measurement helps avoid mistakes and saves time during installation.
Start by knowing the exact size of the shelf you want. Next, mark where the shelf will go on the wall. Finally, find the studs in the wall to support the weight well.
Determining Shelf Size
Decide how long and deep the shelf should be. Think about what you will put on it. A longer shelf holds more but needs stronger support. A deeper shelf gives more space but sticks out more.
Use a tape measure to get accurate length and depth. Write down your measurements. Consider shelf thickness to match the brackets you choose.
Marking Wall Placement
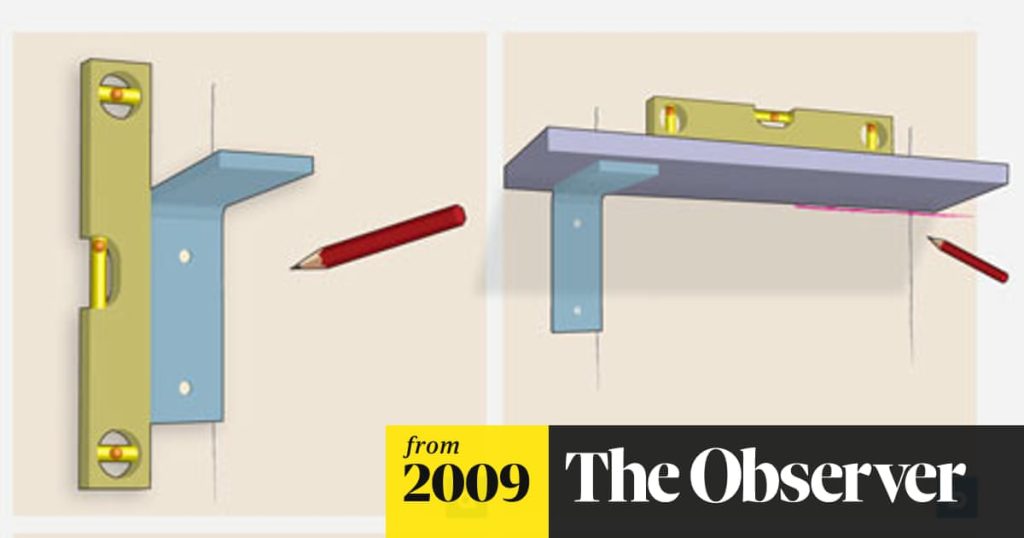
Use a pencil and level to mark the shelf height on the wall. Check that the shelf will be at a comfortable height for use. Mark the points where the brackets will attach.
Make sure the marks are straight and even. This helps the shelf look neat and stay balanced. Double-check all marks before drilling.
Locating Studs
Studs are the wooden beams behind drywall. They provide the strongest support for shelves. Use a stud finder tool to locate them easily.
Move the stud finder slowly along the marked wall area. Mark the edges and center of each stud with a pencil. Plan to attach brackets to these spots for safety.
If no studs are available, use wall anchors designed for heavy loads. This prevents the shelf from falling under weight.
Cutting The Wood
Cutting the wood is a key step in building a sturdy shelf with brackets. Accurate cuts ensure the shelf fits perfectly and looks neat. Taking time to prepare and cut wood carefully helps avoid mistakes and waste. This section covers measuring, cutting safely, and smoothing edges for the best results.
Measuring For Cuts
Measure the wood length needed for your shelf using a tape measure. Mark the cutting line clearly with a pencil. Double-check the measurements before cutting. Measure twice, cut once. Use a square tool to draw straight lines across the wood for precise cuts.
Safe Cutting Techniques
Always wear safety goggles and gloves before cutting. Use a stable surface like a workbench. Secure the wood with clamps to prevent movement. Cut slowly and follow the marked line carefully. Use a saw suitable for the wood type. Keep fingers away from the blade at all times.
Sanding Edges
After cutting, sand the edges to remove splinters and rough spots. Use fine-grit sandpaper for a smooth finish. Sand in the direction of the wood grain. Check edges by running your hand along them. Smooth edges improve shelf appearance and safety.

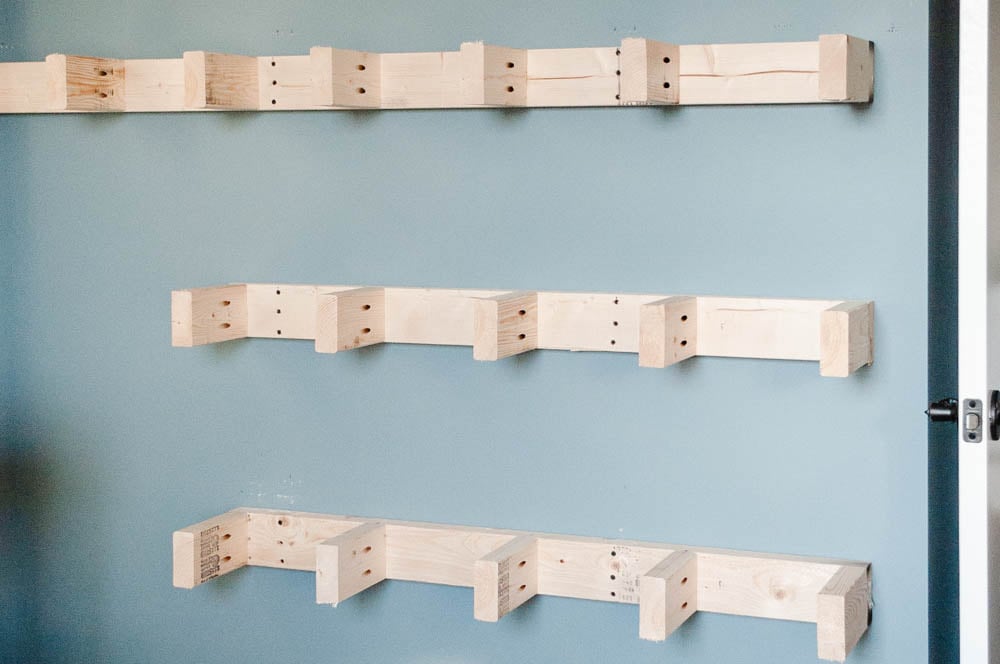
Credit: www.create-enjoy.com
Installing Brackets
Installing brackets for a shelf is a crucial step that ensures stability and safety. Getting it right can make all the difference between a shelf that lasts and one that doesn’t. Let’s walk through the steps to ensure your brackets are installed perfectly.
Marking Bracket Positions
Before you start drilling, it’s essential to mark the precise positions where your brackets will go. Use a level to ensure your marks are perfectly horizontal. This step prevents a lopsided shelf that could cause items to slide off.
Take a pencil and mark the spots where the screws will go. If you’re like me, you might find it helpful to use a piece of painter’s tape on the wall. This allows you to reposition your marks without leaving residue.
Drilling Pilot Holes
Drilling pilot holes is a small but mighty step that makes the installation process smoother. It prevents the wall or the bracket from cracking and ensures a snug fit for the screws. Choose a drill bit slightly smaller than your screws for best results.
As you drill, remember to keep the drill perpendicular to the wall. This ensures the bracket sits flush against the wall, providing maximum support. It’s a simple detail, but it can make a big difference.
Securing Brackets To Wall
With the pilot holes ready, you’re all set to secure the brackets. Align the bracket holes with the pilot holes and use a screwdriver or a drill to drive the screws into the wall. You want the screws to be tight, but not so tight that they strip the wall or the bracket.
Here’s a tip from my own experience: if you’re installing on a drywall, consider using wall anchors for added support. This prevents the screws from loosening over time, especially if your shelf will hold heavy items.
Once the brackets are in place, give them a gentle tug to ensure they’re secure. If they wobble, double-check your screws and anchors. Remember, a well-secured bracket is the foundation of a sturdy shelf.
Attaching The Shelf
Attaching the shelf to the brackets is a crucial part of the project that turns your work into a functional piece. This step requires accuracy and care to ensure the shelf stays put and supports weight safely. Let’s break down how to align, secure, and check your shelf for stability.
Aligning Shelf On Brackets
Place the shelf on top of the brackets carefully. Make sure the shelf is centered so that it extends evenly on both sides. You don’t want one side hanging over more than the other—that can cause imbalance and potential damage.
Check the front edge of the shelf against the wall to confirm it’s straight. Using a level tool at this point can save you from future headaches. Ask yourself: does the shelf look visually balanced and even? If not, adjust until it does.
Screwing Shelf To Brackets
Once aligned, it’s time to secure the shelf with screws. Use screws that are long enough to go through the shelf and into the bracket firmly, but not so long that they poke through the top of the shelf.
Start by drilling small pilot holes to avoid splitting the wood. Then, screw the shelf to the brackets on all mounting points. This ensures a strong connection and reduces any wobbling.
Ensuring Stability
After attaching, test the shelf’s stability by gently pressing down on different spots. Does it hold firm without shifting or creaking? If it moves, check if the screws are tight or if the brackets are securely fastened to the wall.
Consider adding rubber pads under the shelf if you notice any slight movement—this can help grip the brackets better. Remember, a stable shelf isn’t just about strength; it’s about confidence in its safety for your items.
Credit: www.christeneholderhome.com
Finishing Touches
Finishing touches bring your shelf project to life. They enhance both the look and durability of your work. Taking a little extra time here can turn a simple shelf into a centerpiece of your room.
Painting Or Staining
Choosing the right color or stain can highlight the wood’s natural beauty or match your room’s decor perfectly. Use a primer first to ensure smooth coverage and long-lasting results.
Try applying paint in thin, even coats to avoid drips and get a professional finish. If you prefer a natural look, a clear or tinted wood stain will protect and enrich the grain.
Adding Decorative Elements
Decorative brackets or corner trims can add personality to your shelf. Think about using metal brackets with intricate designs if you want a vintage vibe, or sleek, minimalist ones for modern style.
Adding hooks underneath the shelf can increase its functionality, perfect for hanging keys or small plants. Small LED strip lights tucked under the shelf create a warm ambiance and highlight your displayed items.
Maintaining Your Shelf
Keeping your shelf clean and checking the brackets regularly prevents damage and keeps it sturdy. Use a soft cloth and mild cleaner to wipe dust and spills promptly.
Inspect the screws and brackets every few months to tighten any loose parts. A well-maintained shelf can last for years, saving you the hassle of frequent repairs or replacements.
Credit: www.woodwardfab.com
Frequently Asked Questions
What Materials Are Needed To Make A Shelf With Brackets?
You need wooden boards, metal brackets, screws, a drill, a level, and wall anchors. Choose wood and brackets based on your shelf size and weight needs.
How Do You Install Brackets For A Sturdy Shelf?
Locate wall studs with a stud finder for maximum support. Use a level to mark bracket placement, then drill pilot holes before securing brackets with screws.
Can I Use Any Type Of Brackets For Shelves?
No, select brackets based on shelf size and weight capacity. Heavy items require strong metal brackets, while light shelves can use decorative or smaller brackets.
How Do I Ensure My Shelf Is Level?
Use a spirit level during bracket installation. Adjust bracket positions until the bubble is centered to guarantee a perfectly horizontal shelf.
Conclusion
Building a shelf with brackets is simple and practical. You only need a few tools and materials. Measure carefully, drill holes, and attach brackets securely. This project saves money and adds style to any room. Plus, you can customize the shelf size and color.
Try making one today to organize your space better. Small efforts bring big results. Enjoy your new shelf and the satisfaction of DIY work.


