
Are your wall stickers peeling off or not sticking the way you hoped? It can be frustrating when your carefully chosen decorations don’t stay put.
But what if you could make your wall stickers stick better, longer, and look flawless every time? You’ll discover simple, effective tips that help your stickers cling perfectly to your walls. Keep reading, and you’ll learn how to transform your space without the hassle of falling decals.
Your walls deserve to shine, and your stickers deserve to stay exactly where you place them.
Choose The Right Surface
Choosing the right surface is crucial for making wall stickers stick better. Not all walls are created equal, and the texture and cleanliness of your wall can make a huge difference in how well your stickers adhere. Taking time to assess your wall can save you from frustration and peeling stickers down the line.
Smooth Vs Textured Walls
Smooth walls provide the best grip for wall stickers. Surfaces like painted drywall, glass, or metal allow the adhesive to bond evenly, reducing the chance of air bubbles or peeling edges.
Textured walls, such as those with stucco, brick, or popcorn finishes, pose challenges. The uneven surface means the sticker only touches certain points, weakening the hold.
Ask yourself: Is your wall flat enough for the sticker to make full contact? If not, consider choosing a different spot or a wall sticker designed specifically for textured surfaces.
Cleaning The Wall Properly
Even the smoothest wall won’t hold a sticker if it’s dirty or dusty. Dirt, grease, and moisture all interfere with adhesion.
Start by wiping the area with a damp cloth to remove dust and dirt. For greasy spots, use a mild soap solution, then rinse and dry thoroughly.
Never apply stickers on freshly painted walls. Let the paint cure for at least two weeks to avoid peeling. Have you checked if your wall is completely dry before sticking your design?
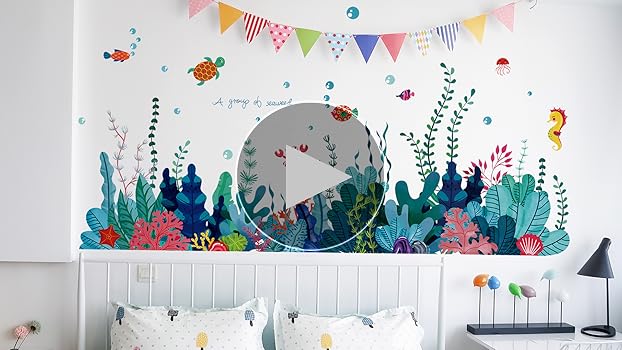
Credit: mejmej.com
Prepare The Wall
Getting your wall stickers to stick well starts with the surface they go on. Preparing the wall properly can make a huge difference in how long your stickers last and how smooth they look. It’s not just about cleaning; it’s about creating the perfect base for the adhesive to hold onto.
Remove Dust And Grease
Dust and grease are the main enemies of wall stickers. Even tiny particles can stop the sticker from sticking properly or cause bubbles later on. You should wipe the wall with a damp cloth first to remove dust.
Next, clean any greasy spots using a mild soap solution or a mixture of water and vinegar. Avoid harsh chemicals that might damage paint or wallpaper. After cleaning, make sure the wall is completely dry before you start applying stickers.
Use Primer For Better Adhesion
If your wall has a glossy finish or if you want your stickers to stick longer, applying a primer is a smart move. Primer helps the adhesive bond better by creating a slightly rough surface that’s easier to grip.
You can find primers designed for different wall types at hardware stores. Apply a thin, even layer with a brush or roller and let it dry fully. This extra step might take time, but it can prevent your stickers from peeling off too soon.
Select Quality Wall Stickers
Choosing the right wall stickers is key to their durability. Quality wall stickers ensure that they stick better and last longer. This section will guide you in selecting the best options for your space. Pay attention to materials and adhesive strength for optimal results.
Material Types
Wall stickers come in various materials. Vinyl is popular for its durability and flexibility. It adheres well and resists fading. Fabric stickers offer a textured look and are reusable. They are great for temporary designs. Paper stickers can be budget-friendly but may not last long. Consider the room’s environment when choosing materials.
Adhesive Strength
Adhesive strength is crucial for wall stickers. A strong adhesive ensures the stickers stay put. Look for stickers with high-quality adhesive backing. Removable adhesives allow repositioning without damage. Permanent adhesives are ideal for long-term displays. Check product reviews for feedback on adhesive performance.
Apply Stickers Correctly
Applying wall stickers correctly ensures they stick well and last longer. Preparation and careful placement play key roles. Taking time to position stickers can prevent bubbles and peeling. Using the right tools makes the application smooth and easy.
Positioning Tips
Clean the wall surface before applying stickers. Dirt and dust reduce stickiness. Use a level or ruler to align stickers straight. Mark the spot lightly with a pencil. Avoid touching the sticky side to keep it clean. Peel the backing slowly to control placement. Press the sticker gently but firmly onto the wall.
Use Of Tools For Smooth Application
Use a squeegee or credit card to smooth out air bubbles. Start from the center and push towards the edges. This prevents wrinkles and lifts. A soft cloth can help press the edges down. For curved surfaces, stretch the sticker gently while applying. Patience and steady hands improve results. Avoid sharp tools that can tear the sticker.
Enhance Sticker Durability
Enhancing the durability of wall stickers helps them last longer and look better. Proper care keeps stickers from peeling or fading. Small actions can protect stickers from damage and maintain their stickiness.
Seal With Clear Coating
Applying a clear coating adds a protective layer over wall stickers. Use a spray sealant or clear varnish suitable for walls. Spray evenly and let it dry fully before touching the sticker. This coating guards against dirt, scratches, and fading. It also helps stickers stick firmly for a longer time.
Avoid Moisture And Heat
Moisture weakens the adhesive on wall stickers. Avoid placing stickers in bathrooms or kitchens where steam is common. Keep stickers away from direct sunlight and heat sources like radiators. Heat can cause stickers to curl or lose stickiness. Dry, cool areas help stickers stay strong and fresh-looking.
Fix Peeling Or Loose Stickers
Peeling or loose wall stickers can be frustrating, especially when you’ve carefully chosen and placed them. Instead of tossing them away, you can bring them back to life with a few simple fixes. Fixing these stickers not only saves money but also preserves your room’s fresh look.
Reapply Adhesive
If your wall sticker is peeling, it might just need a little extra stick. Gently peel the sticker off the wall, taking care not to damage it. Then, apply a thin layer of clear-drying craft glue or adhesive spray to the back of the sticker.
Press the sticker firmly back onto the wall and smooth out any bubbles or wrinkles using a flat tool like a credit card. Let it dry completely before touching it again. Have you tried this trick before? It often surprises people how well a simple glue touch-up works.
Use Double-sided Tape
Double-sided tape is a handy fix for stickers that won’t stay put, especially on textured or uneven walls. Cut small pieces of tape and place them on the back edges and corners of the sticker.
Carefully press the sticker back onto the wall, making sure the tape sticks evenly. This approach adds extra grip without the mess of liquid adhesive. If your wall surface is tricky, this might be the quick fix you didn’t realize you needed.
Remove Stickers Without Damage
Removing wall stickers without damaging your walls can be tricky. You want to keep the surface smooth and clean, especially if you plan to reuse the space or apply new stickers. The right approach can save you from peeling paint or sticky residue that’s tough to clean.
Use Heat Methods
Heat softens the adhesive, making stickers easier to peel off. You can use a hairdryer on medium heat—hold it a few inches from the sticker and move it around for about 30 seconds. Then, try peeling the sticker gently from one corner.
If the sticker resists, apply heat again instead of pulling harder. This reduces the risk of tearing or damaging the wall paint. Have you noticed how warm stickers come off smoother than cold ones? That’s the heat working its magic.
Clean Residue Safely
After removing a sticker, sticky residue often remains. Avoid harsh chemicals that might harm your wall’s finish. Instead, try a mixture of warm water and mild dish soap applied with a soft cloth.
Rub gently in a circular motion to lift the adhesive. If some residue persists, a small amount of rubbing alcohol on a cotton ball works well without damaging paint. Always test a small hidden spot first to be sure.
Have you ever struggled with sticker residue that just won’t budge? Using safe cleaning methods protects your walls and keeps them ready for your next creative touch.

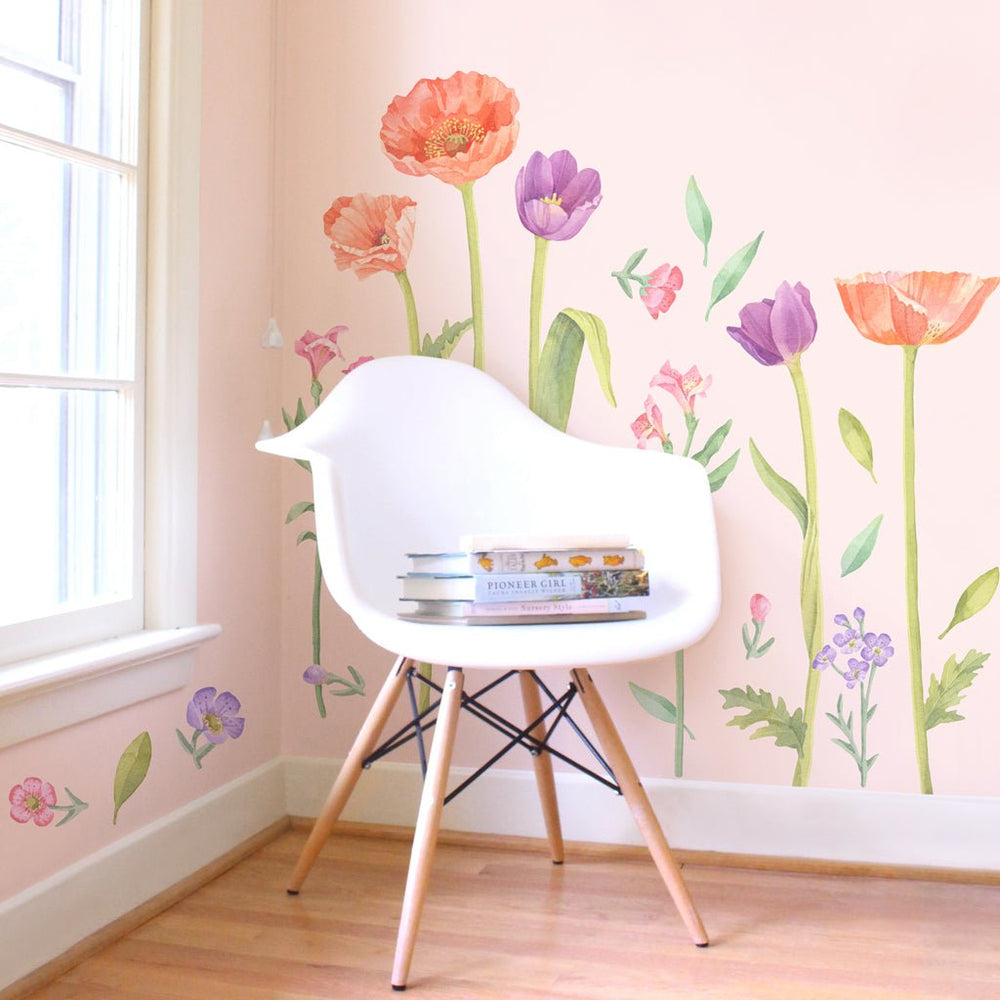
Credit: www.amazon.ca

Credit: www.amazon.ie
Frequently Asked Questions
How Do I Prepare The Wall For Stickers?
Clean the wall thoroughly using a mild detergent and water. Ensure it’s dry and free from dust or grease. A smooth, clean surface helps stickers adhere better and last longer.
Can I Use A Hairdryer To Improve Sticker Adhesion?
Yes, gently warming the sticker with a hairdryer helps activate the adhesive. This makes it stick better, especially on textured walls. Use low heat to avoid damage.
What Surfaces Are Best For Wall Stickers?
Smooth, non-porous surfaces like painted drywall, glass, or metal work best. Avoid rough, textured, or dirty walls, as they reduce sticker adhesion and cause peeling.
How Long Should I Press The Sticker To Stick Well?
Press firmly for about 30 seconds using a squeegee or your hand. Apply even pressure to remove air bubbles and ensure full contact with the wall.
Conclusion
Wall stickers can brighten any room with little effort. Clean surfaces help stickers stick longer and look better. Press firmly and remove air bubbles carefully for smooth results. Avoid putting stickers on rough or damp walls. Take time to prepare the area before applying.
Small steps make a big difference in how well stickers stay. Enjoy decorating your space with confidence and ease. Stickers that stay put make your room feel fresh and fun.


