
Are you ready to transform your walls and give your space an instant wow factor? Mounting 3D wall panels is one of the easiest and most effective ways to add texture, depth, and style to any room.
Whether you want a modern look or a cozy vibe, these panels can completely change the atmosphere around you. In this guide, you’ll discover simple, step-by-step instructions that anyone can follow—even if you’ve never done a home improvement project before.
Keep reading, and you’ll be surprised at how quickly and effortlessly you can turn your plain walls into stunning works of art.

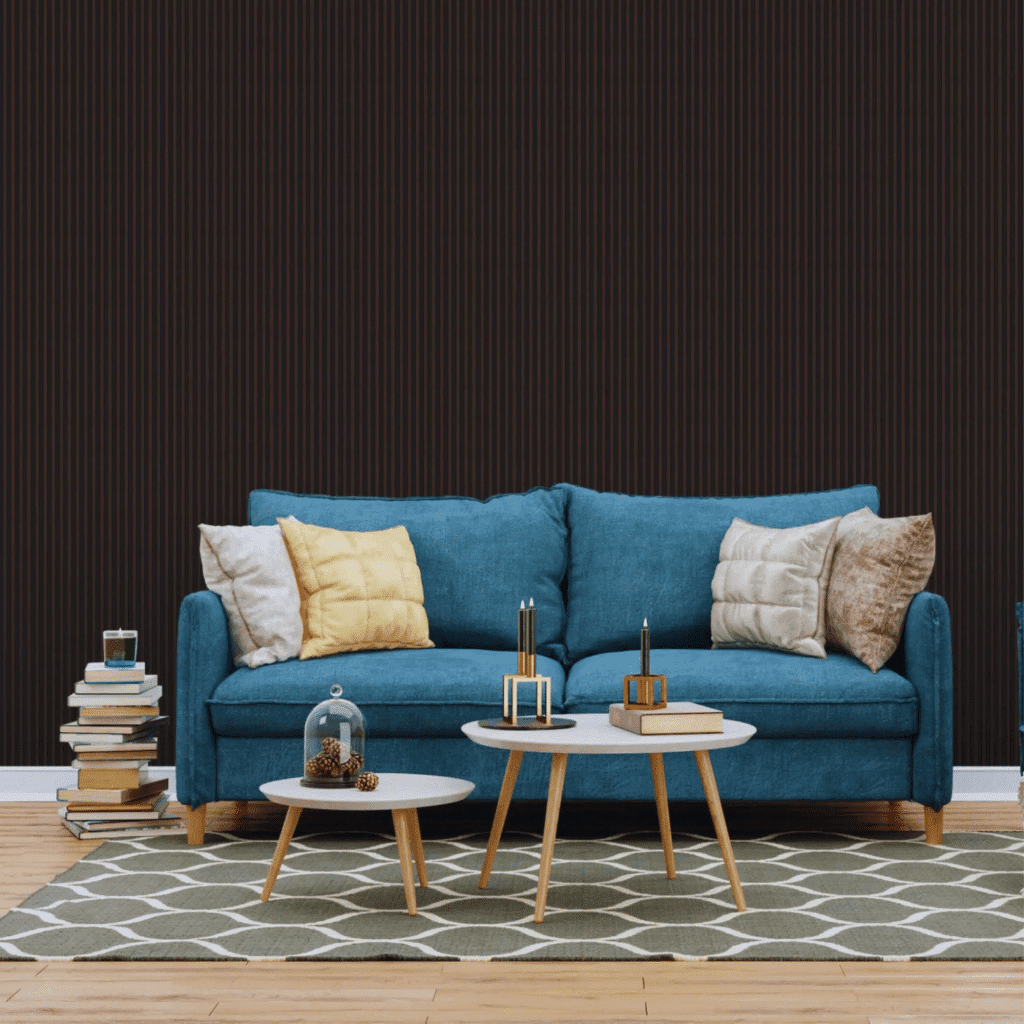
Credit: dundeedeco.com
Choosing The Right 3d Panels
Choosing the right 3D wall panels shapes your room’s style and feel. Panels add depth and texture to plain walls. Picking panels that fit your space and taste is key. Consider the panel type, material, and size before buying.
Types Of 3d Wall Panels
3D wall panels come in many shapes and patterns. Some designs are geometric, while others mimic natural textures. Popular styles include:
- Wave patterns for a flowing look
- Brick or stone effects for a rustic feel
- Floral or leaf designs for a soft touch
- Abstract shapes for modern spaces
Choose a pattern that matches your room’s mood. Simple shapes suit minimalist rooms. Bold patterns fit lively spaces.
Materials And Finishes
Panels are made from various materials. Common choices include:
- PVC – lightweight and water-resistant
- MDF – wood-based and easy to paint
- Bamboo – eco-friendly and natural
- Gypsum – solid and fire-resistant
Finishes affect the panel’s look and feel. Matte finishes hide flaws well. Glossy finishes add shine and reflect light. Pick a finish that matches your room’s style and lighting.
Measuring Your Wall Space
Accurate measurements prevent wasted panels and extra costs. Use a tape measure to find wall width and height. Write down the numbers clearly. Calculate total square feet by multiplying width by height.
Consider obstacles like windows and doors. Subtract their area from the total wall space. Plan panel layout on paper or with software. This helps visualize the final look and panel quantity.

Credit: dundeedeco.com
Preparing Your Wall
Preparing your wall is a vital step before mounting 3D wall panels. A clean, smooth, and well-prepared surface ensures strong adhesion and a flawless finish. Taking time to ready the wall prevents future problems like peeling or uneven panels.
Cleaning And Smoothing Surface
Start by removing dust, dirt, and grease from the wall. Use a damp cloth or sponge with mild soap. Rinse well and let the wall dry completely. Smooth out rough patches with fine sandpaper. This helps the panels stick better and look even.
Repairing Imperfections
Check the wall for cracks, holes, or dents. Fill these imperfections with spackle or wall filler. Use a putty knife to apply it evenly. Allow it to dry fully, then sand the area smooth. A level surface is crucial for a neat panel installation.
Priming The Wall
Apply a primer suitable for your wall type. Primer seals the surface and improves panel adhesion. Use a paint roller or brush for even coverage. Let the primer dry according to the instructions. Priming helps the panels last longer and stay secure.
Gathering Tools And Supplies
Gather all needed tools like a measuring tape, level, adhesive, and a utility knife before starting. Having supplies ready makes mounting 3D wall panels easier and faster. Proper preparation helps ensure a smooth installation process.
Gathering tools and supplies is crucial before mounting 3D wall panels. Proper preparation ensures a smooth installation process. You will need specific tools and materials. This guide will help you gather everything you need efficiently.Essential Mounting Tools
Having the right tools makes installation easier. Here’s a list of must-have tools:- Measuring tape for accurate measurements.
- Level to ensure panels are straight.
- Utility knife for trimming panels.
- Screwdriver or drill for fastening panels.
- Pencil for marking points on the wall.
Adhesives And Fasteners
Choosing the right adhesives and fasteners is key. They ensure your panels stay securely in place. Consider these options:- Construction adhesive for strong bonding.
- Nails or screws for additional support.
- Wall anchors for heavy panels.
Safety Equipment
Safety should never be overlooked. Protect yourself with the proper equipment:- Safety goggles to shield your eyes.
- Work gloves to protect your hands.
- Dust mask if cutting panels creates debris.
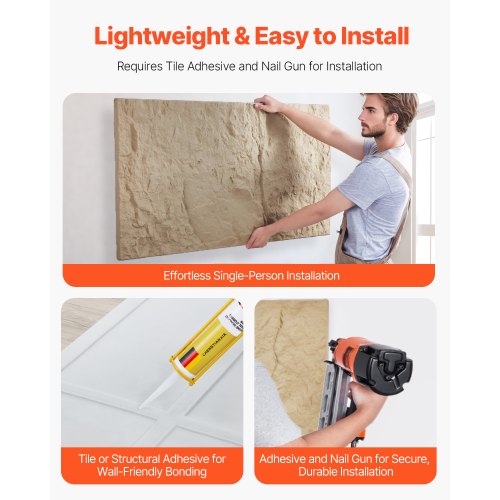
Credit: www.vevor.ca
Marking And Planning Layout
Marking and planning the layout is a crucial step before mounting 3D wall panels. It ensures the panels fit perfectly and look balanced on your wall. Careful preparation saves time and prevents mistakes. Proper layout planning helps you visualize the final design and avoid costly errors.
Creating A Design Plan
Start by choosing a design that matches your room style. Measure the wall area to know how many panels you need. Sketch the layout on paper or use design software. Decide if you want a full wall coverage or just a feature area. Consider panel orientation and pattern for a unique look.
Marking Panel Positions
Use a pencil and a level to mark panel positions on the wall. Mark the top and bottom edges of each panel carefully. Draw light lines to guide panel placement. Check that marks are straight and evenly spaced. This step ensures panels align well and fit perfectly.
Aligning Panels Properly
Start mounting from the center or a corner for better alignment. Use a level to keep panels straight during installation. Press panels firmly against the wall to avoid gaps. Adjust panel positions slightly before the adhesive dries. Proper alignment creates a seamless and attractive finish.
Mounting The Panels
Mounting 3D wall panels is where your project really begins to take shape. Getting this step right ensures a smooth, professional finish that lasts. Pay attention to the details during installation, and you’ll save time and avoid costly fixes later.
Applying Adhesive Correctly
Choosing the right adhesive is crucial. Use a strong, flexible adhesive designed for 3D panels—construction adhesive or panel-specific glue usually works best.
Apply the adhesive in a zigzag or dot pattern to cover enough surface area without excess squeeze-out. Too little adhesive can cause panels to loosen, while too much can create a mess.
Press the panel firmly against the wall right after applying the adhesive. Hold it in place for a few seconds to ensure a good bond before moving on to the next panel.
Securing Panels To The Wall
Adhesive alone might not be enough, especially on textured or uneven walls. Use finishing nails or screws to secure the panels temporarily or permanently, depending on your wall type.
If you use nails or screws, countersink them slightly and fill the holes with matching filler for a clean look. Make sure to space fasteners evenly to avoid warping or gaps.
Keep a level handy to check alignment as you go. Even small misalignments can become very noticeable across multiple panels.
Handling Corners And Edges
Corners and edges require extra care to maintain the seamless 3D effect. Measure and cut panels carefully to fit snugly without forcing them into place.
For outside corners, consider using corner trim pieces or molding to protect edges and create a finished look. Inside corners may need precise miter cuts to avoid gaps.
Don’t rush these details—taking extra time here improves both appearance and durability. Have you noticed how a perfectly aligned corner can transform the entire room’s vibe?
Finishing Touches
After mounting your 3D wall panels, the finishing touches make all the difference between a good job and a great one. These final steps help your wall look seamless, polished, and truly part of your space. Small details like filling gaps and choosing the right finish can elevate the entire room’s vibe.
Filling Gaps And Seams
Even with careful installation, tiny gaps or seams may appear between panels. Filling these spaces creates a smooth, continuous surface that feels intentional. Use a flexible acrylic caulk or wood filler that matches your panel material.
Apply the filler with a putty knife, pressing it firmly into gaps. Wipe away excess before it dries to avoid a messy look. Once dry, sanding the area lightly will blend the filler into the panel surface for a flawless finish.
Painting Or Staining Panels
Painting or staining your panels can dramatically change the room’s atmosphere. If you want a vibrant accent wall, choose bold paint colors that complement your décor. For a natural, warm vibe, staining wood panels enhances their texture and grain.
Use a primer first, especially on smooth or non-porous panels, to help paint stick better. Apply paint or stain evenly with a brush or roller, and consider multiple thin coats for the best coverage. Don’t rush drying times—patience here pays off in durability and appearance.
Cleaning And Maintenance Tips
Keep your 3D wall panels looking fresh with regular cleaning that’s gentle but effective. Dust panels weekly with a soft cloth or vacuum with a brush attachment to avoid buildup. Avoid harsh chemicals; a mild soap diluted in water usually does the trick.
Think about your environment—high humidity or direct sunlight can affect panel longevity. Inspect your panels periodically for any signs of wear or damage. Spot touch-ups on paint or filler will keep your wall looking showroom-ready for years.
Frequently Asked Questions
How Do I Prepare A Wall For 3d Panels?
Clean the wall thoroughly and repair any holes or cracks. Ensure the surface is dry and smooth for better adhesion. Remove dust and grease to help panels stick properly.
What Adhesive Is Best For Mounting 3d Wall Panels?
Use a strong construction adhesive like liquid nails or panel adhesive. Avoid weak glues to prevent panels from falling. Always follow the adhesive manufacturer’s instructions for best results.
Can I Install 3d Panels On Textured Walls?
Yes, but smooth surfaces are ideal for better grip. If the wall texture is rough, sanding or priming may help. This ensures the panels attach securely and evenly.
How Do I Cut 3d Wall Panels To Fit?
Use a utility knife or saw to cut panels precisely. Measure carefully before cutting to avoid mistakes. Score the panel surface and snap it cleanly for best results.
Conclusion
Mounting 3D wall panels is simple with the right steps. Prepare your surface and gather tools first. Apply adhesive carefully and press panels firmly. Align edges to keep a clean look. Take your time and work patiently. Enjoy the fresh, modern style these panels bring.
Your walls will look unique and inviting. Try this easy project to change your space today.


