
Are you ready to transform your space quickly and easily? Sticking 3D wall panels is one of the smartest ways to add depth, style, and a fresh look to your walls without a big mess or costly renovation.
But if you’ve never tried it before, the process might seem tricky. Don’t worry—you’re about to discover simple, step-by-step tips that will help you get perfect results every time. Keep reading, and you’ll learn how to stick 3D wall panels like a pro, making your walls stand out and your home feel brand new.

Credit: commomy.com
Choosing The Right 3d Wall Panels
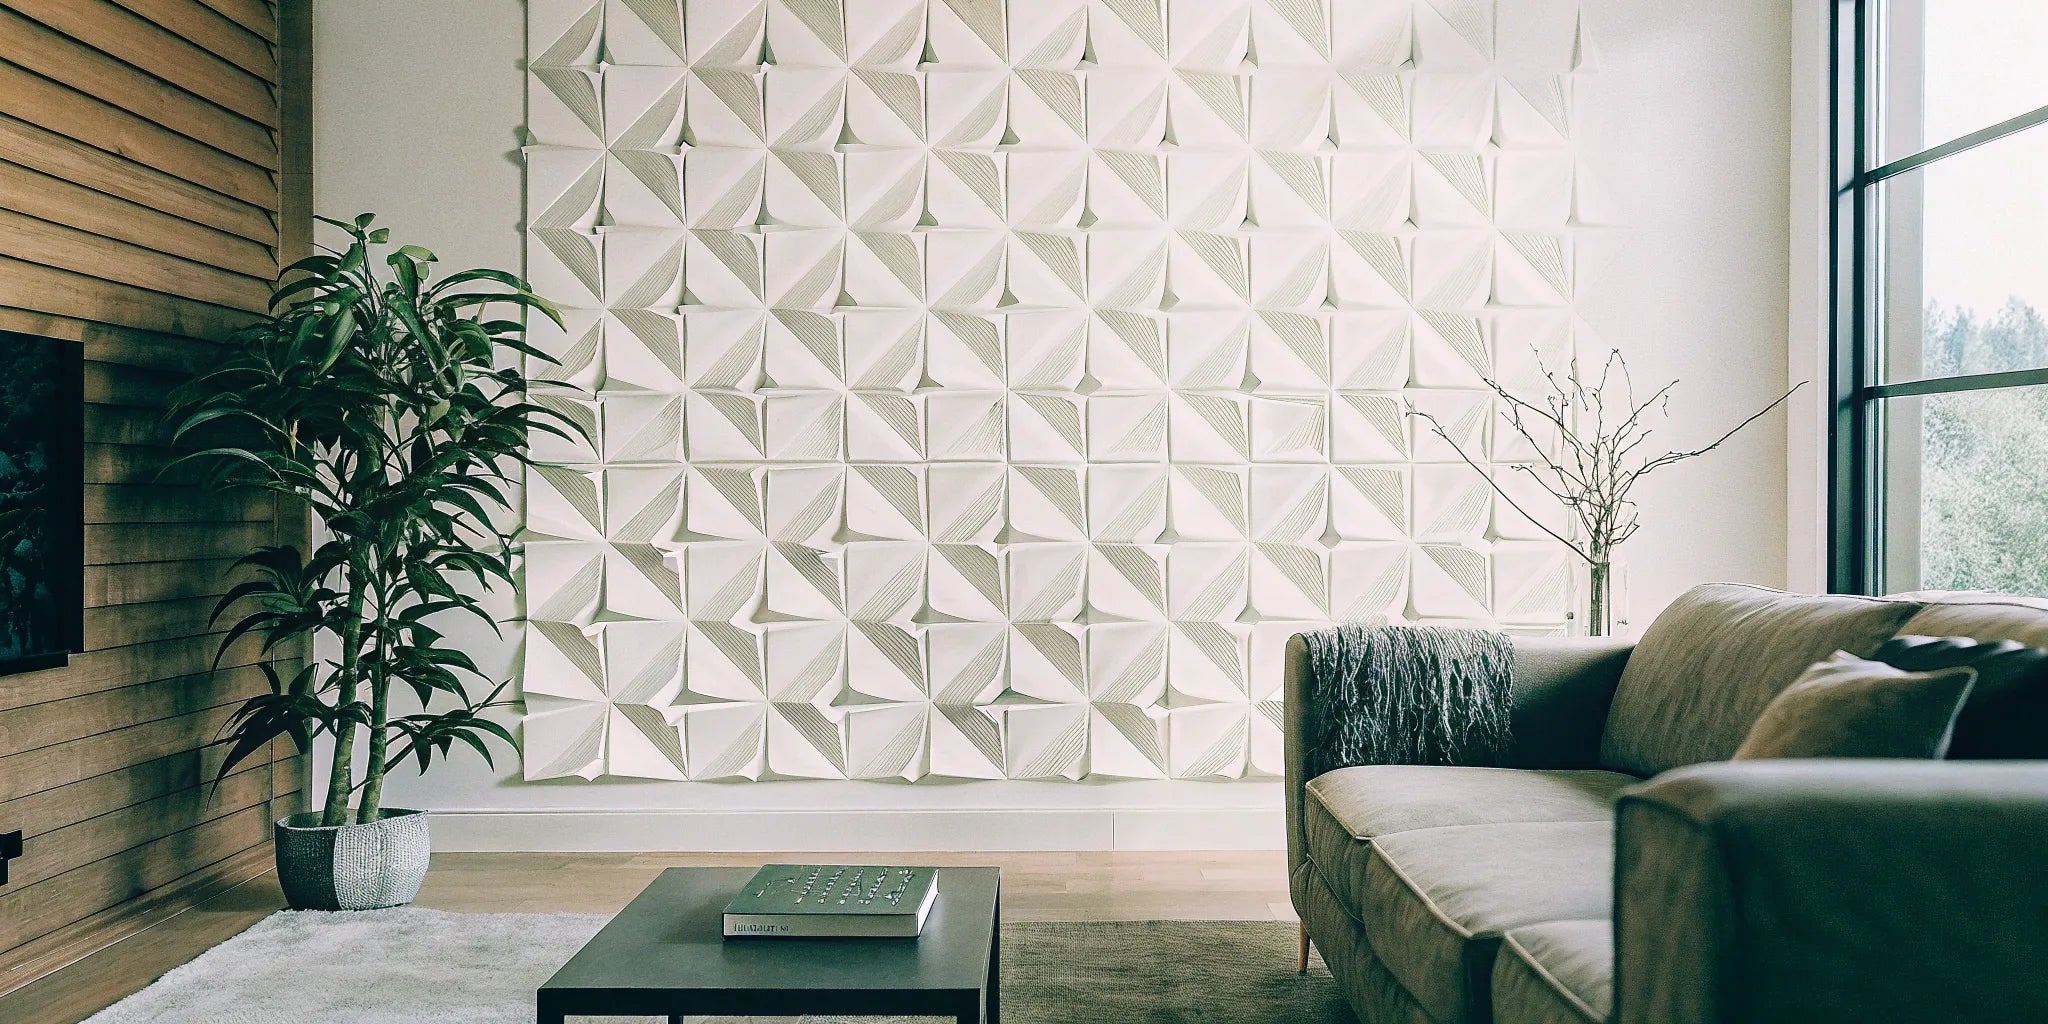
Choosing the right 3D wall panels can transform your space from plain to stunning. The options are vast, and making the right choice means considering factors like material, design, and size. Getting these details right ensures your walls not only look great but are also durable and easy to install.
Material Types
3D wall panels come in various materials, each with its own benefits. PVC panels are lightweight, water-resistant, and easy to clean, making them great for kitchens and bathrooms.
Wood panels add warmth and natural texture but may require more maintenance. MDF panels offer a smooth finish and are budget-friendly, though they may not handle moisture well.
Think about where you’ll install the panels and how much wear they will get. Have you considered how humidity or sunlight might affect the material?
Design And Texture Options
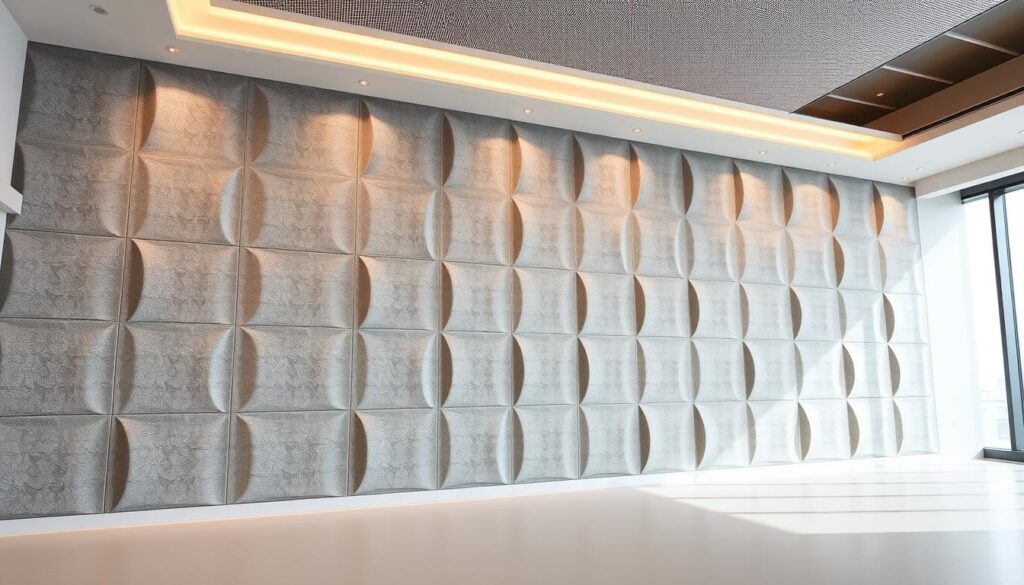
The design and texture of your panels set the room’s mood. You can choose from geometric patterns, waves, floral designs, or even abstract art.
Some panels create a subtle texture that catches light softly, while others make a bold statement with sharp angles. It helps to order samples or view photos in similar lighting to your space before deciding.
Which style reflects your personality or complements your existing décor? Sometimes, a simple texture can make more impact than a busy design.
Measuring Your Wall Space
Accurate measurements prevent costly mistakes. Use a tape measure to get the height and width of your wall, then calculate the total square footage.
Remember to account for doors, windows, and outlets. It’s smart to buy a little extra material to cover cutting errors or future repairs.
Have you mapped out your wall on paper to visualize how the panels will fit? This step can save you frustration during installation and help you plan your layout effectively.
Preparing The Wall Surface
Getting your wall ready is the key to a flawless 3D wall panel installation. The surface you start with affects how well the panels stick and how long they last. Taking time to prepare your wall properly can save you from future headaches and ensure a professional finish.
Cleaning And Smoothing
First, clear away any dust, dirt, or grease from your wall. Use a damp cloth or mild detergent to wipe the surface clean. A smooth, dry wall helps the adhesive bond better, so avoid leaving any residue behind.
Check if the wall feels rough or flaky. Sand down uneven areas gently with fine-grit sandpaper. This simple step can make a huge difference in how your panels stick.
Repairing Imperfections
Look closely for cracks, holes, or dents. These imperfections can cause panels to sit unevenly or even fall off over time. Fill small holes with spackle or wall filler and let it dry completely.
For larger cracks, consider using a patch kit to reinforce the area. Remember, a perfectly flat surface is your best friend for panel adhesion. Would you want your stunning wall design to be ruined by visible bumps?
Priming The Wall
Priming is often overlooked but critical. Apply a primer suitable for your wall type to seal the surface. This creates a better grip for the adhesive and prevents peeling.
Choose a primer that dries quickly to speed up your project. If your wall is painted with glossy paint, lightly sanding before priming helps the primer stick better. Have you ever tried sticking something on a slick surface and watched it slide off? Priming prevents that.
Selecting Adhesives And Tools
Choose strong adhesives like construction glue or double-sided tape for 3D wall panels. Use tools such as a level and measuring tape to ensure accurate placement. Clean the wall surface before applying for better adhesion.
Selecting the right adhesives and tools is crucial for a successful 3D wall panel installation. The right materials ensure the panels stay secure and look great for years. Let’s explore the best options.Types Of Adhesives
Choosing the right adhesive is essential. Here are some common types:- Construction Adhesive:Strong and versatile, ideal for heavy panels.
- Double-Sided Tape:Suitable for lightweight panels and temporary setups.
- Silicone Adhesive:Offers flexibility and moisture resistance.
Recommended Tools
Using the right tools makes installation easier. Here’s what you need:- Measuring Tape:Ensures accurate placement of panels.
- Level:Keeps your panels aligned and straight.
- Utility Knife:For trimming panels to size.
- Caulking Gun:Applies adhesive smoothly and evenly.
Safety Precautions
Always prioritize safety during installation. Consider these precautions:- Wear Gloves:Protects your hands from sharp edges and adhesives.
- Use Eye Protection:Shields your eyes from dust and debris.
- Ventilate the Area:Ensures fresh air circulation when using adhesives.
Step-by-step Installation Guide
Installing 3D wall panels can transform your space quickly, but the key is doing it right. Following a clear, step-by-step approach helps you avoid common mistakes and ensures the panels stick firmly and look great. Let’s walk through the essential stages of installation so you can get confident about your project.
Marking Panel Layout
Start by measuring your wall carefully. Use a pencil and a level to mark where each panel will go, making sure your layout is balanced and fits the wall dimensions perfectly.
Think about the pattern you want—do you want the panels centered or aligned with existing features like windows or furniture? Taking time here saves you from awkward cuts and gaps later.
Applying Adhesive
Choose an adhesive suitable for your panel material and wall type. Apply it evenly on the back of the panel using a notched trowel or adhesive gun.
Don’t overdo it—the right amount creates a strong bond without excess squeezing out. If you’ve used too much, it can make a mess and weaken the hold.
Positioning Panels
Carefully place the panel onto the wall, aligning it with your pencil marks. Start at the bottom or corner to maintain stability as you go along.
Take your time here; once the panel touches the adhesive, adjusting it becomes difficult. Ask yourself: Is it straight and flush with adjacent panels?
Pressing And Securing
Press the panel firmly against the wall for at least 30 seconds to ensure good contact. Use a roller or a flat board to apply even pressure across the surface.
If the instructions recommend, use temporary supports like painter’s tape or lightweight braces until the adhesive fully cures. This step prevents panels from slipping and keeps your installation neat.
Finishing Touches
Finishing touches make 3D wall panels look seamless and professional. These steps improve durability and appearance. Proper finishing ensures the panels fit well and stay in place.
Filling Gaps And Seams
Fill gaps between panels with a flexible filler or caulk. Use a putty knife to smooth the filler evenly. Small seams can be hidden with paint or a matching compound. This step prevents dirt buildup and gives a neat finish.
Painting And Sealing
Paint the panels to match your room decor or leave them white. Use a primer first for better paint adhesion. Choose water-based paint for easy cleanup and durability. Seal the panels with a clear coat to protect against moisture and stains.
Cleaning Up
Remove any dust or debris from the panel surface. Wipe panels gently with a damp cloth to avoid damage. Clean tools and work area to keep your space tidy. Proper cleanup extends the life of your wall panels.
Common Mistakes To Avoid
Sticking 3D wall panels might seem straightforward, but small errors can lead to big frustrations. Avoiding common mistakes will save you time, money, and a lot of unnecessary hassle. Let’s look at some pitfalls that often trip people up and how you can steer clear of them.
Misalignment Issues
Getting your panels perfectly aligned is crucial. Even a slight tilt or gap can ruin the visual flow and make your wall look uneven. Take your time to measure carefully and use a level or laser guide to keep everything straight.
Rushing this step is tempting but often leads to rework. If you notice a panel slipping or not fitting well, stop and adjust before the adhesive sets. Have you ever regretted skipping the leveling step because the final look was off?
Using Wrong Adhesives
Not all adhesives work well with 3D wall panels. Using the wrong glue can cause panels to peel off or damage the wall surface. Check the manufacturer’s recommendations and pick an adhesive designed for your panel material and wall type.
For example, heavy panels need strong construction adhesive, while lighter ones might only require double-sided tape. Don’t guess—testing a small area first can prevent costly mistakes. What’s your go-to adhesive for wall projects?
Ignoring Wall Preparation
Wall preparation is often overlooked but it’s the foundation of a lasting installation. Dust, grease, or uneven surfaces reduce adhesive effectiveness and cause panels to fall off. Clean your wall thoroughly and repair any cracks or bumps before you start.
If your wall is freshly painted, make sure the paint is fully dry and cured. Skipping this step risks peeling paint or loose panels later. How much time do you usually spend prepping your walls for projects?
Maintenance Tips For Longevity
Maintaining 3D wall panels helps keep their beauty and durability. Proper care extends their life and keeps them looking fresh. Small efforts in upkeep can prevent costly repairs.
Regular Cleaning
Dust panels regularly using a soft cloth or duster. Avoid harsh chemicals that can damage the surface. Use mild soap and water for stubborn stains. Dry panels with a clean towel to prevent moisture buildup.
Handling Repairs
Inspect panels for cracks or loose edges often. Fix minor damages quickly with suitable adhesive. Replace severely damaged panels to keep the wall safe. Use matching paint or finish to blend repairs.
Preventing Damage
Keep sharp objects away from the panels. Avoid placing heavy items that press against the wall. Control room humidity to prevent warping or peeling. Protect panels from direct sunlight to avoid fading.
Credit: usabuildersdepot.com

Credit: commomy.com
Frequently Asked Questions
How Do You Prepare The Wall For 3d Panel Installation?
Clean the wall thoroughly to remove dust and grease. Ensure the surface is smooth and dry. Fill any holes or cracks. Sand rough patches for better adhesion. Proper preparation guarantees the panels stick firmly and last longer.
What Adhesive Is Best For Sticking 3d Wall Panels?
Use strong construction adhesive or panel-specific glue. Avoid weak glues or tapes. The adhesive should bond well with both the wall and panel material. Check manufacturer recommendations for the best results and ensure a long-lasting hold.
Can 3d Wall Panels Be Installed On Painted Surfaces?
Yes, 3D wall panels can stick on painted walls. Ensure the paint is fully dry and not peeling. Lightly sand glossy surfaces for better grip. Proper adhesion depends on the paint condition and wall preparation.
How Long Does It Take For Adhesive To Dry?
Adhesive usually takes 24 to 48 hours to fully cure. Avoid touching or disturbing panels during this time. Follow specific product instructions for exact drying times to ensure strong and secure panel attachment.
Conclusion
Sticking 3D wall panels is easier than you think. Choose the right adhesive and clean your wall first. Measure carefully to place panels evenly. Press firmly for a strong hold. Take your time and work step by step. Your walls will look fresh and stylish.
Enjoy your new space with simple steps done well.


