
Are you ready to make your Christmas tree sparkle like never before? Putting lights on your Xmas tree might seem simple, but doing it the right way can transform your whole holiday vibe.
Imagine a tree that glows evenly, shines brightly, and becomes the centerpiece of your festive decor. In this guide, you’ll discover easy steps and smart tips to light your tree perfectly—no frustration, no tangled mess, just beautiful, glowing magic. Keep reading, and get ready to create a warm, inviting atmosphere that will wow your family and friends this season.
Choosing The Right Lights
Choosing the right lights for your Christmas tree can change the entire feel of your holiday decor. The variety of options might seem overwhelming, but understanding the basics can help you make a confident choice. Think about the mood you want to create and the practical needs your space demands before picking your lights.
Types Of Christmas Lights
Christmas lights come in several types, each offering different effects and uses. You’ll find traditional string lights, net lights for easy coverage, icicle lights for a dripping effect, and even curtain lights that create a wall of sparkle.
String lights are the most flexible and popular choice for wrapping branches. Net lights are great if you want quick and even coverage without much fuss. Consider how much time and effort you want to spend decorating when choosing the type.
Led Vs. Incandescent
LED lights have become the go-to option because they use less energy and last much longer than incandescent bulbs. They also run cooler, which is safer for your tree and reduces fire risk.
Incandescent lights are often cheaper upfront and emit a warm, classic glow that many people love. However, they consume more electricity and can get hot, so you need to be cautious when using them on natural trees.
Ask yourself: Is energy efficiency or traditional warmth more important for your holiday setup? Your answer will guide the best choice here.
Color Options
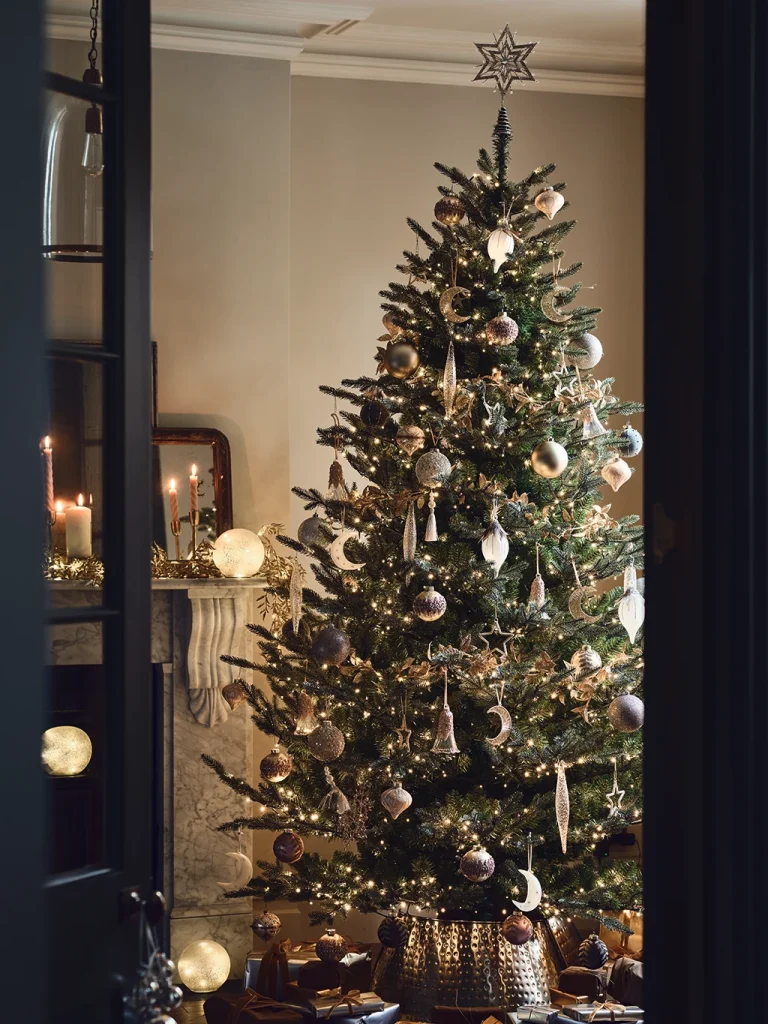
Lights come in a wide range of colors, from classic white and multicolor to single hues like red, blue, or green. White lights create a clean, elegant look, while multicolor lights add a playful, festive vibe.
Consider your existing decorations and room style. If your tree is heavily decorated with colorful ornaments, white lights might highlight them better. If you prefer a lively and fun atmosphere, multicolored lights can make your tree pop.
Have you thought about mixing colors or using lights that change hues? This can add a dynamic touch to your tree’s appearance.
Safety Considerations
Safety should always come first when choosing Christmas lights. Look for lights that are UL-certified or meet other safety standards to ensure they have been tested for quality and fire resistance.
Check the packaging for indoor or outdoor use and choose accordingly. Avoid overloading electrical outlets by plugging too many light strings together; follow manufacturer guidelines on maximum connections.
Have you inspected your lights for damaged wires or broken bulbs before use? This small step can prevent accidents and keep your holiday bright and safe.

Credit: www.blog.bronners.com
Preparing The Tree
Preparing the tree is an important part of decorating for Christmas. A well-prepared tree looks fuller and holds lights better. It also lasts longer throughout the season. Taking time to get the tree ready makes the decorating process easier and more fun.
Selecting A Healthy Tree
Choose a tree with bright green needles. Needles should not fall off easily when touched. Check the branches for flexibility; they should bend without breaking. Avoid trees with brown spots or dry needles. A healthy tree keeps its shape and stays fresh longer.
Setting Up The Tree Stand
Use a sturdy stand that fits the tree trunk well. Make sure the stand holds water to keep the tree fresh. Place the tree in the stand straight and secure it tightly. Keep the stand filled with water every day to prevent drying out.
Fluffing The Branches
Gently separate the branches to create space. Spread the needles evenly for a full look. Move branches up and down to fill gaps. Fluffing makes the tree look bigger and helps lights shine through. Take your time to shape the tree before adding decorations.
Planning Your Lighting Design
Start by choosing the right lights for your tree size and style. Wrap lights evenly from the base to the top, weaving them through branches for a balanced glow. Test the lights before placing ornaments to ensure full coverage and brightness.
Planning the lighting design for your Christmas tree sets the stage. It ensures your tree shines bright and captures the holiday spirit. A well-thought-out plan helps avoid last-minute hassles. It also ensures even illumination and a cohesive look. Let’s break down the steps to create a stunning tree display.Deciding On Light Density
Consider how many lights you need. More lights mean a brighter and more festive tree. A general rule is 100 lights per foot of tree. Want a subtle glow? Use fewer lights. Prefer a dazzling display? Add more. Always keep your tree’s size and room brightness in mind.Choosing A Lighting Pattern
Patterns can change your tree’s appearance. The classic spiral wrap is popular. Start at the top and wrap in a downward spiral. For a modern look, try vertical lines. Run lights from the top to the bottom. Consider zigzag patterns for an artistic touch. Each pattern creates a unique effect.Testing Lights Beforehand
Always test your lights first. Plug them in before hanging. Ensure all bulbs work and replace any faulty ones. This saves time and avoids frustration. Check for frayed wires or loose connections. Safety is key, so inspect carefully. Happy lights make a happy tree.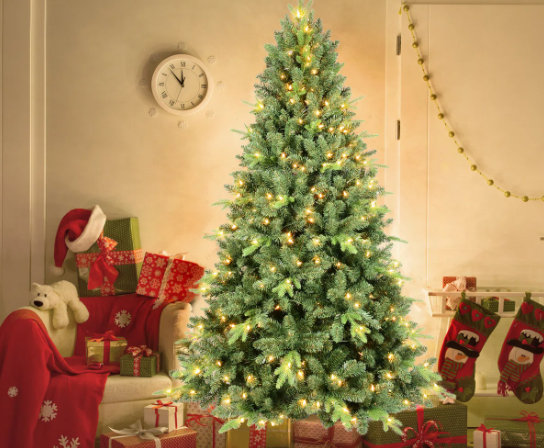
Credit: www.wayfair.ca
Step-by-step Lighting Techniques
Lighting your Christmas tree can transform your entire room. The key is to use a clear, organized approach that ensures every branch shines without overwhelming the tree. These step-by-step lighting techniques will help you achieve a beautiful, balanced glow that draws attention to your decorations and creates a warm holiday atmosphere.
Starting From The Base
Begin by plugging in your lights and starting at the base of the tree near the power source. This keeps the cord hidden and prevents any awkward tangling as you work upward. Moving from the bottom up also gives you better control over the length of lights you’ll need and helps you avoid running out halfway through.
Have you noticed how starting at the top makes the cord dangle awkwardly? Starting at the base feels more natural and saves you from frustrating trips back and forth to the outlet.
Wrapping Branches Evenly
Wrap lights around each branch, not just the tips. This creates depth and highlights the tree’s natural shape. Space the lights evenly, aiming for a balanced look that doesn’t cluster too many bulbs in one spot.
Try wrapping branches in a spiral motion to keep lights consistent. This technique lets you cover more area quickly and avoid bunching. It also makes your tree look fuller and more vibrant.
Lighting The Inner Branches
Don’t forget the tree’s inner branches where shadows tend to fall. Tuck some lights deep inside to create a soft, glowing effect from within. This subtle touch adds dimension and prevents the tree from looking flat or dull.
Placing lights inside can be tricky but think of it like filling a room with light—you want every corner to shine. How often do you overlook the inside of your tree and miss out on that cozy glow?
Securing Loose Wires
Loose wires can ruin the polished look you’re aiming for. Use small twist ties or green floral wire to fasten cables discreetly to branches. This keeps everything in place and prevents wires from dangling or getting tangled.
Secured wires also make it easier to add ornaments later without snagging. Keeping your setup tidy can save you time and stress when decorating or taking down your tree.
Enhancing The Glow
Enhancing the glow of your Christmas tree lights makes your holiday decor truly magical. Small changes can create warm, inviting light that fills your room with festive cheer. Simple tools and smart choices help you control brightness and add sparkle. These tips will help your tree shine beautifully throughout the season.
Using Timers And Dimmers
Timers let you set lights to turn on and off automatically. This saves energy and keeps your tree glowing at the right times. Dimmers adjust light brightness, creating a soft or bright effect. Use dimmers to match your room’s mood or evening activities. Both tools make lighting easier and more flexible.
Combining Different Light Types
Mixing various light types adds depth and interest to your tree. Try string lights with larger bulbs for a classic look. Add tiny LED lights for a twinkling effect. Use colored and white lights together for a festive contrast. Combining lights creates layers of brightness and color that catch the eye.
Adding Reflective Ornaments
Shiny ornaments bounce light around your tree. Use glass balls, metallic shapes, or glittery decorations. Place these near lights to enhance the sparkle and shine. Reflective ornaments spread light, making your tree appear brighter and fuller. They add extra charm without extra electricity.
Troubleshooting Common Issues
Putting lights on your Christmas tree can sometimes bring unexpected hiccups. Troubleshooting common issues early saves you from last-minute frustration. Understanding how to handle these problems ensures your tree shines bright throughout the season.
Fixing Burned Out Bulbs
Burned out bulbs often cause entire light strands to stop working. Check each bulb carefully for dark spots or broken filaments. Replacing the faulty bulb usually restores the whole string’s glow.
If you don’t have extra bulbs, look for a testing tool or a multimeter to identify the bad ones quickly. Sometimes, gently adjusting bulbs in their sockets can fix loose connections and bring lights back to life.
Dealing With Tangled Lights
Tangled lights are a common headache, especially if you packed them away hastily. Before hanging, spread them out on a flat surface and untangle knots slowly to avoid damaging wires.
Consider wrapping lights around a piece of cardboard or a spool next year to prevent tangling. Have you noticed that taking your time here saves you double the effort later? It’s worth the patience.
Handling Overheating Problems
Lights can get hot, especially if they’re old or not designed for your tree type. Avoid using multiple strands on one outlet without a surge protector to reduce overheating risks.
Inspect cords for fraying or damage, and replace any suspect strands immediately. If lights feel too warm to touch, unplug them and switch to LED bulbs that stay cool and use less energy.
Maintaining Your Tree Lights
Maintaining your Christmas tree lights ensures they stay bright and safe throughout the holiday season. Proper care can prevent frustrating outages and keep your tree looking magical every evening. Let’s look at some practical ways to take good care of your lights daily, store them safely after the festivities, and know when it’s time to replace old strands.
Daily Care Tips
Check your lights every day for any signs of wear or damage. Look for frayed wires, broken bulbs, or loose connections that can cause flickering or short circuits.
Turn off your lights when you’re not home or before going to bed. This simple habit reduces heat buildup and extends the life of your bulbs.
Try not to overload your outlets with too many light strings. Using a power strip with a built-in surge protector can help avoid electrical problems.
Storage After The Season
After you take down your tree, carefully remove the lights to avoid tangling or breaking bulbs. Wrapping them around a piece of cardboard or a dedicated spool keeps them neat.
Store your lights in a cool, dry place away from heavy items that could crush the bulbs. A labeled container makes it easy to find them next year without untangling a mess.
Replacing Old Lights
If you notice dim bulbs or frequent outages even after checking connections, it might be time to replace your lights. Newer LED lights use less energy and last longer than traditional incandescent bulbs.
Consider replacing old strings that show signs of wear or have missing bulbs. Investing in quality lights means fewer headaches and a brighter tree every year.

Credit: www.youtube.com
Frequently Asked Questions
How Many Lights Do I Need For A Christmas Tree?
A good rule is 100 lights per foot of tree height. For example, a 6-foot tree needs 600 lights. This ensures even coverage and bright illumination without overcrowding.
Should I Test Lights Before Putting Them On The Tree?
Yes, always test lights before decorating. Check for burnt-out bulbs and faulty wires. This prevents last-minute issues and ensures your tree lights up beautifully.
What Is The Best Way To Wrap Lights On A Tree?
Start from the bottom or base and wrap lights evenly around branches. Move upward in a spiral, spacing lights close to the trunk and outer tips for depth.
Can I Use Led Lights On My Christmas Tree?
Yes, LED lights are energy-efficient, long-lasting, and cool to touch. They offer bright, vibrant colors and are safer for indoor use compared to traditional bulbs.
Conclusion
Adding lights to your Christmas tree brings warmth and joy to your home. Start with clear planning and choose lights that suit your tree size. Wrap the lights evenly from top to bottom for a balanced look. Check all bulbs before plugging in to avoid surprises.
Remember to stay safe and use quality lights. Your tree will shine bright and create a festive mood for all. Enjoy the glow and happy decorating!


