
Are you looking to add a fresh, creative touch to your glass surfaces? Putting wall stickers on glass can instantly transform any space without the mess of paint or the cost of renovations.
But if you’ve never tried it before, you might wonder how to get them on smoothly, without bubbles or wrinkles. In this guide, you’ll discover simple, step-by-step tips to make your wall stickers stick perfectly every time. Keep reading, and you’ll soon enjoy a flawless, eye-catching look that brightens your room and reflects your style.

Credit: www.temu.com
Choose The Right Stickers
Choosing the right wall stickers for glass surfaces can make all the difference in how your space looks and feels. Not every sticker will stick well or look great on glass, so it’s important to pick one that fits your needs perfectly. Think about the material and design carefully before making your choice.
Material Types For Glass
Not all wall stickers are made equal, especially for glass. Vinyl stickers are a popular choice because they stick firmly and are easy to remove without leaving residue. Clear or frosted vinyl stickers can add a subtle, elegant touch without blocking light.
Static cling stickers are another option. They don’t use adhesive but stick through static electricity, making them great for temporary decorations. However, they may not hold as well on textured glass or in humid rooms.
Ask yourself: do you want something permanent or something you can change often? Your answer will guide you to the right material.
Size And Design Considerations
Size matters more than you might think. Large stickers can become overwhelming on small windows, while tiny ones might get lost on big glass doors. Measure your glass surface carefully before buying.
Design also plays a key role. Simple shapes and bold colors often stand out better on glass. Intricate details may not be visible from a distance and can be frustrating to apply perfectly.
Think about where you’ll place the sticker and how it fits with the room’s style. Would a geometric pattern complement your modern decor, or would floral designs match your cozy kitchen better? The right size and design can turn your glass into a real focal point.
Prepare The Glass Surface
Preparing the glass surface is the foundation for flawless wall sticker application. Without a clean and smooth base, your stickers might peel off or look uneven. Taking the time to properly prepare ensures your design stays vibrant and stuck for a long time.
Cleaning Techniques
Start by wiping the glass with a soft, lint-free cloth to remove dust and loose dirt. Then, use a mild soap solution or glass cleaner to eliminate grease and fingerprints. Avoid harsh chemicals that can leave residues or damage the glass surface.
If you notice stubborn spots, gently rub them with a mixture of water and vinegar or a bit of rubbing alcohol. Use cotton swabs for tight corners and edges. Always test a small area first to ensure the cleaner doesn’t affect the glass coating.
Drying And Inspection
After cleaning, let the glass air dry completely or use a clean microfiber cloth to speed up the process. Moisture trapped under the sticker can cause bubbles and prevent proper adhesion.
Take a close look at the glass once dry. Are there any smudges, lint, or watermarks left? Even tiny bits can ruin the sticker’s finish. If you spot any, clean those areas again to achieve a perfectly smooth surface.
Position The Sticker
Choose a smooth, clean glass surface to place the sticker. Hold it carefully and align the edges before pressing it down gently. Smooth out air bubbles with a soft cloth for a neat finish.
Positioning wall stickers on glass can be a fun and creative process, but it requires precision to ensure a flawless finish. You want your stickers to align perfectly and stay put. This process involves a few key steps, which can make a world of difference in the final look of your glass surface.Measuring And Marking
Start by measuring the space where you want to place the sticker. Use a ruler or measuring tape to get accurate dimensions. Mark the center points with a dry erase marker or small pieces of masking tape. This will act as a guide and prevent you from placing the sticker crookedly. Accurate measurements save time and reduce frustration.Using Tape For Alignment
Use masking or painter’s tape to hold the sticker in place temporarily. This allows you to step back and evaluate the position before committing. Tape the top edge of the sticker onto the glass, creating a hinge effect. This ensures the sticker remains aligned as you peel and apply it. Have you ever noticed a slight tilt in a perfectly designed space? It’s often the little things, like alignment, that catch our eye. Taking these extra steps can be the difference between a professional look and a DIY mishap. Are you ready to transform your glass surfaces with perfectly positioned stickers?
Credit: www.temu.com
Apply The Sticker
Applying a wall sticker on glass requires a steady hand and a bit of patience. The key is to handle the sticker carefully to avoid wrinkles or misalignment. Let’s break down the process to make sure your sticker looks flawless and stays put.
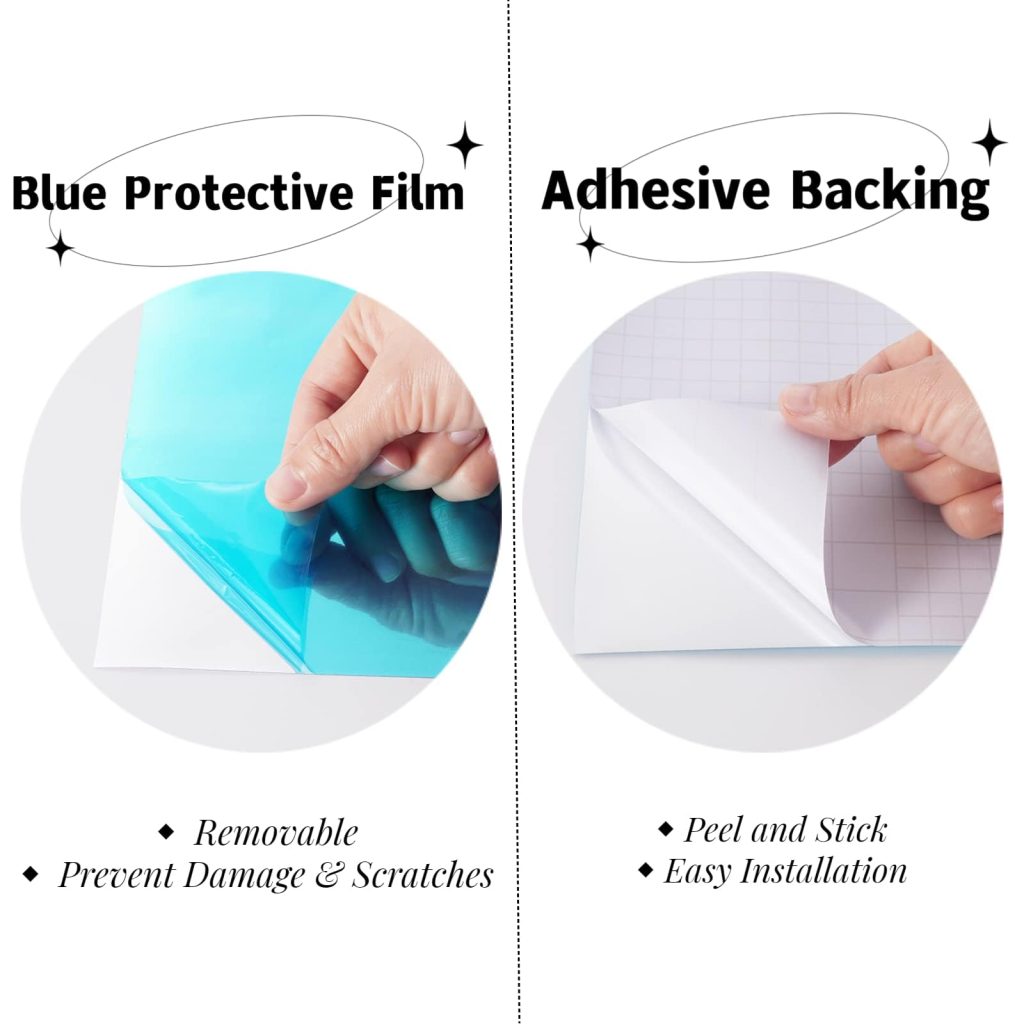
Peeling The Backing
Start by gently lifting a corner of the sticker’s backing paper. Pull it back slowly, keeping the sticker flat against your glass surface as you go. Moving too fast or pulling the backing all at once can cause the sticker to fold or stick to itself.
Try to peel just enough backing to expose a small section of the adhesive side. This makes it easier to position the sticker accurately before fully removing the backing. If you notice the sticker starting to lift or bubble, pause and smooth it down before continuing.
Smoothing Out Air Bubbles
Once the sticker is placed on the glass, air bubbles might appear between the sticker and the surface. Use a flat, firm tool like a credit card or a plastic squeegee to gently push bubbles toward the edges.
Work from the center outwards in slow, even strokes. This helps the sticker adhere evenly and prevents wrinkles. If a stubborn bubble remains, gently lift the nearest edge and reapply, smoothing it down again.
Have you ever noticed how a small air bubble can ruin the entire look? Taking your time here makes a huge difference in the final result.
Final Touches
After carefully applying your wall stickers on glass, the final touches make all the difference in achieving a clean and professional look. Paying attention to these details ensures your design stays put and looks flawless for a long time. Let’s focus on the small but crucial steps that will perfect your project.
Trimming Excess Material
Sometimes, the sticker may extend beyond the edges of the glass or overlap in unwanted areas. Use a sharp craft knife or precision scissors to carefully trim any extra material. Take your time to avoid cutting into the actual design.
Try to hold the glass steady and work slowly along the edges. This helps prevent any tearing or jagged cuts. If you notice any bubbles near the trimmed areas, gently smooth them out with a soft cloth or squeegee.
Ensuring Adhesion
Even after applying pressure during installation, some parts of the sticker might not stick well. Use a soft, lint-free cloth or a rubber squeegee to firmly press down the entire surface. Work from the center outward to push out any trapped air.
Check the edges carefully. If you spot any sections lifting, press them down again and hold for a few seconds. In my experience, applying light heat with a hairdryer at a low setting can help activate the adhesive without damaging the sticker.
Have you noticed how a little extra attention here can make your glass stickers last much longer and look more vibrant? Taking these final steps protects your work and keeps your space looking fresh.
Tips For Removal And Maintenance
Proper care helps keep wall stickers on glass looking fresh. Removal and maintenance ensure no damage or leftover residue. Follow these tips for easy sticker care and clean glass surfaces.
Safe Removal Methods
Peel stickers slowly from one corner. Use your fingers or a plastic scraper to lift the edge gently. Avoid metal tools that can scratch the glass.
Warm the sticker slightly with a hairdryer. Heat softens the adhesive, making removal easier. Keep the dryer moving to avoid overheating the glass.
If residue remains, apply a small amount of rubbing alcohol on a soft cloth. Rub gently to remove sticky bits. Test alcohol on a hidden spot first to check for any damage.
Cleaning Without Damage
Use mild soap and warm water for cleaning around stickers. Avoid harsh chemicals or abrasive cleaners that harm stickers or glass.
Wipe gently with a soft cloth or sponge. Do not scrub hard, as this can peel or fade stickers.
Dry the glass with a clean microfiber cloth to prevent streaks. Keep stickers dry to maintain their adhesive strength.

Credit: www.squaresigns.com
Frequently Asked Questions
How Do I Prepare Glass Before Applying Wall Stickers?
Clean the glass thoroughly with a glass cleaner and a lint-free cloth. Remove all dirt, dust, and grease. Ensure the surface is completely dry before applying the sticker for better adhesion and a smooth finish.
Can Wall Stickers Be Removed From Glass Easily?
Yes, wall stickers can be removed easily from glass. Gently peel the sticker starting from one corner. Use warm soapy water or rubbing alcohol to remove any residue without damaging the glass.
What Is The Best Technique To Apply Wall Stickers On Glass?
Start by peeling the backing paper slowly. Align the sticker on the glass. Use a squeegee or credit card to press out air bubbles. Work from the center outwards for a smooth, bubble-free application.
Will Wall Stickers Damage The Glass Surface?
No, wall stickers do not damage glass when applied or removed properly. Use gentle pressure during application and peel off slowly to avoid residue or scratches on the glass surface.
Conclusion
Applying wall stickers on glass is simple and fun. Clean the glass well to help stickers stick better. Peel the backing slowly and place the sticker carefully. Use a flat tool to smooth out bubbles or wrinkles. Take your time and adjust as needed.
This small step can change the look of any glass surface. Enjoy your new decoration and feel proud of your work. Try different designs to find what suits you best. Stickers on glass add style without much effort. Give it a try and see the difference!


