
Are you looking to add a personal touch to your space? Creating custom stickers for your wall is a simple and fun way to transform any room instantly.
Imagine seeing your own designs, favorite quotes, or unique patterns brightening up your walls exactly how you want. In this guide, you’ll discover easy steps to make stickers that fit your style perfectly—no special skills needed. Ready to turn your walls into your own creative canvas?
Keep reading, and let’s get started!
Credit: www.vistaprint.com
Choosing The Right Materials
Choosing the right materials is key to making custom stickers that look great and last long. Good materials ensure your stickers stick well and resist damage. You want your stickers to stay bright, peel off easily if needed, and not harm your wall. Picking the proper paper, adhesive, and tools makes the process smooth and the results professional.
Selecting Sticker Paper
Sticker paper comes in many types. Choose between glossy, matte, or transparent finishes. Glossy paper makes colors pop and looks shiny. Matte paper reduces glare and gives a soft look. Transparent paper lets the wall color show through the sticker edges.
Consider the wall texture. Smooth walls work well with most papers. Rough walls need thicker, flexible paper for better grip. Also, check if the paper is water-resistant for durability.
Picking The Best Adhesive
Adhesive quality affects how well stickers stick and peel. Permanent adhesive sticks strongly and lasts long. Use it for stickers you don’t want to remove often.
Removable adhesive works well on painted walls. It holds tight but peels off without damage. Look for adhesives that won’t leave sticky residue behind.
Test a small sticker first. This avoids wall damage and ensures easy removal.
Tools And Supplies Needed
- Printer compatible with sticker paper
- Cutting tools like scissors or craft knives
- Ruler and cutting mat for precise edges
- Squeegee or credit card to smooth stickers
- Protective spray or laminate sheets to seal stickers
Having the right tools saves time and improves sticker quality. Use a cutting mat to avoid surface damage. A squeegee removes air bubbles for a smooth finish.

Credit: www.amazon.com
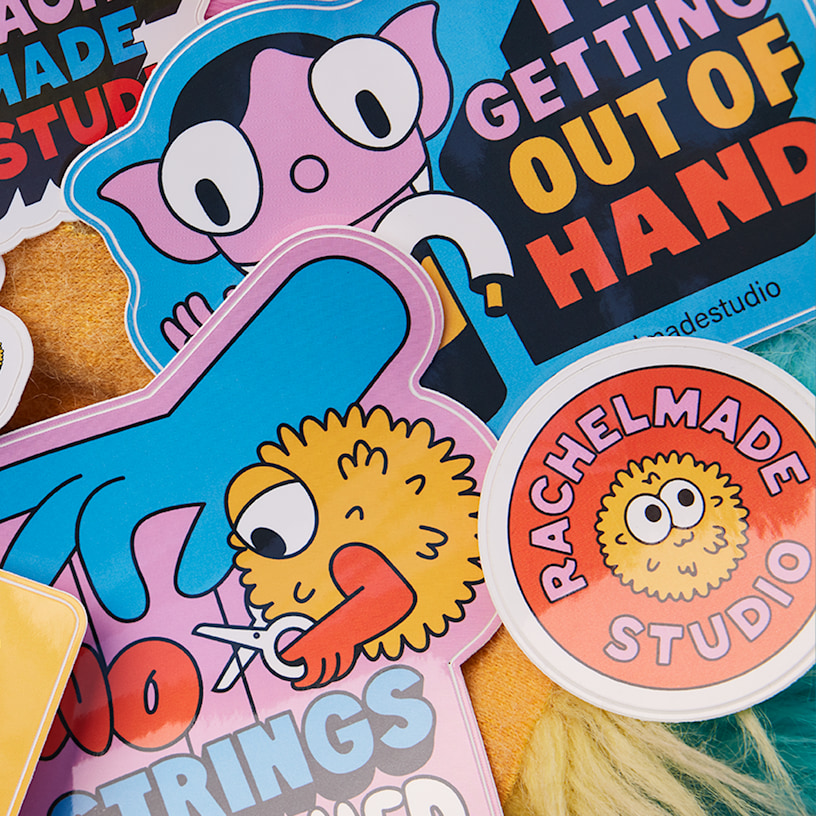
Designing Your Stickers
Designing your own stickers for a wall can be a fun and creative process that allows you to personalize your space exactly how you want. The key is to focus on the details that will make your stickers stand out and reflect your style. Let’s break down how you can bring your ideas to life with the right tools and techniques.
Using Design Software
Choosing the right design software can make a huge difference in how easily you create your stickers. Programs like Adobe Illustrator or free alternatives like Inkscape give you powerful tools to draw, edit, and arrange your design elements. If you prefer something simpler, Canva offers user-friendly drag-and-drop features that are perfect for beginners.
Think about the resolution and file format you’ll need for printing. Vector formats like SVG or AI are best because they keep your designs crisp at any size. Have you checked if your chosen software exports in these formats? That step can save you a lot of headaches later.
Creating Custom Shapes
Custom shapes add a unique touch to your stickers and can really make them pop on your wall. Instead of sticking to basic circles or squares, try experimenting with outlines that follow the contours of your design. Tools within your design software allow you to draw freehand or use shape-building features to create anything from abstract forms to intricate silhouettes.
Don’t shy away from combining multiple shapes to form complex designs. Layering shapes can create depth and interest without overwhelming the overall look. What shapes best represent your personality or the theme you want on your wall?
Incorporating Colors And Textures
Colors are more than just decoration; they evoke moods and highlight important parts of your design. Pick a color palette that complements your room’s existing tones or contrasts boldly to draw attention. Using gradients or subtle shading can make your stickers look more dynamic and less flat.
Textures add a tactile dimension that can make your stickers feel more like art. You can mimic textures like wood grain, fabric, or stone digitally by using pattern overlays or brush effects. Have you considered how different textures might change the vibe of your wall?
Printing Your Stickers
Choose high-quality sticker paper for vibrant, long-lasting prints. Use a good printer and cut each sticker carefully for a neat finish.
Creating custom stickers for your wall can be an exciting project that adds a personal touch to your space. Once you’ve designed your stickers, the next step is crucial: printing them. This process determines how your final product looks, so it’s worth investing time and effort to get it right.Printer Settings For Quality
To ensure your stickers come out looking vibrant and sharp, adjust your printer settings. Choose a high-quality print setting for the best results. Use the right paper type, preferably a glossy or matte sticker paper, depending on your preference. Check the color settings to match your design as closely as possible. A test print can help you make necessary adjustments before the final print. Don’t forget to align the paper correctly to prevent any misprints.Cutting Methods
Once printed, cutting your stickers precisely is the next step. Scissors are a simple option for basic shapes. For more intricate designs, a craft knife or a cutting machine like a Cricut can offer precision. Consider using a cutting mat to protect your surfaces and achieve cleaner cuts. If you choose a machine, ensure your design files are compatible, and double-check the settings before cutting. Clean lines make your stickers look professional and polished.Laminating For Durability
To enhance the durability of your stickers, laminating is a wise choice. Lamination protects against scratches, water damage, and fading. You can use self-adhesive laminating sheets or a laminating machine for this purpose. Ensure the lamination is bubble-free by smoothing it out with a ruler or a similar flat tool. This step not only extends the life of your stickers but also gives them a sleek, glossy finish. Would you consider laminating your stickers to ensure they stand the test of time?
Credit: vyoletshop.com
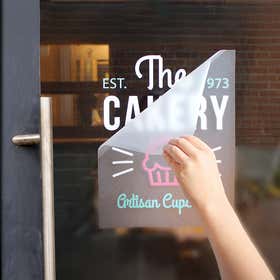
Preparing The Wall Surface
Preparing the wall surface is essential for custom stickers to stick well and last long. A smooth, clean wall helps the sticker look neat and prevents peeling. Take time to get the wall ready before placing your stickers.
Cleaning Techniques
Start by removing dust and dirt with a soft cloth or duster. Use mild soap mixed with water to wash the wall gently. Avoid harsh chemicals that can damage paint or wallpaper. Rinse with clean water and dry the surface completely. A clean wall ensures better sticker adhesion.
Repairing Imperfections
Check for holes, cracks, or bumps on the wall. Fill small holes with spackle or wall filler using a putty knife. Let it dry and sand the area smooth with fine-grit sandpaper. A flat wall surface prevents bubbles and wrinkles under the sticker. Smooth walls make stickers look professional.
Testing Adhesion
Before applying the full sticker, test a small piece first. Press it firmly on the wall and wait a few hours. Check if it sticks well without peeling or falling off. Testing helps avoid wasting your custom sticker if the wall needs more preparation. Good adhesion means your sticker will stay put.
Applying The Stickers
Applying custom stickers to your wall can transform a plain space into something uniquely yours. But the way you place and smooth them out makes all the difference between a professional look and a rushed job. Taking your time with the application will help your stickers stick better and last longer.
Positioning Tips
Start by cleaning the wall surface thoroughly; dust or grease can stop your stickers from adhering properly. Use painter’s tape to hold the sticker in place and step back to check its alignment from different angles. Are you aiming for a symmetrical look or a more dynamic, scattered arrangement?
Mark light guidelines with a pencil if needed—these will help you stay straight without leaving permanent marks. Remember, it’s easier to adjust the sticker before fully pressing it down, so take a moment to get the positioning just right.
Smoothing Out Air Bubbles
Air bubbles are the biggest enemy of a smooth sticker finish. Use a flat tool like a credit card or a squeegee to push air out from the center towards the edges. Work slowly and apply firm, even pressure.
If you catch a stubborn bubble, gently peel back the sticker to release the trapped air and press it down again. Don’t worry if you see tiny bubbles at first; they often disappear after a day or two as the sticker settles.
Layering And Overlapping
Layering stickers can add depth and interest to your wall design, but overlapping requires care. Overlapping edges can sometimes peel if not pressed firmly or if the stickers are too thick.
Consider using thinner vinyl stickers for overlapping areas to avoid bulkiness. When layering, press each sticker down completely before adding the next one, ensuring each layer sticks well. Have you tried mixing textures or finishes to create contrast?
Maintaining Your Wall Stickers
Maintaining your wall stickers keeps them looking fresh and vibrant. Proper care helps stickers last longer on your walls. Simple habits prevent damage and preserve the design’s beauty.
Cleaning Without Damage
Use a soft, dry cloth to dust your stickers regularly. Avoid harsh chemicals or abrasive materials that can scratch the surface. A damp cloth with mild soap works well for stubborn dirt. Always pat gently and do not rub hard to protect the sticker’s finish.
Removing Stickers Safely
Peel stickers slowly from one corner to avoid tearing. Warm the sticker slightly with a hairdryer to soften the adhesive. This step makes removal easier and reduces wall damage. Use a plastic scraper or your fingernail to lift edges carefully. Clean any leftover adhesive with gentle adhesive remover or warm soapy water.
Refreshing Faded Designs
Place stickers away from direct sunlight to prevent fading. Use a clear protective spray designed for wall decals to restore shine. Apply the spray lightly and evenly over the sticker’s surface. Replacing old stickers with new custom designs also refreshes your wall’s look. Consider touching up edges with matching paint if needed.
Frequently Asked Questions
How Do I Design Custom Stickers For A Wall?
Use graphic design software like Canva or Adobe Illustrator. Choose wall-friendly themes and colors. Keep designs simple and bold for visibility. Export files in high resolution for printing.
What Materials Are Best For Wall Stickers?
Vinyl is the most popular material. It’s durable, easy to apply, and removable without damage. Matte finish reduces glare, while glossy offers vibrant colors. Choose based on your wall’s texture and style.
Can I Create Wall Stickers Without Professional Tools?
Yes, you can use printable sticker paper and a home printer. Cut designs manually or with a craft cutter. Ensure your wall is clean and dry for better adhesion. This method is budget-friendly and DIY-friendly.
How Do I Apply Custom Stickers To Walls Smoothly?
Clean the wall surface thoroughly before application. Peel the backing slowly and stick from one edge. Use a squeegee or credit card to remove air bubbles. Apply pressure evenly for a smooth finish.
Conclusion
Creating custom stickers for your wall adds a personal touch to any space. It lets you express your style in a simple, fun way. Use easy tools and clear steps to design and apply your stickers. Small details make a big difference in the final look.
Enjoy the process and watch your walls come alive with your creativity. Custom stickers can brighten a room and make it truly yours. Start your project today and see how walls tell your story.


