
Are you staring at that old bathroom wall mirror, wondering how to get it down without making a mess? Removing a bathroom mirror might seem tricky, but with the right steps, you can do it safely and quickly.
Imagine having a smooth, damage-free wall ready for a fresh new look. In this guide, you’ll discover simple tips to remove your bathroom mirror like a pro—no special tools or skills needed. Keep reading, and you’ll be ready to tackle this project with confidence.
Credit: bfymirror.com
Tools Needed
Before you start removing a bathroom wall mirror, gathering the right tools is crucial. Having everything ready will save you time and prevent damage to your walls or the mirror itself. Let’s look at what you need to make the process smooth and safe.
Essential Equipment
- Utility knife:A sharp blade helps you cut through caulk or adhesive around the mirror edges.
- Putty knife or paint scraper:Useful for gently prying the mirror away from the wall without cracking it.
- Flathead screwdriver:Needed if your mirror has clips or screws holding it in place.
- Glass suction cups:These provide a secure grip to lift and carry the mirror safely.
- Drop cloth or old towels:Protect your floor and catch any debris or drips during removal.
Choosing the right tools affects how easily the mirror comes off. Have you ever tried removing a mirror with just your hands? It’s frustrating and risky. These simple tools make the job manageable and reduce the chance of injury or wall damage.
Safety Gear
- Safety goggles:Protect your eyes from glass shards or dust.
- Work gloves:Essential to prevent cuts while handling sharp mirror edges.
- Mask:Useful if you’re dealing with old adhesive or dust that can irritate your lungs.
Never skip safety gear. Even a small slip can cause serious harm. I remember once trying to remove a mirror without gloves and ended up with a nasty cut. Taking a few extra minutes to gear up always pays off in safety and peace of mind.
Prepare The Area
Preparing the area before removing a bathroom wall mirror is essential. It helps prevent damage and keeps the space safe. Taking time to organize the space and protect nearby surfaces makes the job easier and cleaner.
Clear The Space
Remove all items from the bathroom counter and shelves near the mirror. Clear away towels, toiletries, and decorations. This creates room to work and reduces the risk of breaking or staining belongings. Make sure nothing is in the way of the mirror or tools.
Protect Surroundings
Cover surfaces close to the mirror to avoid scratches and debris. Use painter’s tape and plastic sheets or drop cloths to shield the sink, countertop, and walls. Lay a soft towel or blanket on the floor beneath the mirror to catch falling glass or dust. Protecting the area keeps the bathroom clean and damage-free.
Turn Off Power
Turning off the power is a crucial safety step before removing a bathroom wall mirror. Mirrors often have built-in lights or electrical outlets. Working near electricity without cutting the power can cause shocks or injuries. Always take time to ensure the electrical sources are off to protect yourself and your home.
Locate Electrical Sources
Start by identifying any electrical connections around the mirror. Look for light switches, outlets, or wires near the mirror frame. Check if the mirror has built-in lights or defoggers. Knowing where electricity runs helps you find the right circuit breaker to turn off.
Ensure Safety
Switch off the circuit breaker that controls the mirror area. Use a voltage tester to confirm power is off. Never rely on just the switch; breakers control the main flow of electricity. Wear rubber-soled shoes and avoid standing on wet floors. These steps reduce the risk of electric shock during removal.
Inspect Mirror Attachment
Before removing a bathroom wall mirror, carefully inspect how it is attached. This step helps prevent damage to the wall and the mirror. Knowing the attachment type guides you on the right tools to use. This inspection saves time and effort during removal.
Types Of Mounting
Bathroom mirrors attach to walls in different ways. Common mounting types include:
- Clips or brackets holding the mirror edges
- Hooks or wire hangers behind the mirror
- Adhesive bonding the mirror directly to the wall
- Screws drilled through the mirror frame or wall
Each type requires a different removal approach. Identifying the mounting type is essential.
Identifying Adhesive Or Screws
Check the mirror edges and frame carefully. Look for small metal clips or screws. Screws often sit at the corners or along the mirror frame.
If no screws or clips appear, the mirror may be glued. Adhesive mirrors stick flat against the wall. Sometimes, you may see a slight gap or residue at the edges.
Use a flashlight to spot hidden screws or nails. Gently tap around the mirror to feel if it moves or is firmly stuck. This helps confirm the mounting type.
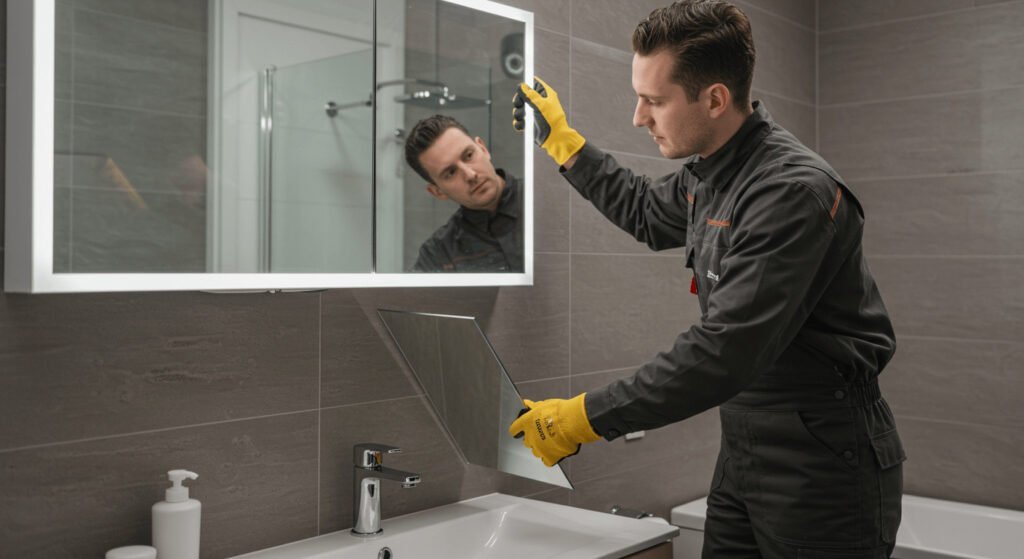
Remove Mirror Safely
Removing a bathroom wall mirror requires care and attention. Safety matters to protect yourself and avoid damage. Use the right tools and follow simple steps to make the process smooth. Wear gloves and goggles to guard against broken glass.
Check how the mirror is fixed to the wall. It may have screws, adhesive, or both. Understanding this helps you remove it safely without harm.
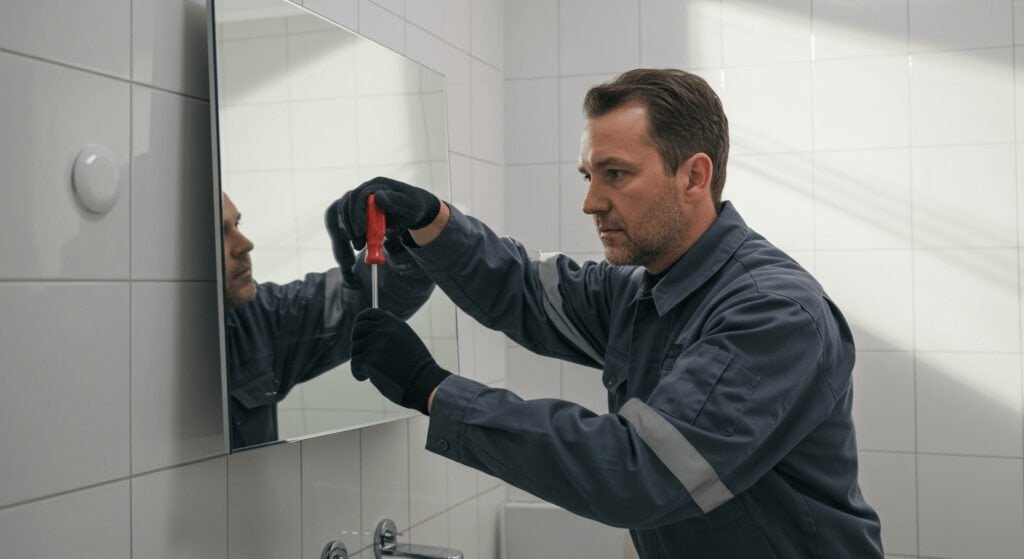
Detaching Screws
Find screws holding the mirror in place. Use a screwdriver that fits the screw head. Turn screws slowly to avoid stripping them. Keep screws in a small container for reuse. Remove all visible screws before trying to lift the mirror.
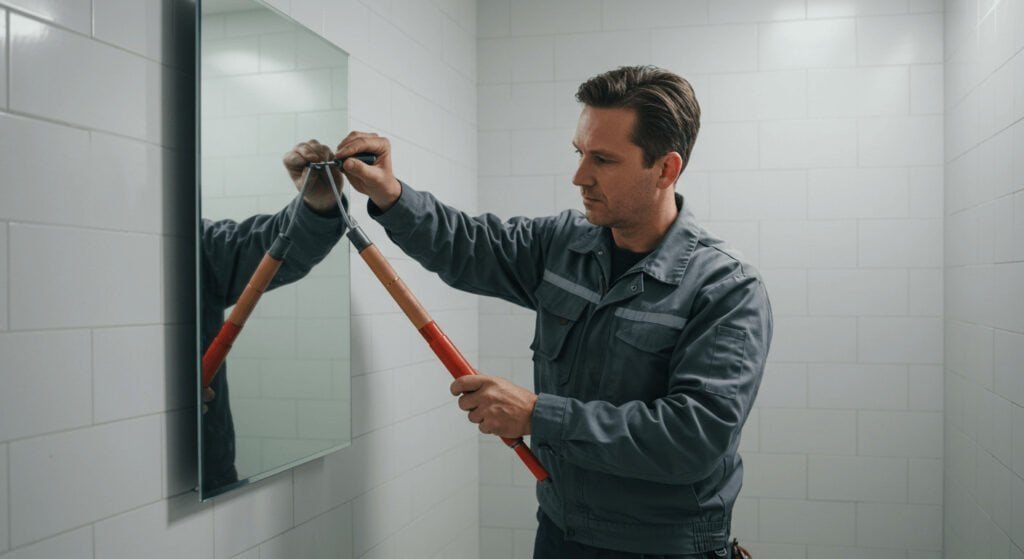
Loosening Adhesive
Some mirrors stick to the wall with strong adhesive. Use a putty knife or a thin wire to separate the edges. Work gently to avoid breaking the mirror. Apply heat with a hairdryer to soften the glue if needed. Move slowly and keep the mirror supported to prevent falls.
Lifting Mirror Off Wall
Ask someone to help hold the mirror. Lift it carefully, starting from the bottom edge. Keep the mirror close to the wall to reduce stress on glass. Move it slowly away from the wall once loose. Place it on a soft, flat surface to avoid cracks or chips.
Credit: bfymirror.com
Handle Mirror Disposal
Handling mirror disposal after removal is often overlooked, but it’s crucial for safety and environmental care. Mirrors are made of glass with coatings that can be hazardous if broken improperly. Taking the right steps ensures you protect yourself and dispose of the mirror responsibly.
Safe Breakage Techniques
If the mirror is too large to move safely, breaking it down might be necessary. Always wear thick gloves and safety goggles to protect your hands and eyes from sharp edges and flying shards.
Lay the mirror flat on a drop cloth or thick blanket to contain any pieces. Use a hammer wrapped in a cloth to gently tap the glass until it cracks. Avoid smashing it violently; controlled pressure reduces the risk of dangerous shards flying.
Once broken, wrap the shards in several layers of newspaper or bubble wrap. Secure the package with strong tape to prevent pieces from escaping during transport. This step is vital to keep you and waste handlers safe.
Proper Disposal Methods
Check your local waste management guidelines before disposal, as mirror recycling rules vary widely. Many curbside recycling programs do not accept mirrors due to their reflective coatings.
Contact your local recycling center or hazardous waste facility to ask if they accept mirrors. Some areas require you to take mirrors to specific drop-off points or schedule a special pickup.
If recycling isn’t an option, dispose of the mirror with your regular trash but follow these steps:
- Keep the mirror securely wrapped to prevent injury.
- Label the package as “broken glass” or “mirror” for waste collectors.
- Place it in a sturdy container or box to avoid puncturing trash bags.
Have you ever considered how many mirrors end up in landfills simply because people don’t know how to dispose of them properly? Taking a few extra minutes to handle mirror disposal carefully can make a big difference.
Clean Wall Surface
A clean wall surface helps paint or new fixtures stick better after removing a bathroom mirror. Wipe away dust and residue carefully to avoid damage. This step ensures a smooth, fresh look for your bathroom walls.
Removing a bathroom wall mirror can be a daunting task, but the job doesn’t end with just taking down the glass. Ensuring the wall surface is clean and ready for whatever comes next is crucial. A clean wall surface will make your bathroom feel refreshed and ready for a new design or a simple coat of paint. But how do you tackle the pesky residue and potential damage left behind?Removing Residue
After you’ve successfully taken down the mirror, you might find adhesive residue clinging to the wall. This sticky mess can be more stubborn than it seems. Start with a plastic scraper to gently lift the bulk of the adhesive. If residue remains, apply a bit of rubbing alcohol or vinegar to a cloth and scrub the area. These household items are powerful yet gentle cleaning agents. Remember to test a small patch first to ensure they don’t damage your wall surface.Repairing Wall Damage
Sometimes, removing a mirror can leave behind more than just residue. You may notice small holes or even chunks of drywall missing. Don’t fret—these can be fixed with a bit of patience and the right tools. Use spackling paste to fill in any holes or divots. Apply it with a putty knife, smoothing it over the damaged area. Once dry, sand the surface until it’s flush with the rest of the wall. Consider this: how will you prevent damage during your next home improvement project? By being mindful and taking care during removal, you can save yourself time and hassle in the future.
Credit: www.youtube.com
Prepare For New Installation
Preparing the wall after removing a bathroom mirror is vital for a smooth new installation. It ensures the surface is clean, even, and ready to hold the new mirror safely. Proper preparation prevents damage and helps the new mirror last longer.
Wall Inspection
Check the wall for damage left by the old mirror. Look for holes, cracks, or loose drywall. Small holes can weaken the surface and cause problems later. Use a flashlight to spot any hidden issues. Make sure the wall is dry and free from mold or mildew. Address any water damage before continuing. Inspect the wall studs behind the surface. They should be solid and undamaged to support the new mirror’s weight.
Surface Preparation
Remove leftover adhesive or glue using a scraper or putty knife. Sand the area gently to smooth rough spots. Clean the wall with a damp cloth to remove dust and debris. Fill holes and cracks with spackle or wall filler. Let it dry completely, then sand again for a flat finish. Wipe the wall clean once more to ensure no dust remains. Prime the wall if needed, especially on repaired spots. This helps paint or adhesive stick better.
Frequently Asked Questions
How Do I Safely Remove A Bathroom Wall Mirror?
To remove a bathroom mirror safely, first turn off power if near outlets. Use a utility knife to cut caulk, then gently pry the mirror from the wall with a putty knife. Wear gloves to protect hands from glass shards.
What Tools Are Needed To Remove A Bathroom Mirror?
You need a utility knife, putty knife or pry bar, gloves, and safety goggles. Optional items include a suction cup for large mirrors and painter’s tape to protect the wall during removal.
Can I Remove A Glued Bathroom Mirror Without Damaging Drywall?
Yes, but take care. Cut the caulk and adhesive with a utility knife. Use a heat gun to soften glue if needed. Slowly pry the mirror off to minimize drywall damage.
How Do I Dispose Of A Removed Bathroom Mirror Safely?
Wrap the mirror in thick blankets or cardboard. Secure with tape to prevent breaking. Check local regulations for glass disposal. Consider recycling if possible to reduce waste.
Conclusion
Removing a bathroom wall mirror can feel tricky at first. Take your time and follow each step carefully. Use the right tools to avoid damage or injury. Clean the area once the mirror is down. This helps prepare the wall for new decor or paint.
Remember, safety comes first—wear gloves and work slowly. With patience, you can remove the mirror without problems. Now, you are ready for your next bathroom project. Simple and stress-free.


