
Have you ever stood in front of your bathroom mirror, wondering how to safely remove it without damaging the wall or yourself? Whether you’re updating your décor or fixing a broken mirror, this task can feel tricky if you don’t know the right steps.
But don’t worry—removing a bathroom mirror doesn’t have to be stressful or messy. In this guide, you’ll discover simple, clear instructions that make the job quick and hassle-free. Keep reading, and you’ll gain the confidence to take down your bathroom mirror like a pro.
Tools Needed
Before you start removing a mirror from your bathroom wall, gathering the right tools is essential. Having everything on hand makes the job smoother and safer. It also saves you from frustrating pauses to hunt down equipment.
Basic Tools List
- Utility knife:Perfect for cutting through caulk or adhesive sealing the mirror edges.
- Putty knife or flat pry bar:Useful for gently prying the mirror off the wall without causing damage.
- Measuring tape:Helps you gauge the mirror’s size and the space around it for a safe removal process.
- Screwdriver or drill:Needed if your mirror is secured with screws or brackets.
- Painter’s tape:Apply this over the mirror surface to reduce the risk of shattering glass flying if the mirror breaks.
Have you ever started a project only to realize you’re missing a key tool? It wastes time and can cause mistakes. Preparing this basic toolkit upfront avoids those pitfalls.
Safety Gear
- Safety goggles:Protect your eyes from glass shards or debris.
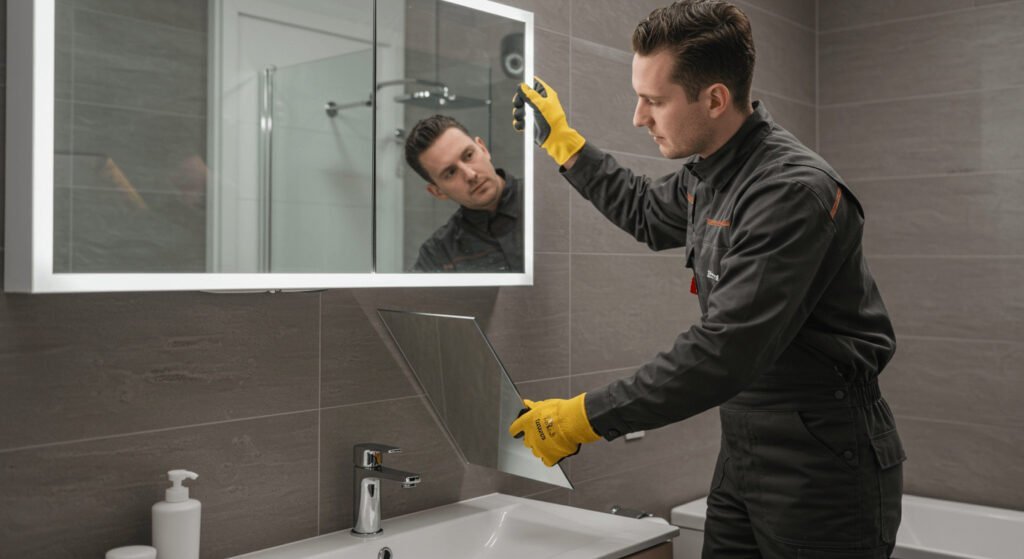
- Gloves:Heavy-duty gloves shield your hands from sharp edges and provide a better grip.
- Dust mask:Useful if you’re dealing with old adhesive or dust behind the mirror.
- Long sleeves and pants:Minimize skin exposure to potential cuts or irritants.
Safety is often overlooked but is crucial. Have you noticed how a small slip can turn a simple task into a trip to the emergency room? Taking a few minutes to gear up properly prevents accidents and keeps you confident throughout the removal process.
Preparing The Area
Clear the space around the mirror to avoid damage to nearby items. Lay down a drop cloth or old towel to catch debris and protect the floor. Ensure good lighting to see edges and fasteners clearly.
Removing a mirror from your bathroom wall can be tricky. Proper preparation ensures a smooth process. Before you start, focus on getting your work area ready. This will help prevent accidents and damage.Clear The Space
Remove all items from the bathroom. This includes toiletries, towels, and decorations. Clear the floor of rugs or mats. This provides a safe, open space to work. Ensure you have enough room to move around freely. If needed, relocate larger items to another room.Protect Surfaces
Cover the sink, countertop, and floor with drop cloths or old sheets. This protects against scratches or falling debris. Use painter’s tape to secure the coverings in place. Be sure to cover any fixtures or fittings nearby. This will keep them safe from accidental damage.Identifying Mirror Type
Before you start removing a mirror from your bathroom wall, it’s essential to identify what type of mirror you’re dealing with. This helps you choose the safest and most effective removal method. Understanding the mirror type also prevents damage to your wall and the mirror itself.
Framed Vs Frameless
Mirrors usually come in two main types: framed and frameless. A framed mirror has a border around it, often made of wood, metal, or plastic. This frame can be decorative or simple, and it usually makes the mirror heavier and easier to handle during removal.
Frameless mirrors lack this border and are simply glass with polished edges. These mirrors are more fragile and require extra care. Have you noticed how frameless mirrors often seem glued directly to the wall? That’s a key difference affecting how you remove them.
Mounting Methods
How the mirror is attached to the wall affects removal too. Common mounting methods include:
- Clips or brackets:These hold the mirror at the edges and can be unscrewed or gently pried off.
- Adhesive/glue:Frameless mirrors often use strong adhesive, making removal tricky without damaging the wall.
- Cleats or French cleats:These are wooden or metal strips that lock the mirror in place and require lifting the mirror off after detaching the cleats.
Can you tell if your mirror is held by clips or glued down? This simple observation can save you hours of frustration and prevent costly repairs.
Credit: bfymirror.com
Loosening Adhesive Mirrors
Removing a mirror stuck with adhesive requires patience and care. Adhesive bonds can be strong, making the mirror hard to detach. Loosening the adhesive helps prevent damage to the wall or mirror. Two common ways to soften adhesive are using heat and applying solvents. Both methods weaken the glue, easing the removal process.
Using Heat
Heat softens many types of adhesive. It makes the glue less sticky and easier to peel away. Use a hairdryer or heat gun for this task. Hold the heat source a few inches from the mirror edge. Move it slowly to warm the adhesive evenly. Avoid overheating to prevent damage to the mirror or wall paint.
After heating, gently test the mirror edge with a plastic scraper. If it moves, continue heating and prying slowly. Take care not to apply too much force. Heat works well on tape or glue that hardens over time.
Applying Solvents
Solvents break down adhesive bonds chemically. Common solvents include rubbing alcohol, acetone, or commercial adhesive removers. Test the solvent on a small area first to avoid damage. Apply the solvent with a cotton ball or soft cloth around the mirror edges.
Let the solvent sit for several minutes to soak into the adhesive. This weakens the glue, making the mirror easier to remove. Use a plastic scraper or putty knife to gently lift the mirror. Repeat solvent application as needed to loosen stubborn spots.
Removing Screwed Mirrors
Removing a mirror fixed with screws is a straightforward task with the right approach. The key is to handle it carefully to avoid damage to the wall or the mirror itself. This section guides you through finding the screws and removing them safely.
Locating Screws
Start by inspecting the mirror frame closely. Screws often sit along the edges or corners. Sometimes they are hidden under decorative caps or paint. Use a flashlight to check for small shadows or bumps.
Look for:
- Visible screw heads on the frame or clips
- Plastic covers that can be popped off
- Any brackets holding the mirror in place
Mark the screw locations with a pencil if needed. This helps keep track and plan the removal process.
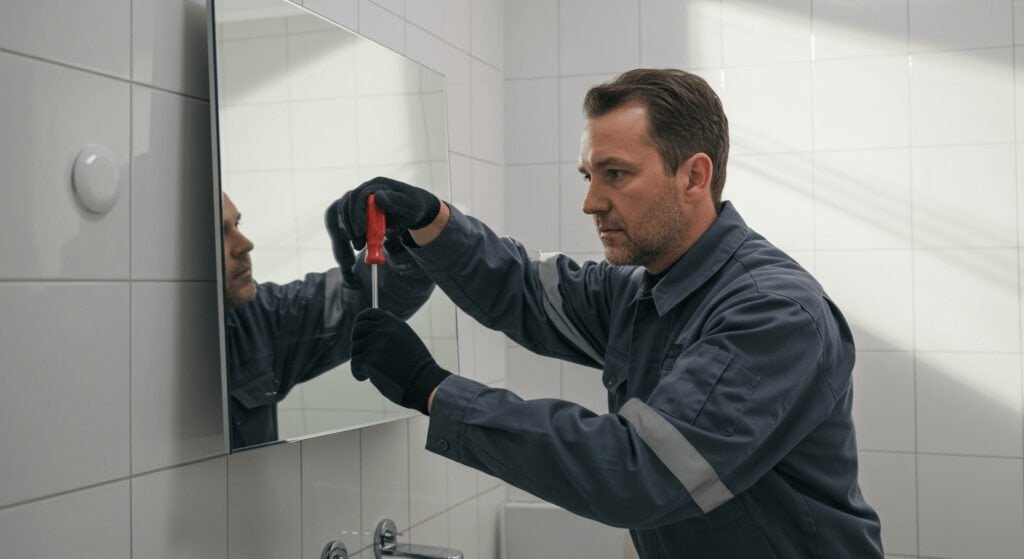
Unscrewing Safely
Choose the correct screwdriver to match the screw heads. Using the wrong tool can strip the screws. Hold the mirror firmly or ask someone to assist. This prevents it from falling once screws are loose.
Turn screws slowly and steadily. Avoid rushing to prevent damage. Place screws in a small container to avoid losing them. After all screws are removed, gently pull the mirror away from the wall.

Credit: www.youtube.com
Handling Mirror Clips
Handling mirror clips is a crucial part of safely removing a bathroom mirror from the wall. These small metal or plastic holders keep the mirror firmly in place, so you need to be careful not to damage the wall or the mirror itself. Understanding how to manage these clips can save you from a lot of hassle and potential injury.
Releasing Clips
Start by examining the type of clips holding your mirror. Some clips have screws that you can loosen with a screwdriver, while others may just snap off with gentle pressure.
Use a flathead screwdriver or a putty knife to carefully pry the clips away from the mirror. Work slowly and evenly to avoid cracking the glass.
If the clips are painted over, score around them with a utility knife to prevent peeling paint from the wall.
Supporting The Mirror
Before removing the last clip, make sure you have a firm grip on the mirror. It can be surprisingly heavy and awkward to hold alone.
Ask someone to help you support the mirror, or place a soft, stable surface like a blanket or foam on the floor to catch it if it slips.
Holding the mirror steady while releasing the final clips prevents sudden falls and keeps both you and the mirror safe.
Preventing Wall Damage
Removing a mirror from your bathroom wall without damaging the surface can feel tricky. The key is to handle the mirror carefully and prepare for any minor repairs afterward. Taking the right precautions not only protects your wall but also saves you time and money on fixes.
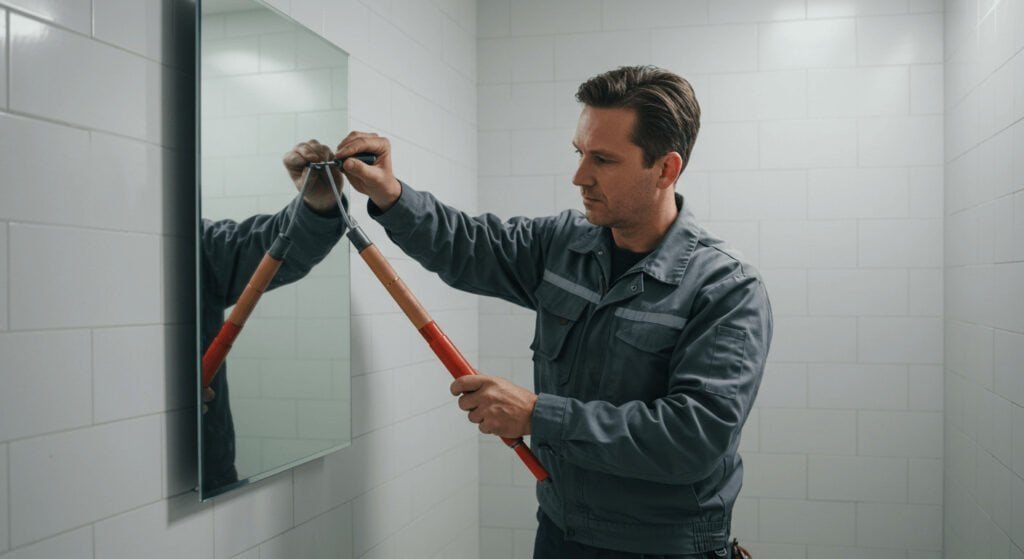
Using Putty Knives
Putty knives are essential tools for gently loosening the mirror from the wall. Start by sliding a thin, flexible putty knife between the mirror edge and the wall to break the adhesive bond.
Work slowly and carefully to avoid chipping the paint or drywall. If you sense resistance, try a wider putty knife or a second one to spread the pressure evenly. This prevents concentrated force that can crack the wall surface.
Repairing Small Holes
After the mirror is removed, check the wall for small holes left by screws or anchors. Filling these is simple with some lightweight spackle and a putty knife.
Apply the spackle with the knife, smoothing it over the hole until it’s flush with the wall. Let it dry completely, then sand lightly for a seamless finish before repainting.
Have you ever skipped these small repairs only to regret the uneven wall later? Taking a few extra minutes now keeps your bathroom looking clean and fresh.
Disposing Or Reusing Mirrors
After removing a mirror from your bathroom wall, deciding what to do next can be tricky. Mirrors are made of glass and sometimes have a backing that requires special handling. Whether you choose to dispose of it safely or give it a new life, your choice can impact the environment and your space.
Safe Disposal Tips
Mirrors are not always accepted in regular glass recycling because of their coatings and adhesives. Check with your local waste management facility to see if they take mirrors separately. If they do not, wrap the mirror carefully in thick newspaper or bubble wrap to prevent breakage during disposal.
Label the package as “broken glass” to protect sanitation workers. Never throw large mirror pieces directly into the trash without wrapping. If the mirror breaks, use a broom and dustpan to collect shards instead of your hands, and dispose of them in a sturdy container.
Creative Reuse Ideas
Instead of tossing your mirror, think about how it can brighten other areas of your home. Small mirrors can become decorative trays by adding a wooden frame underneath. You could also turn broken mirror pieces into mosaic art for tabletops or garden stepping stones.
Have you considered using a mirror as a reflective surface in your plant area to enhance light? It’s a simple way to reuse without extra cost. Sometimes, giving a mirror a fresh coat of paint or a new frame can transform it into a statement piece for your hallway or bedroom.
Credit: bfymirror.com
Frequently Asked Questions
How Do I Safely Remove A Bathroom Mirror?
To safely remove a bathroom mirror, first protect the area with a drop cloth. Use a utility knife to cut through any caulk or adhesive. Gently pry the mirror off the wall with a putty knife, working slowly to avoid damage or injury.
What Tools Are Needed To Remove A Bathroom Mirror?
You will need a utility knife, putty knife or scraper, gloves, safety glasses, and a drop cloth. These tools help you cut adhesive, protect yourself, and carefully pry the mirror from the wall without damage.
How Can I Avoid Damaging The Wall When Removing A Mirror?
Cut through the adhesive carefully using a utility knife. Pry gently with a putty knife to loosen the mirror. Work slowly and steadily to prevent drywall damage or paint peeling during removal.
Is It Necessary To Wear Safety Gear When Removing A Mirror?
Yes, wearing gloves and safety glasses is essential. Mirrors can break easily and cause injury. Protective gear helps prevent cuts from glass shards or accidental slips during removal.
Conclusion
Removing a bathroom mirror can be simple with the right steps. Take your time and use the proper tools. Protect the wall and handle the mirror carefully. Clean any leftover adhesive for a smooth surface. Now, you can install a new mirror or leave the space open.
A careful approach avoids damage and keeps your bathroom safe. Try these tips next time you want to change your mirror. Easy and safe.


